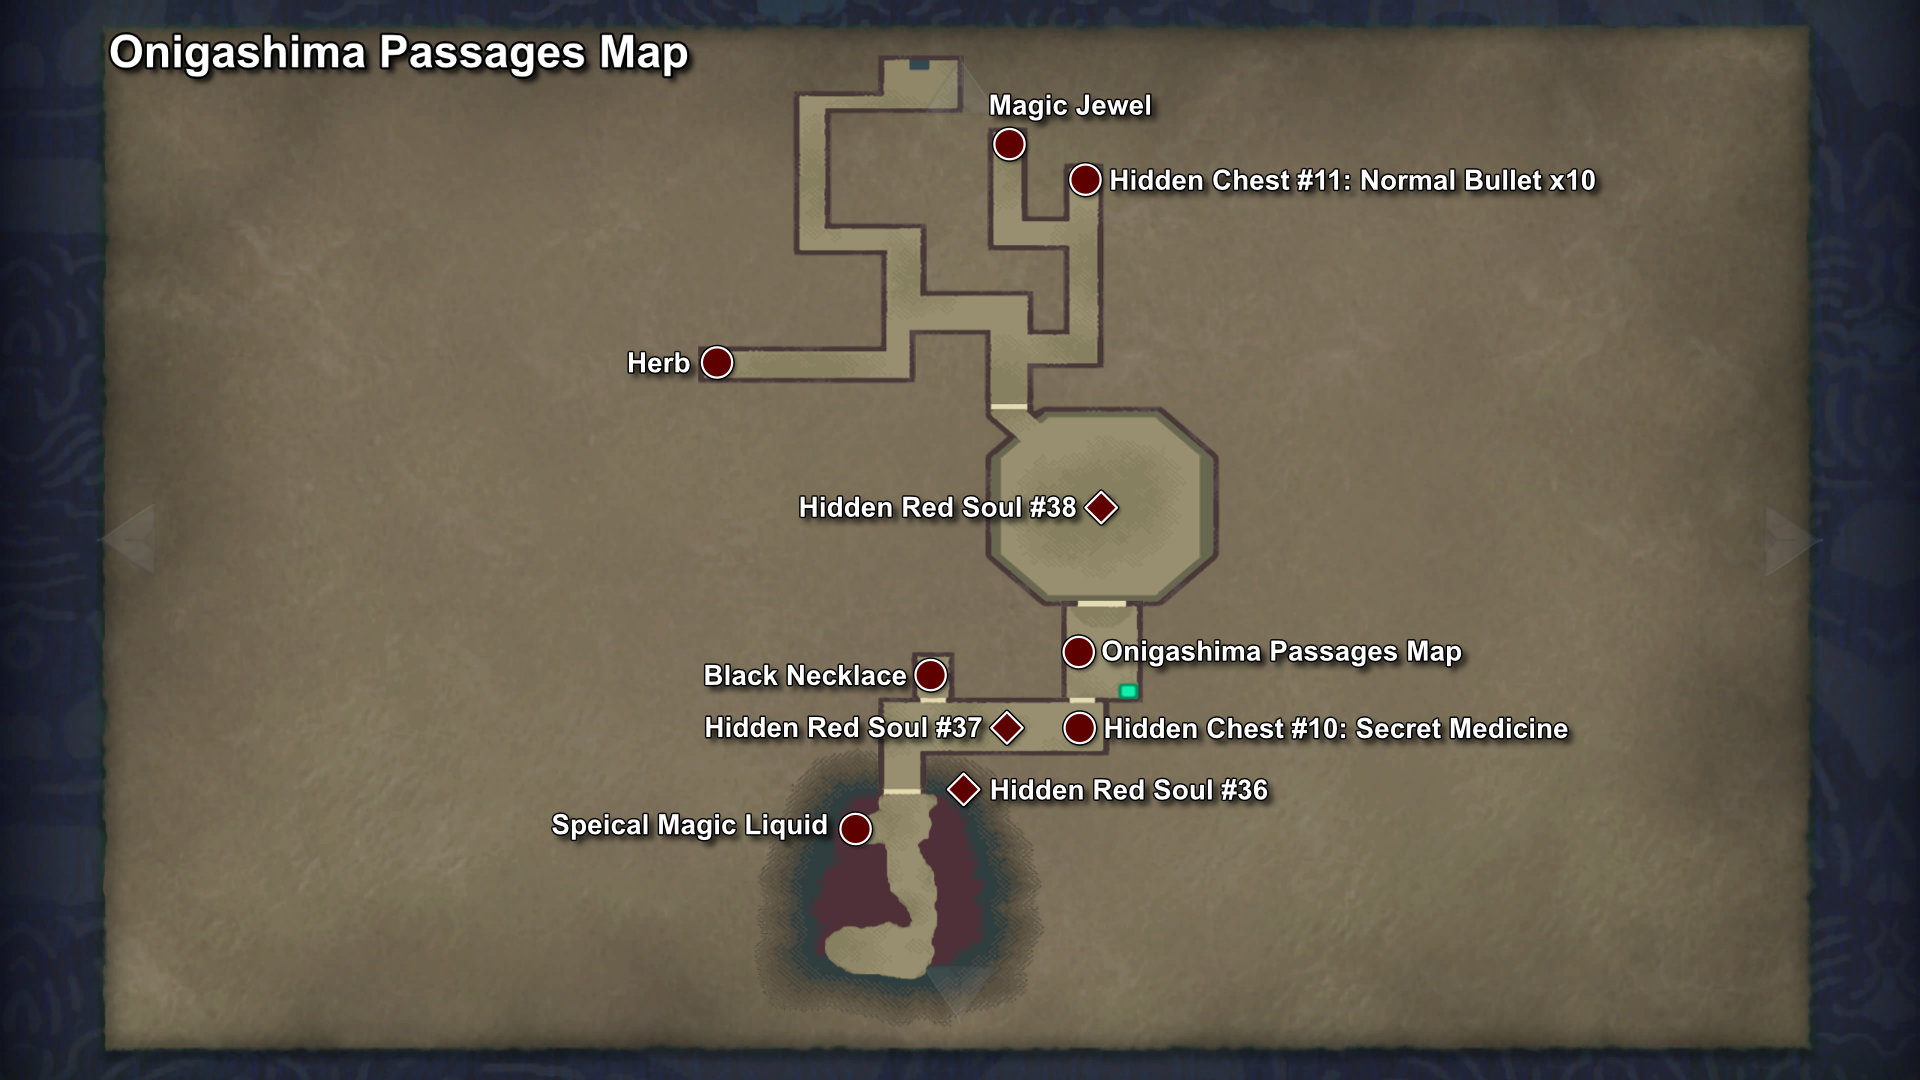
Hidden Red Souls #36: On the right side of the door.
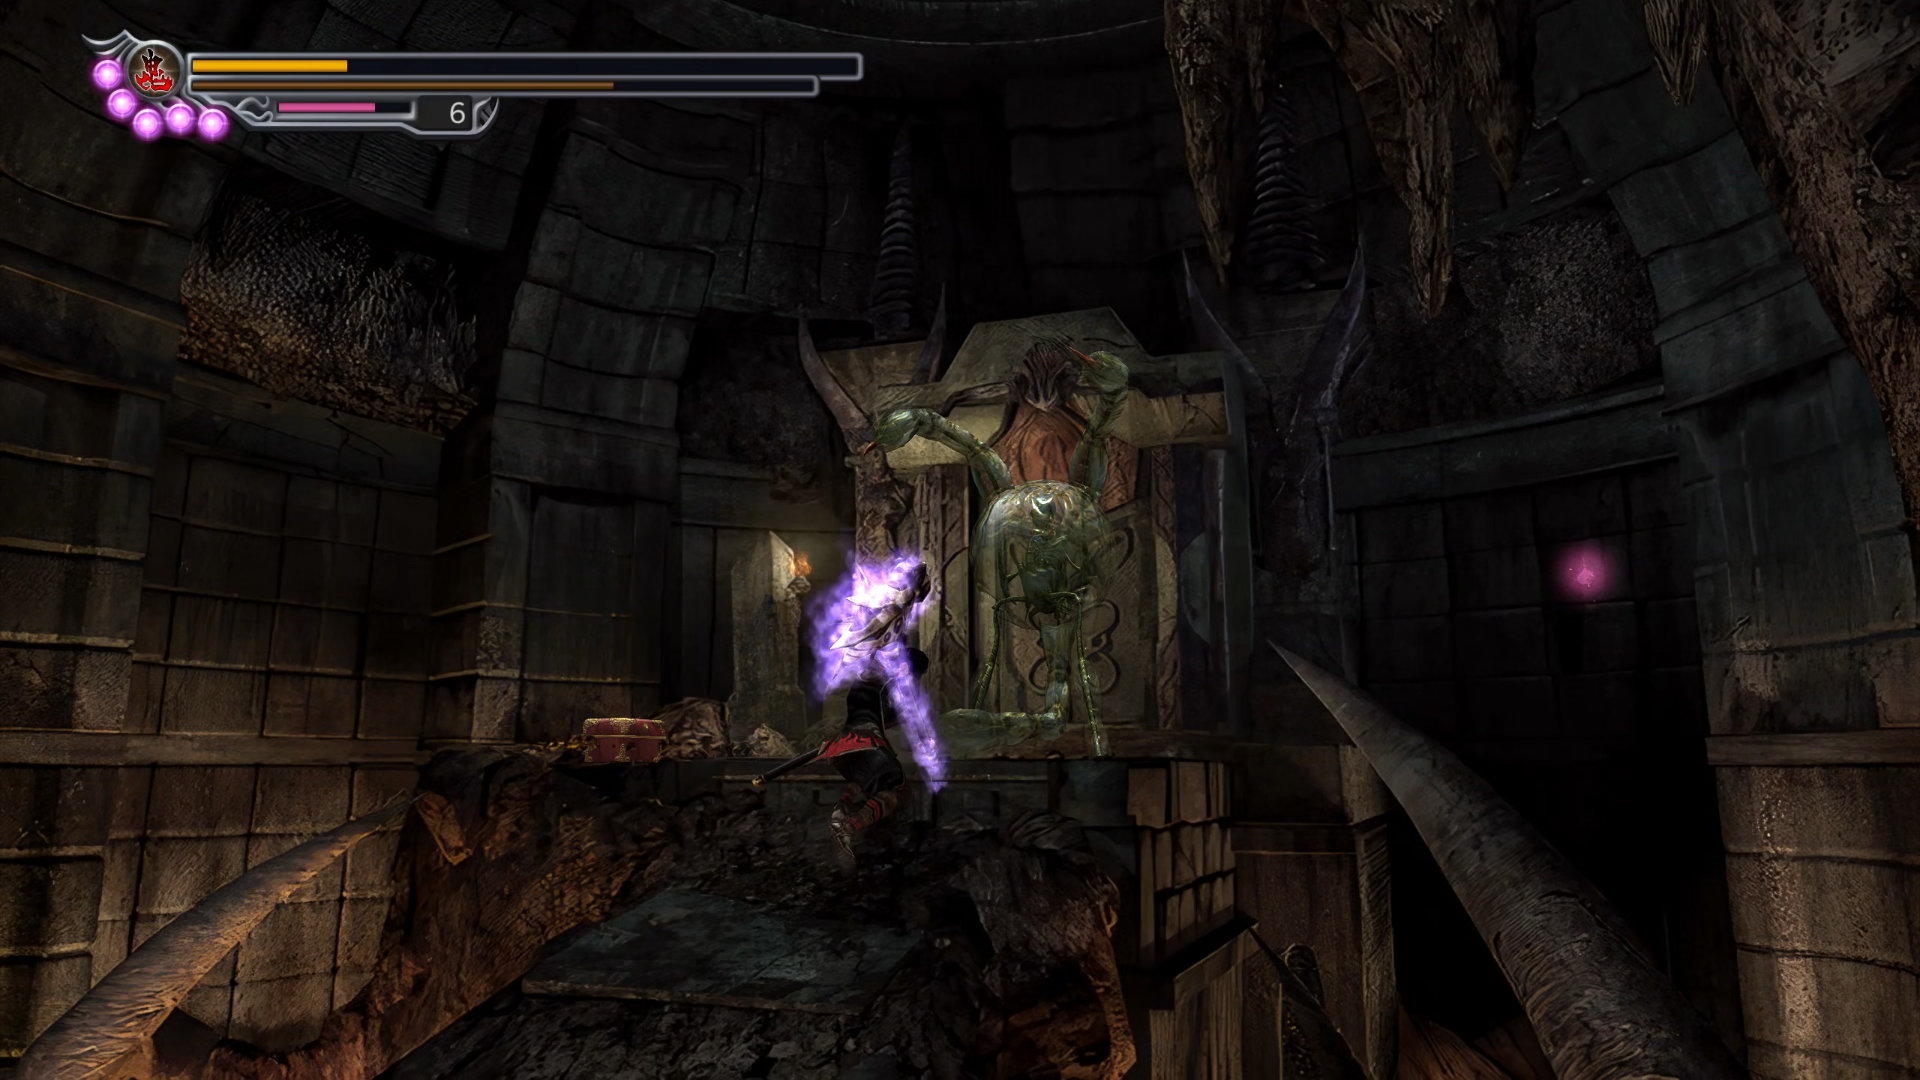
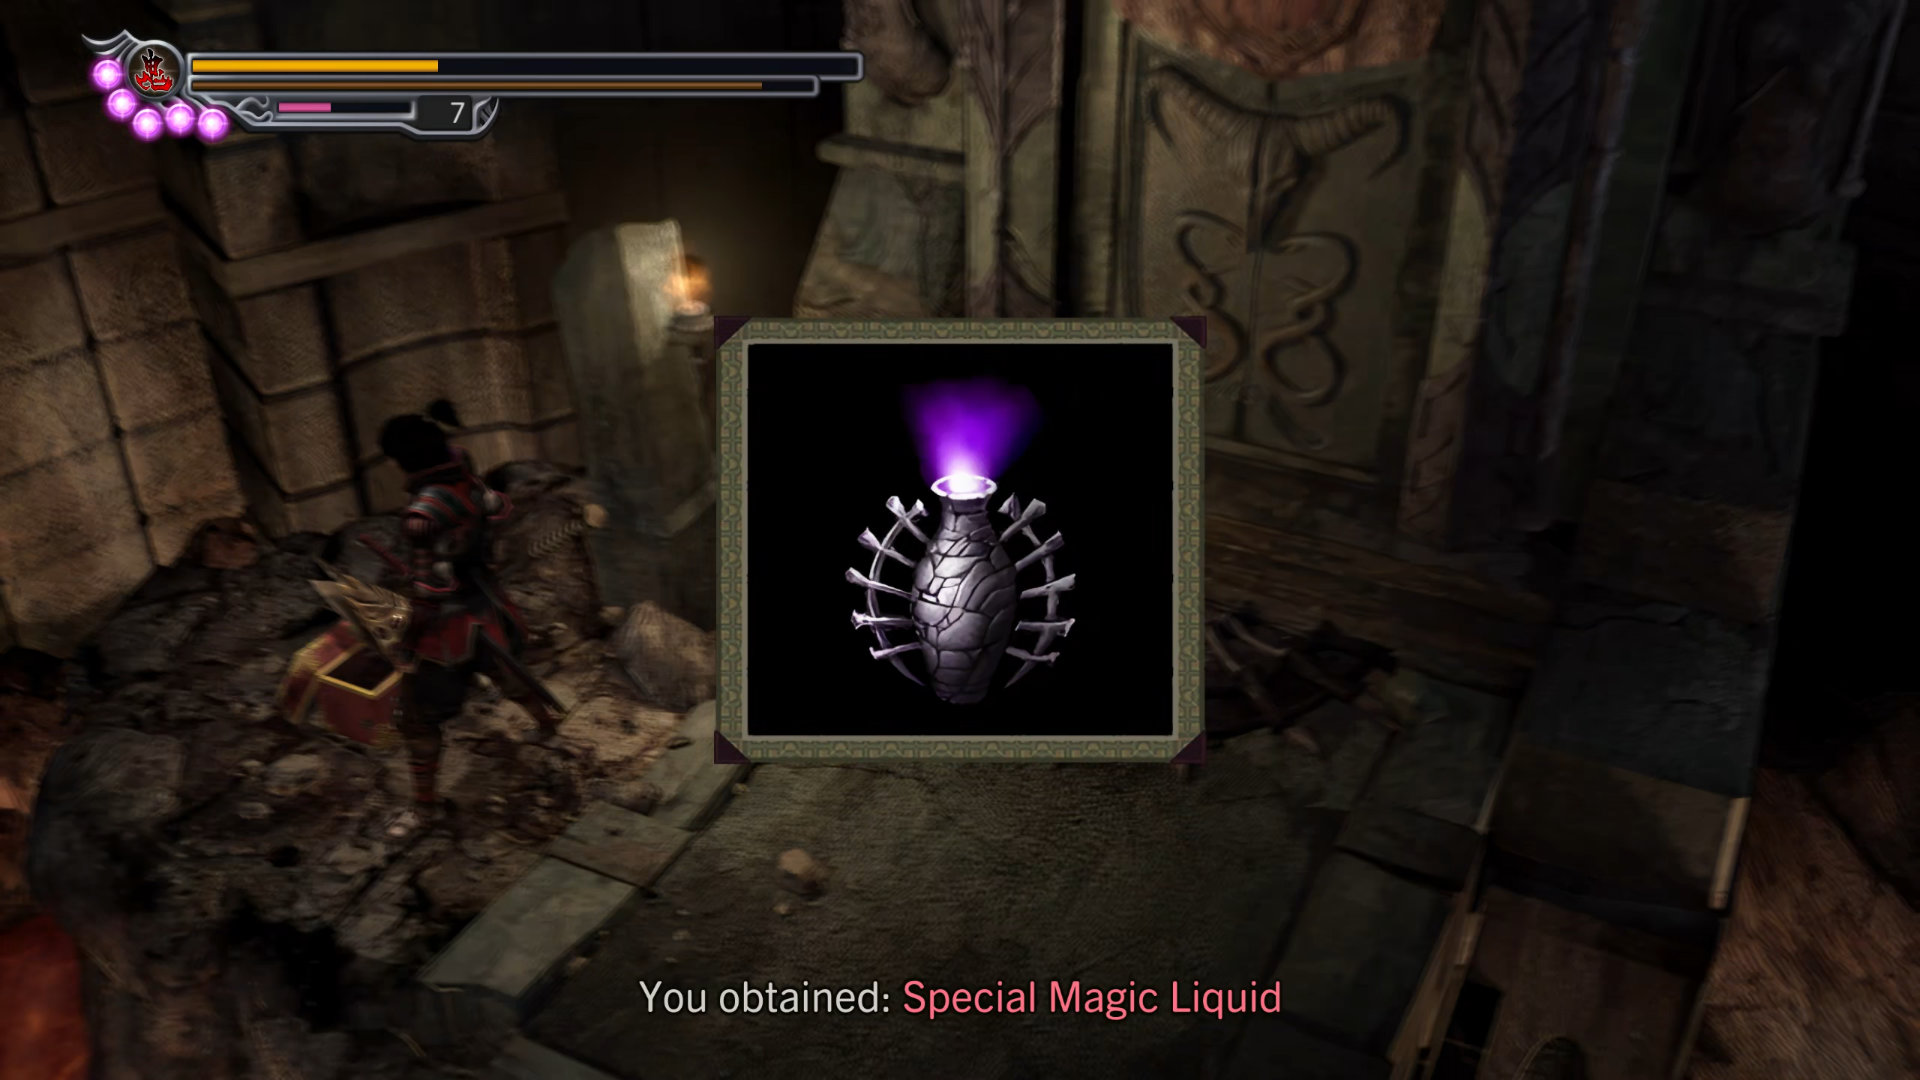
Then pick up an item in front of the door.
- Item: Special Magic Liquid
Enter the door to a new area. One of your allies will aid you in this hallway. As always, kill all the demons until they leave the scene.
In this hallway, you'll notice a door locked by demon fingers on your left. Use the 3 Fossilized Bones you obtained from the gift exchange section to unlock the door.
- Equipment: Black Necklace - (Solution: Right Top, Bottom Right, Left Bottom, Middle Left)
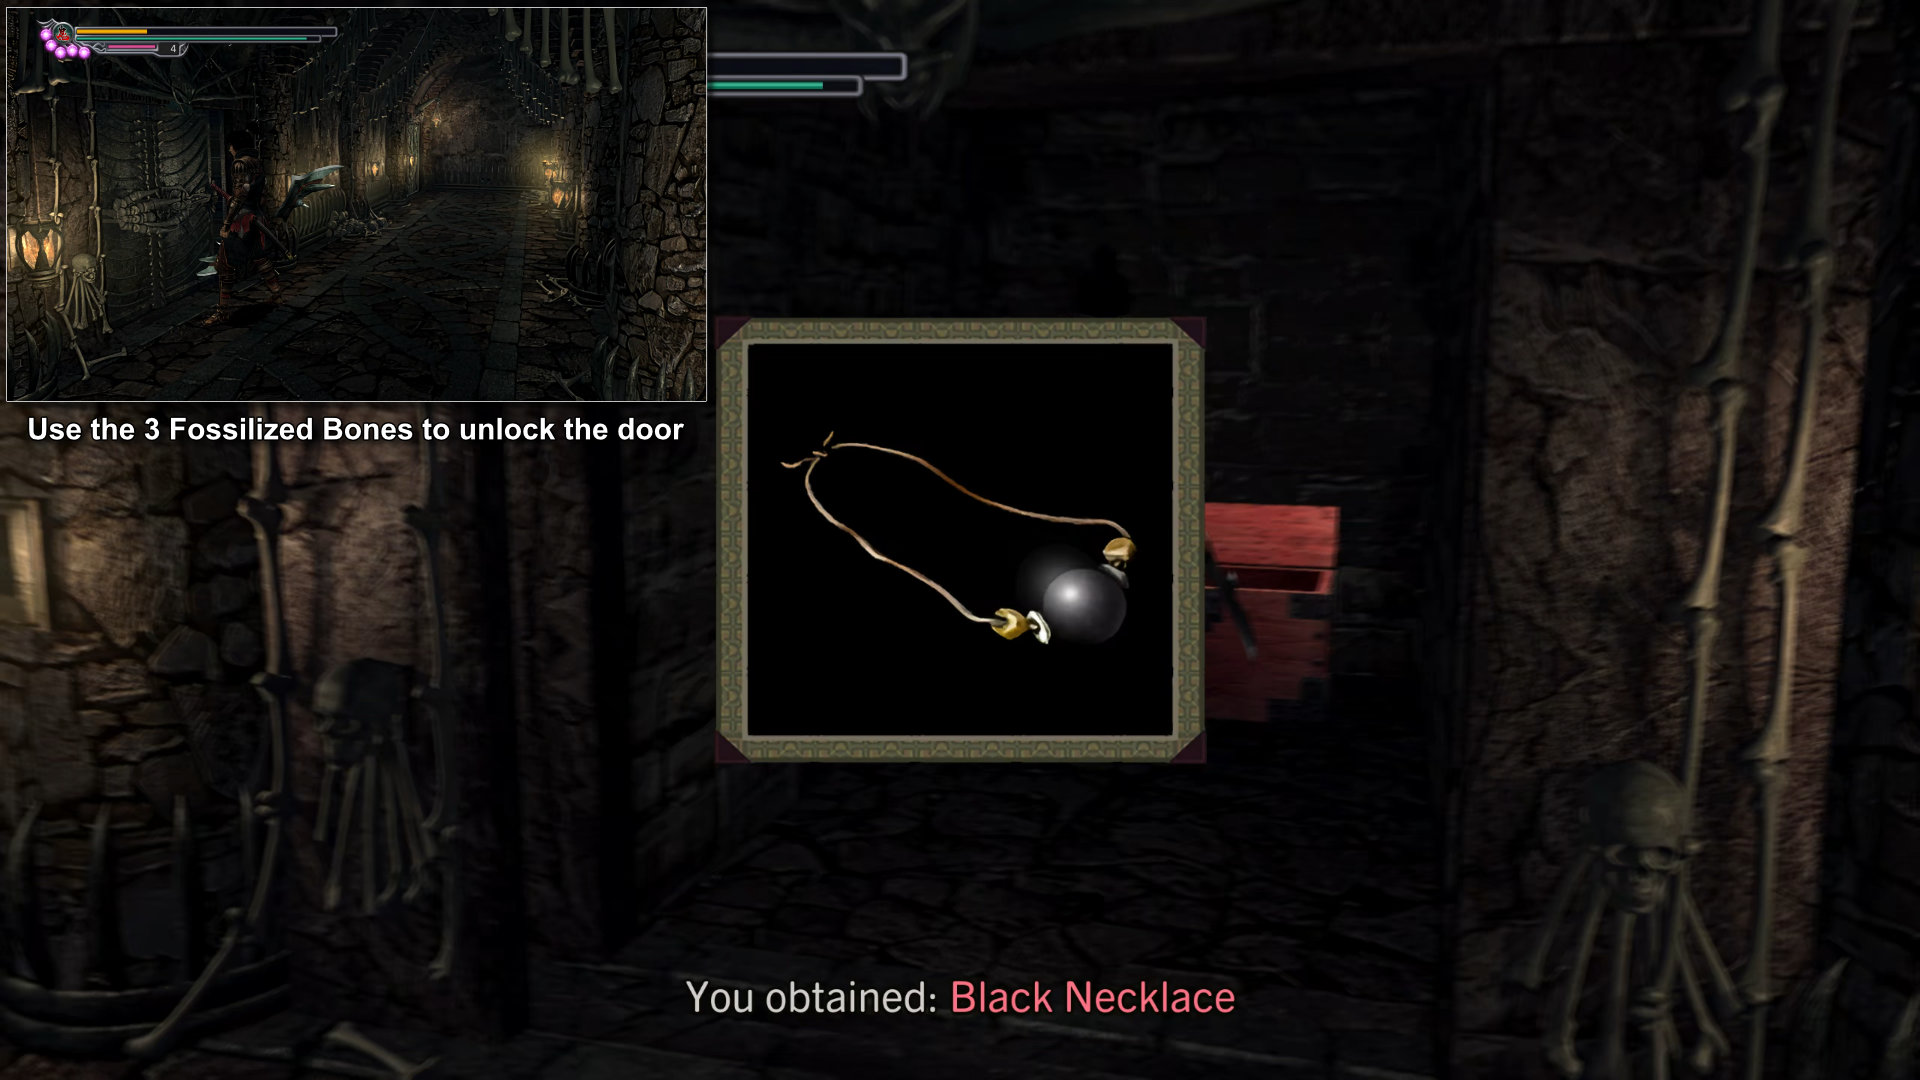
This is one of the best necklaces you can have, it allows you to perform critical hit with a normal attack in exchange for a small amount of health.
Hidden Red Souls #37: Right above the hallway in the middle.
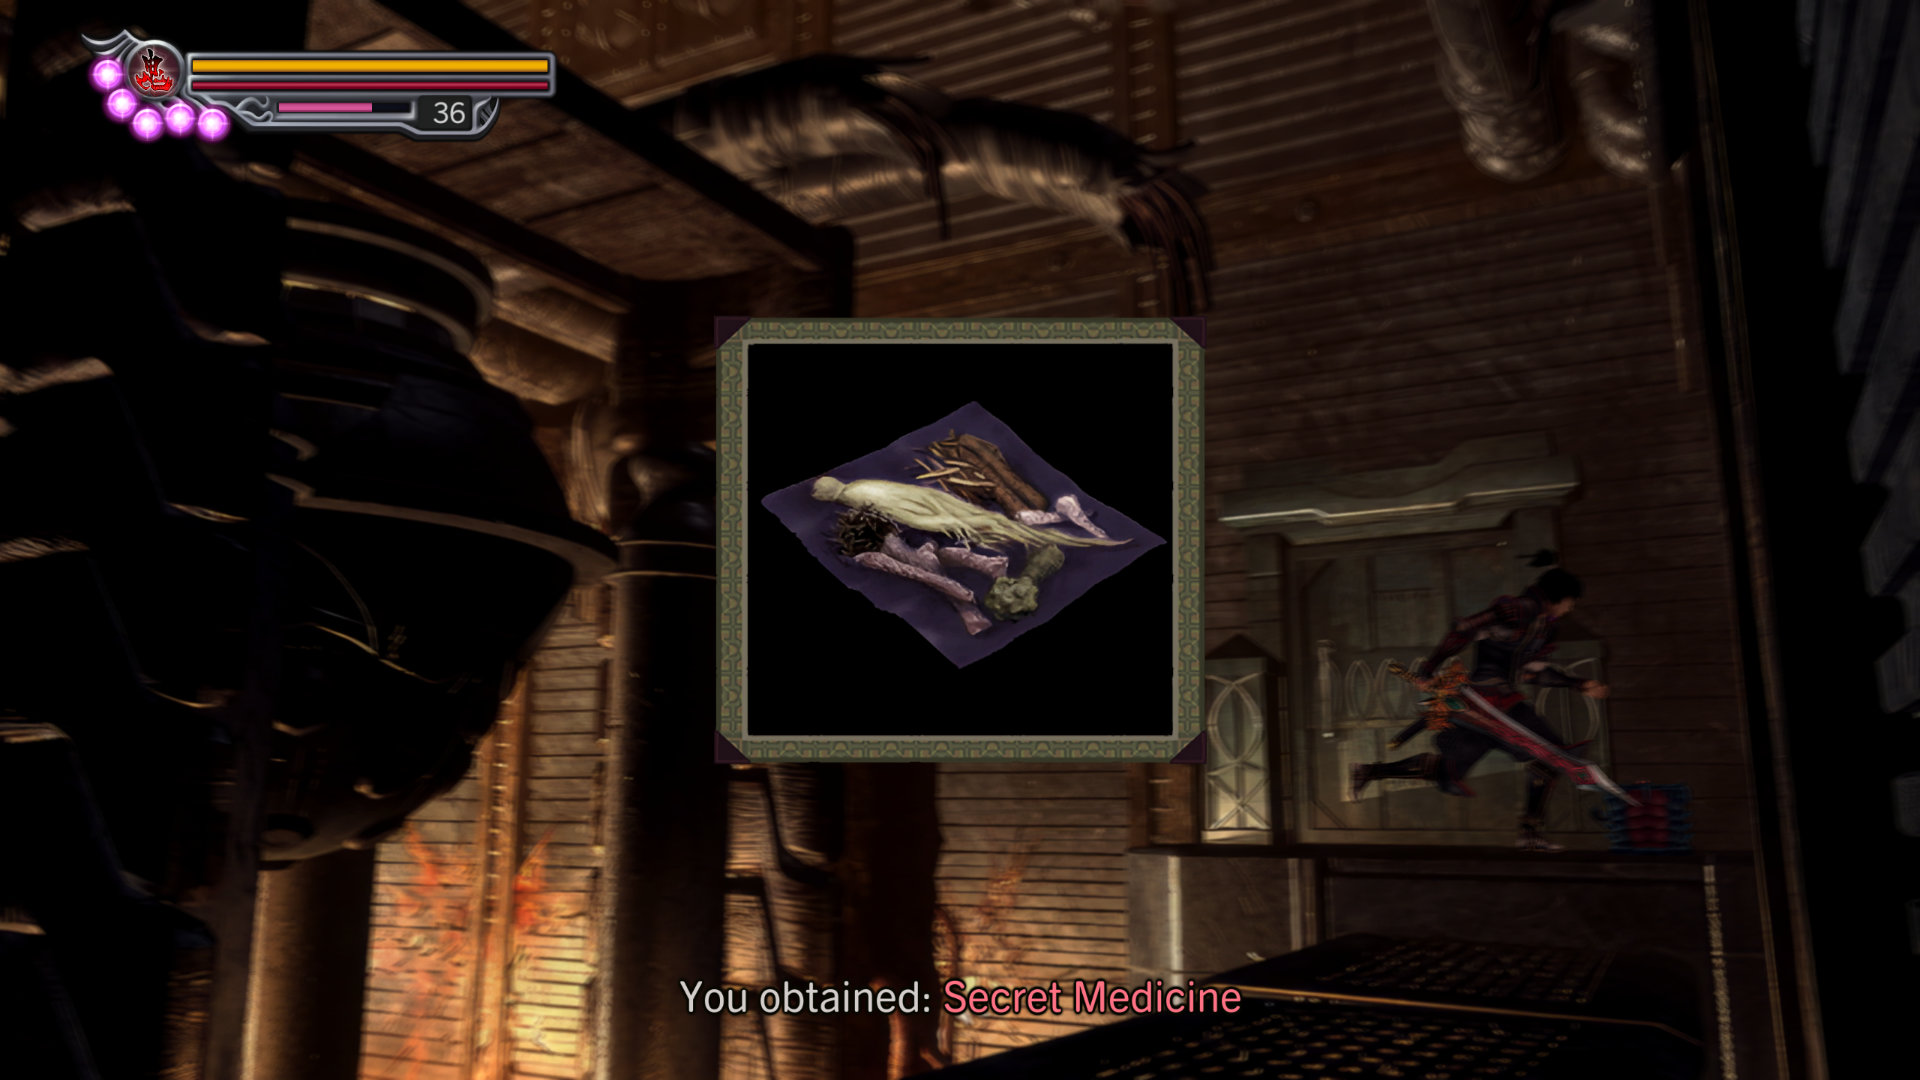
Hidden Chest #10: Secret Medicine At the end of the hallway.
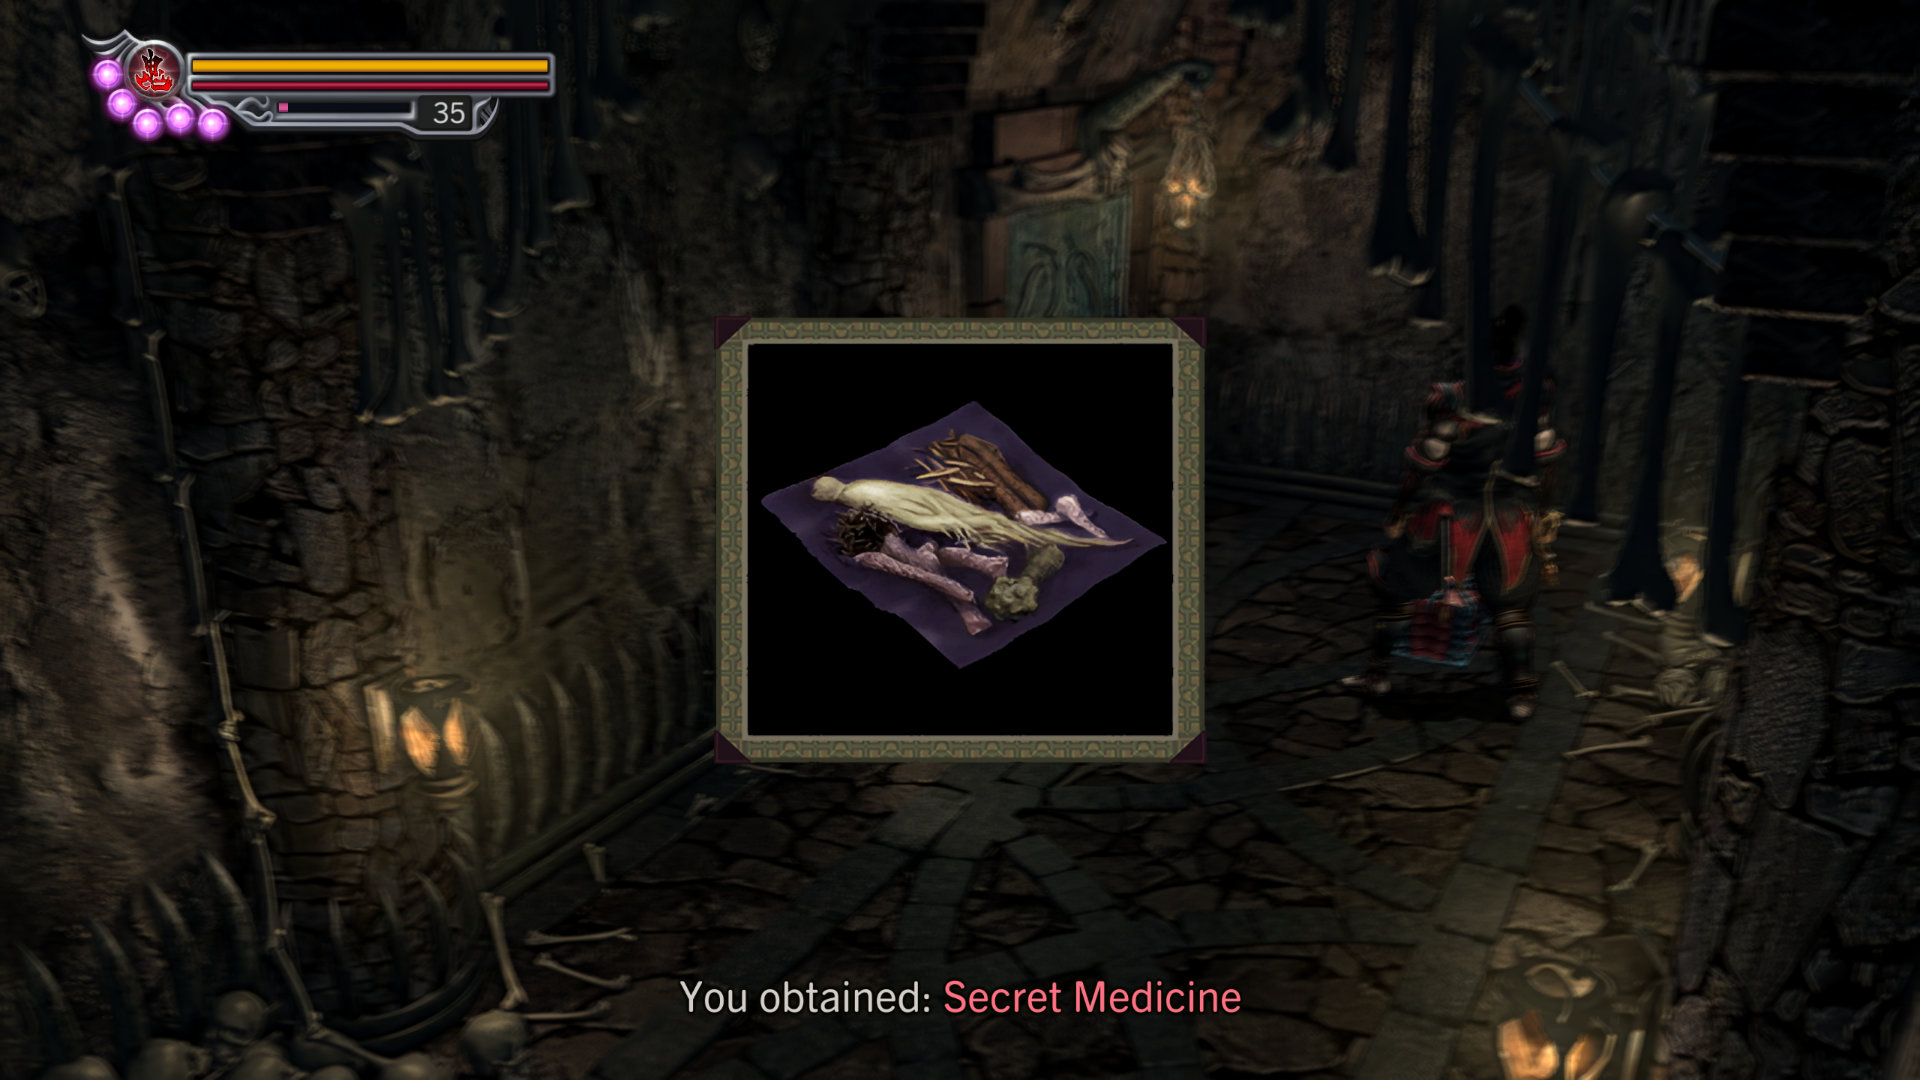
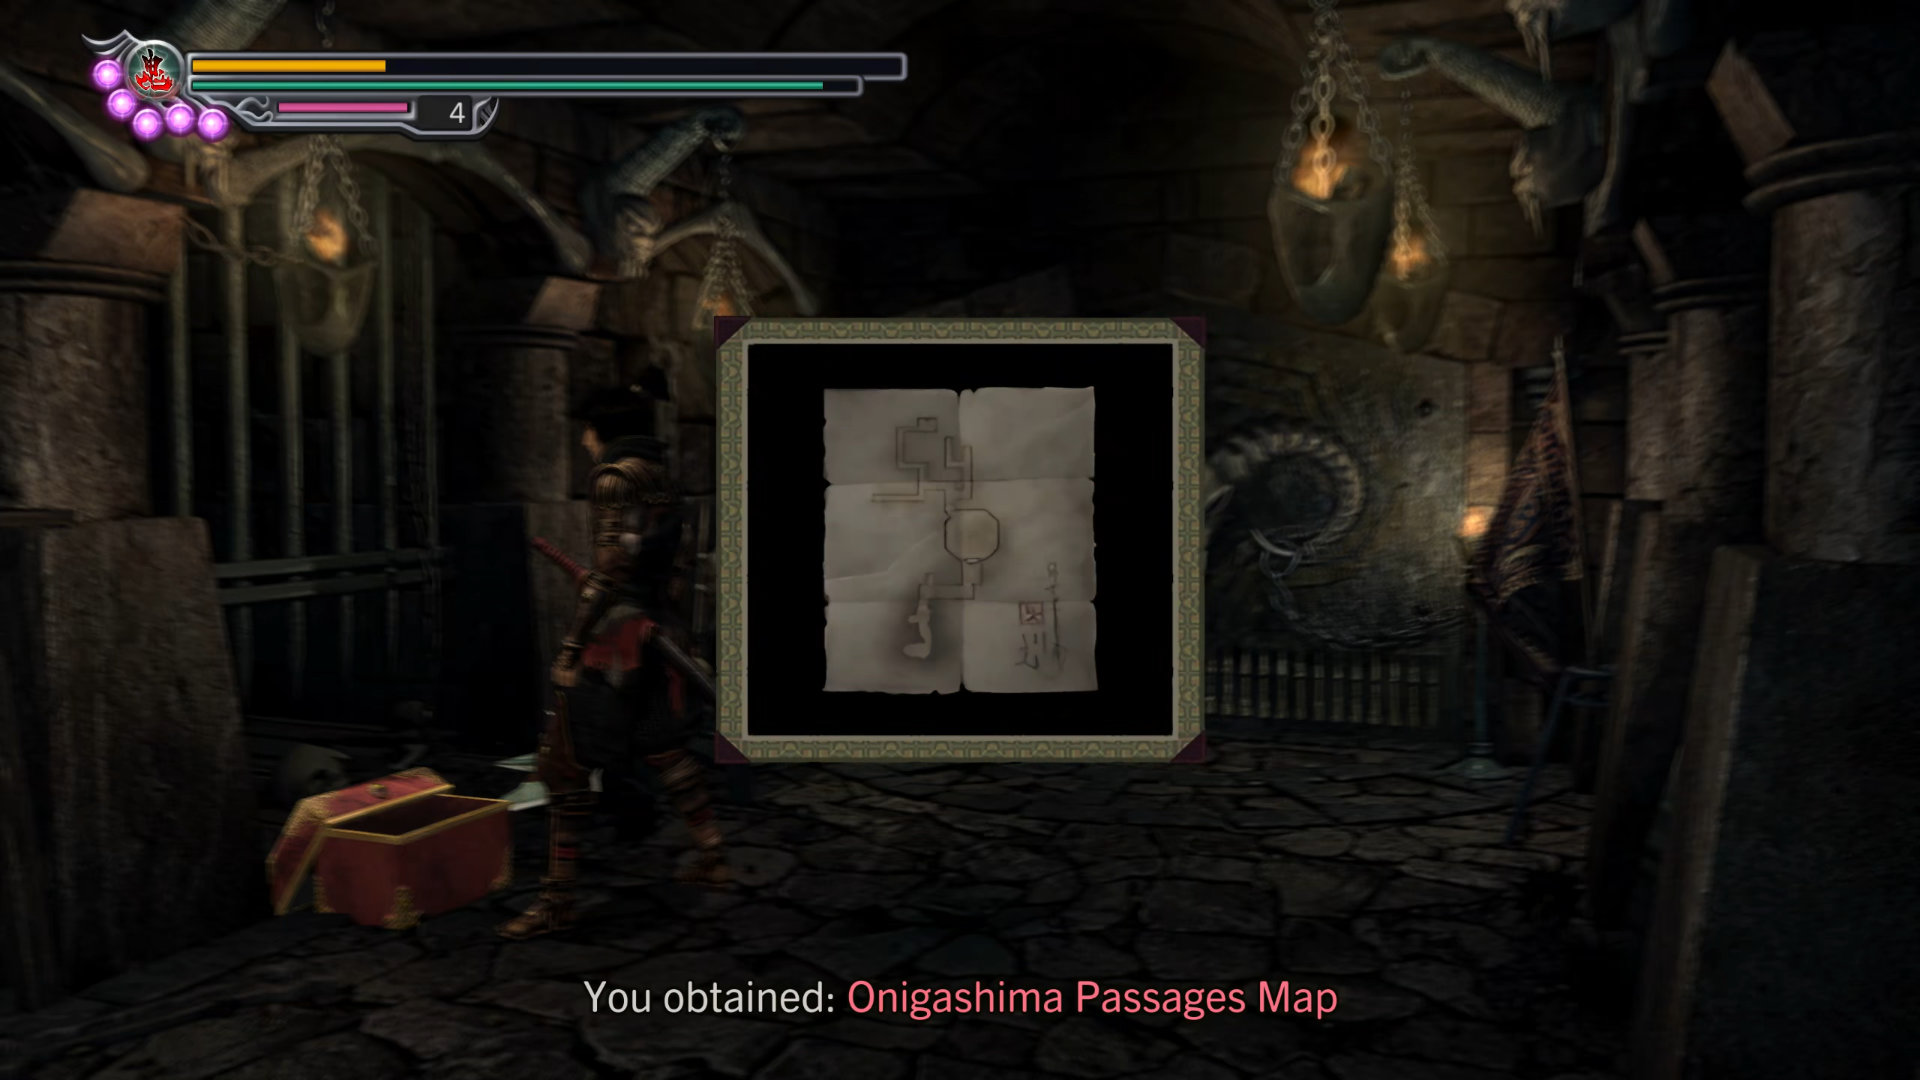
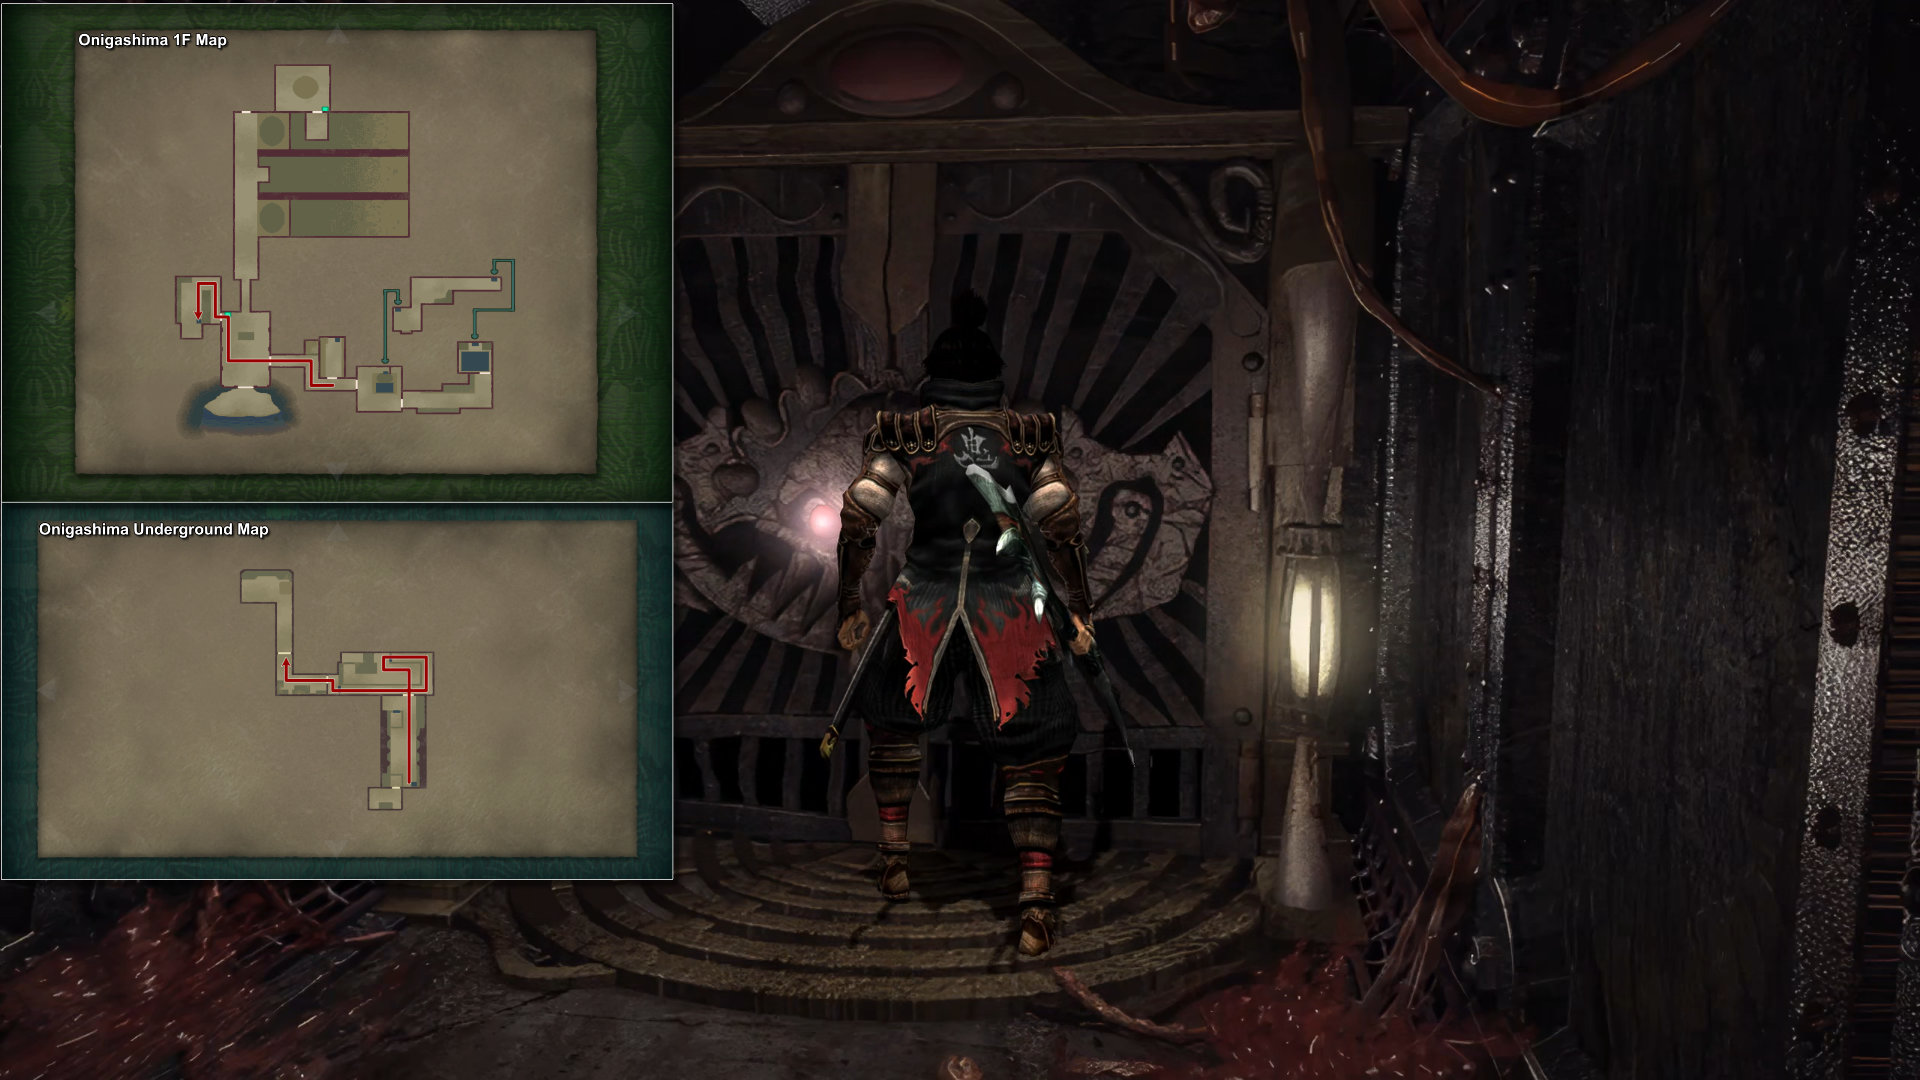
Follow the hallway to the next area. Here you can save your game at the Magic Mirror then pick up a map from the box:
- Map: Onigashima Passages Map
Route: Magoichi
You may want to save your game first. Here, you'll see him standing in front of the door. Talk to him and answer "SWORD" to challenge him who can kill 20 demons first in the arena.
- Technique Manual: Dokoutsui Vol. 3
Scenario 8-1: Magoichi's Pride
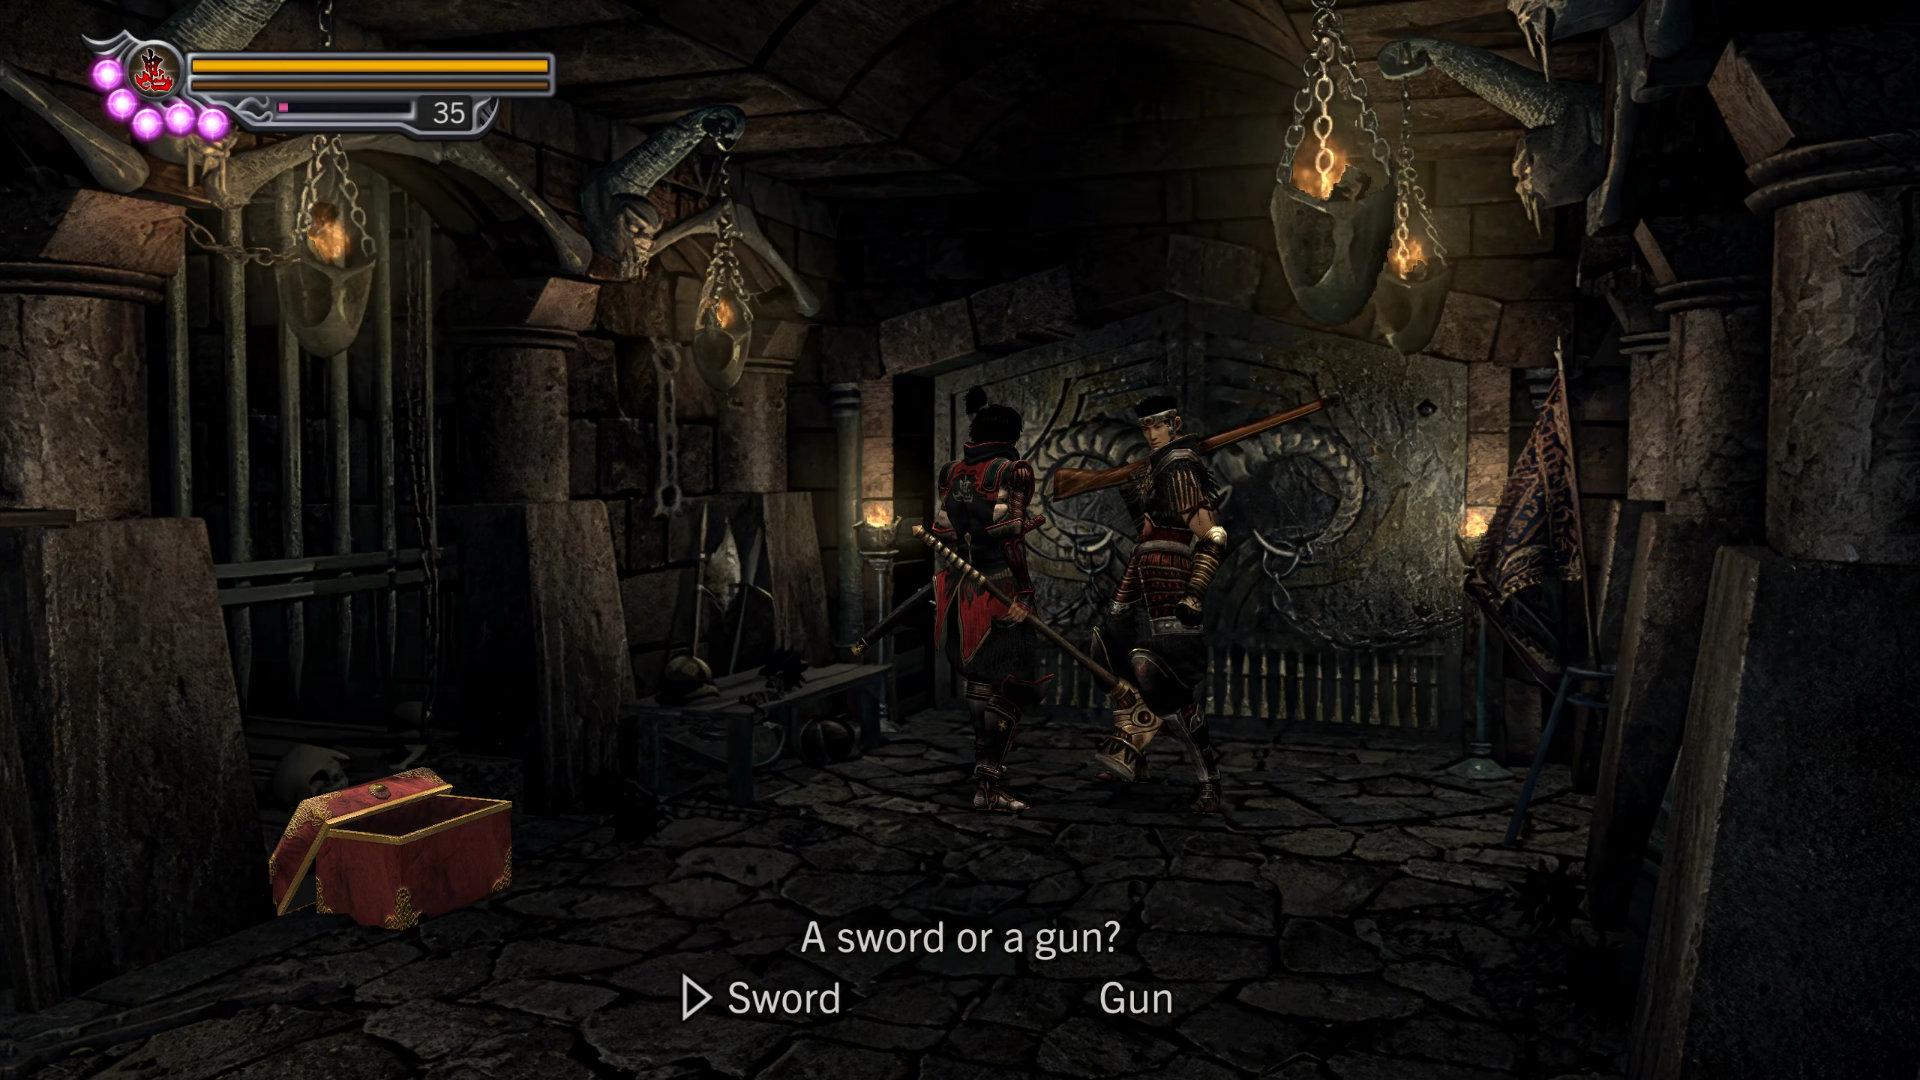
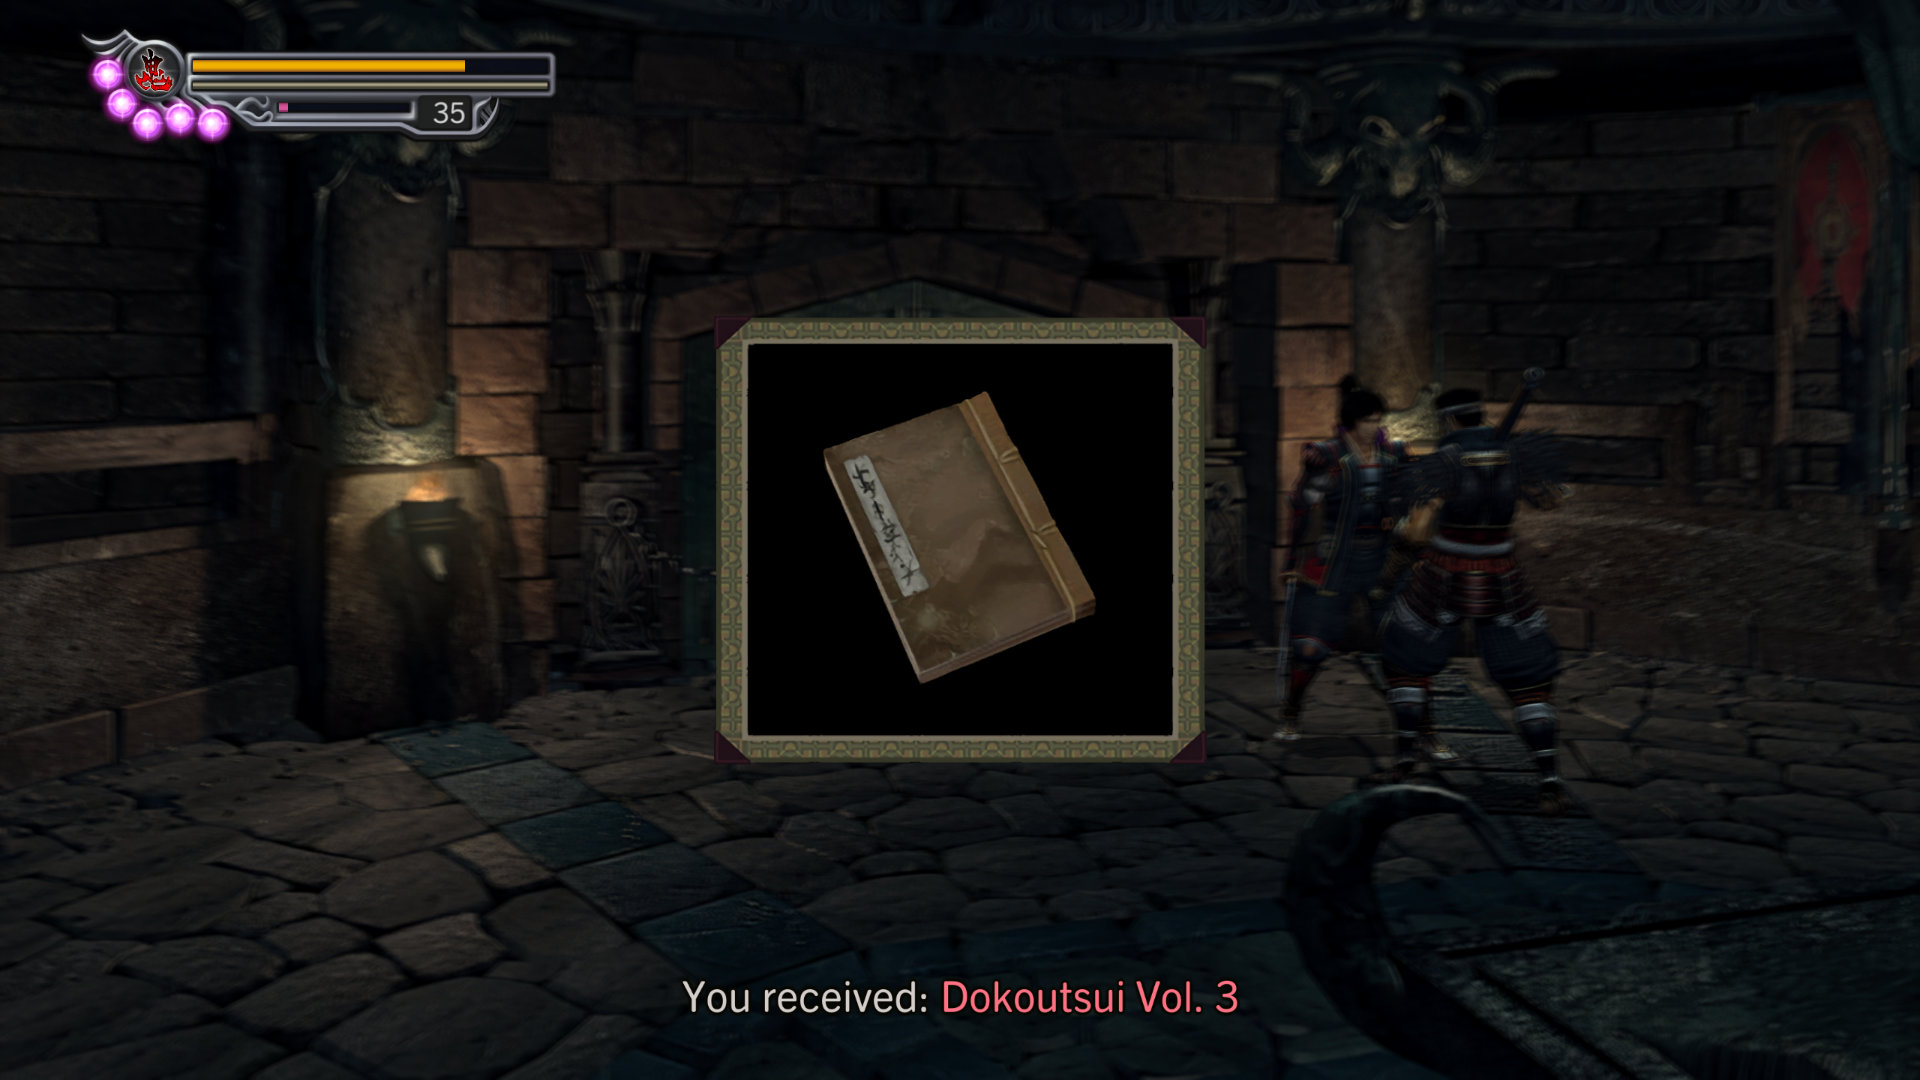
Reload the game if you failed. Proceed to the area once you get the Tech Book.
Proceed to the next area. this room looks like an arena. Oyu will join the fight if you have high enough friendship points with her (not available in Magoichi route).
IMPORTANT: If you are trying to get S-Rank but not very good at performing critical hit, I highly recommend you equip "Black Necklace" immediately, then clear this arena by get in/out until they stop spawning. Try to kill as many demons as possible using critical hit from here on.
Hidden Red Souls #38: Just above the statue in the center.
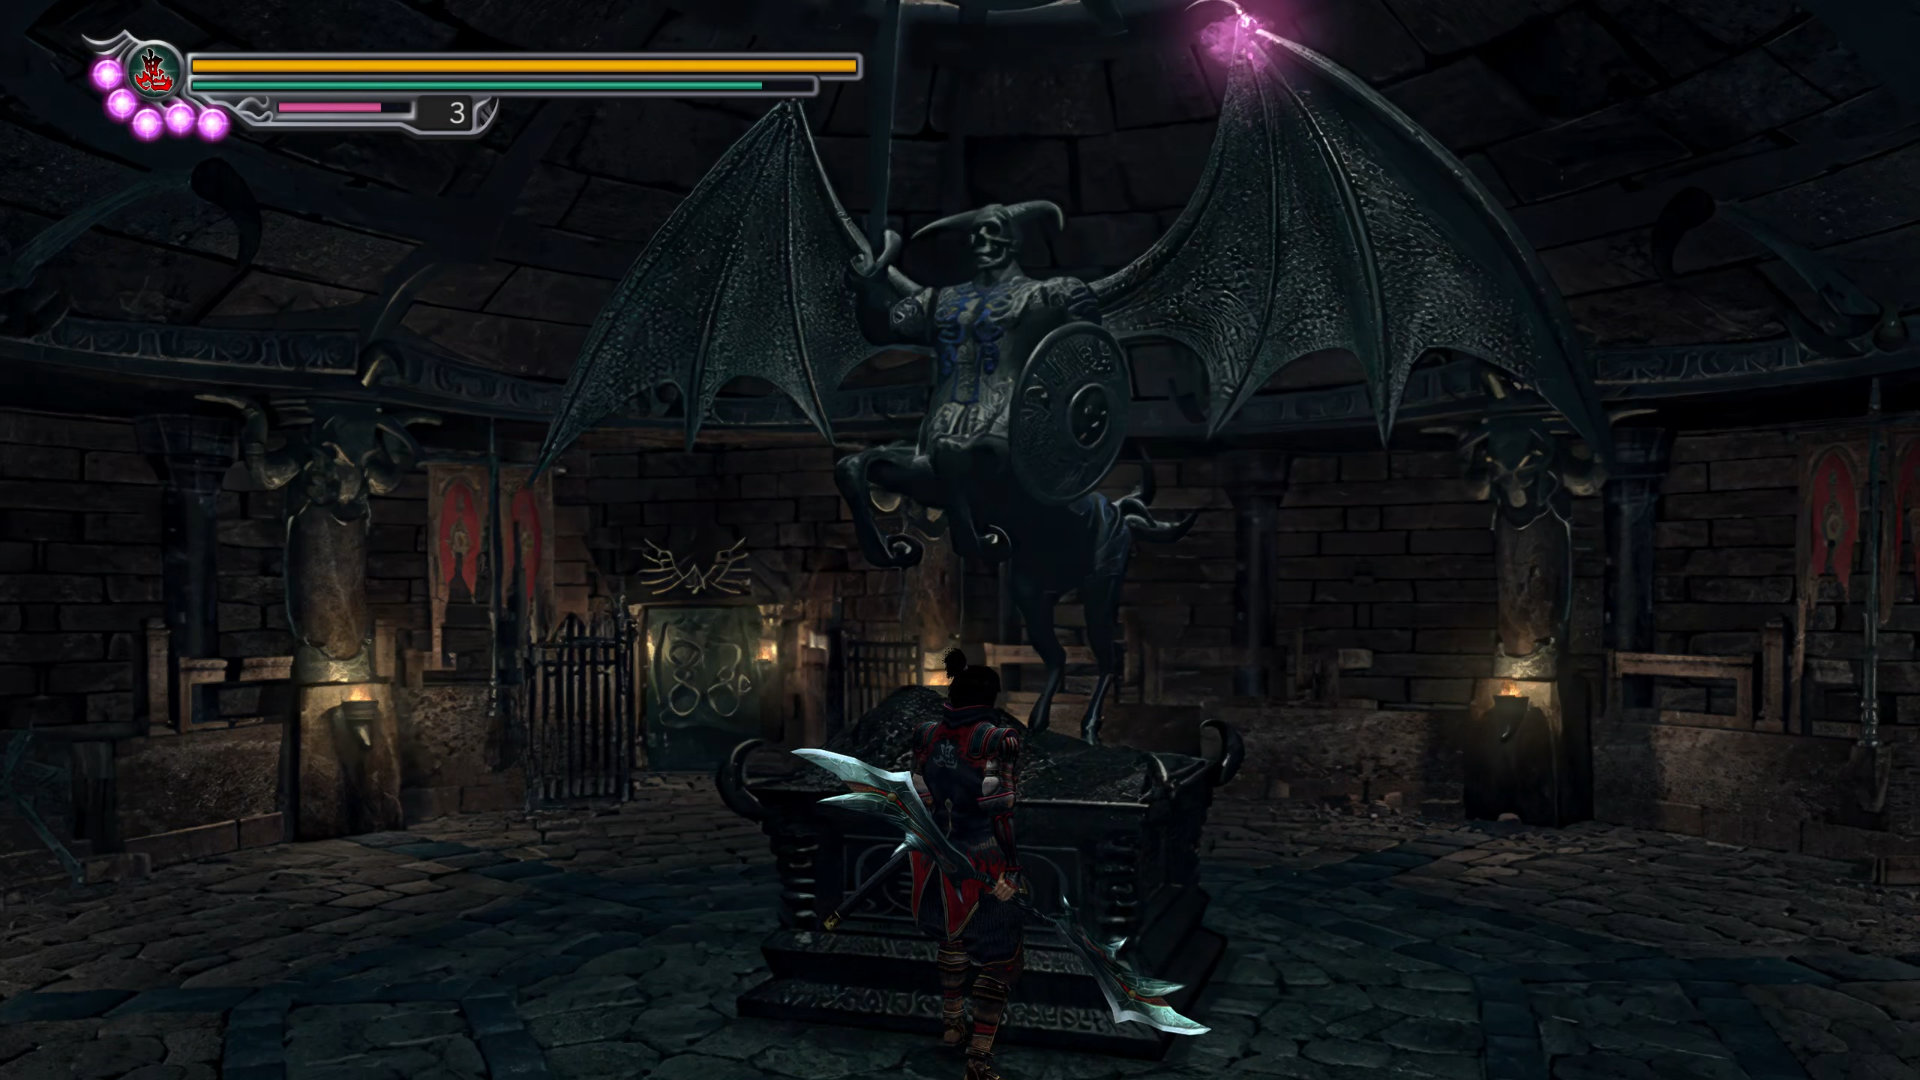
Once you clean up the room, move forward to the next area. If you look at the map, you'll find yourself in maze-like passages:
Hidden Chest #11: Normal Bullet x10 - From the door, turn right, left, left.
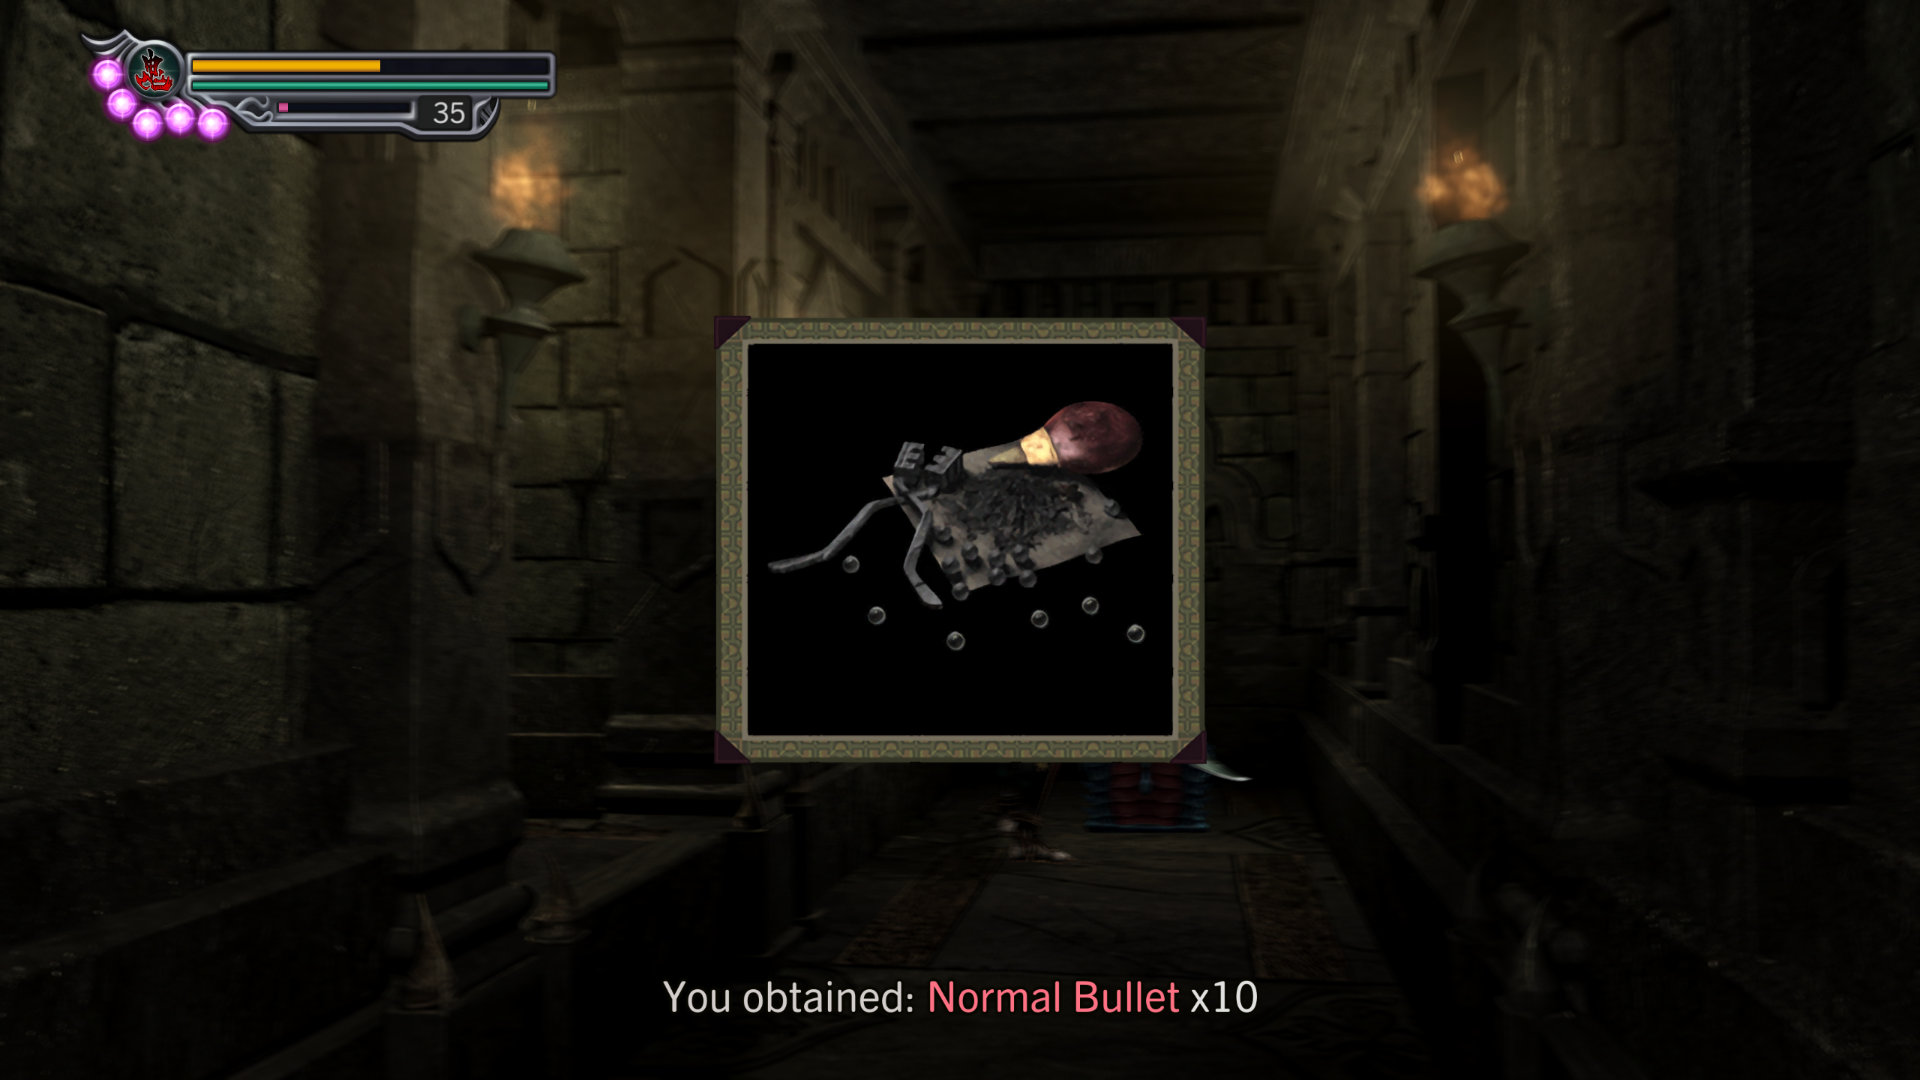
- Item: Magic Jewel - (Solution: Bottom Right, Top Right, Left Top, Bottom Left) From the door, turn right, left, left. Same path as the hidden chest.
- Item: Herb - Backtrack to the door, then turn left, left
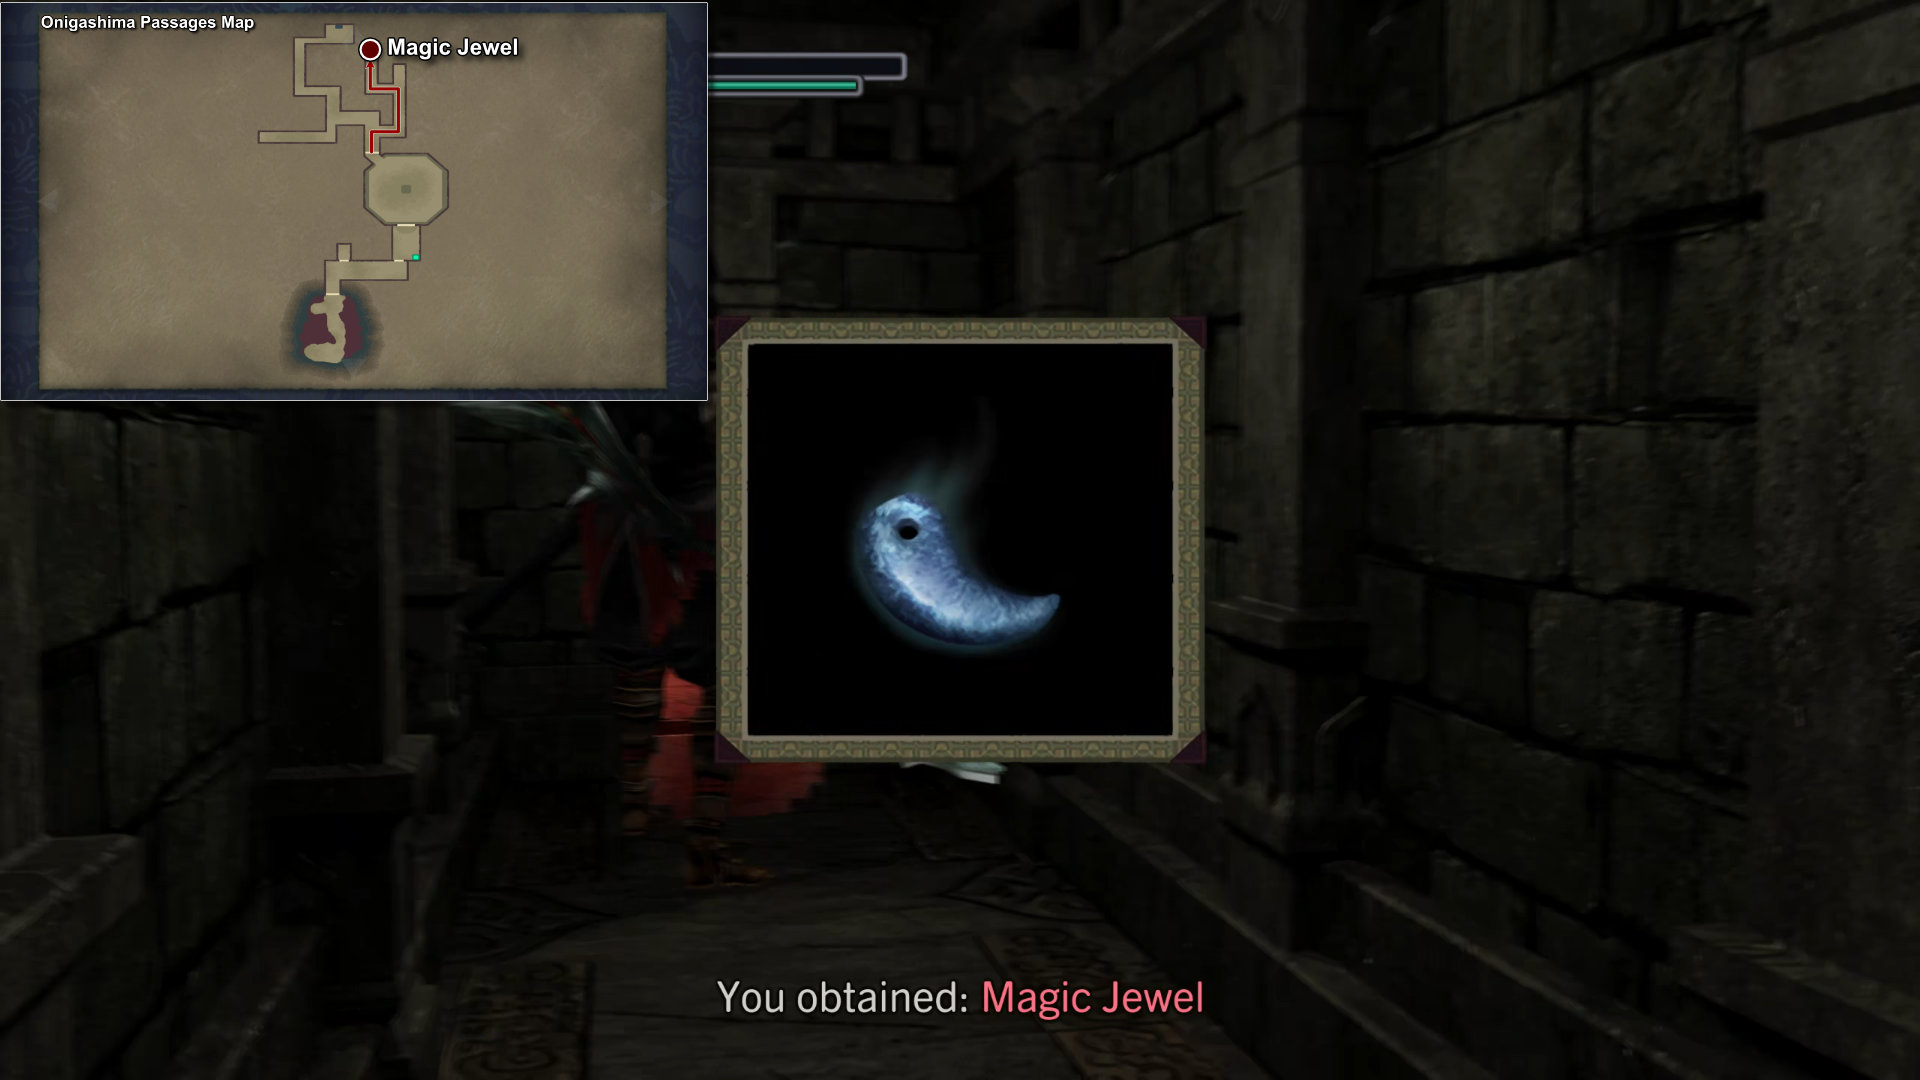
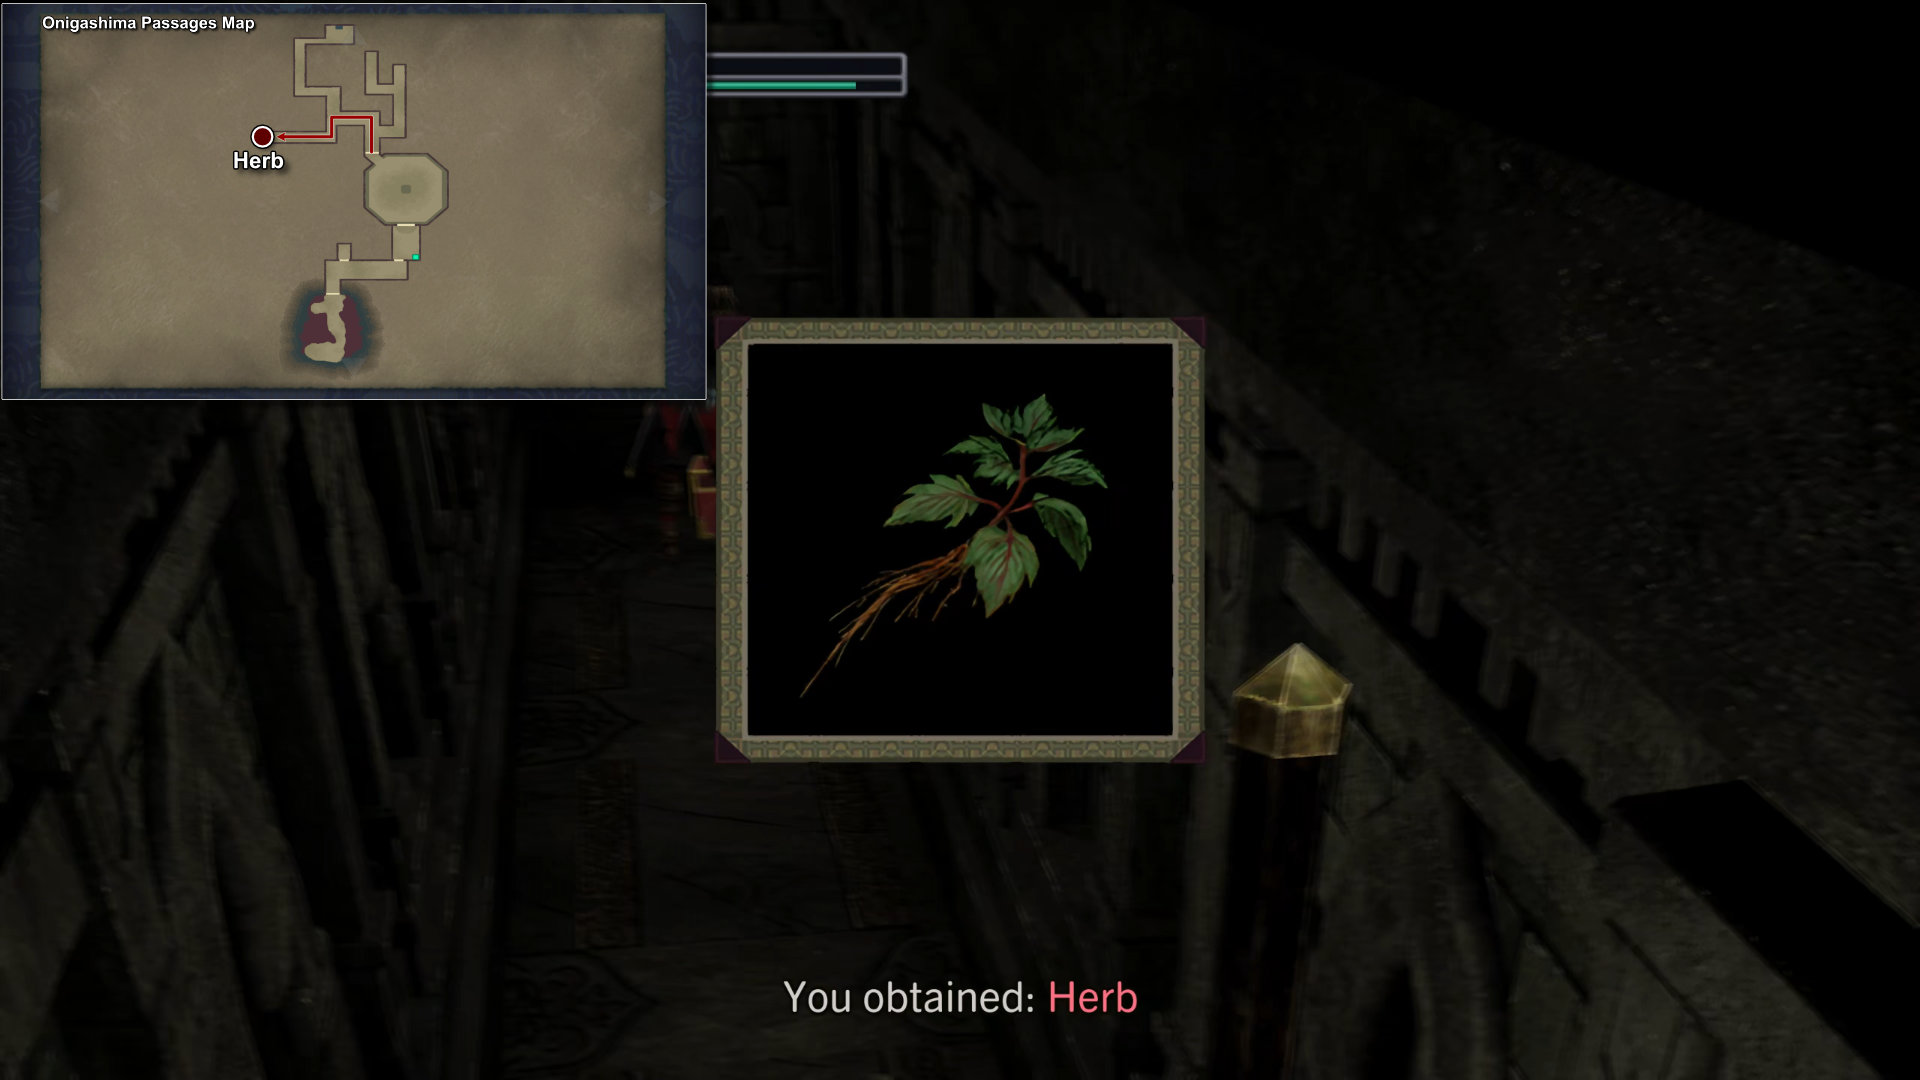
Turn around, left, left, right, right to the next area. Here, you'll notice an elevator and a ceiling fan. Just like before, use your wind blades on the fan to power up the elevator, then step on it to go up.
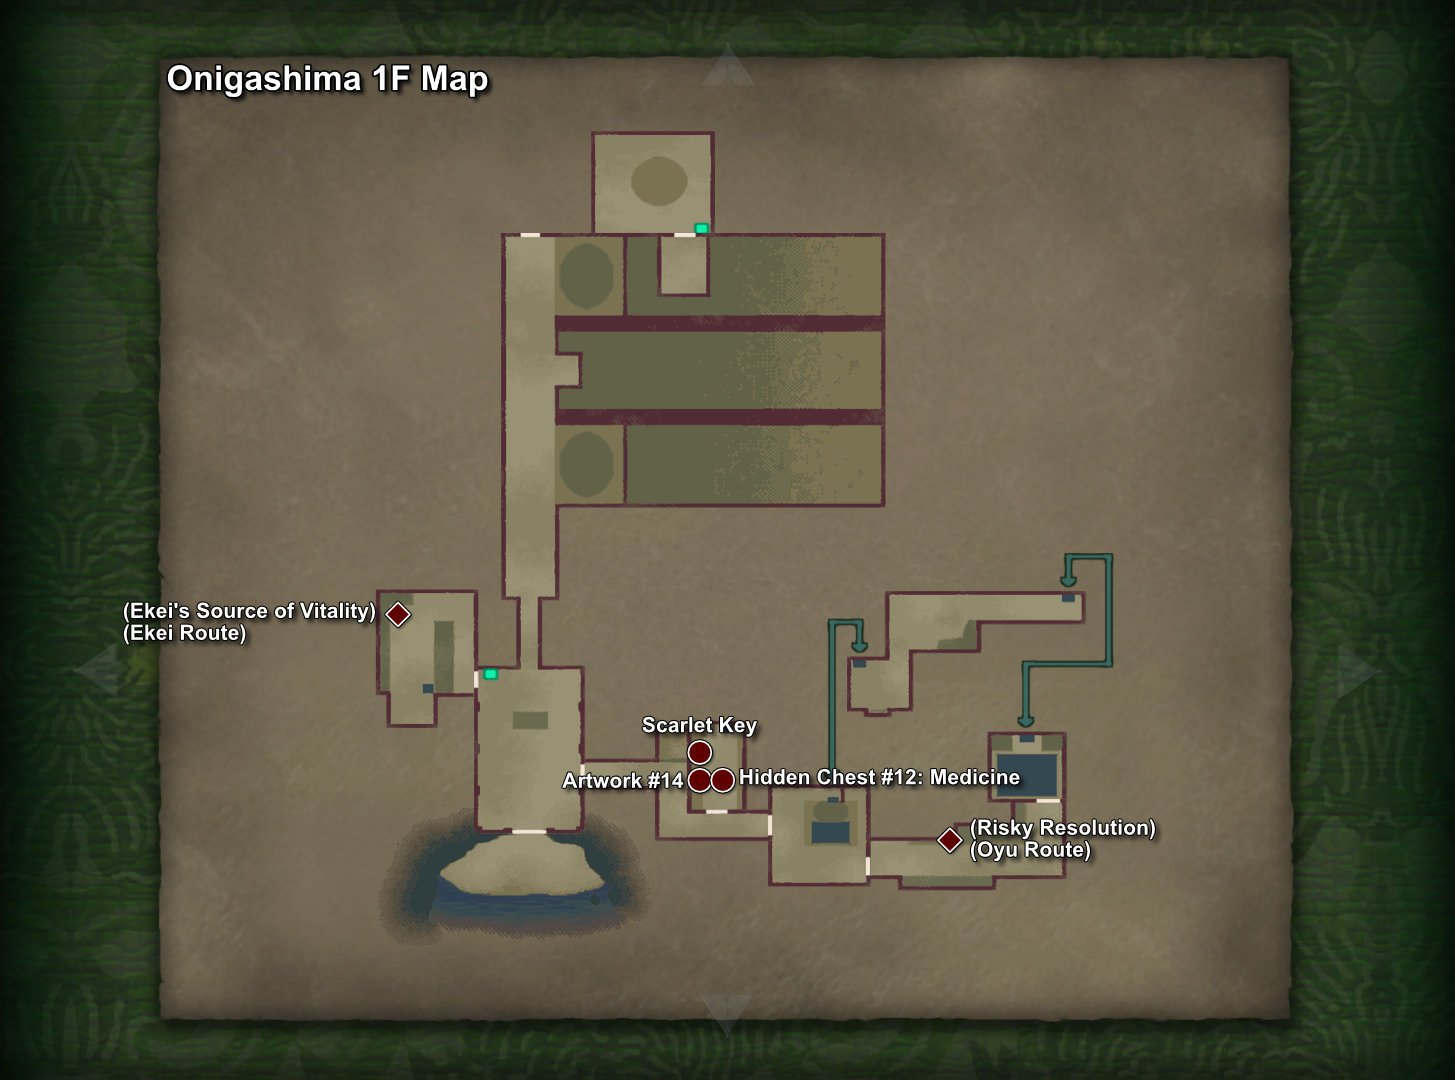
This is one small messy room with 2 items:
- Key Item: Scarlet Key - on the ground
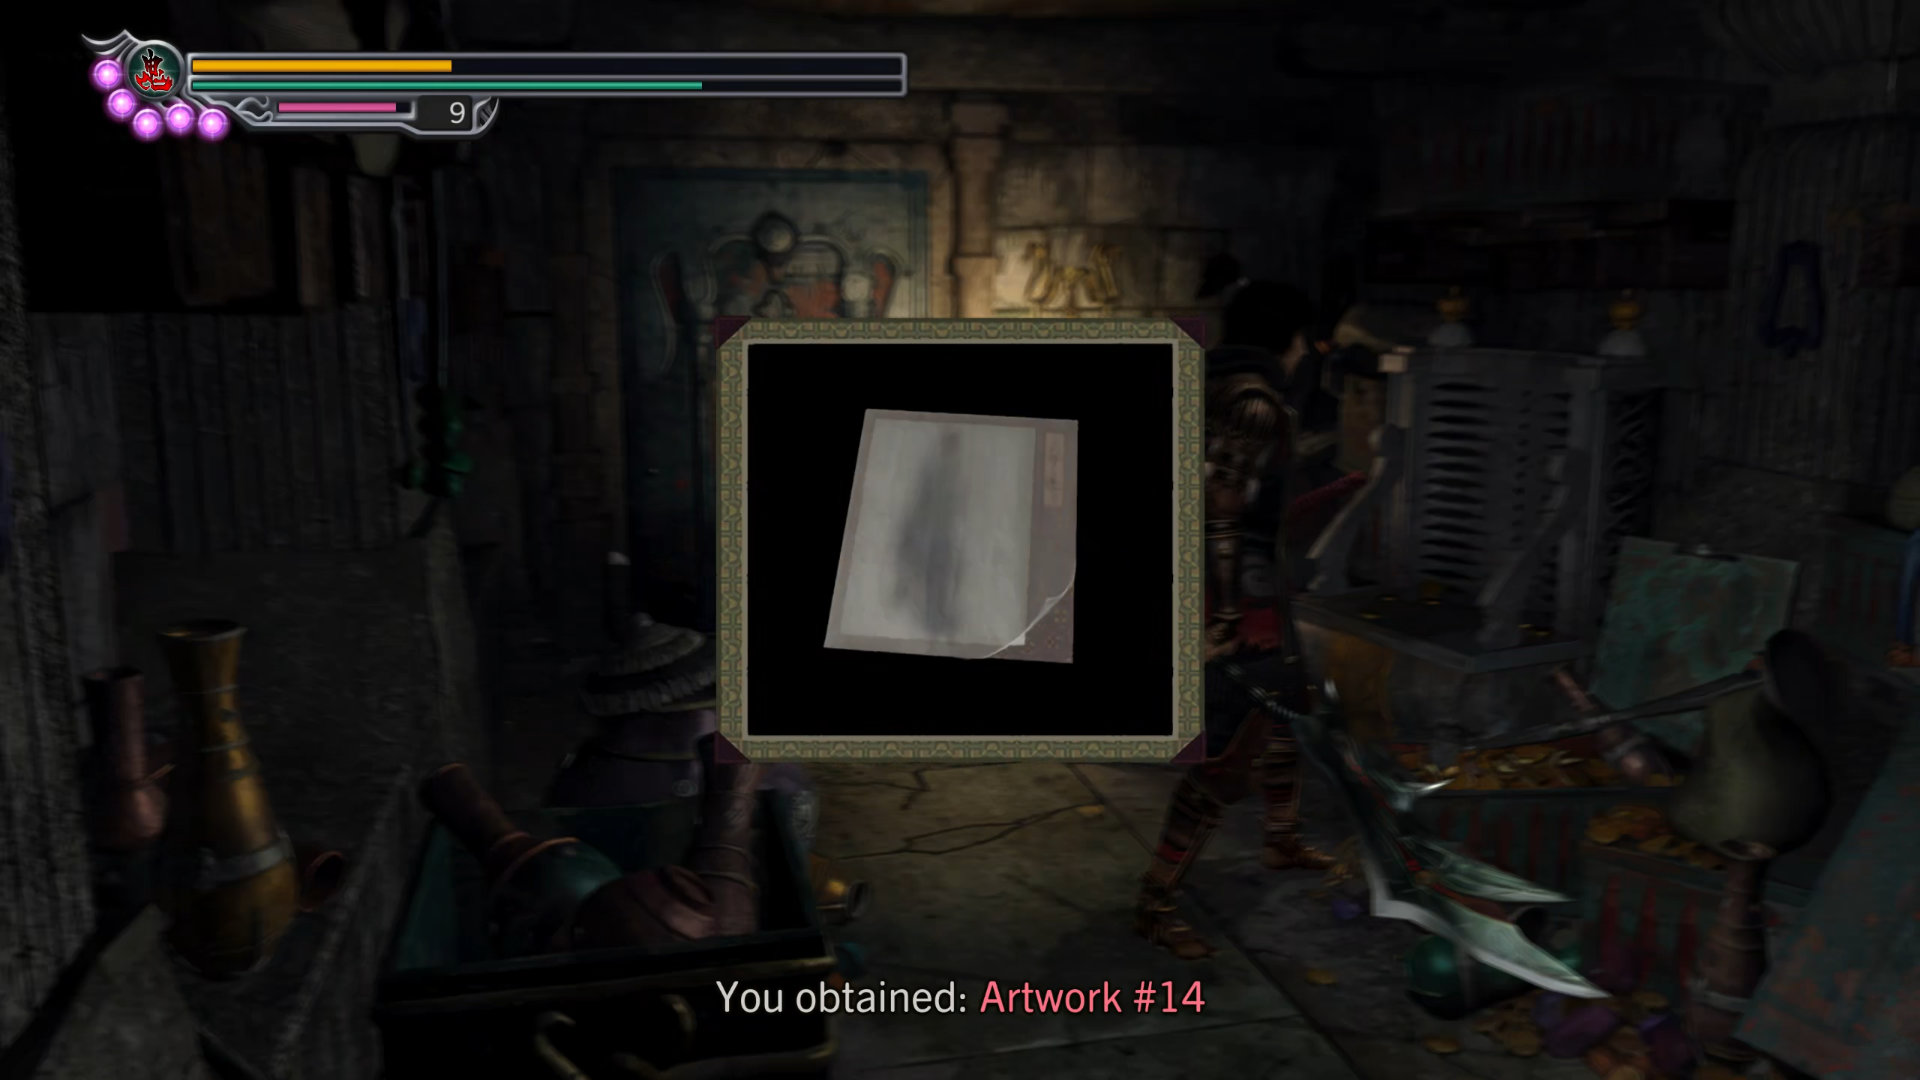
- File: Artwork #14 - on the table
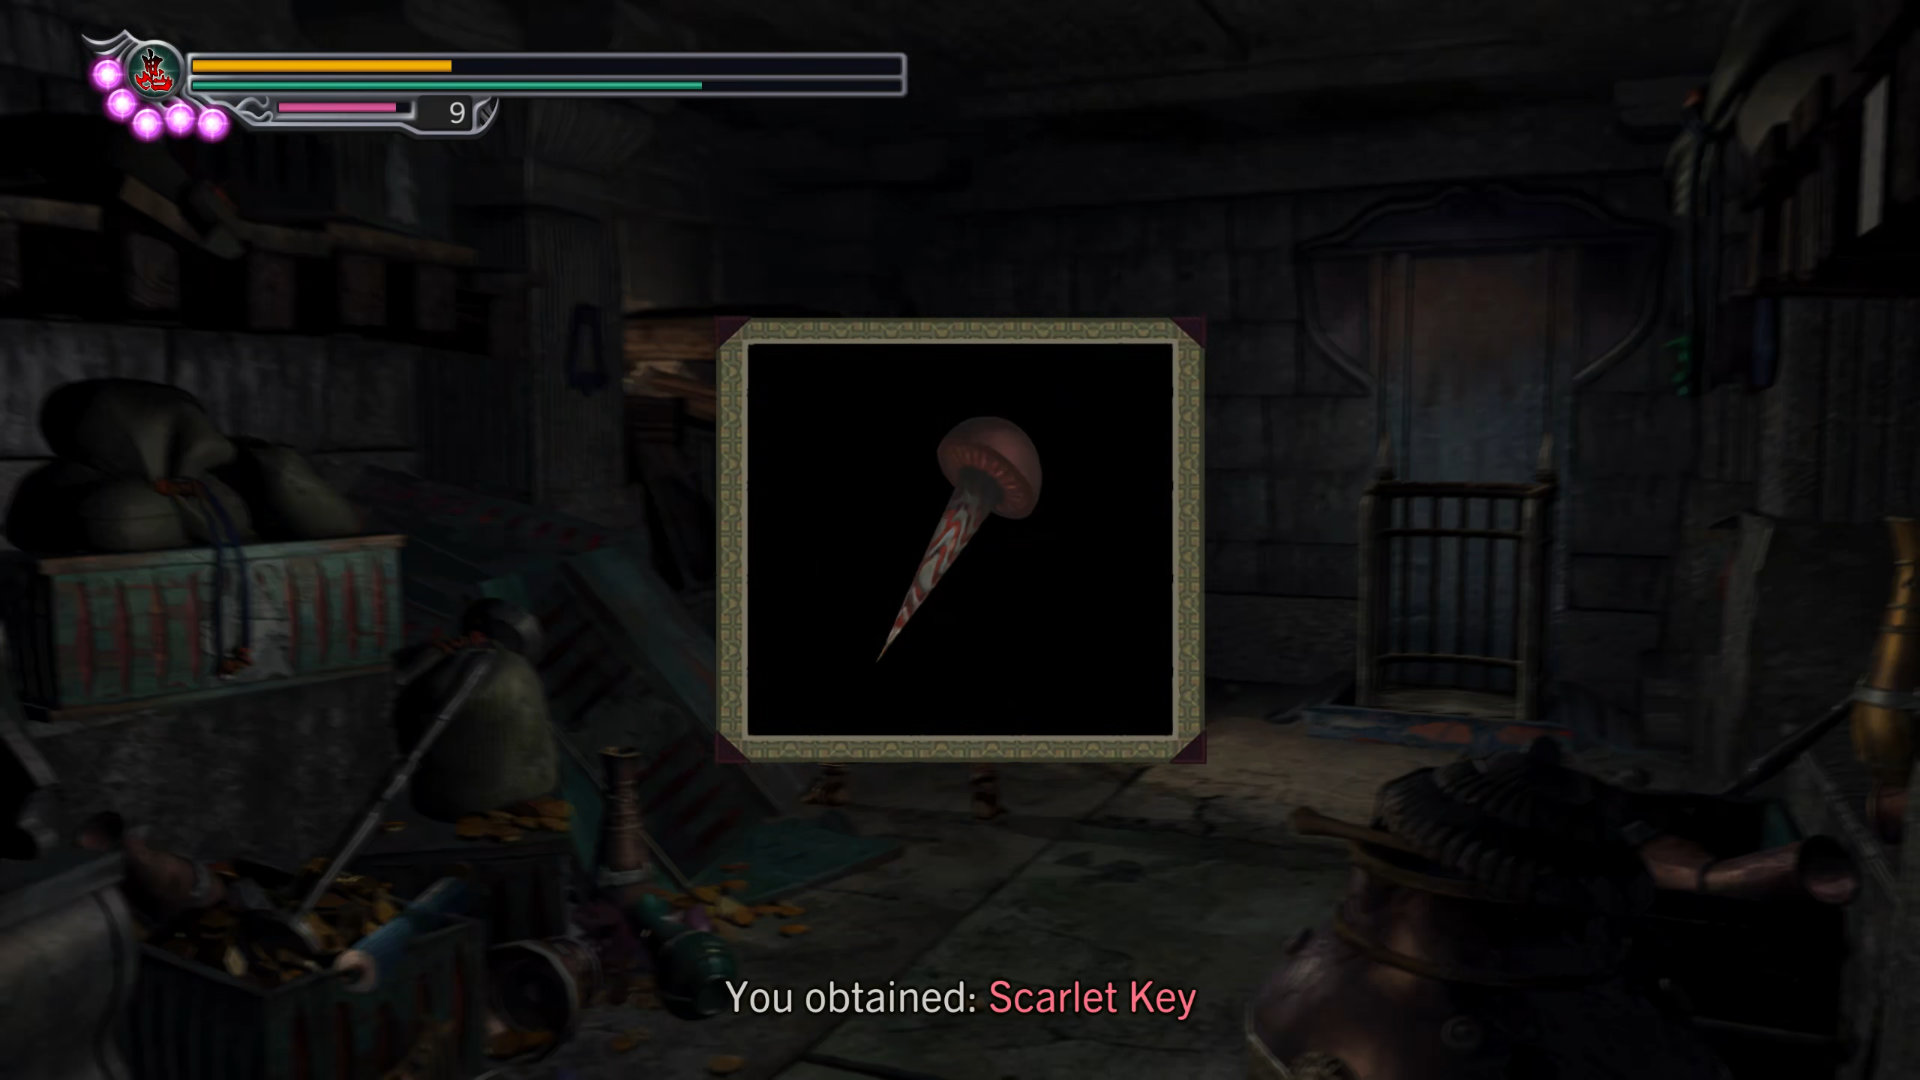
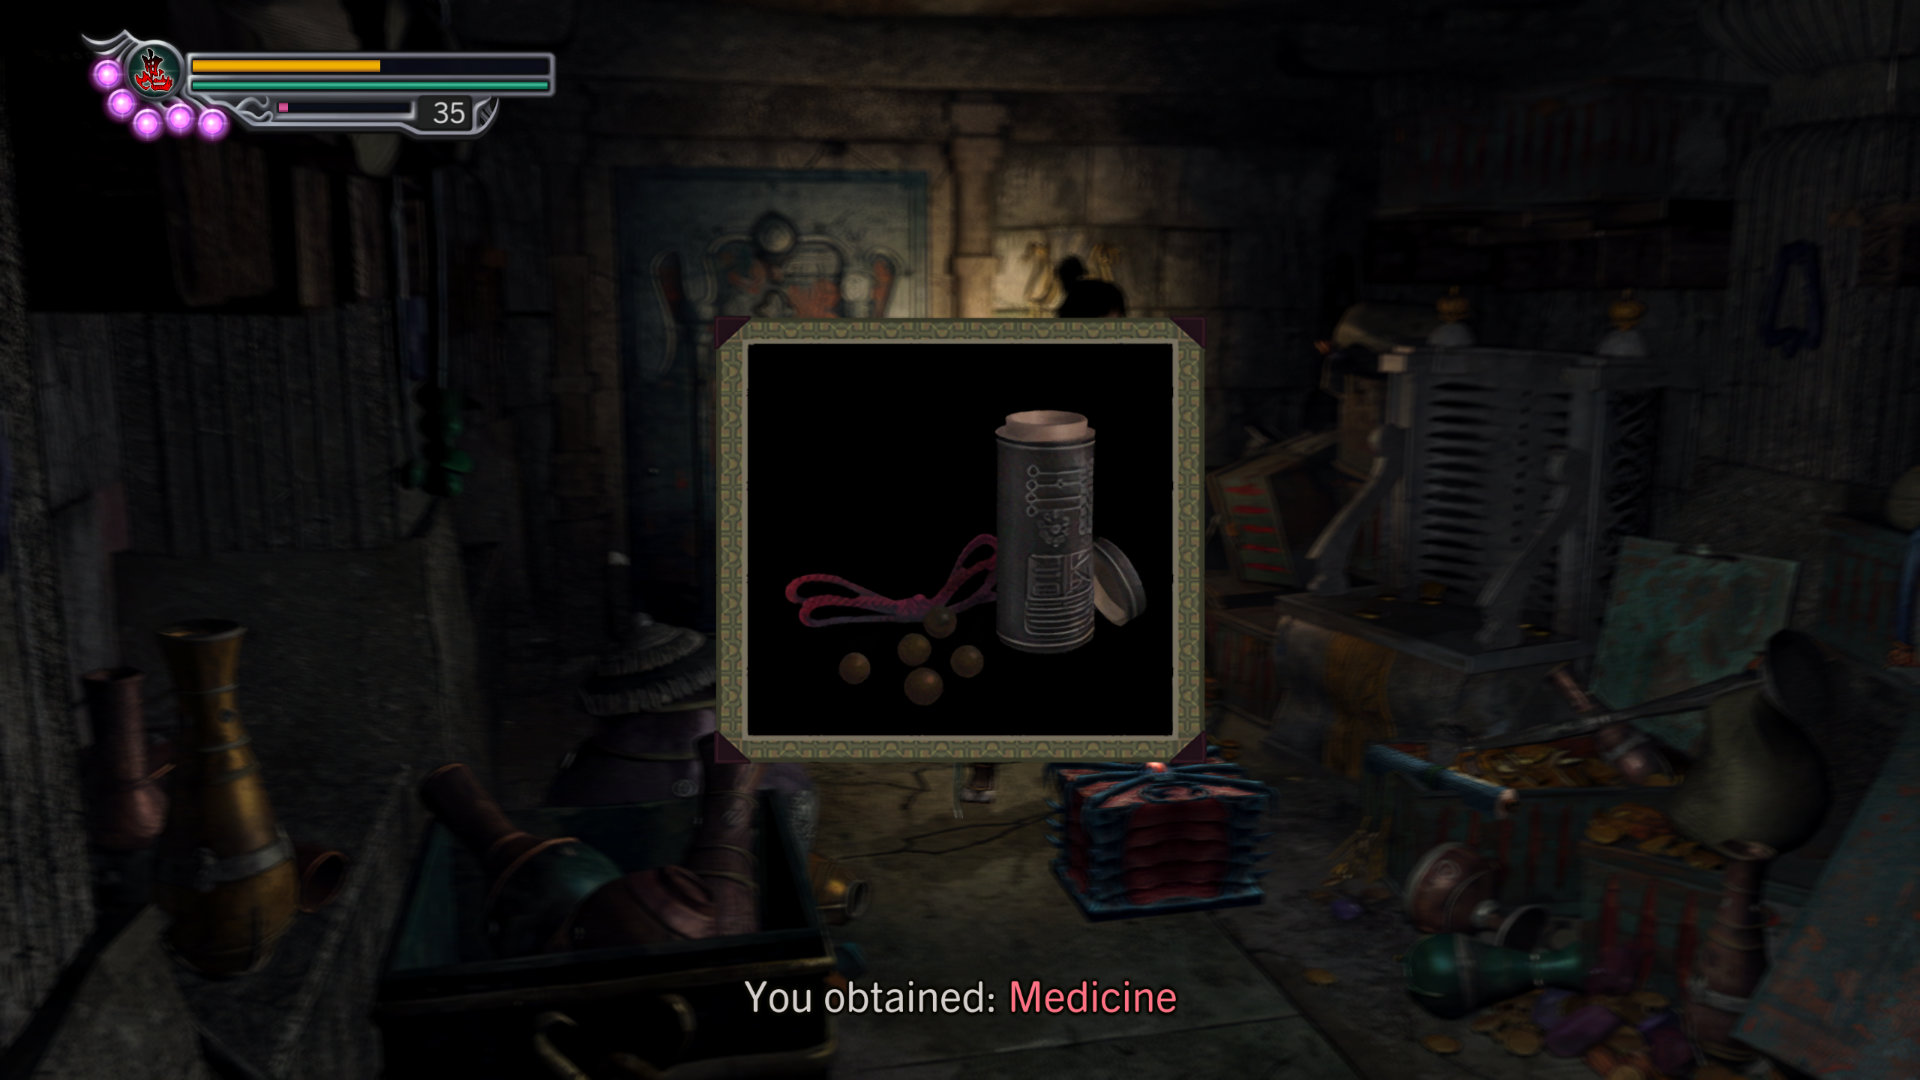
Hidden Chest #12: Item: Medicine - Inside this messy room.
Unlatch the door and exit the room.
Route: Oyu
Once you are in the hallway, turn left to the acid pond room you'll hear Oyu screaming. There are a bunch of demons in this room too, so clean them up and continue. Beyond the acid room, you'll find Oyu locked up on the wall.
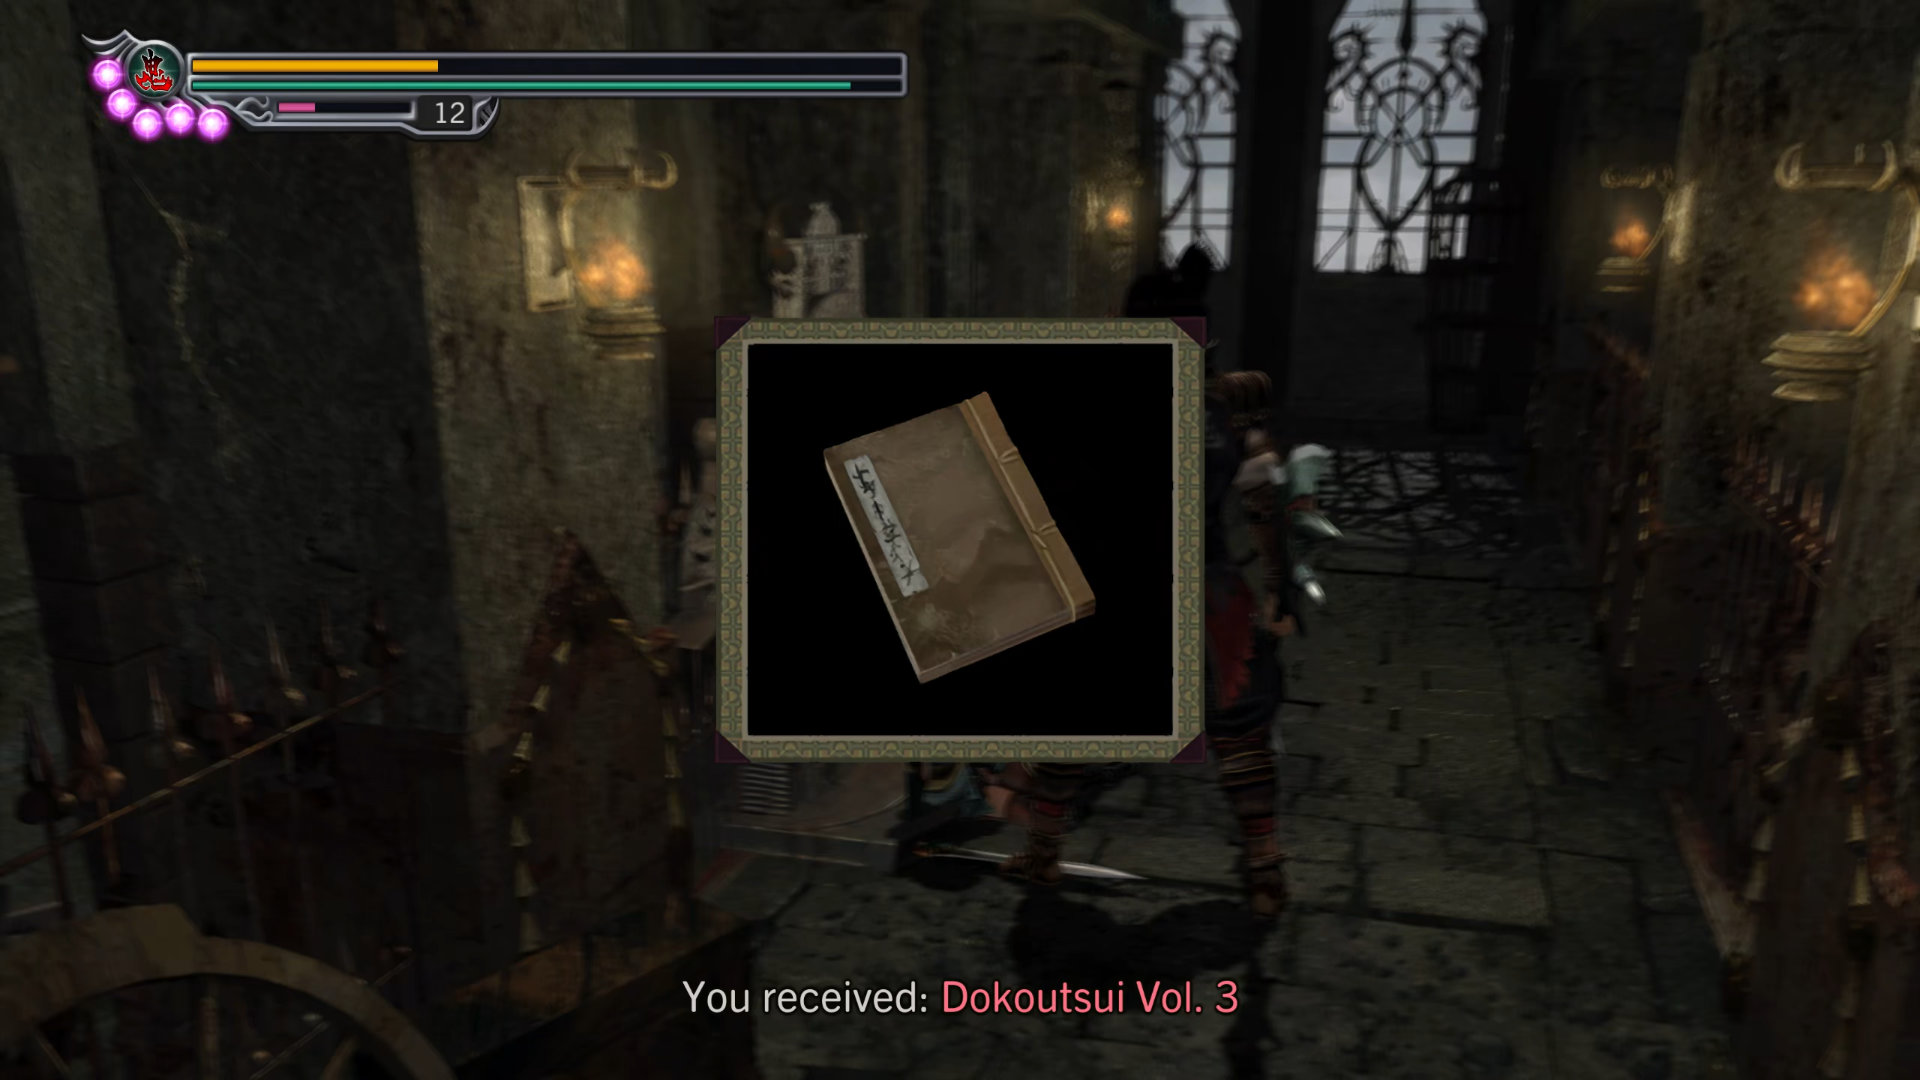
You can free her by examining the switch (glowing red handle next to her); however, it'll drain your HP. So, heal up before pulling the switch. Note: you have to pull 3 times and you can heal up between each pull if your health is low. Once you release her, she'll give you a tech book.
- Technique Manual: Dokoutsui Vol. 3
Scenario 8-2: A Risky Resolution
Go west to the main hall (where you picked up the earth hammer), save your game, then enter the west door next to the Magic Mirror.
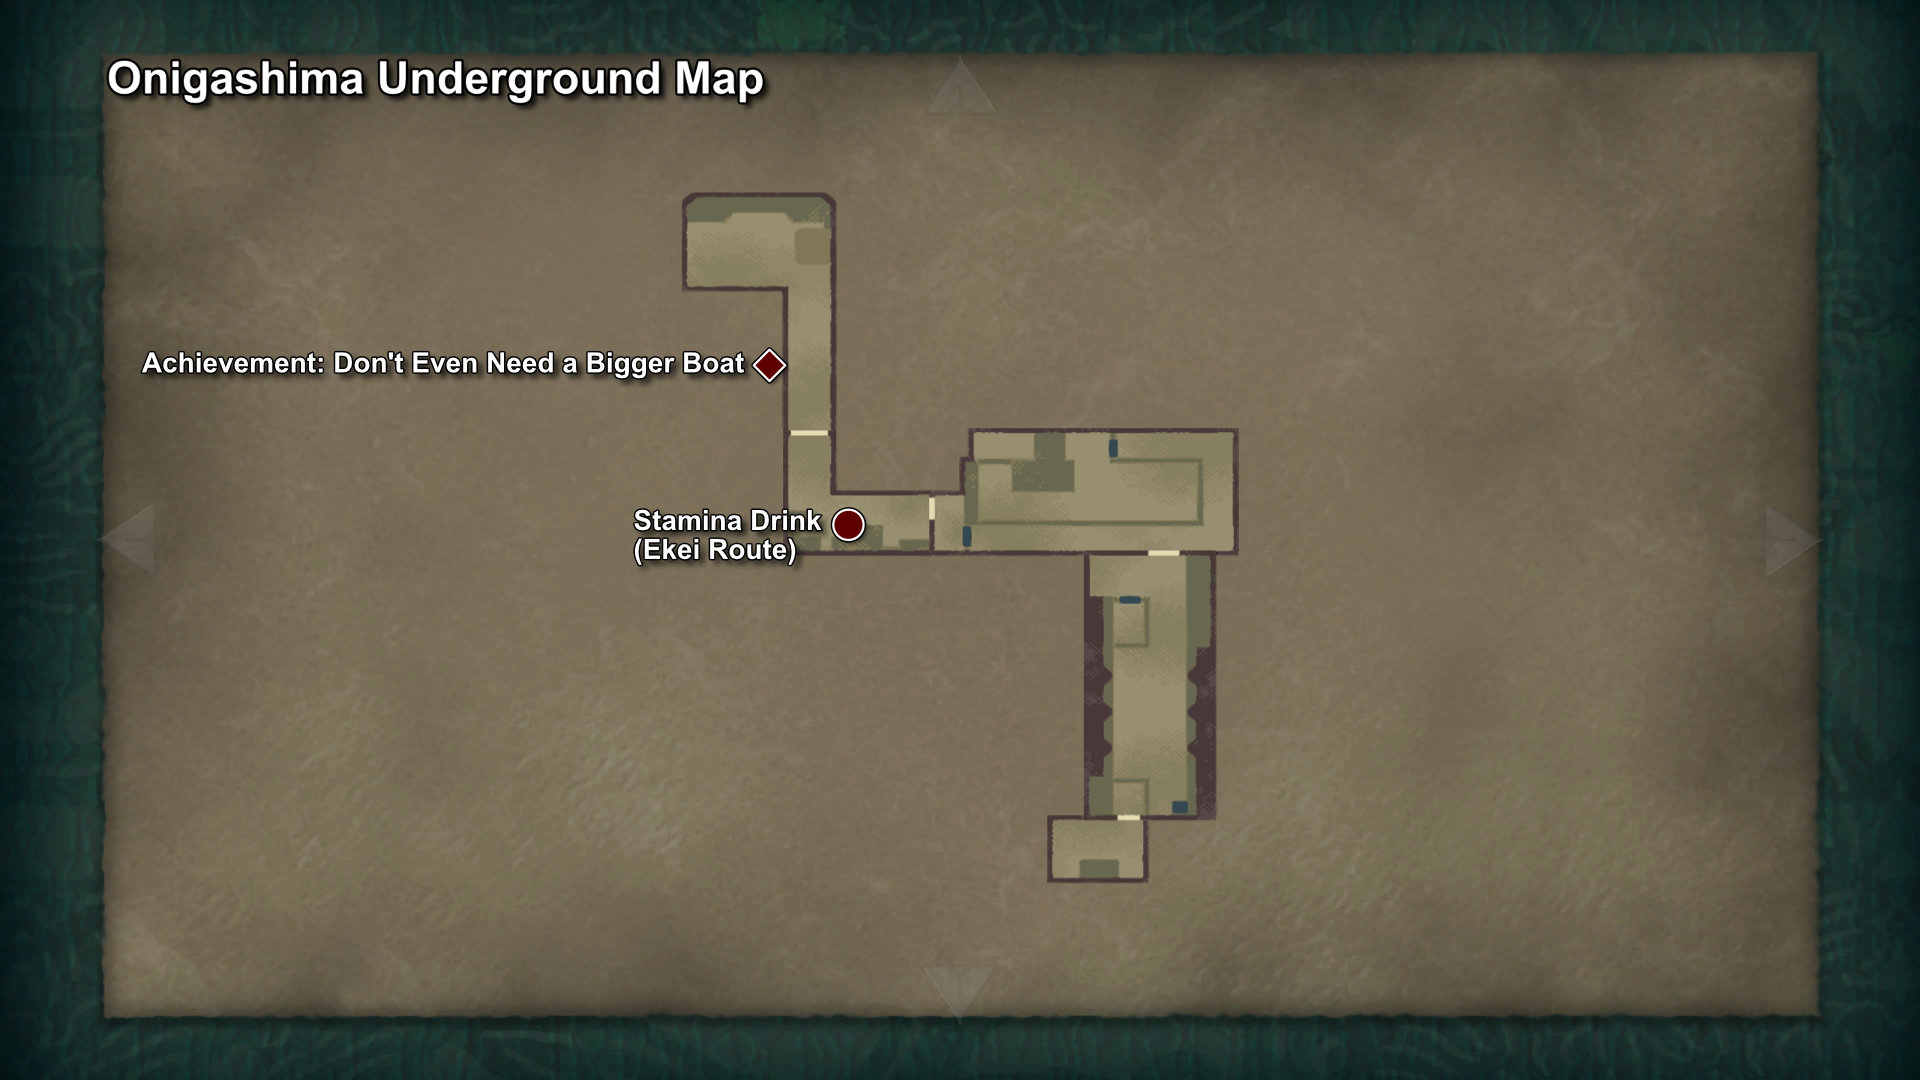
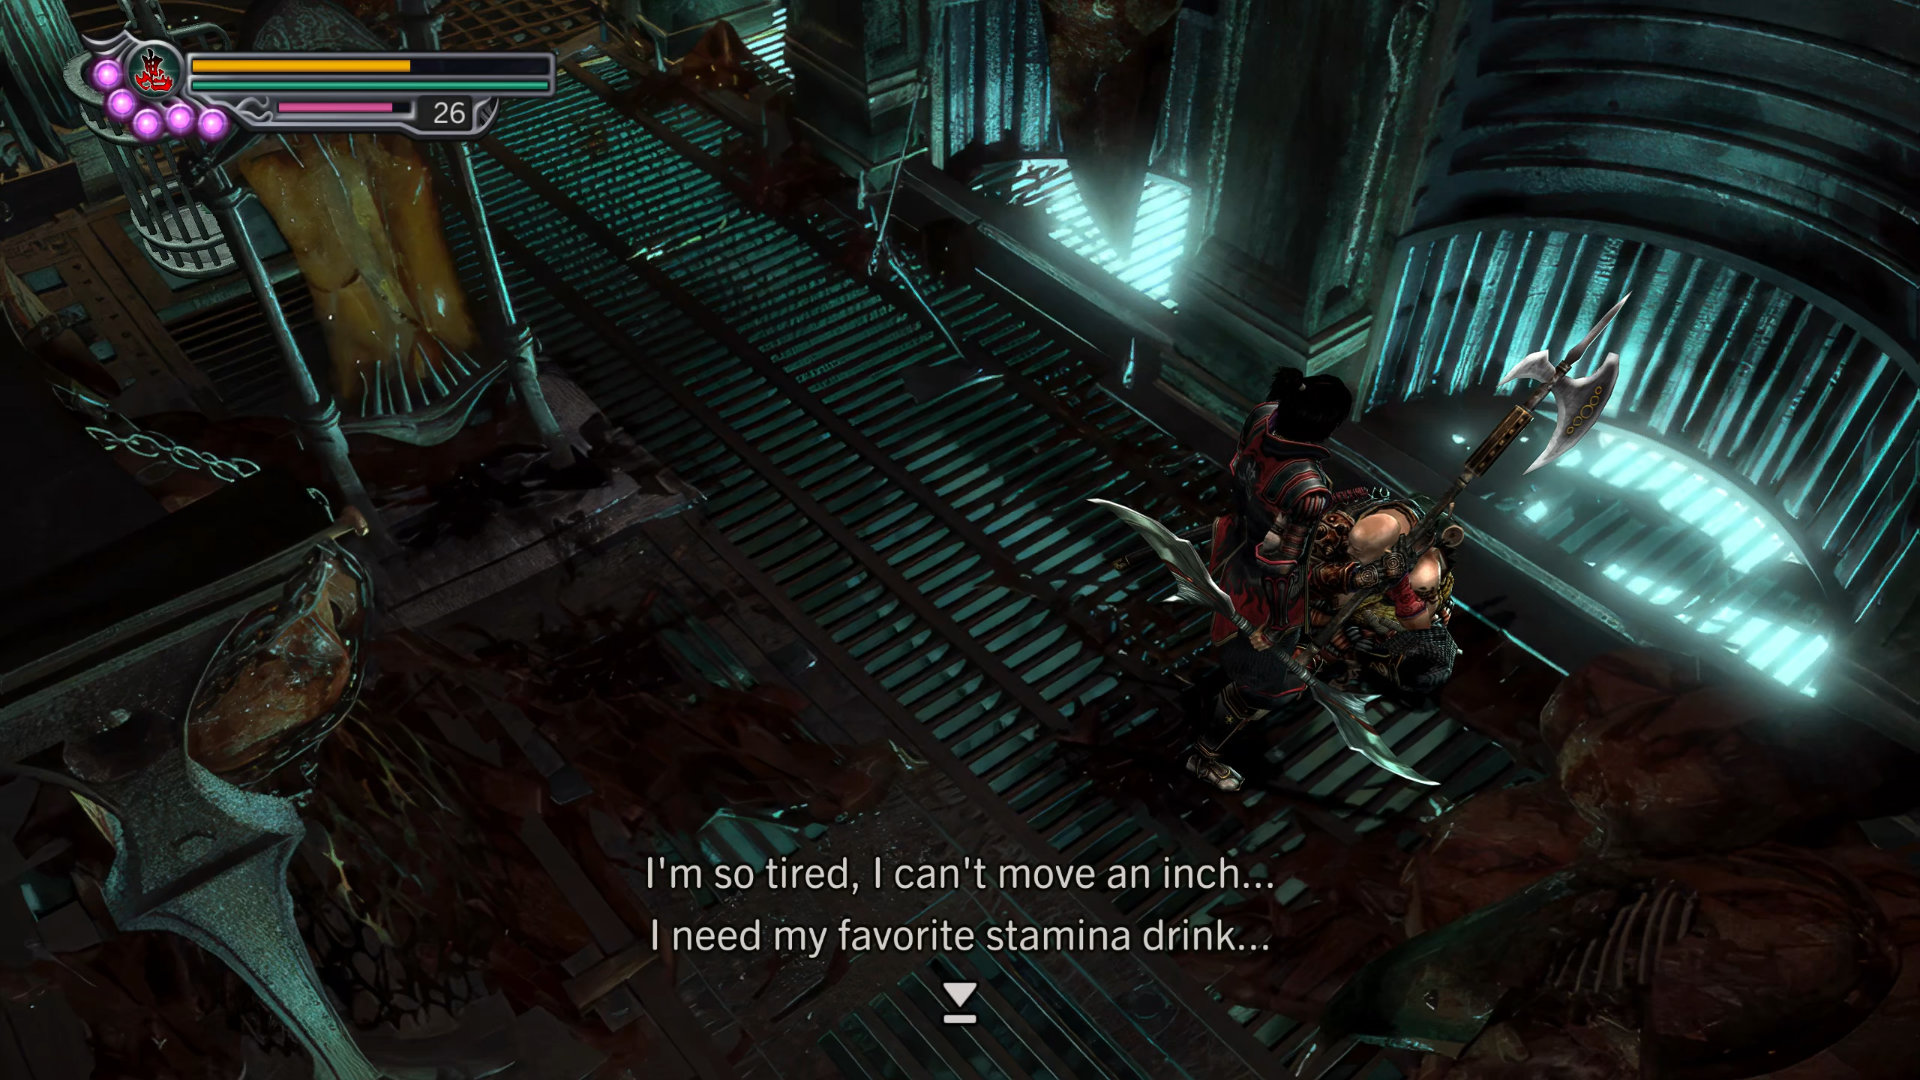
You'll see Ekei sitting on the floor, so talk to him to trigger the event. Your goal is to find "Stamina Drink" for him. Take the elevator to the underground floor.
Be careful as there are many archers along the way. Now, go straight to the factory room, then use the ladder to the other door. Inside, you'll see a shiny object on the ground near the number-puzzle machine.
- Gift Item: Stamina Drink
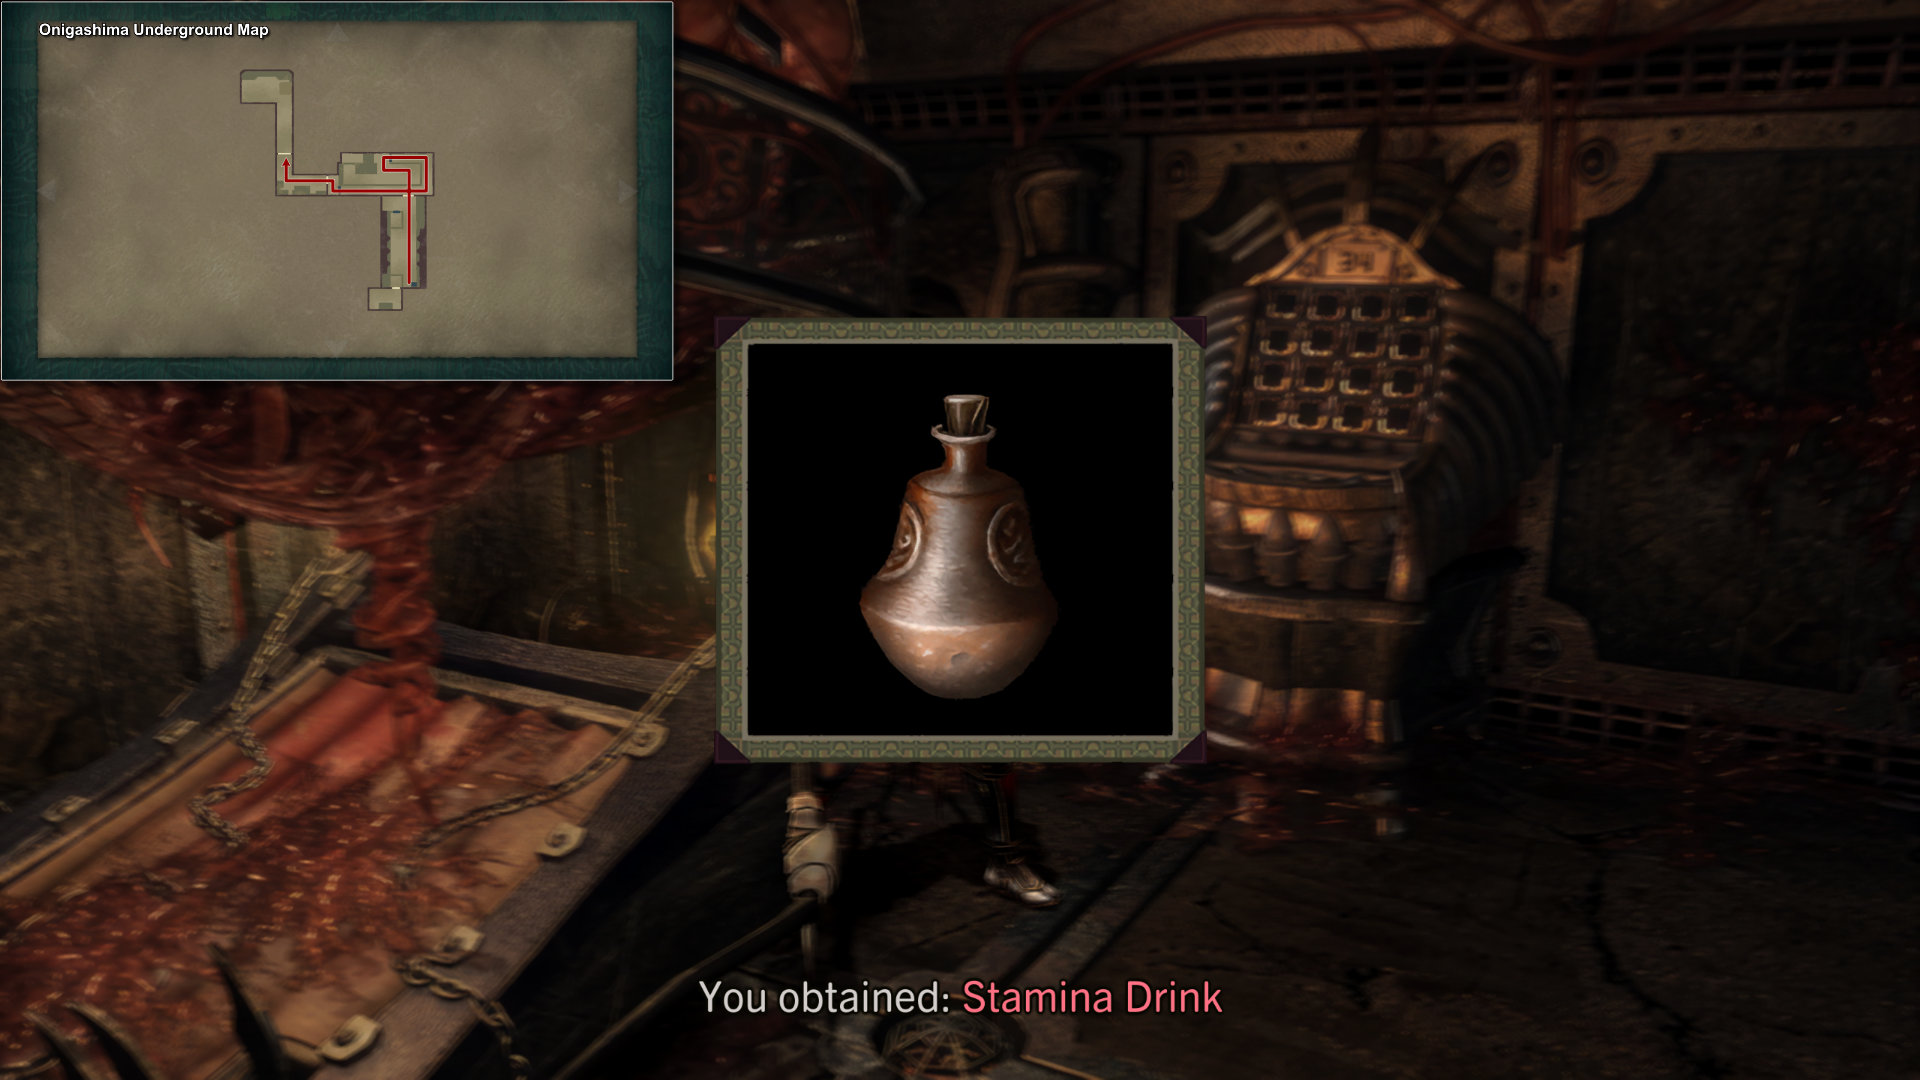
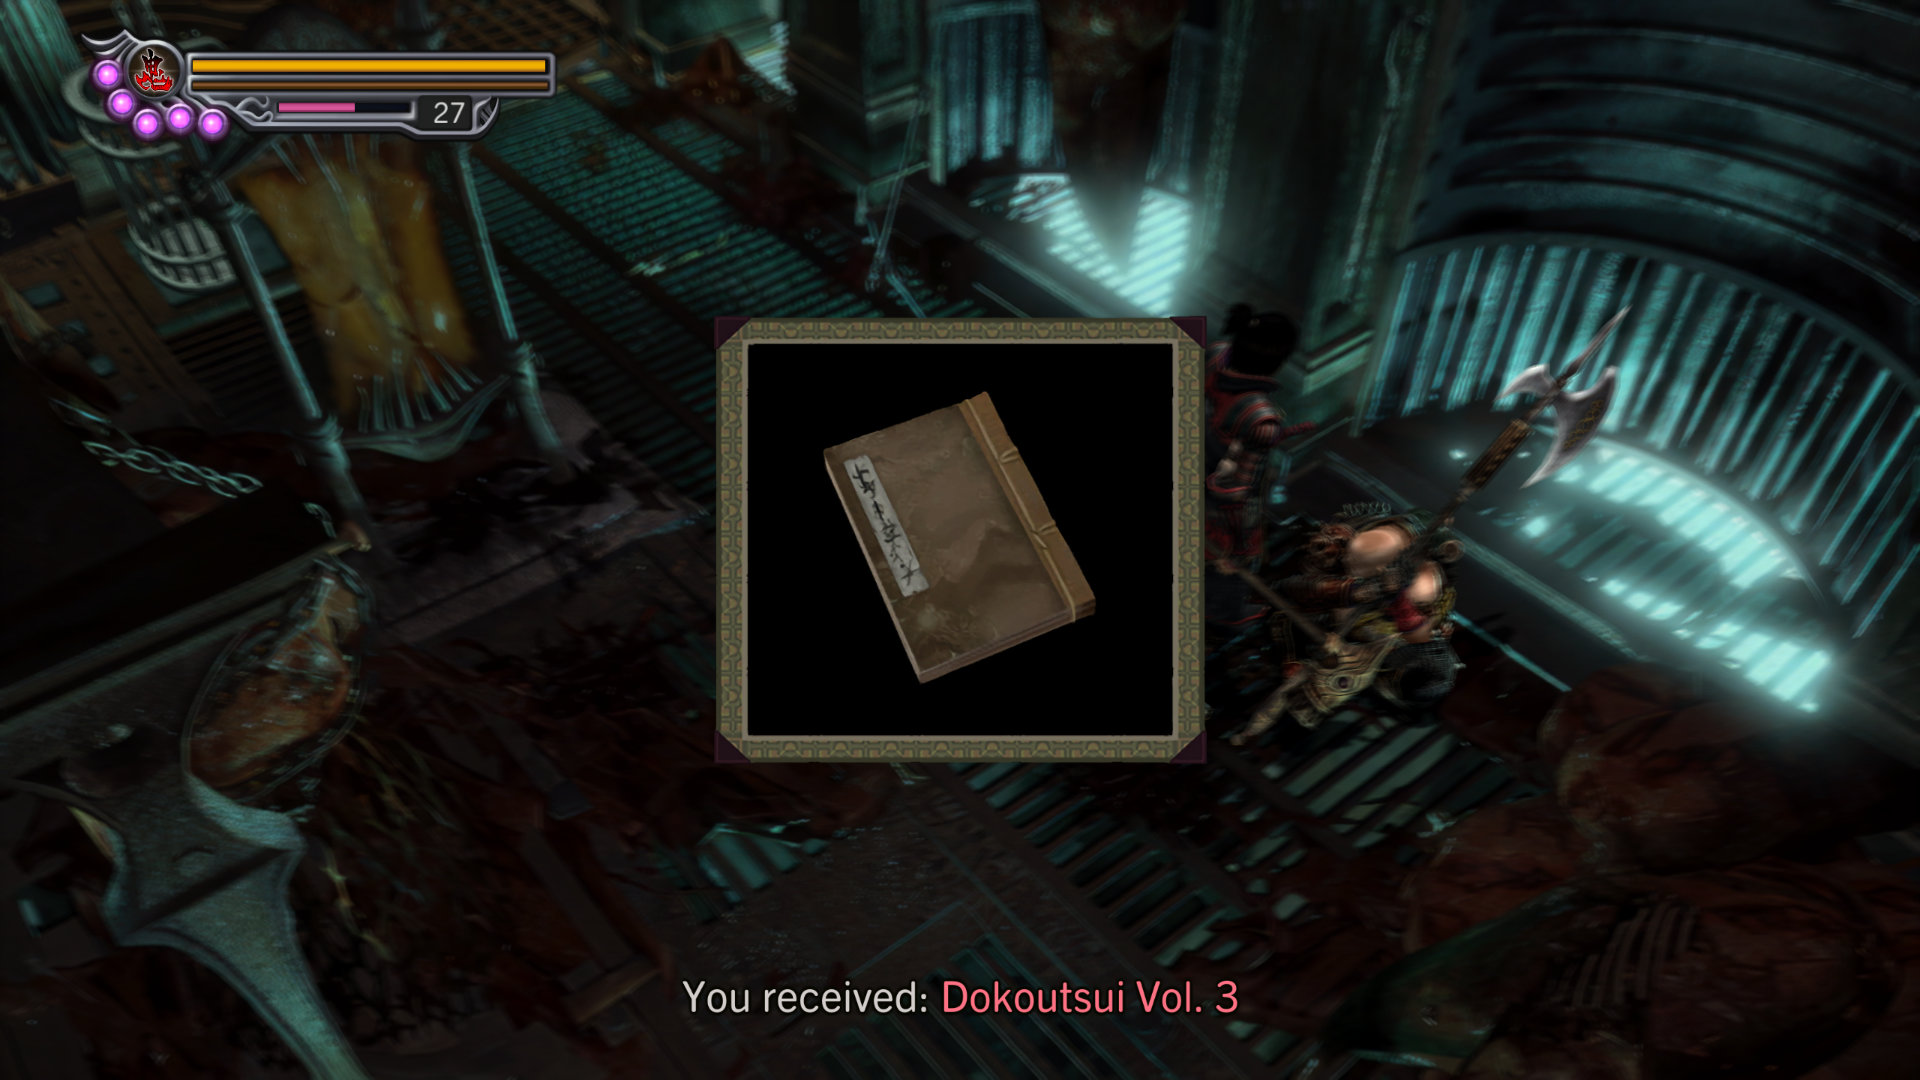
Take this drink back to Ekei and give him the Stamina Drink in exchange for a tech book.
- Techinque Manual: Dokoutsui Vol. 3
Circle around the room and take the elevator to the underground. Go straight to the next room. Just be careful because many archer demons spawn in this room, then take the ladder and continue to the next area. Here you'll see a Magic well and a double door with a barrier, place the "Scarlet Key" on the door to remove it.
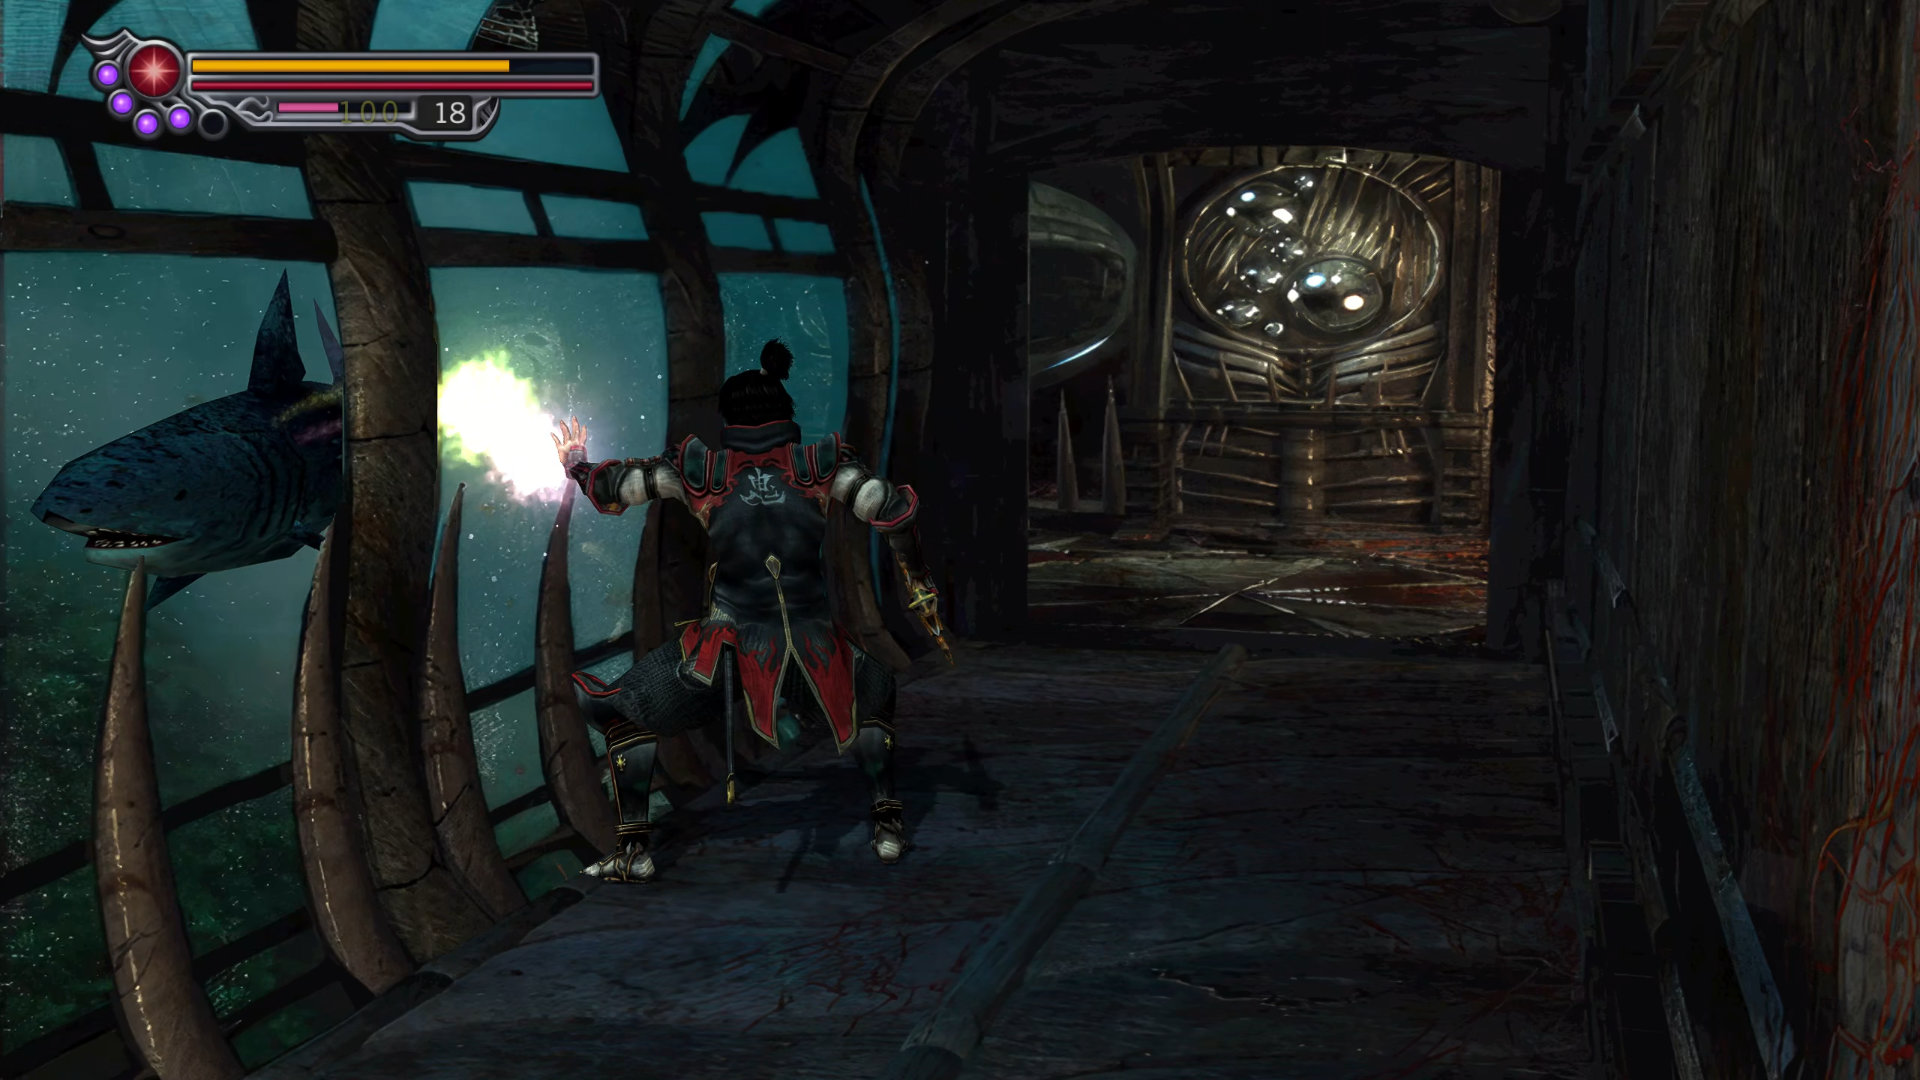
Achievement: Don't Even Need a Bigger Boat
This is an easy one. After you enter the door, you'll see a glass wall on your left, so wait until the shark shows up, then press "O" to absorb the souls from the shark.
Continue down the hallway.
Scenario 8-4: Tokichiro's Trap
Scenario 8-5: From Oyu to Oichi
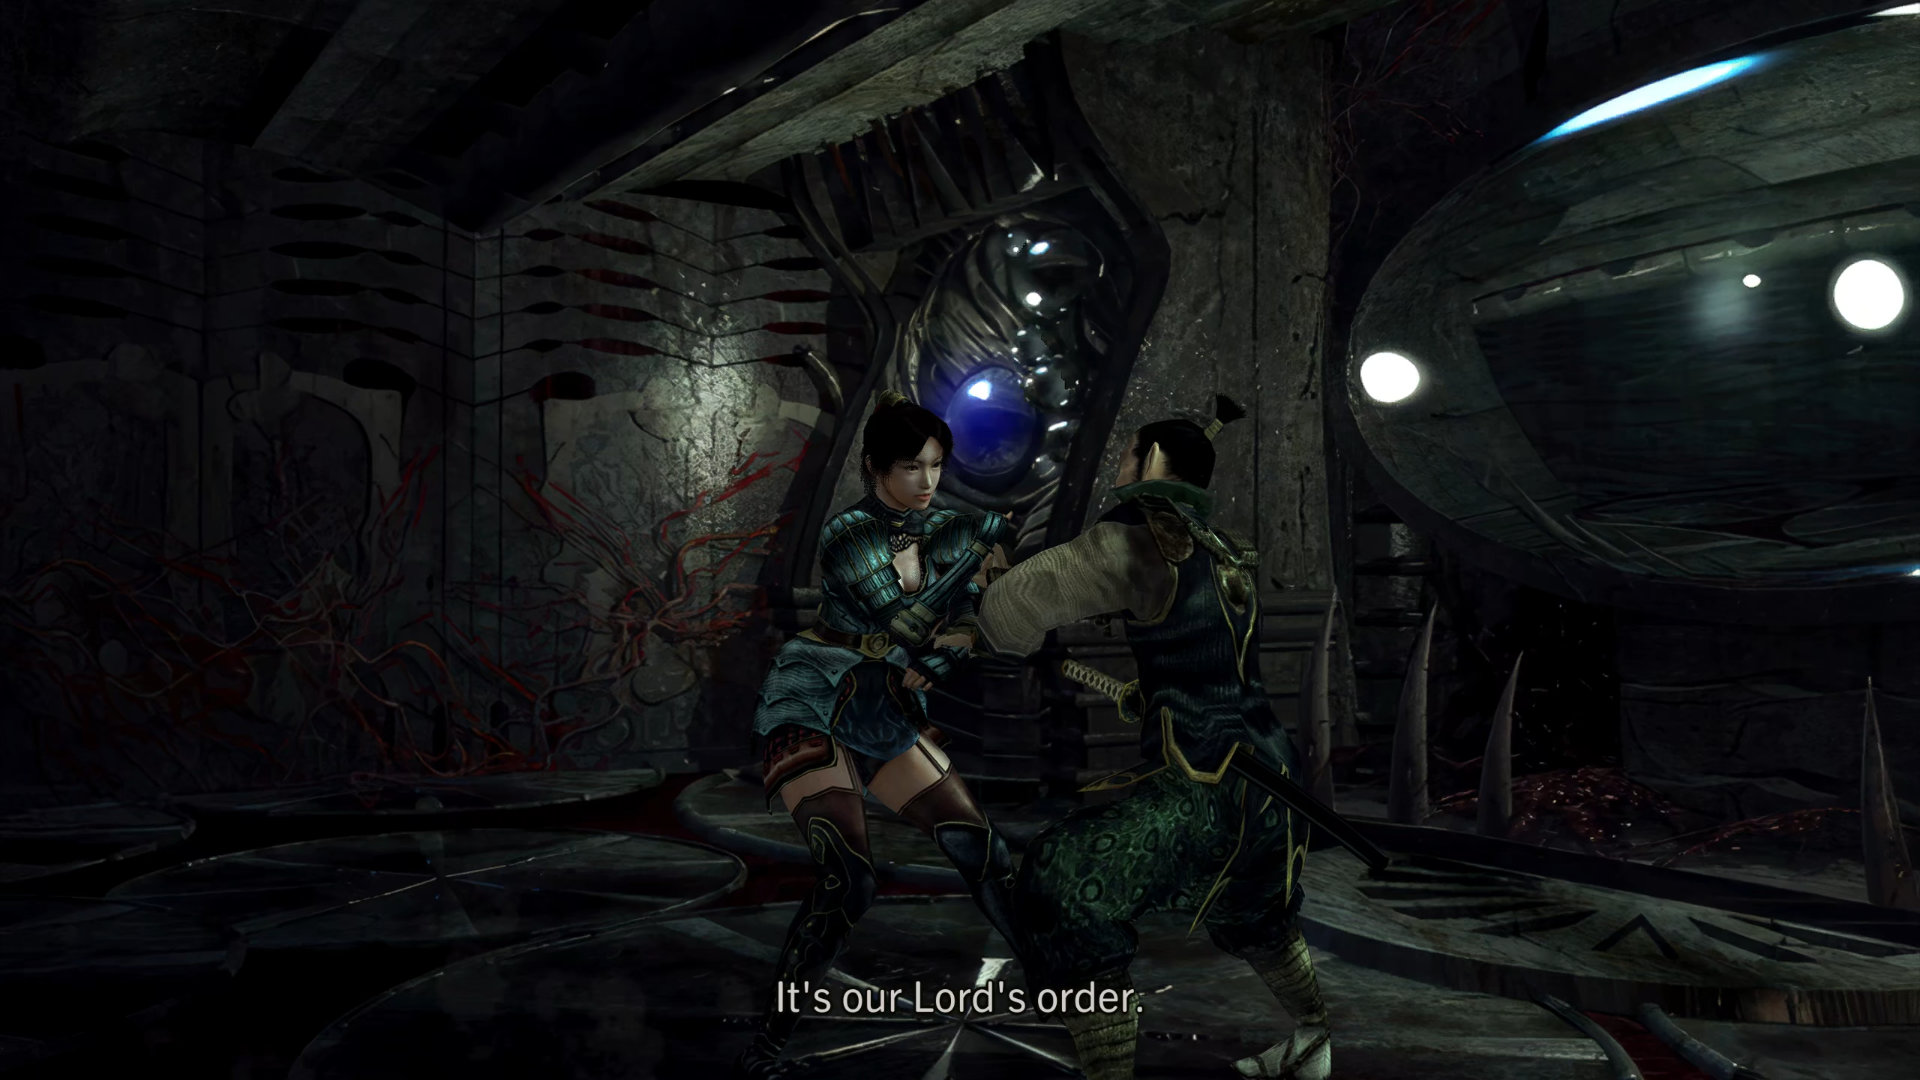
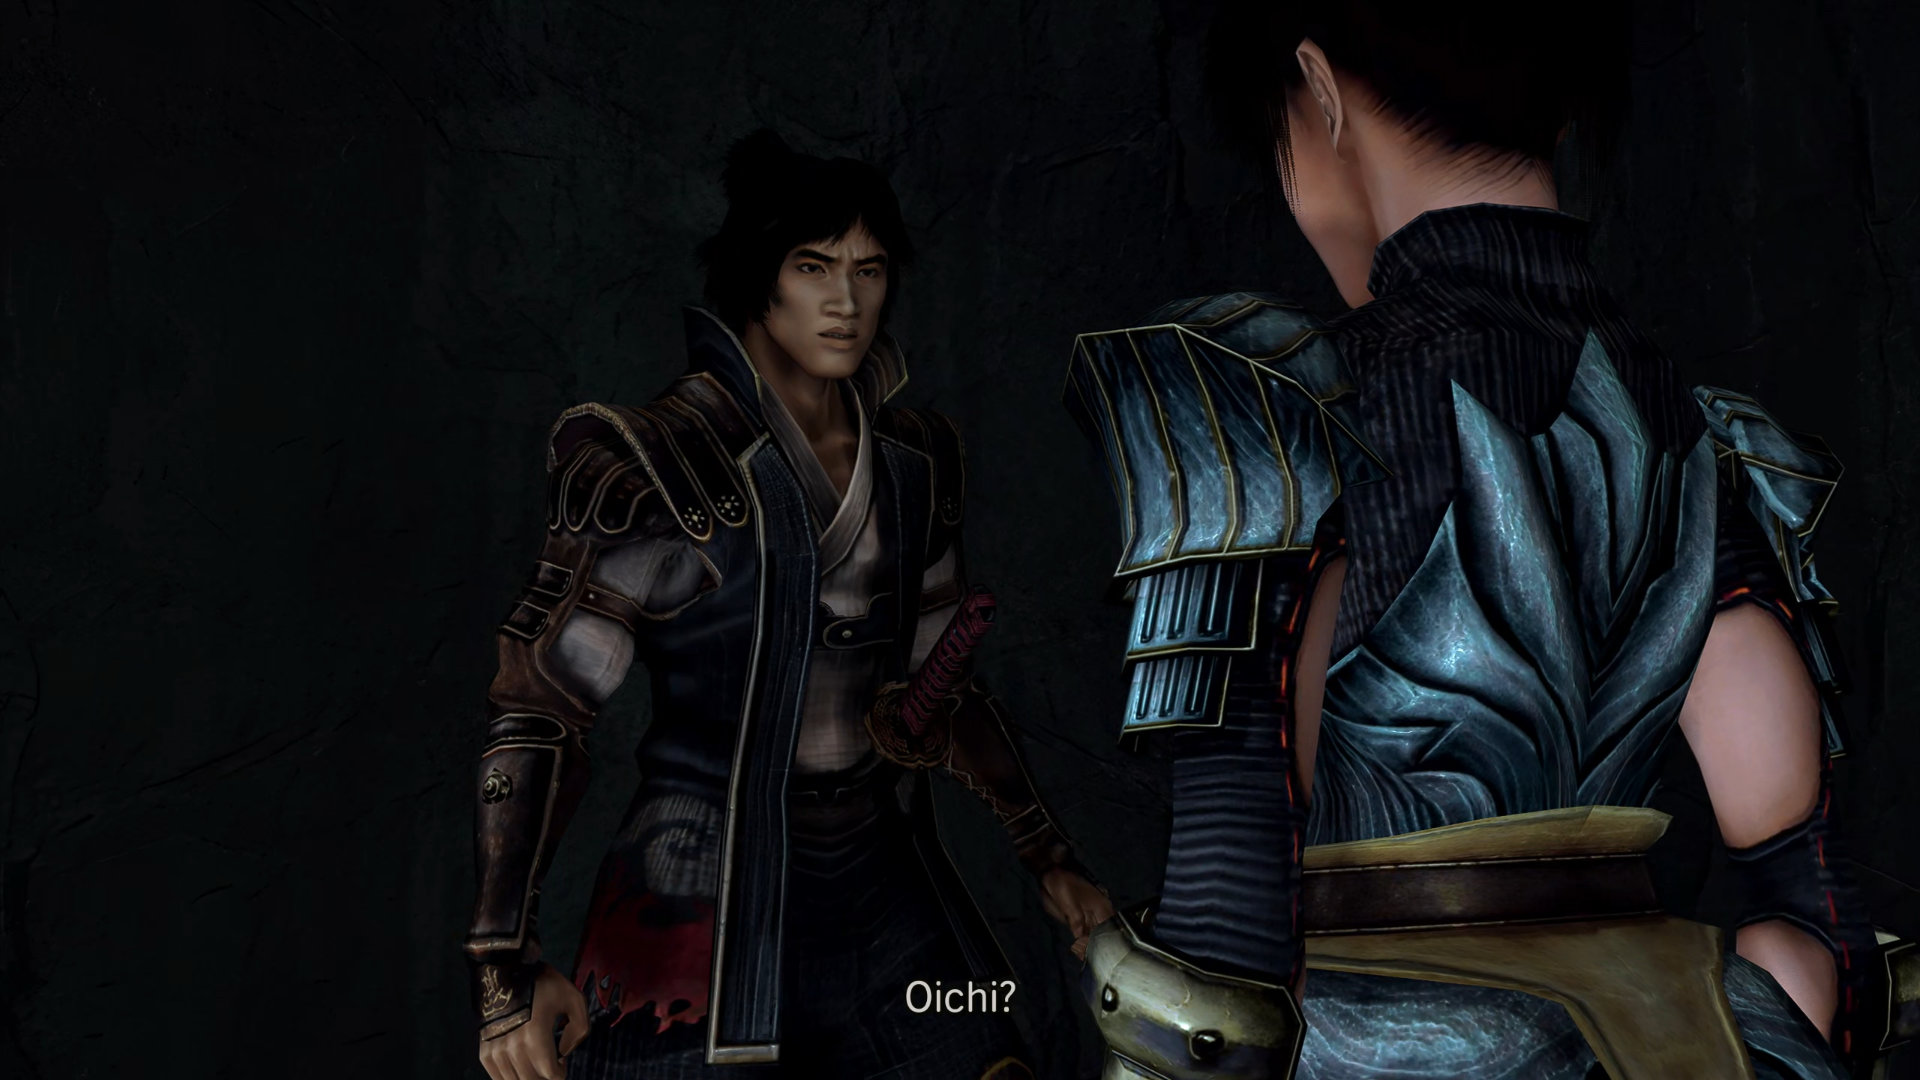
Once the cutscene is finished, enhance your equipment, save your game, and prepare for a boss fight. Also, there are 2 items along the hallway, though:
- Item: Secret Medicine - first treasure box
- File: Gogandantess's Barrier - second treasure box
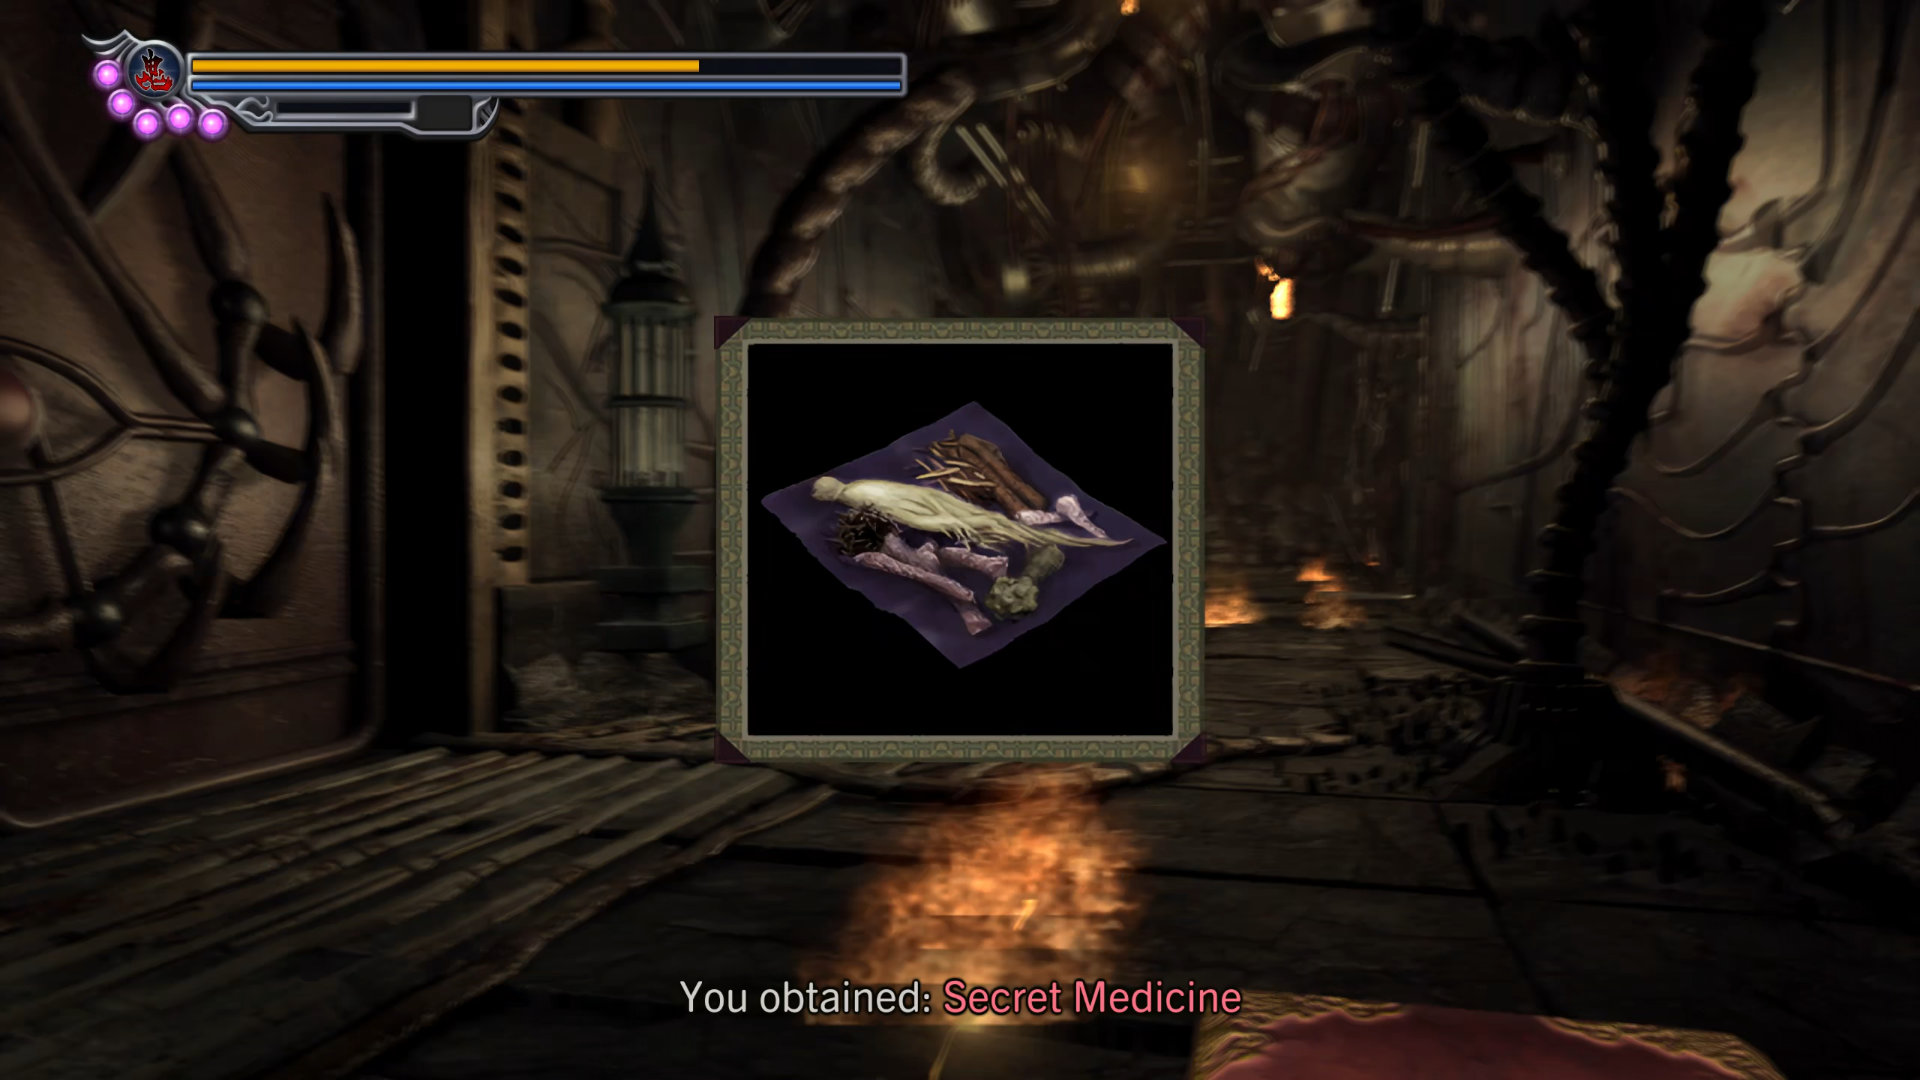
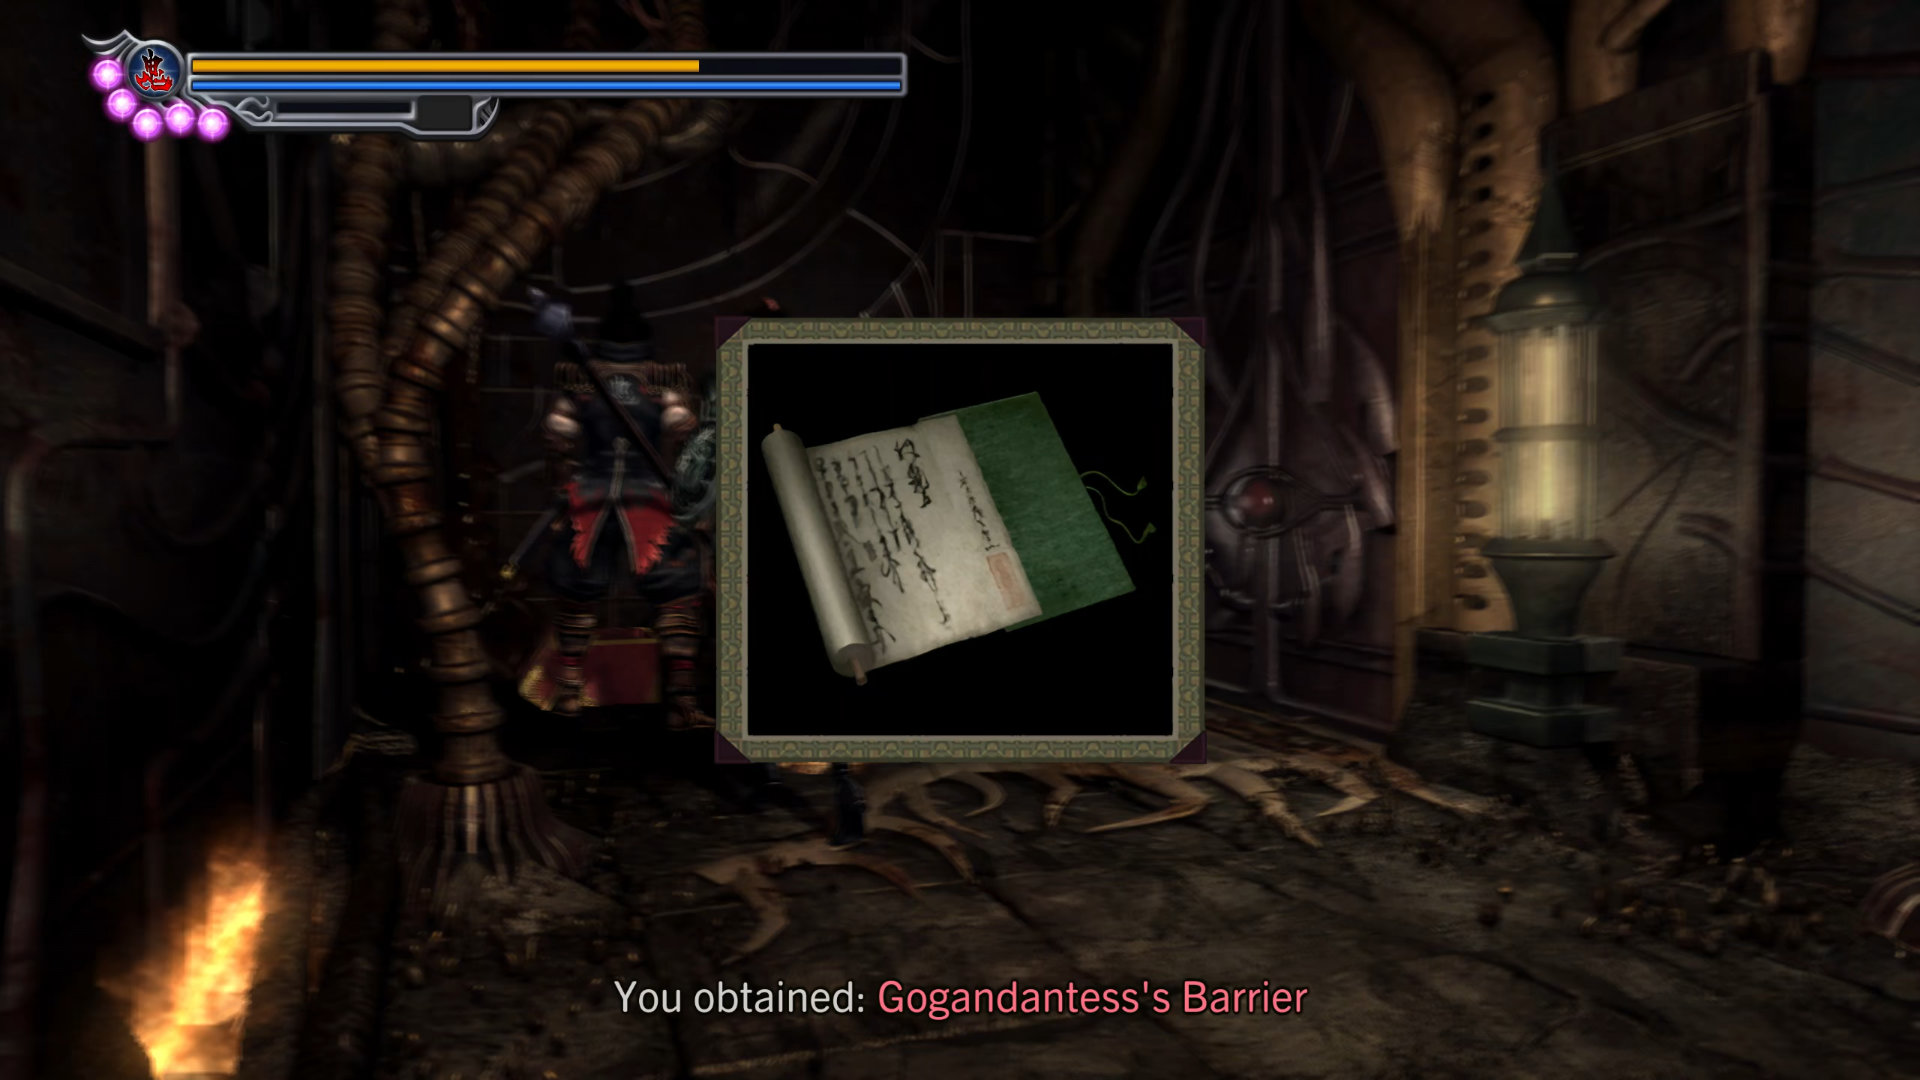
Scenario 8-6: Gogandantess Final Battle
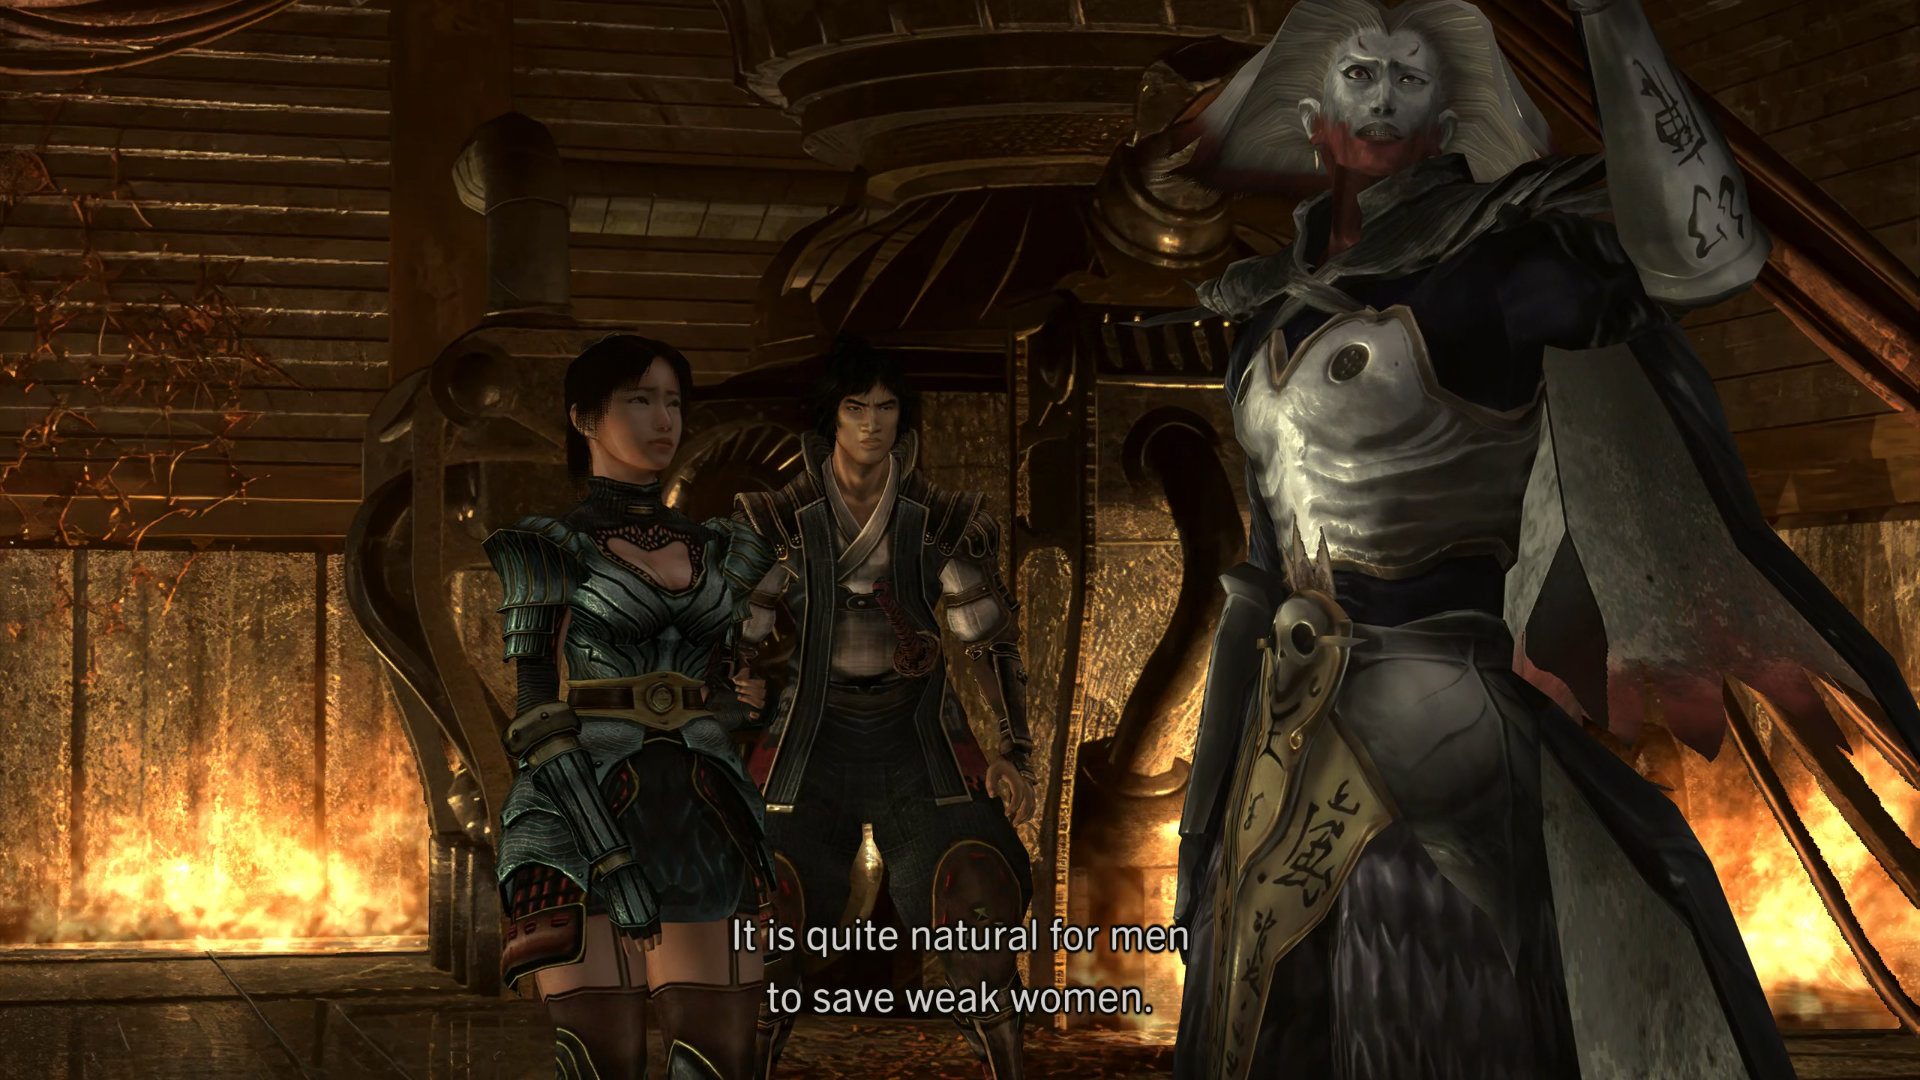
Boss: Gogandantess - Battle 3
This is your last battle with Gogandantess, and it's not as hard as you think. At the start of the battle, open your "Inventory -> Item -> Sacred Flute" and use it to break his barrier. In terms of strategy, I can't really help you much because it's more about skill than a trick. Here are some of my suggestions:
- I recommend ice spear as you can attack him from afar.
- Use the crevice in the middle as a barrier to block his attacks so you can hit him with the spear from the distance
- Wear the purple necklace and use all your available Magic with different weapons
Note: you can actually kill him without using the "Sacred Flute".
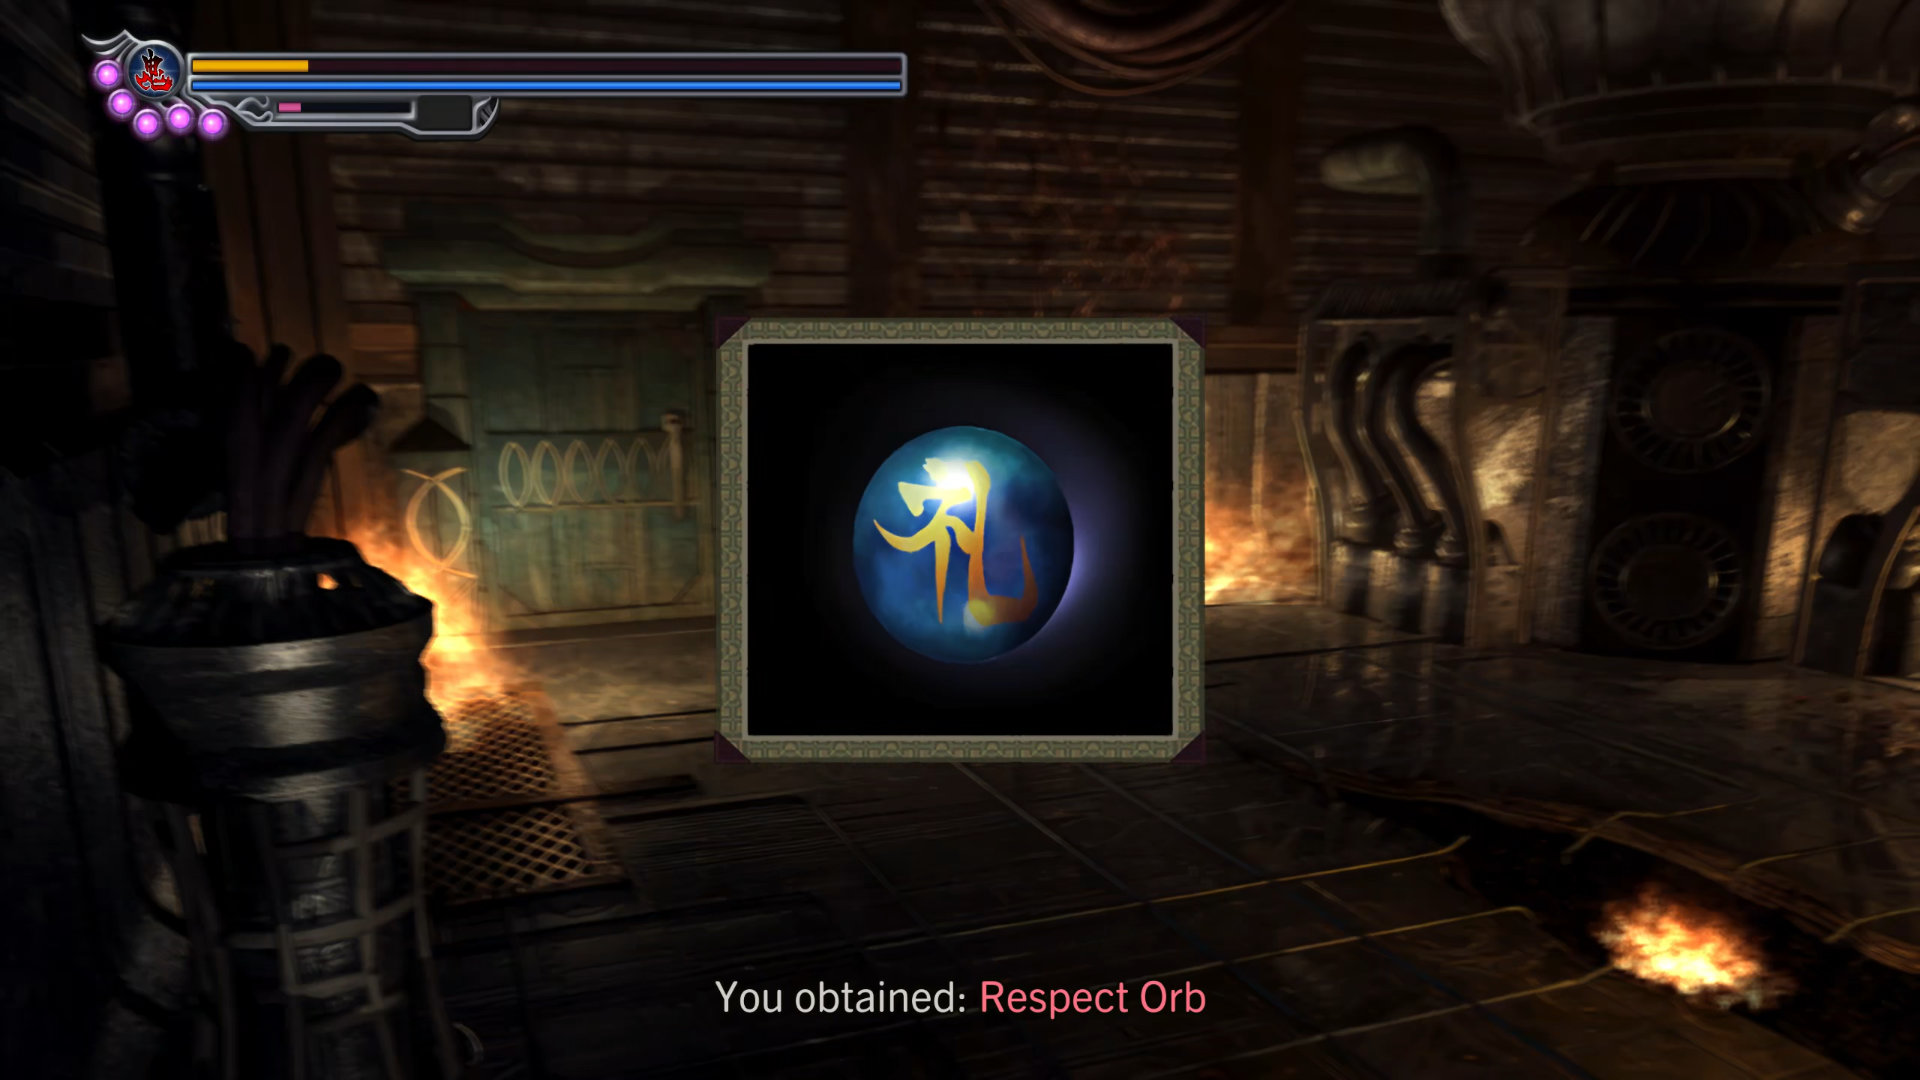
He'll give you the "Respect Orb" after you defeated him.
- Key Item: Respect Orb
Proceed to the next area.
Hidden Chest #13: Secret Medicine - Right in front of the door.
Go straight, go up the ladder, and follow the path. There are 3 items as follows:
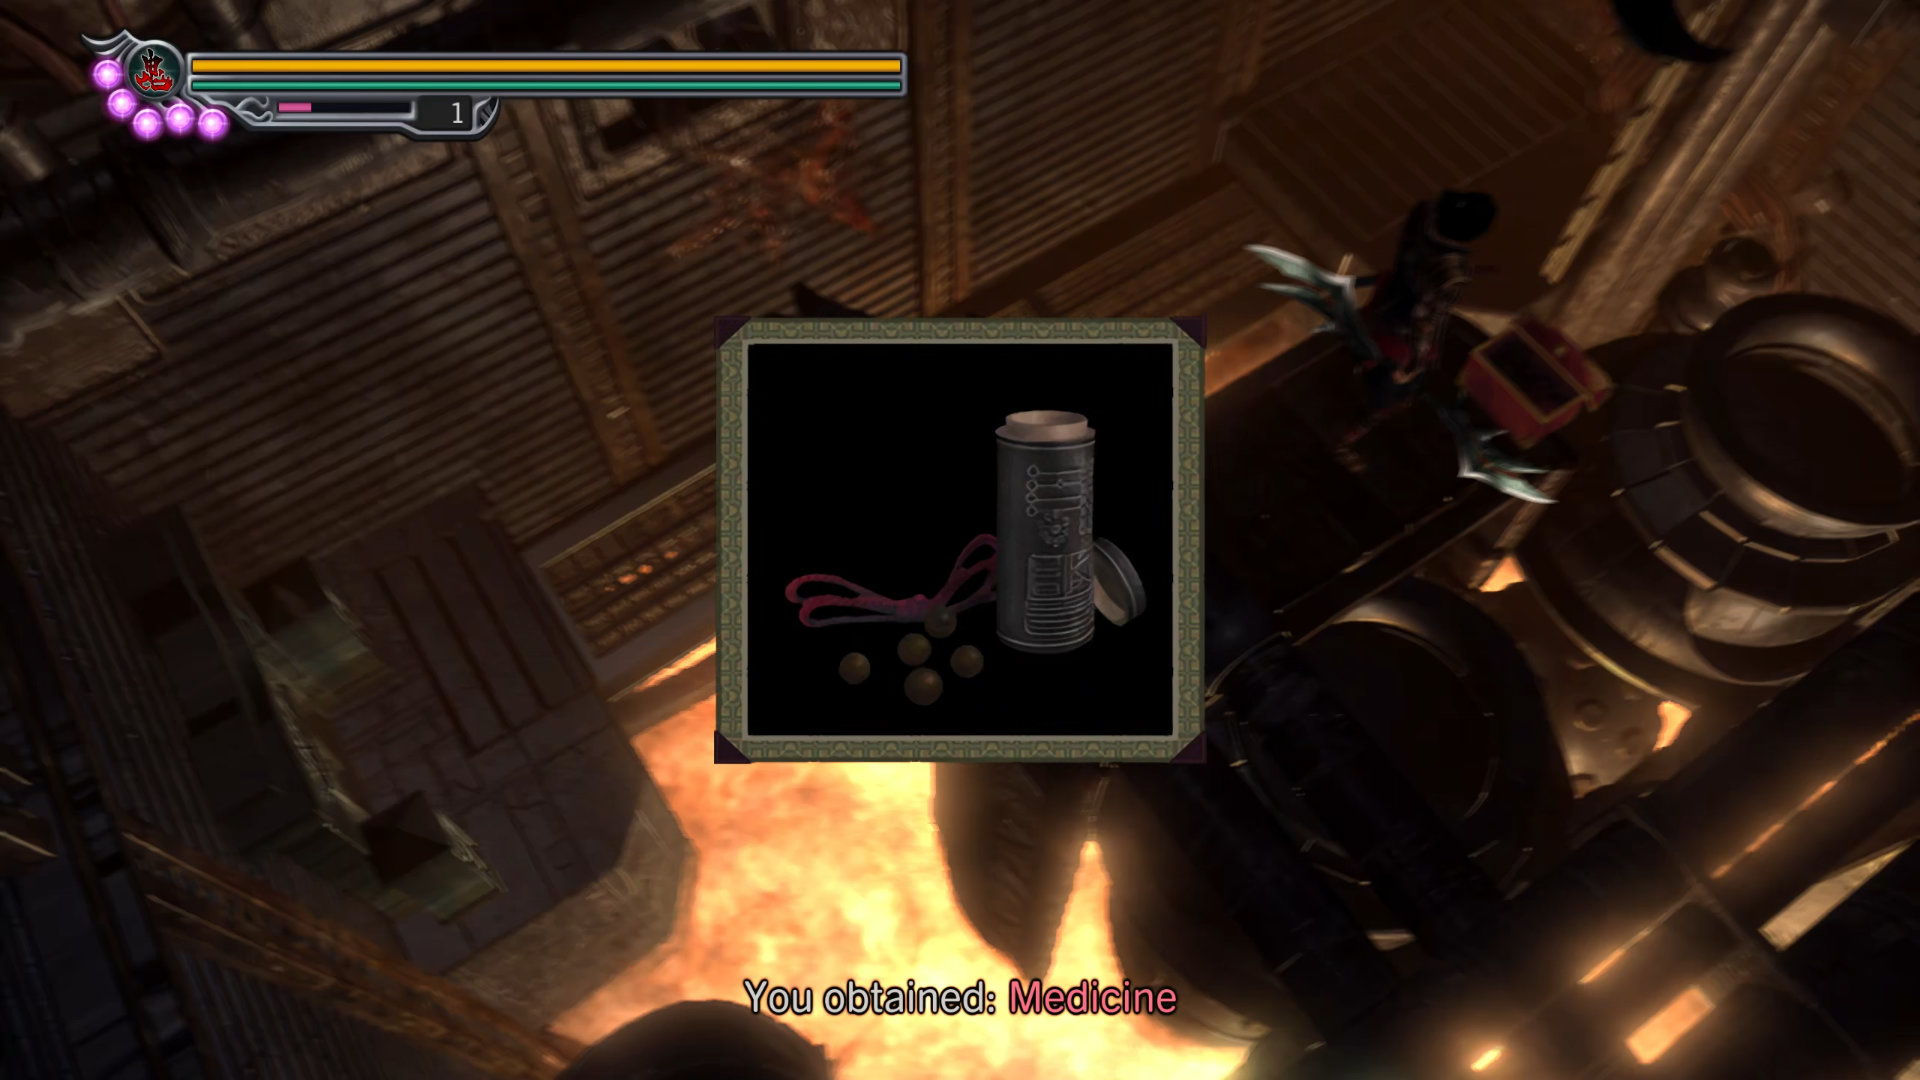
- Item: Medicine - you'll see a treasure box on your right. Destroy the steam pipes to get to it
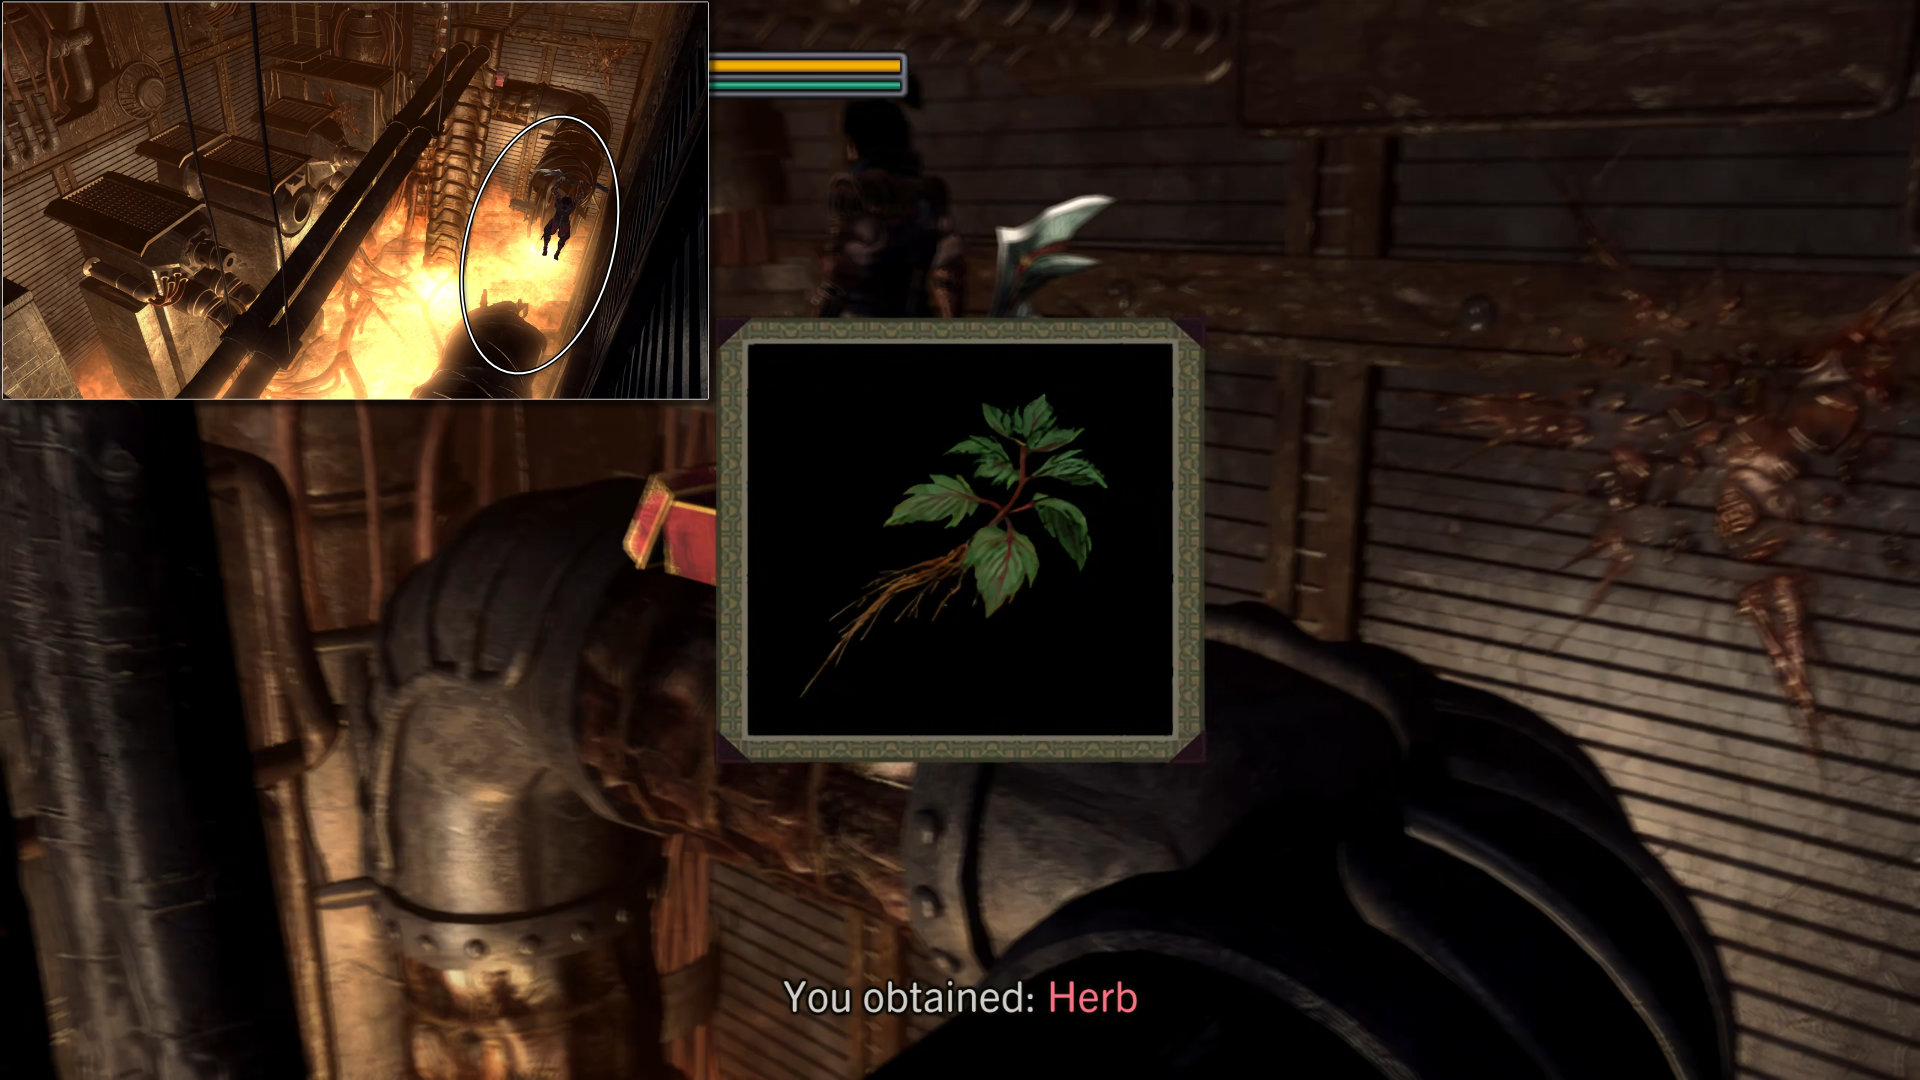
- Item: Herb - take the larger pipe near the wall, jump over to the other side
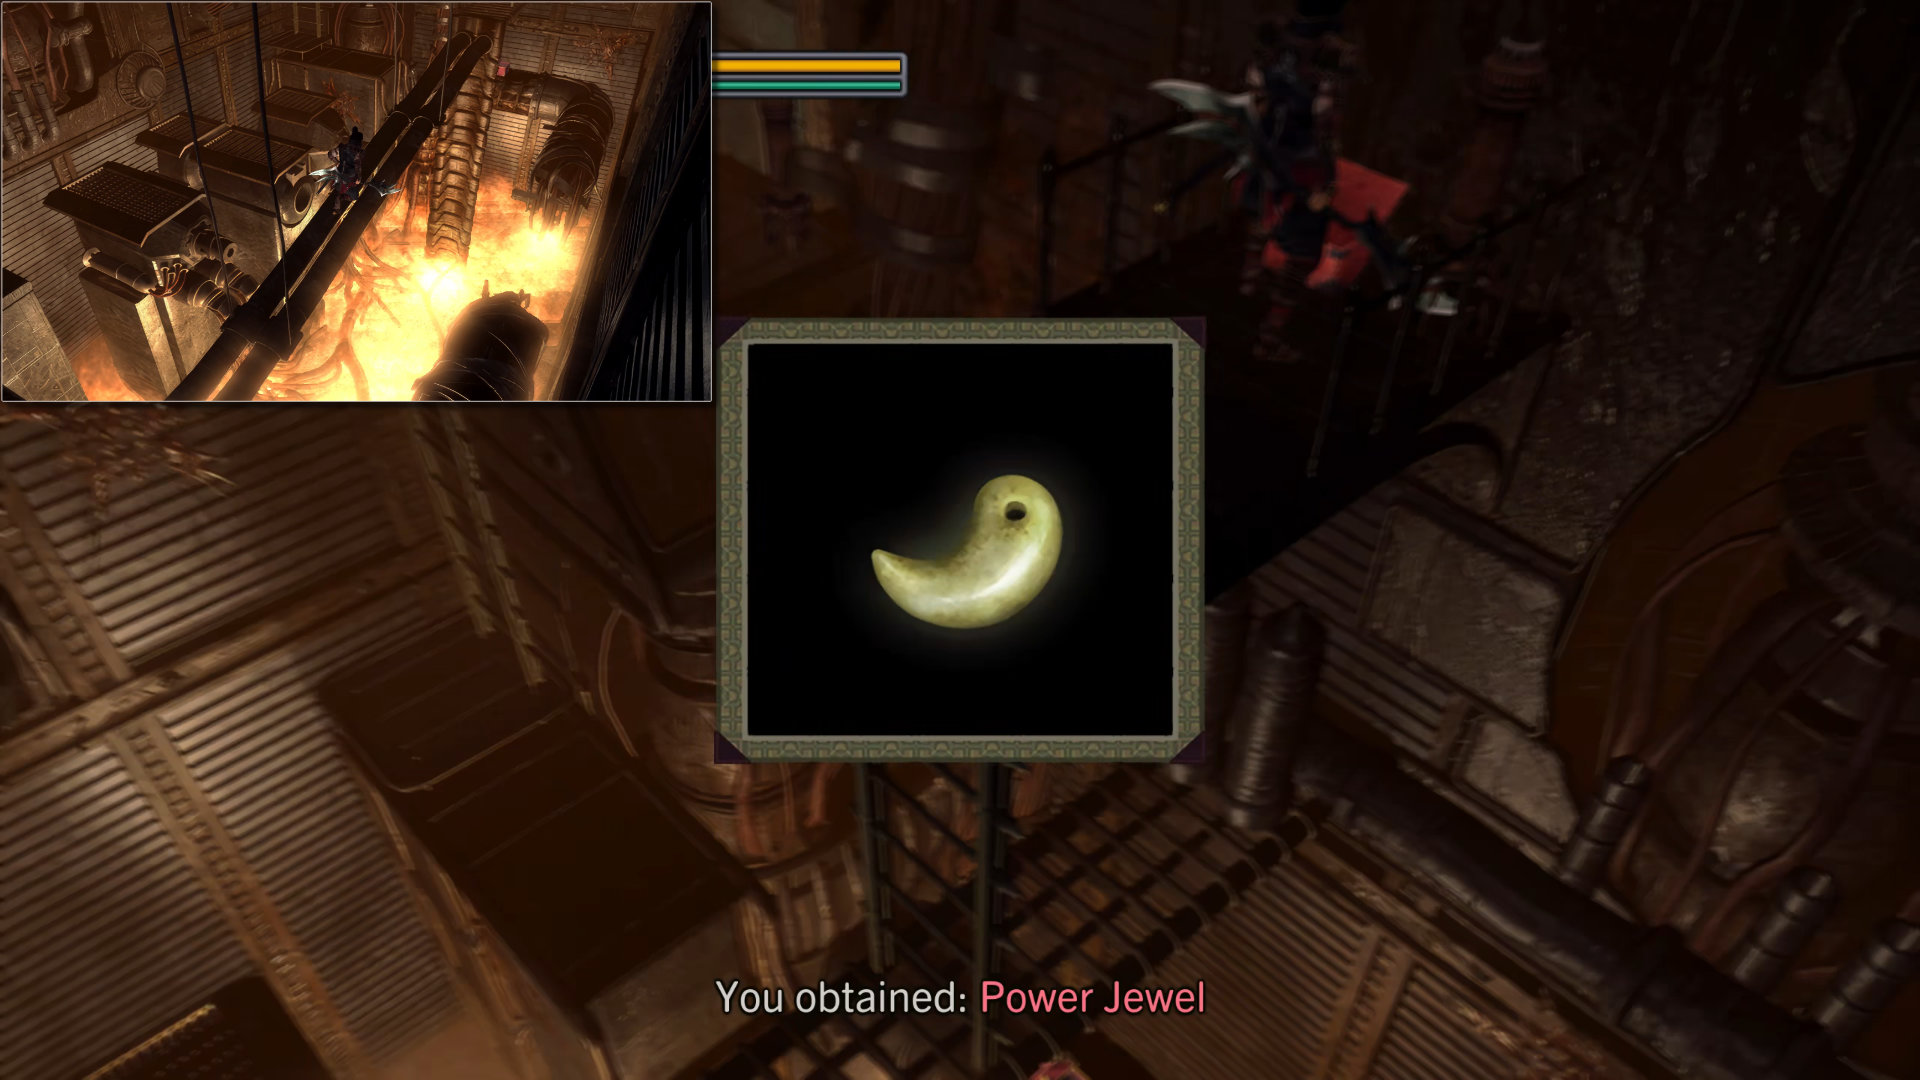
- Item: Power Jewel - (Solution: Bottom Right, Right Bottom, Left Top, Top Left, Middle Top) Take the twin pipes in the middle, climb up the ladder
Next, jump on the platforms on the right screen to continue to the next area.
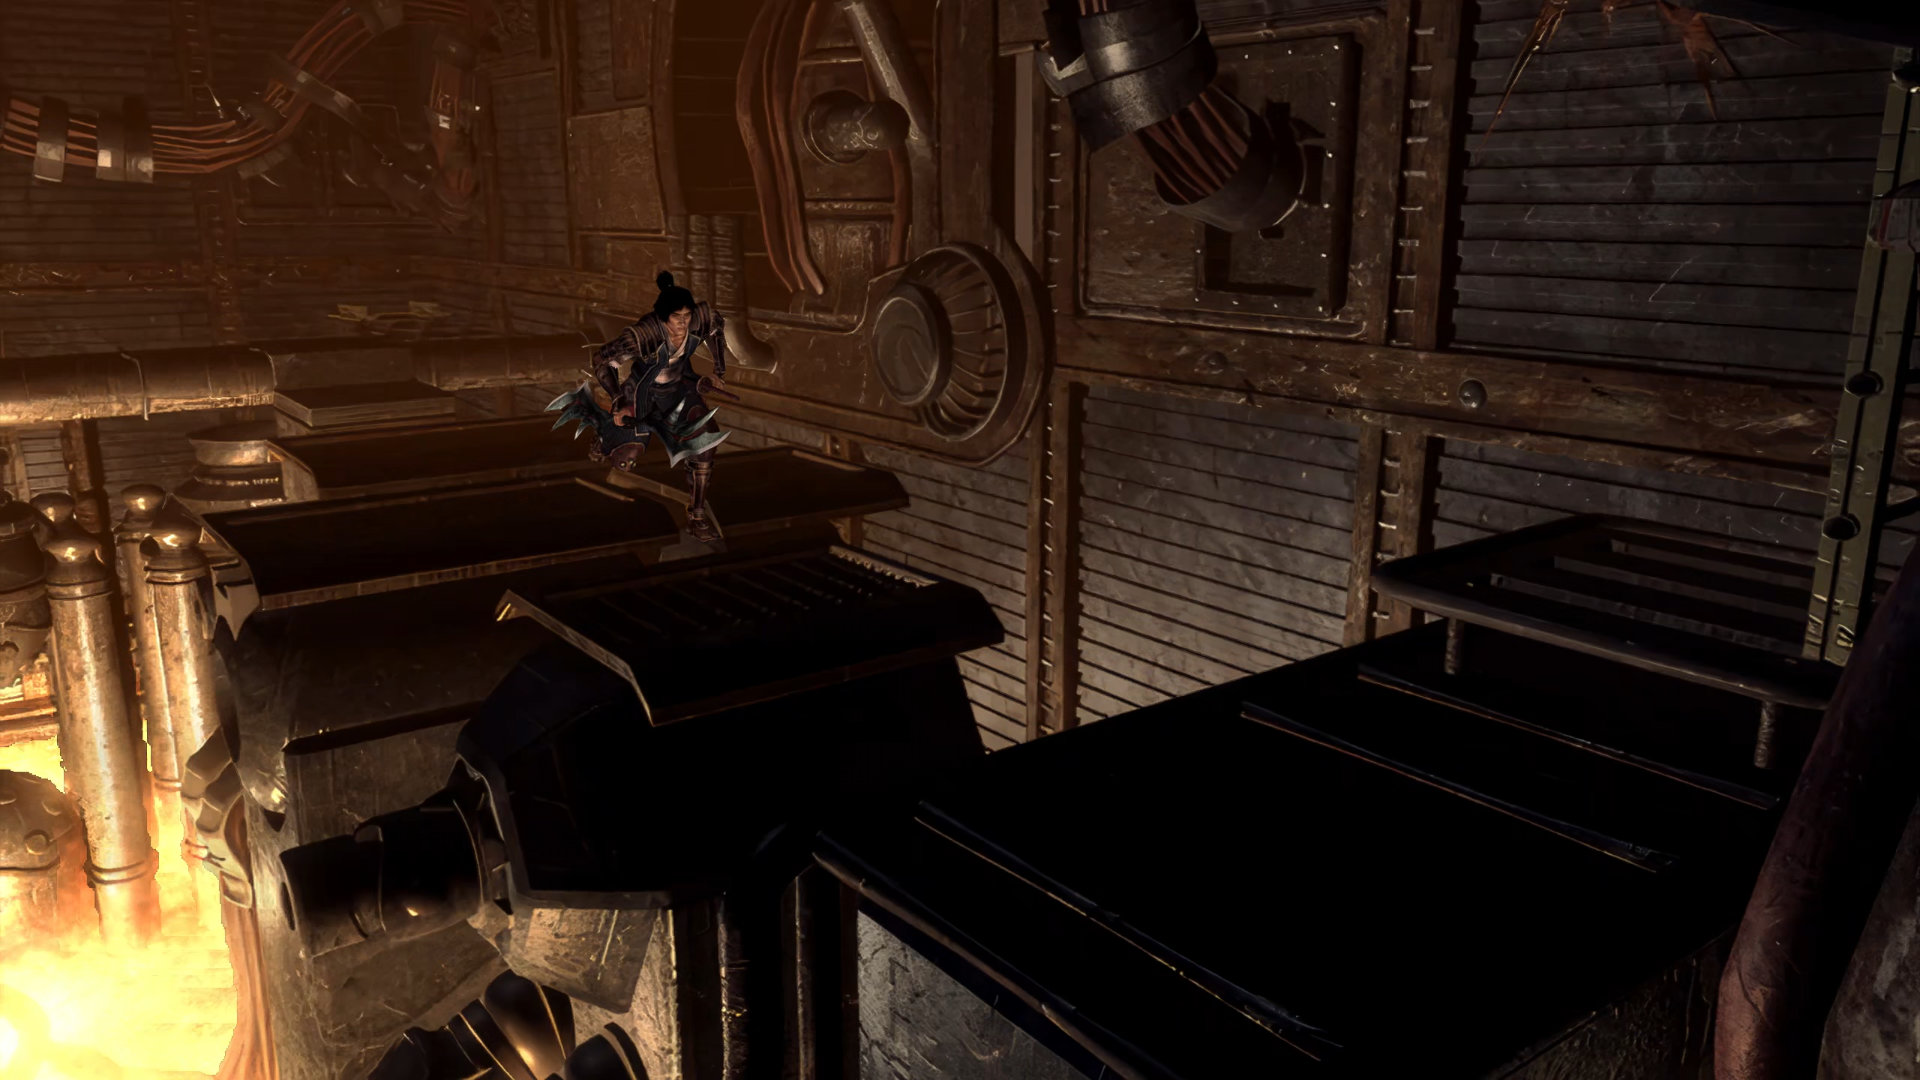
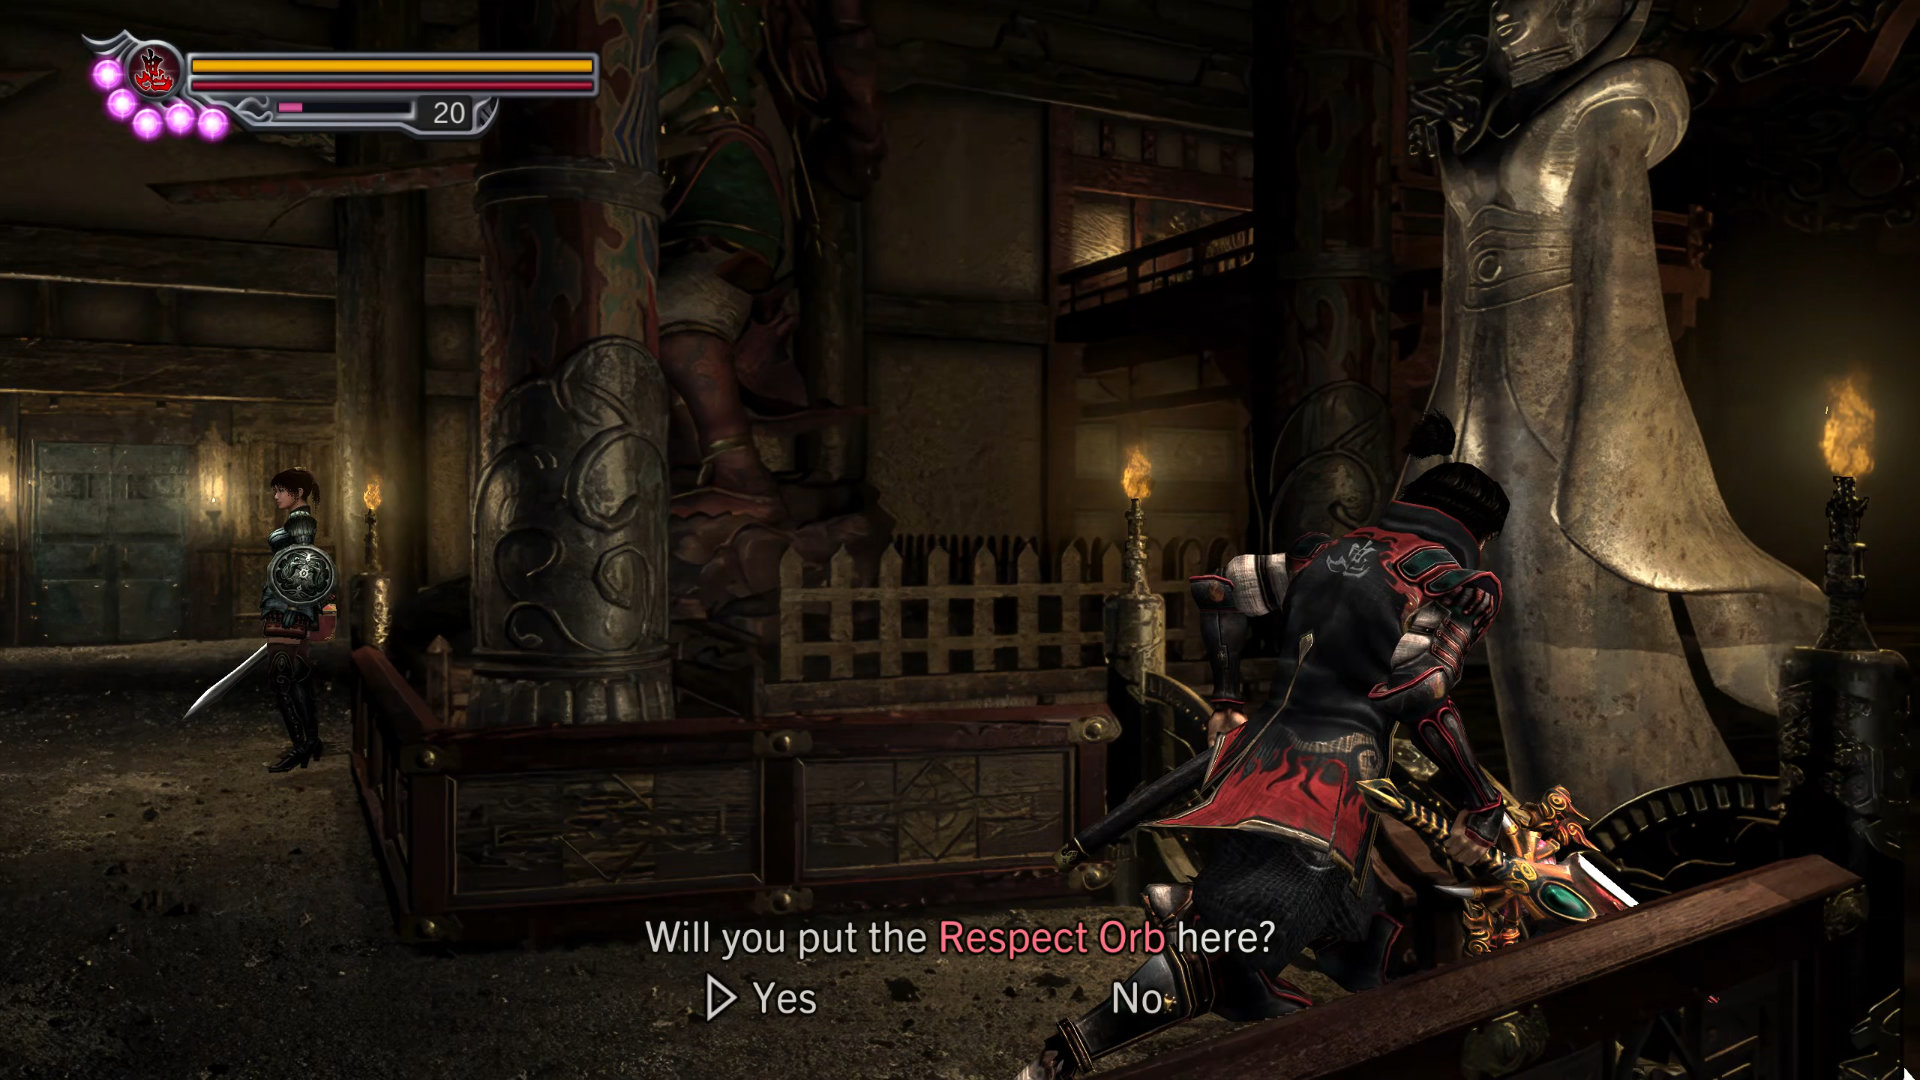
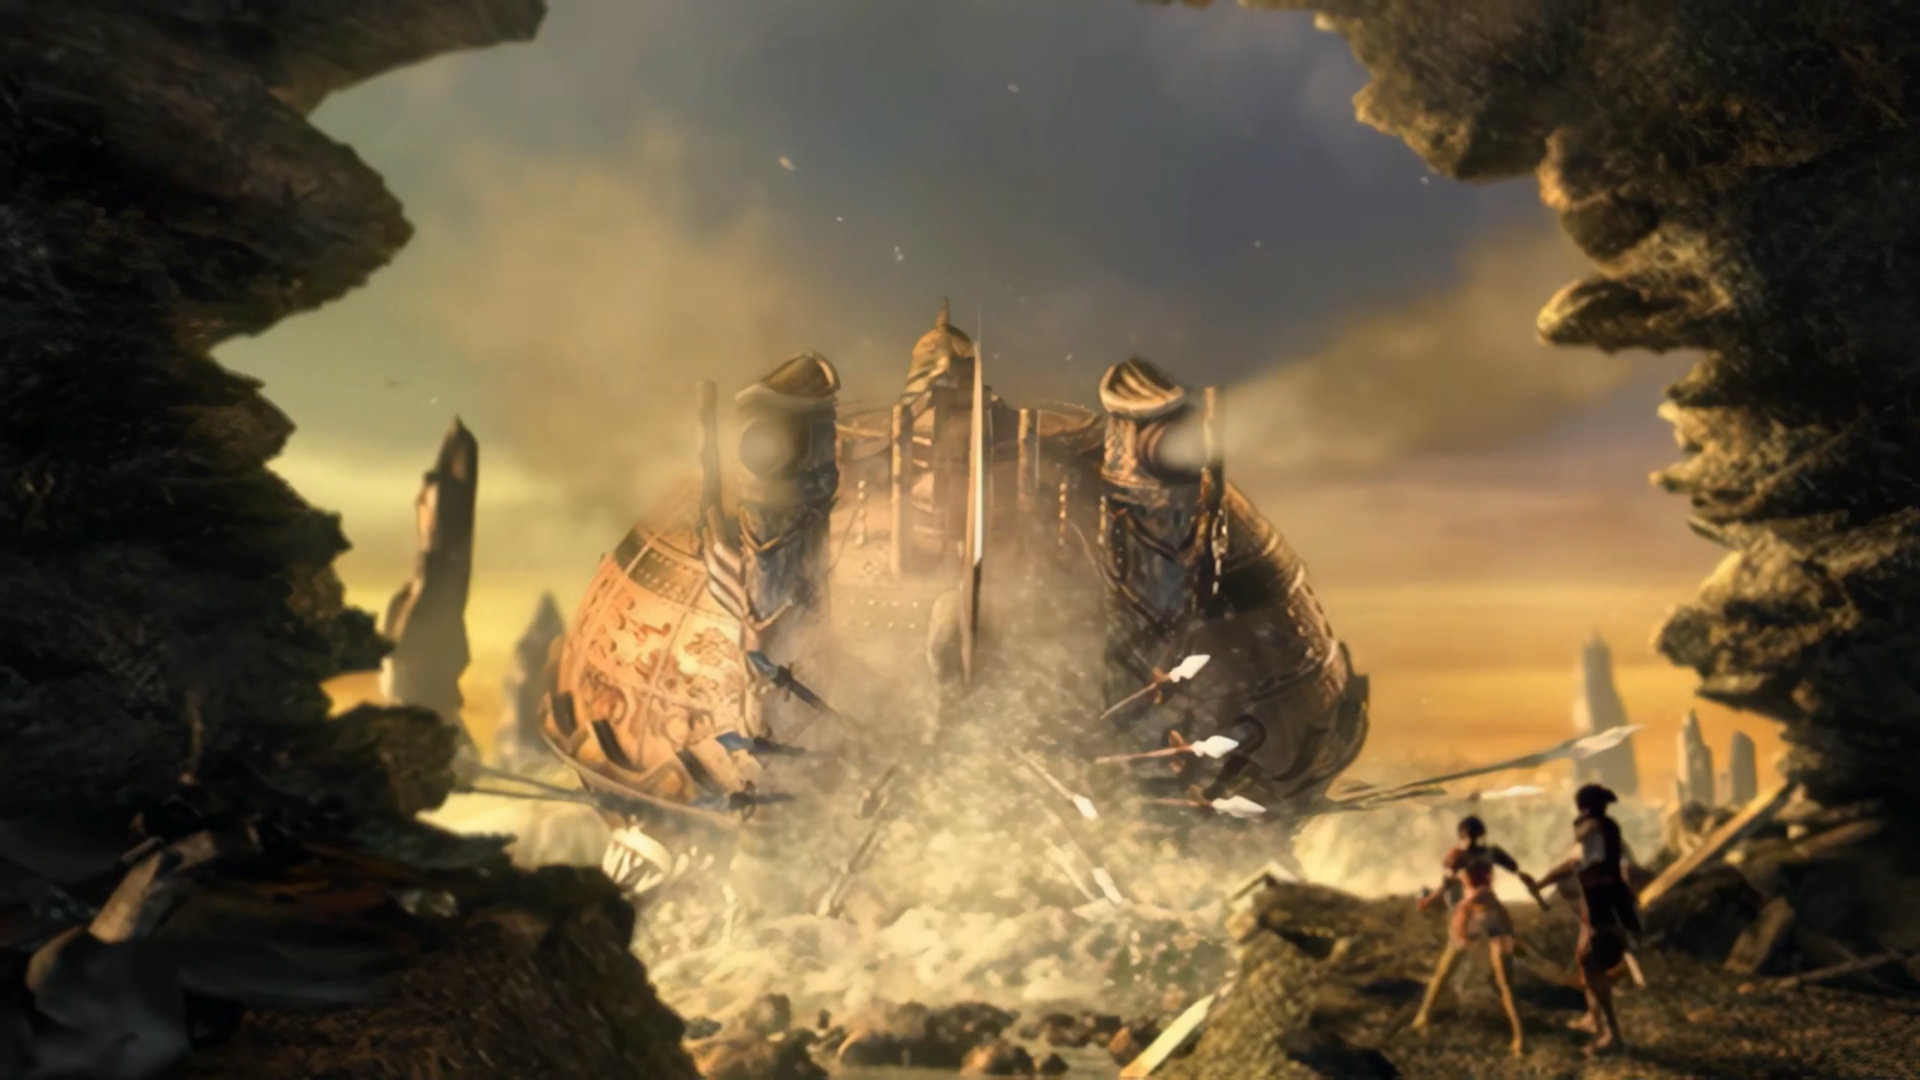
You are now back on the 1F of Onigashima. Move forward a few steps you'll see a statue in the middle on your right screen. Approach it and place the "Respect Orb", then enjoy a really cool movie.
Scenario 8-7: The Ancient Airship
Save your game when you regain control.
This is the last opportunity you can give items to Oyu, so let's complete 2 achievements below. You only need to do this for the first run, though.
Achievement: Beware of Mushrooms
Simply give Unique Mushrooms to Oyu. "Unique Mushrooms" effect is like rolling dice, it can randomly give either positive or negative friendship points. That's why I did not use it in the "Gift Exchange" section.
Achievement: Forgive and Forget
Similar to the achievement above, give Wonder Flower to Oyu. This item's effect is that it will negate the last trade you made with the character. Which means that any positive or negative outcome from the mushroom is reset.
Examine the flying boat to continue. There is a small mini-game that you have to spin both of your joysticks "LS" and "RS" evenly to open the door.
Scenario 8-8: Chasing the Airship