Route: Oyu
You'll see Oyu standing there waiting for you. Talk to her for a mini-game, Fencing Lesson. Basically, she'll ask you to defend her attacks, then you both switch roles which you attack and she defends.
Scenario 5-7-1: Oyu's Fencing Lessons
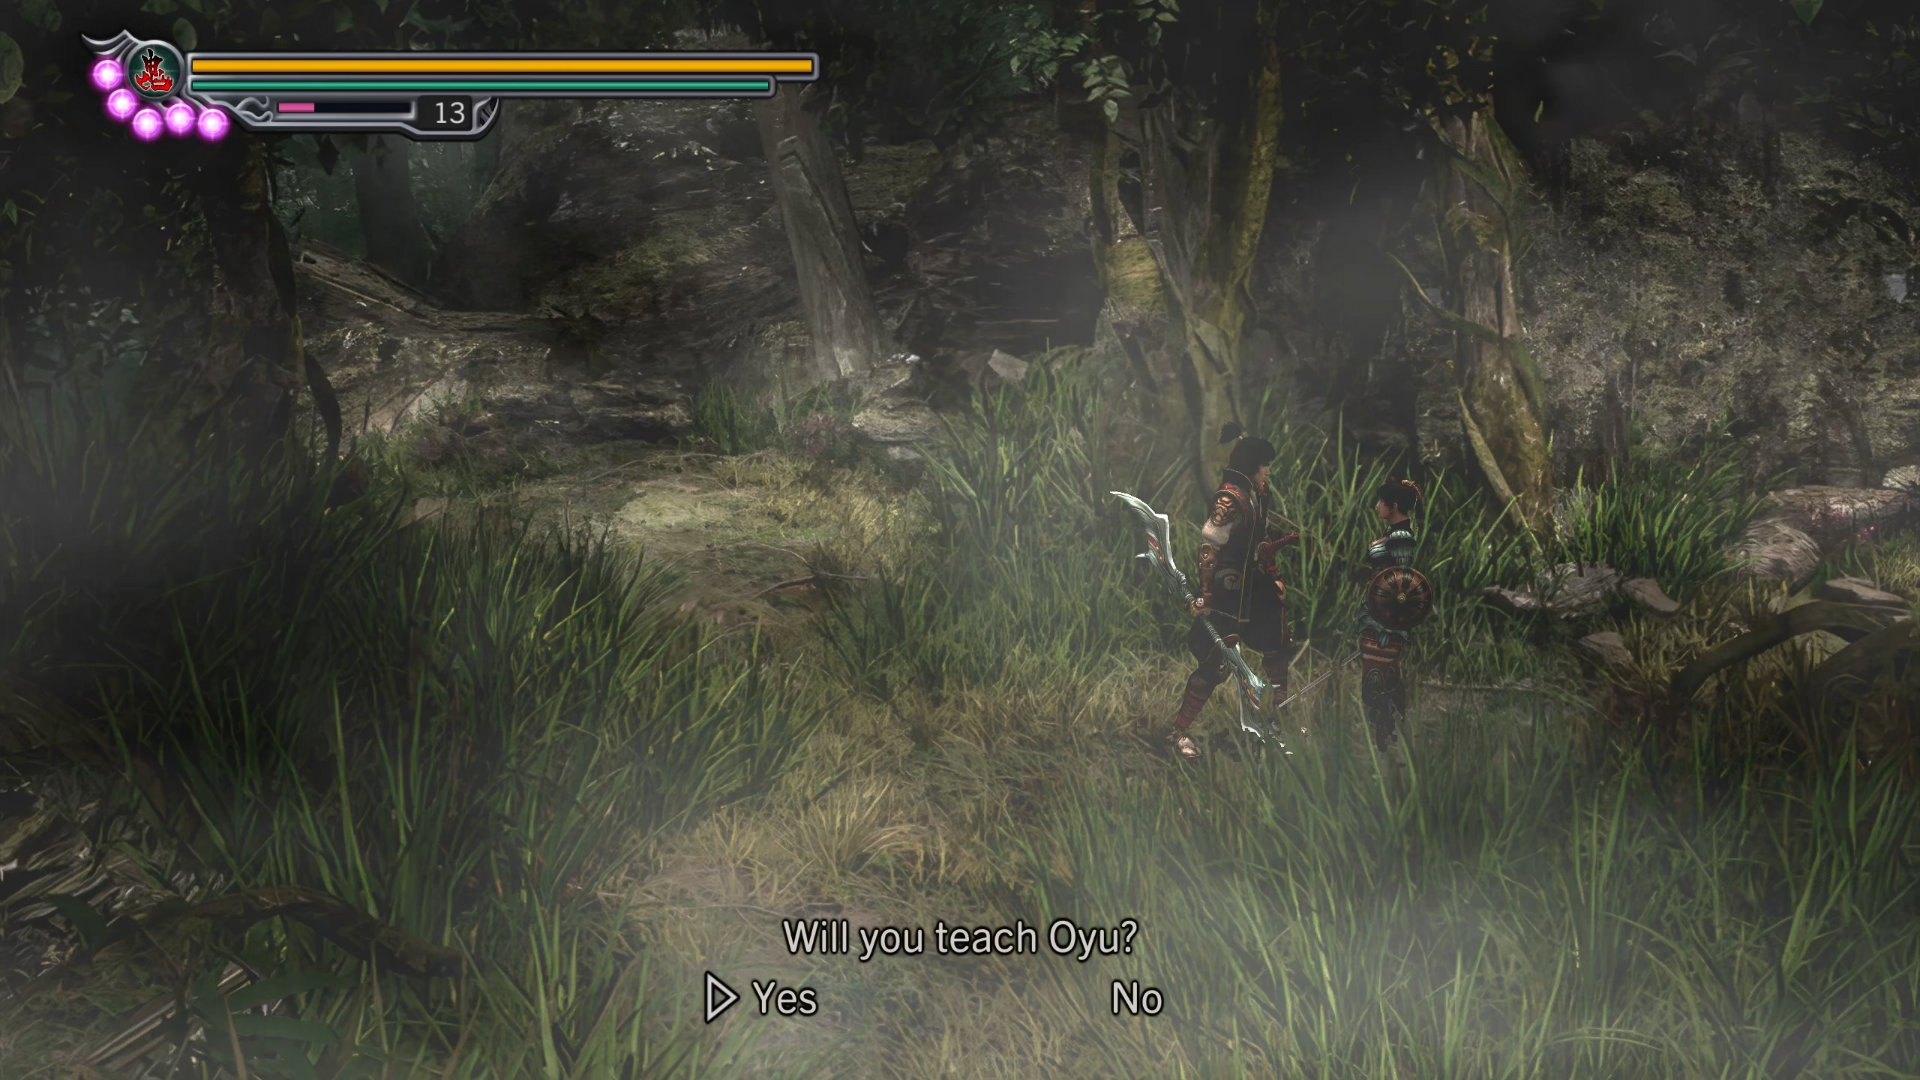
Strategy:
- Phase one "Oyu attacks, Jubei defends": Hold and release "L1" every half a second to trick her into attacking you because if you keep holding "L1", she'll use a charge attack. If you see her sword is growing, drop your defense and run away from her.
- Phase two "Jubei attack, Oyu defends": She'll keep her defense up, all you have to do is to attack her every one second and stop when she falls. If you attack too fast, you won't have time to watch out for the falling animation and will accidentally hit her.
- Repeat the 2 phases one more time.
If you have done this right, talk to Oyu again after the training to receive a tech manual:
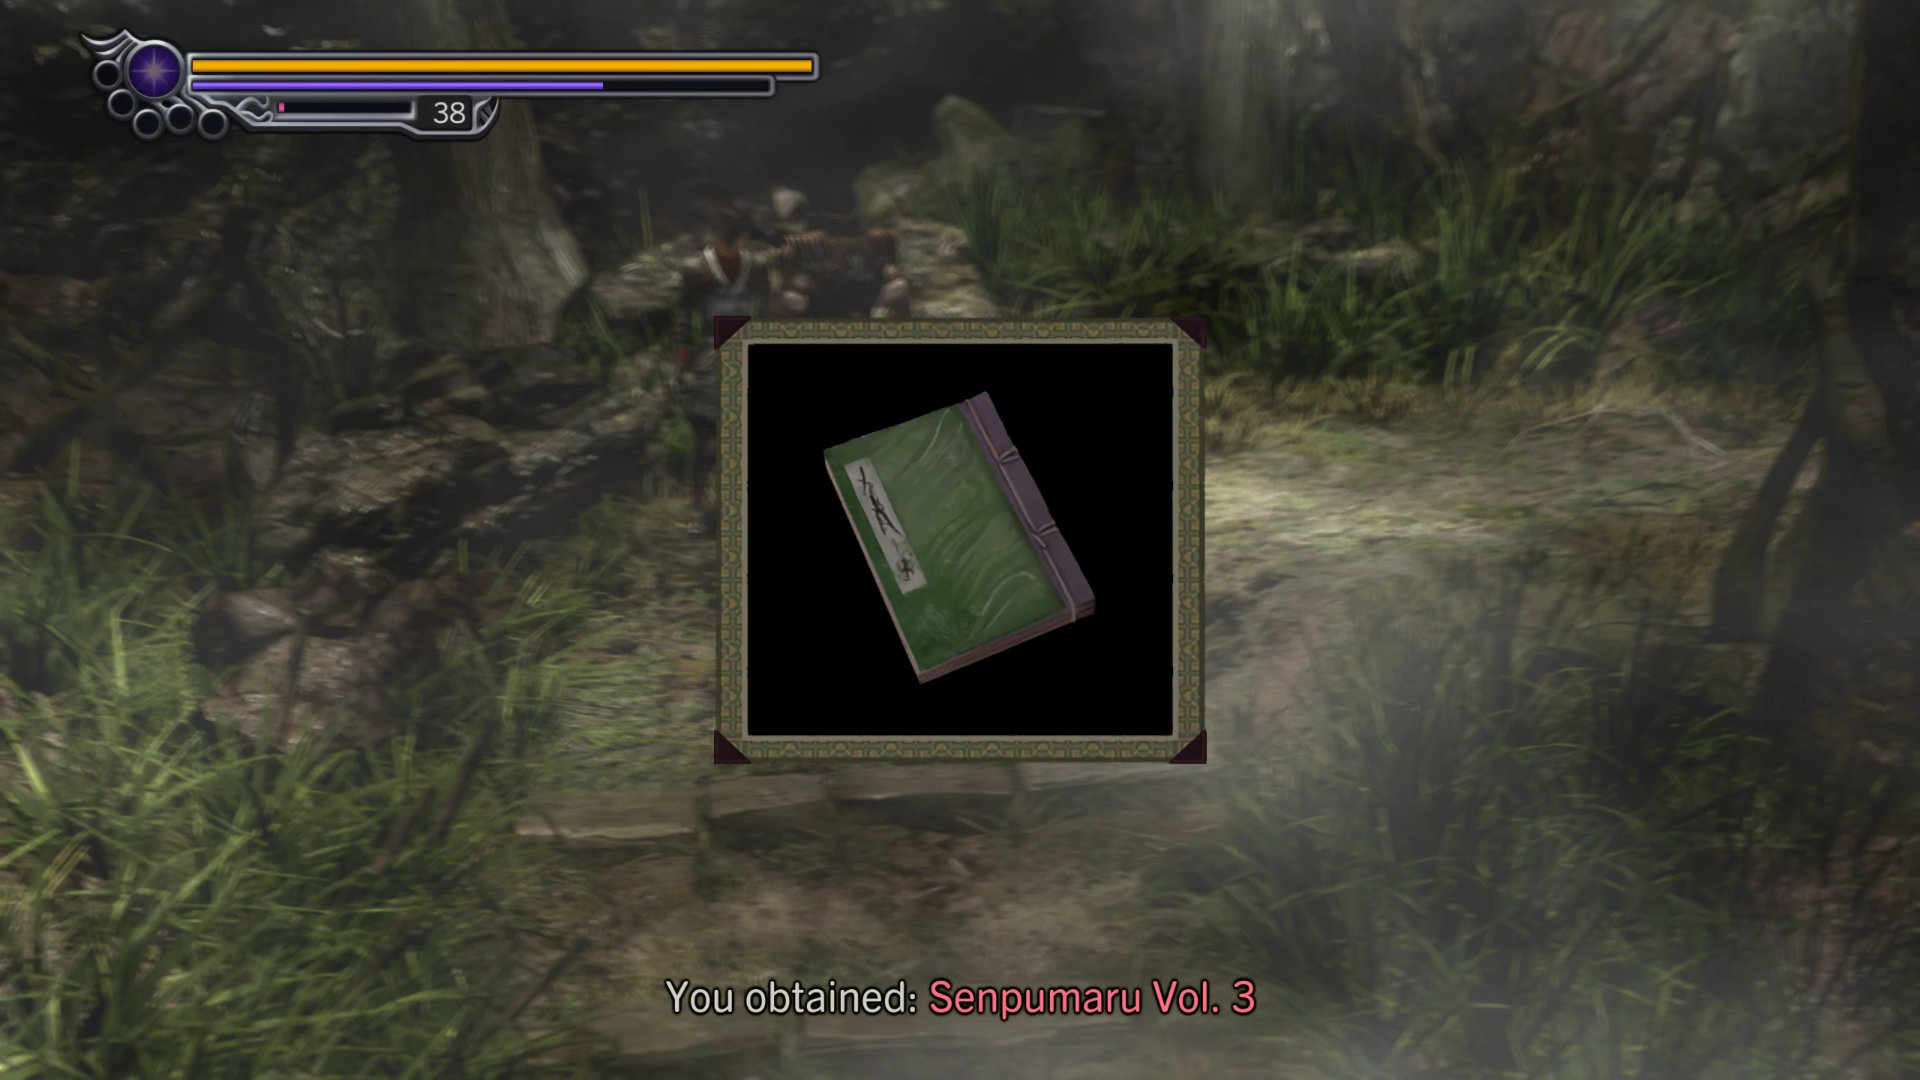
- Technique Manual: Senpumaru Vol. 3
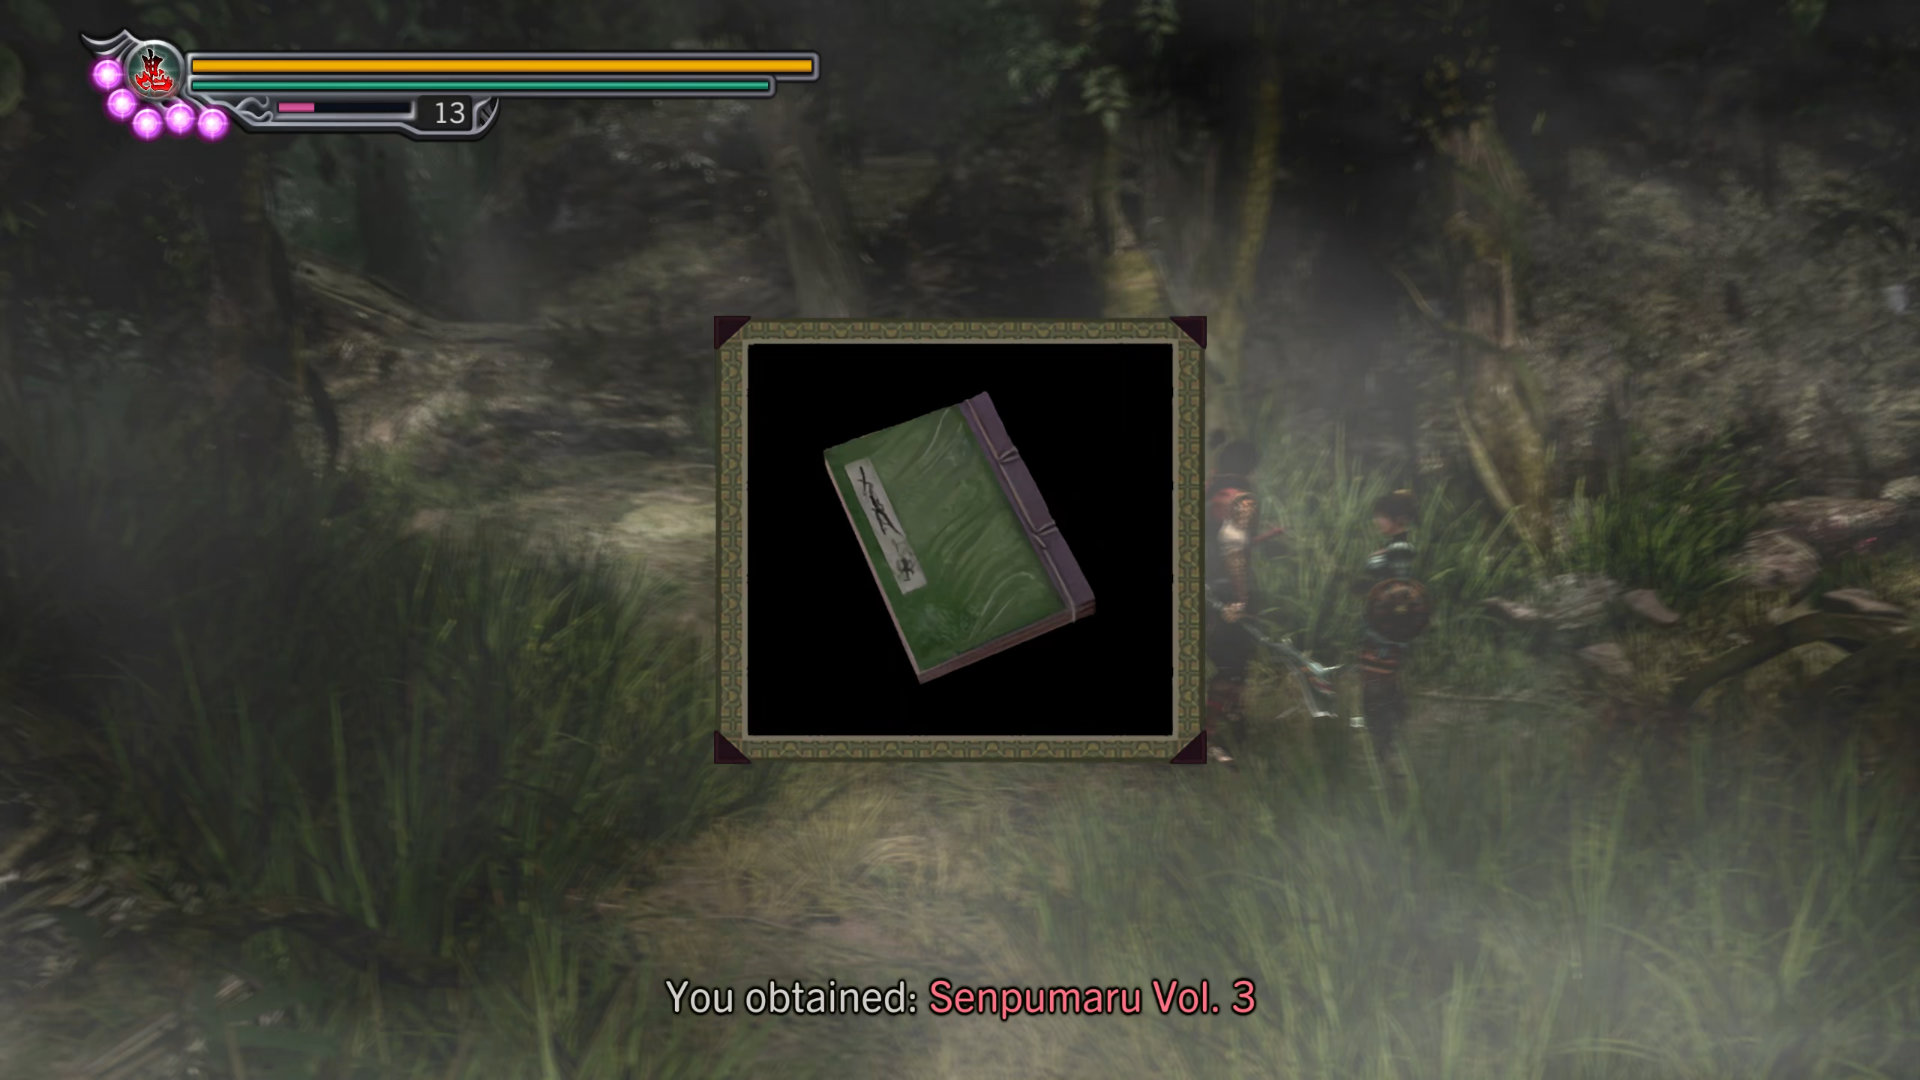
Reload the game if you fail to get the item.
Route: Kotaro | S-Rank
You'll see Kotaro standing there at the stairs, so talk to him to activate a mini side quest which he mentioned a missing pigeon. Simply go south to the river area, you'll notice a giant from afar. There is a short cutscene showing it eating the poor pigeon when you approach. Now revenge the pigeon and pick up a shiny object on the ground:
Scenario 5-7-2: Kotaro's Pigeon
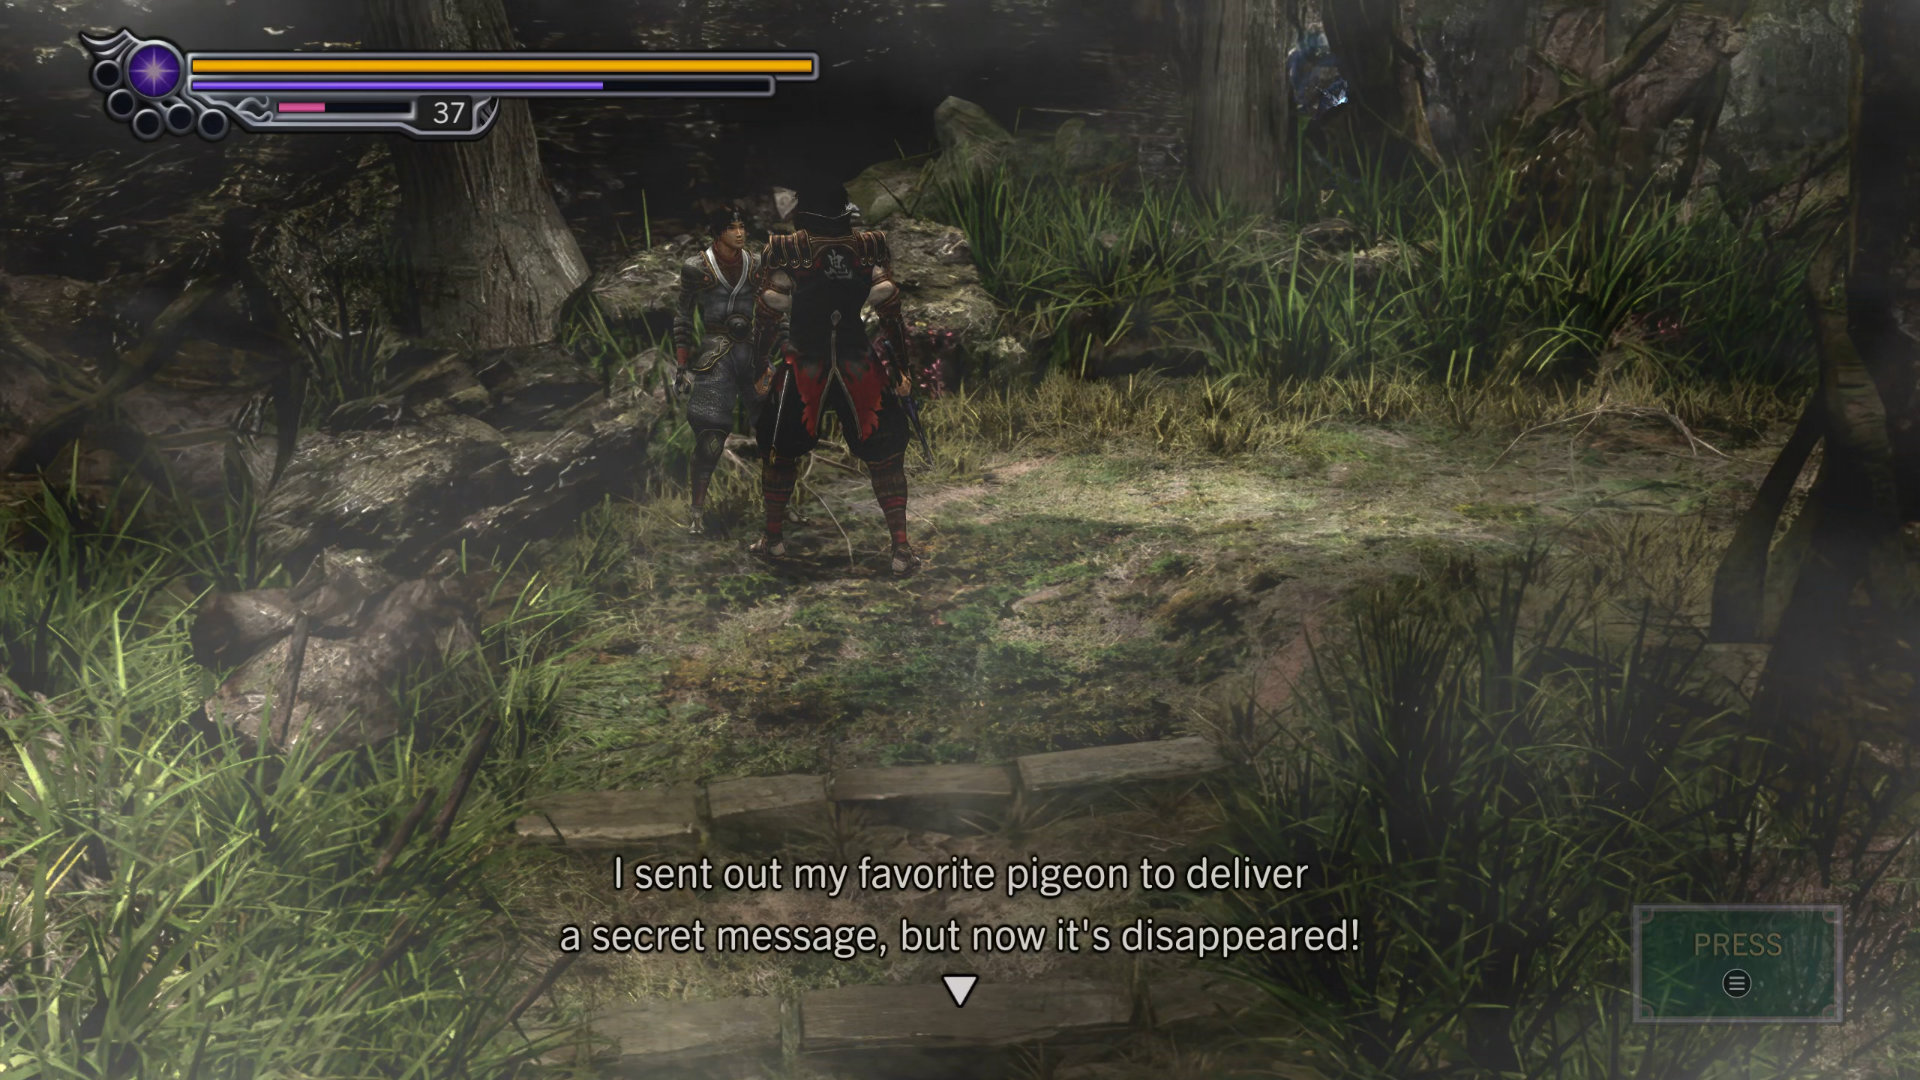
- Gift Item: Tube ofr Pigeon Leg
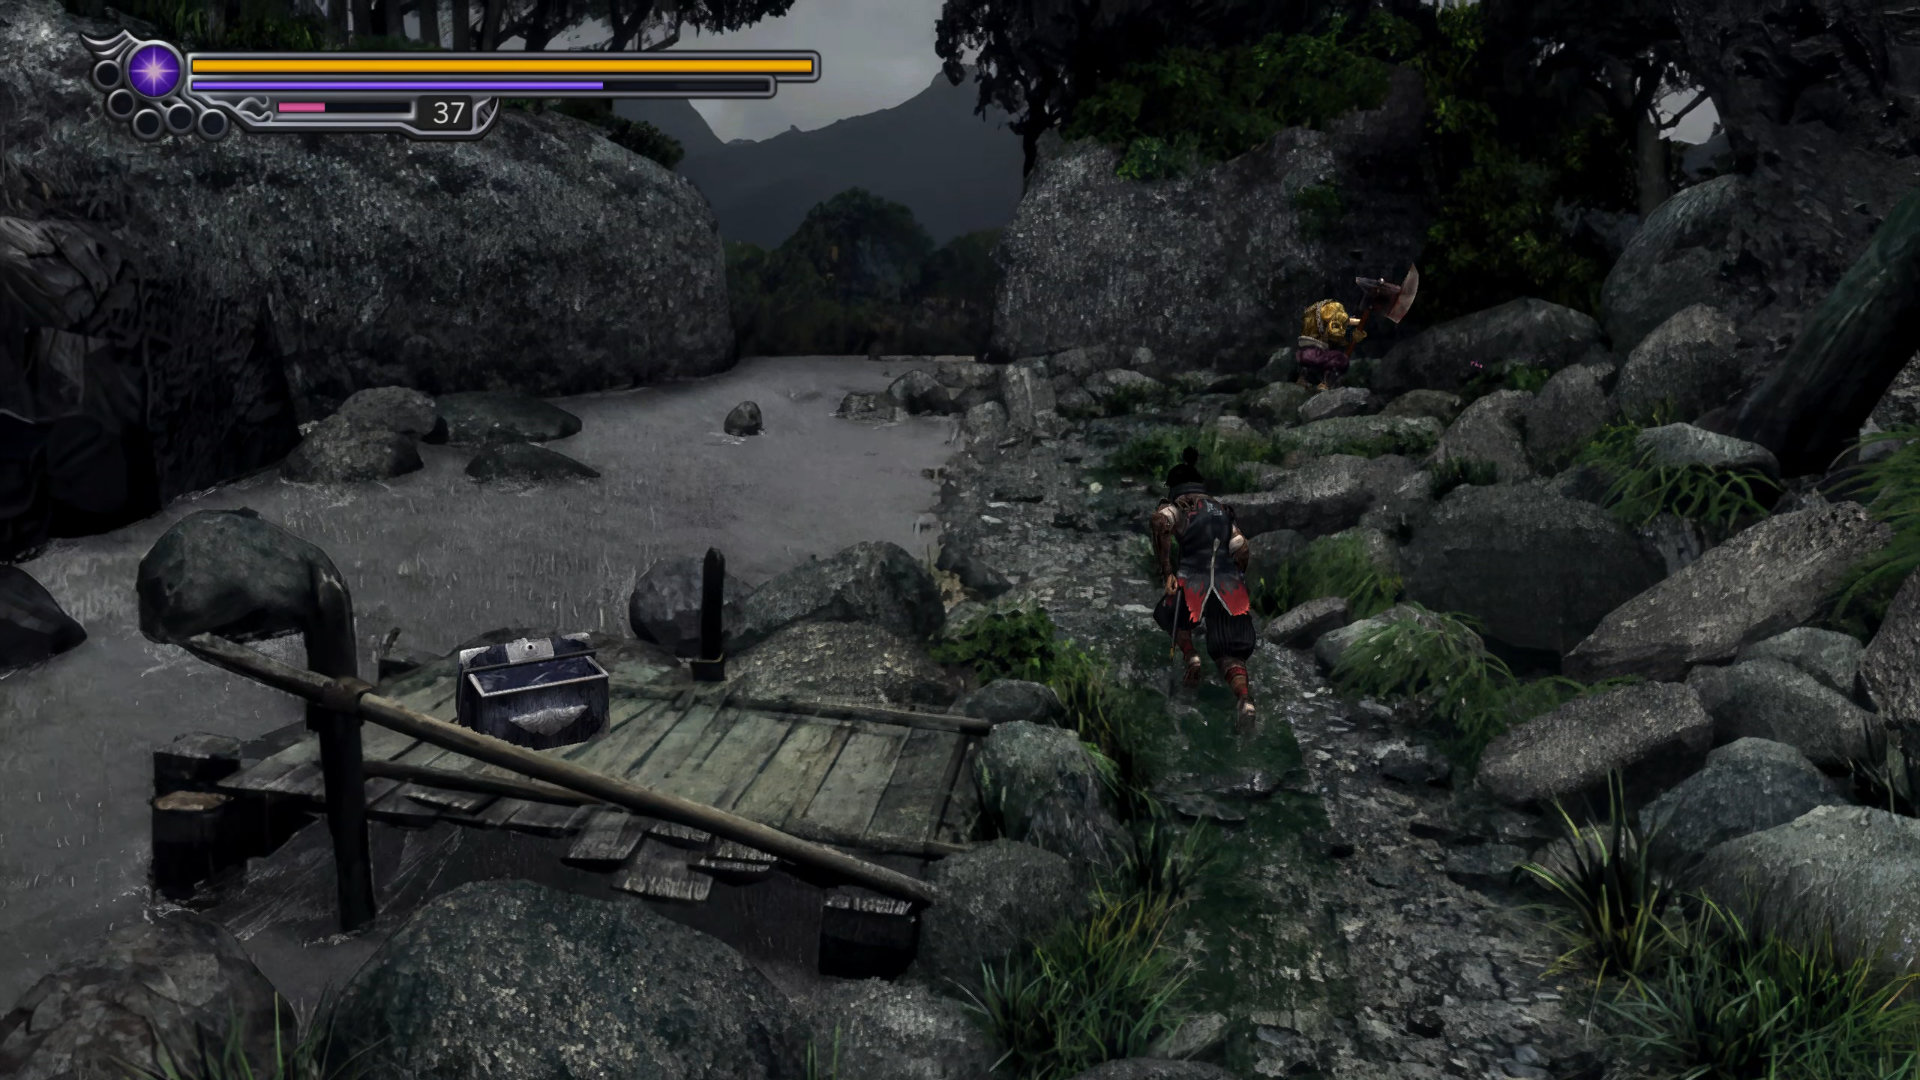
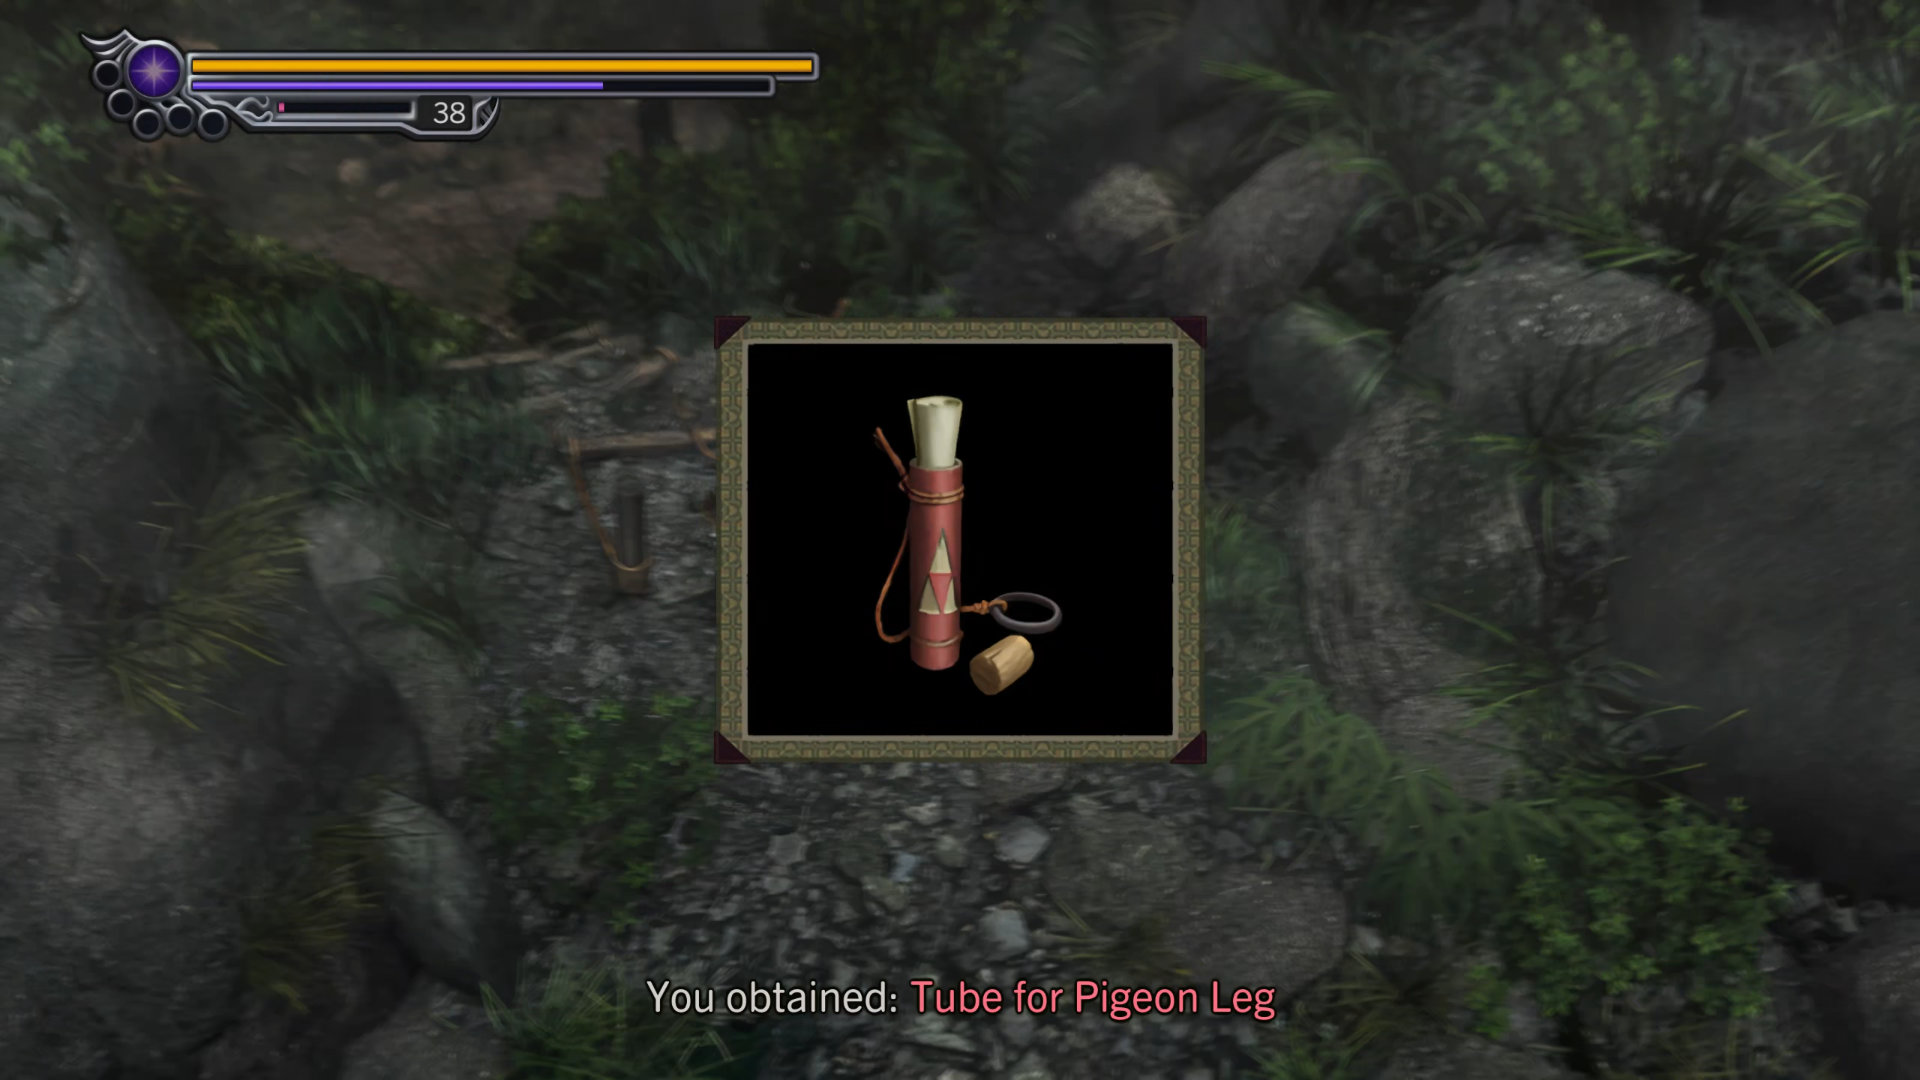
Go back and give "Tube for Pigeon Leg" to Kotaro to complete the quest.
- Item: Senpumaru Vol. 3
Route: Ekei
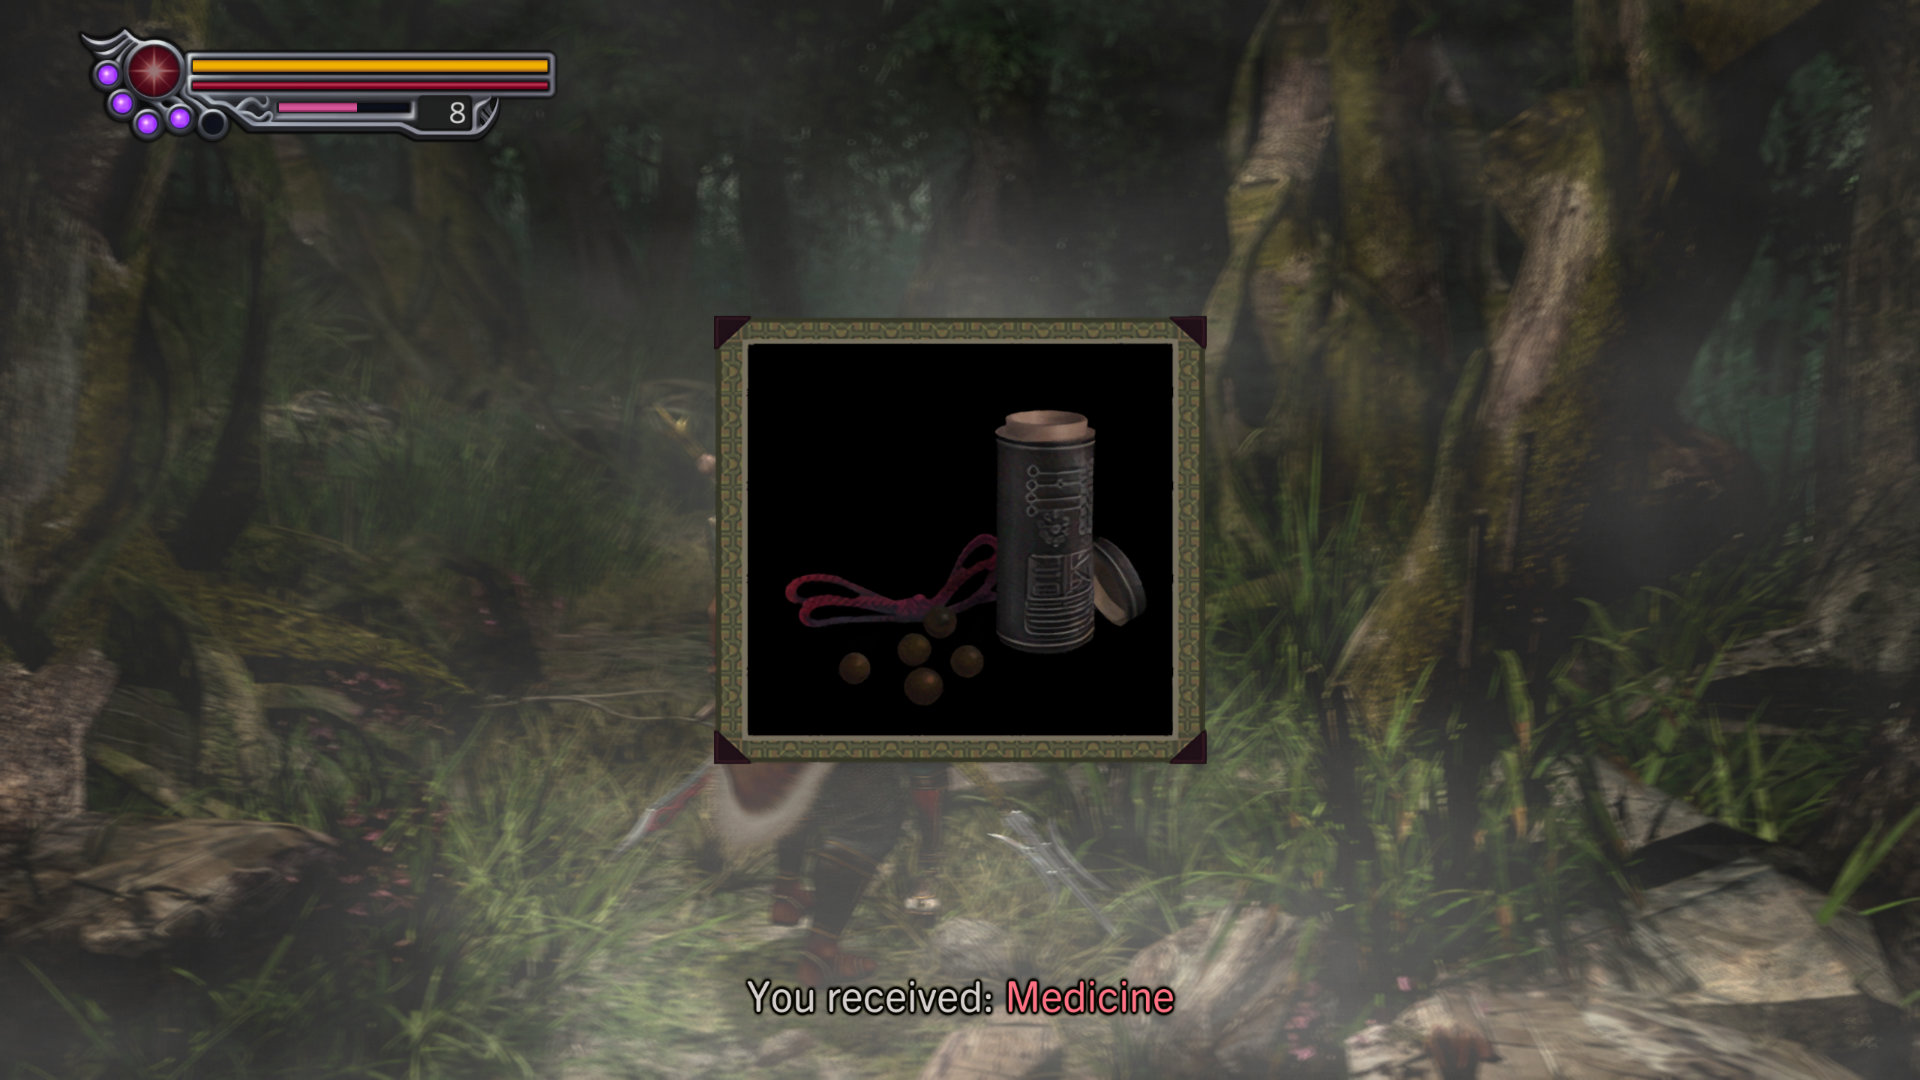
Ekei will help you clear in this area if he has the highest friendship points. After you kill all demons, talk to him again for a medicine:
- Item: Medicine
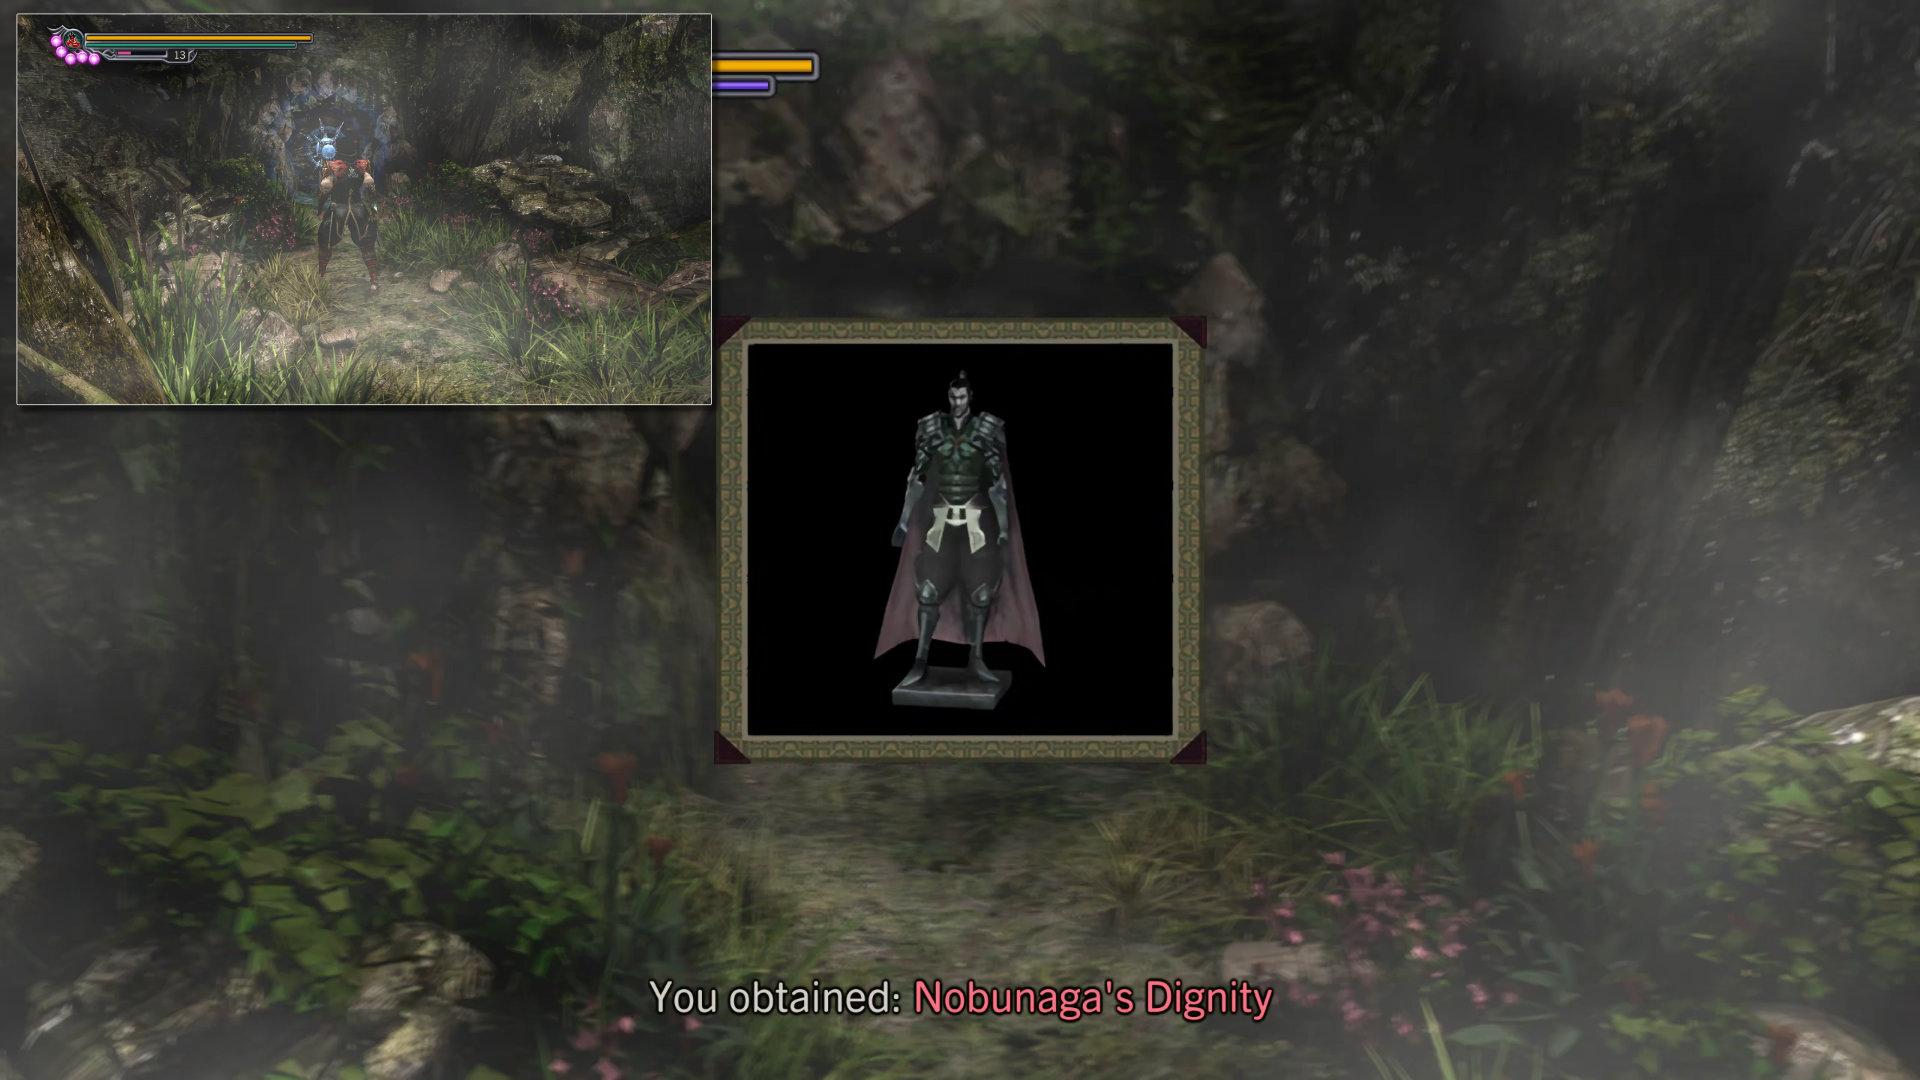
Next, go east to the dead end (your right) you'll see a blue seal, so use your lightning sword to destroy it for the last Nobunaga statue.
- Key Item: Nobunaga's Dignity
Then head south to the river area, then clean up the area first by killing all the fish demons.
Route: Magoichi
Magoichi will come to help in this area too, so talk to him afterward to receive a medicine:
- Item: Medicine
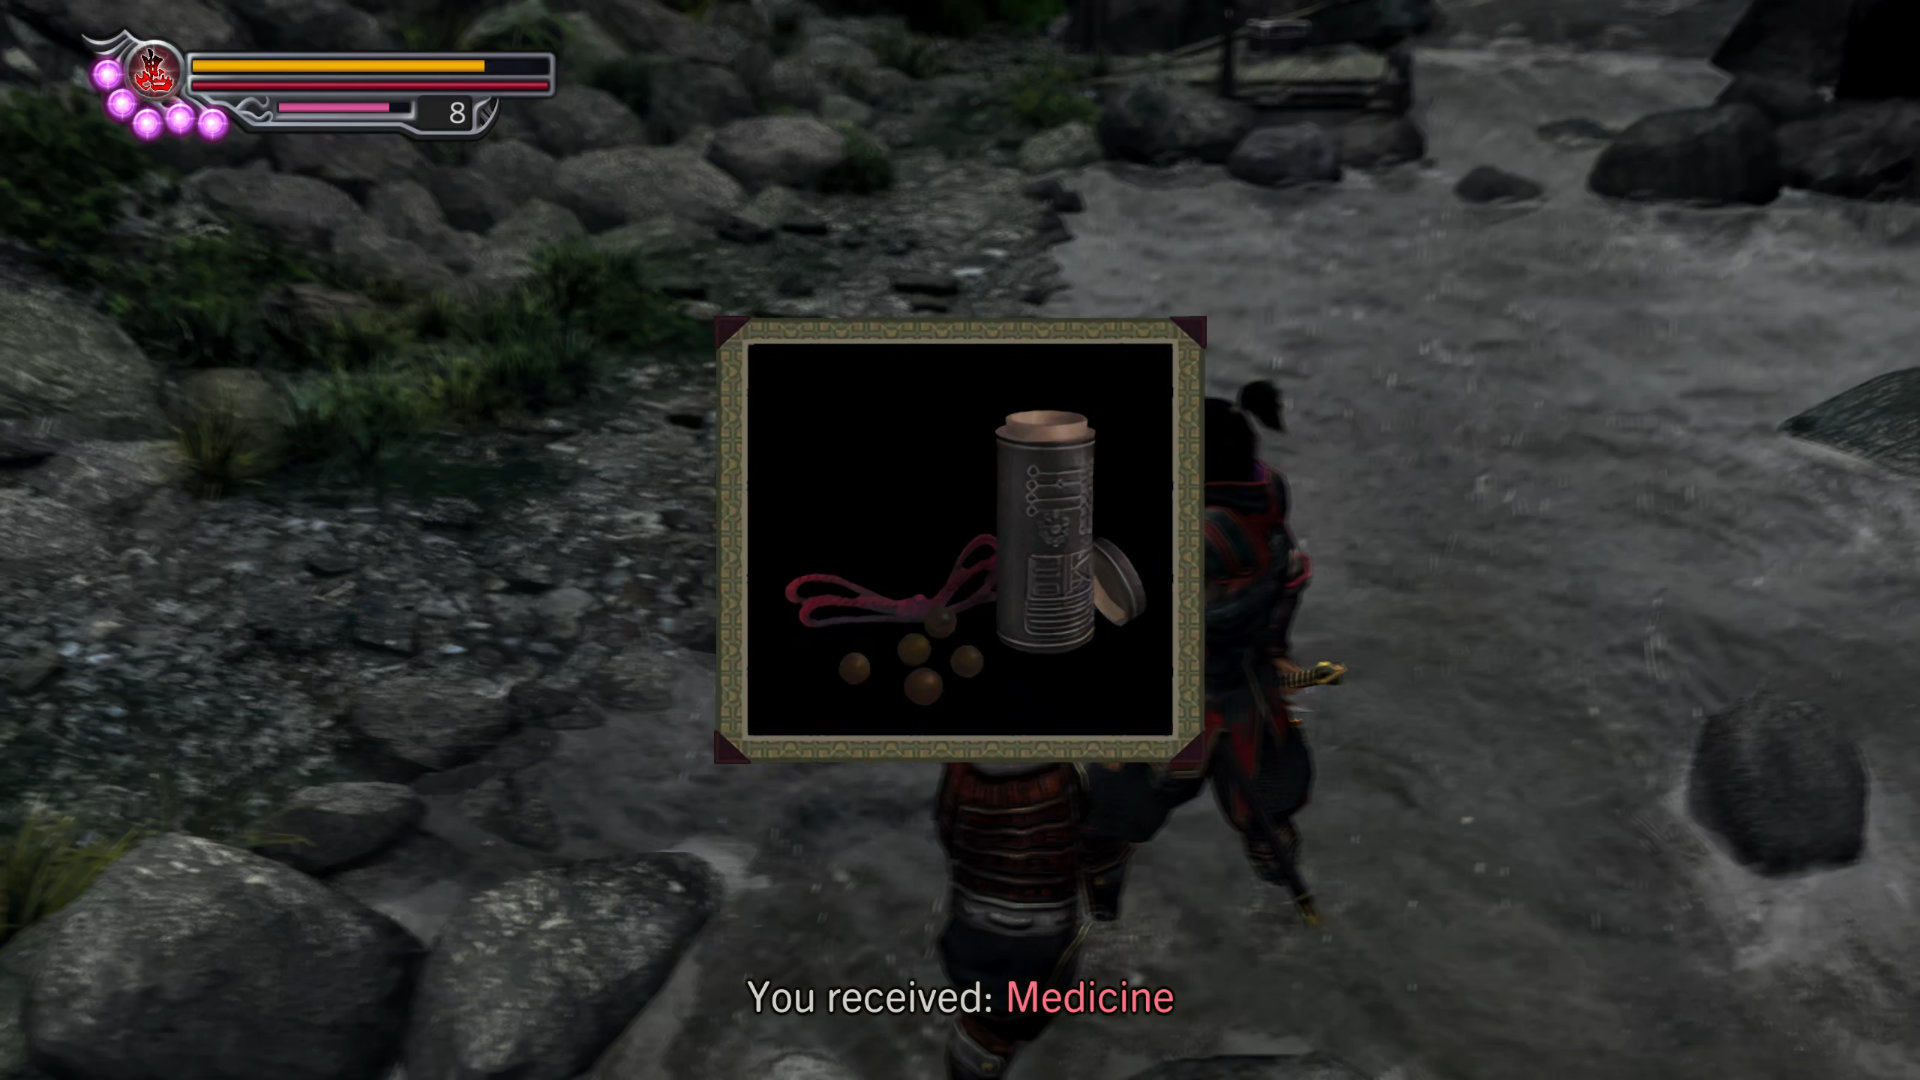
Achievement: Who Needs Rods?
Important Note: The fish spawn is not guaranteed, also, the fish can be killed if you use AoE magic like ice spear, wind blades, or Rekka-Ken. So reloading the game is needed if you don't see the fish. In a specific screen below where it shows the river flowing on the right and a silver box on top, stand near the fish and hit "Attack" to stab the fish:
- Gift Item: River Fish
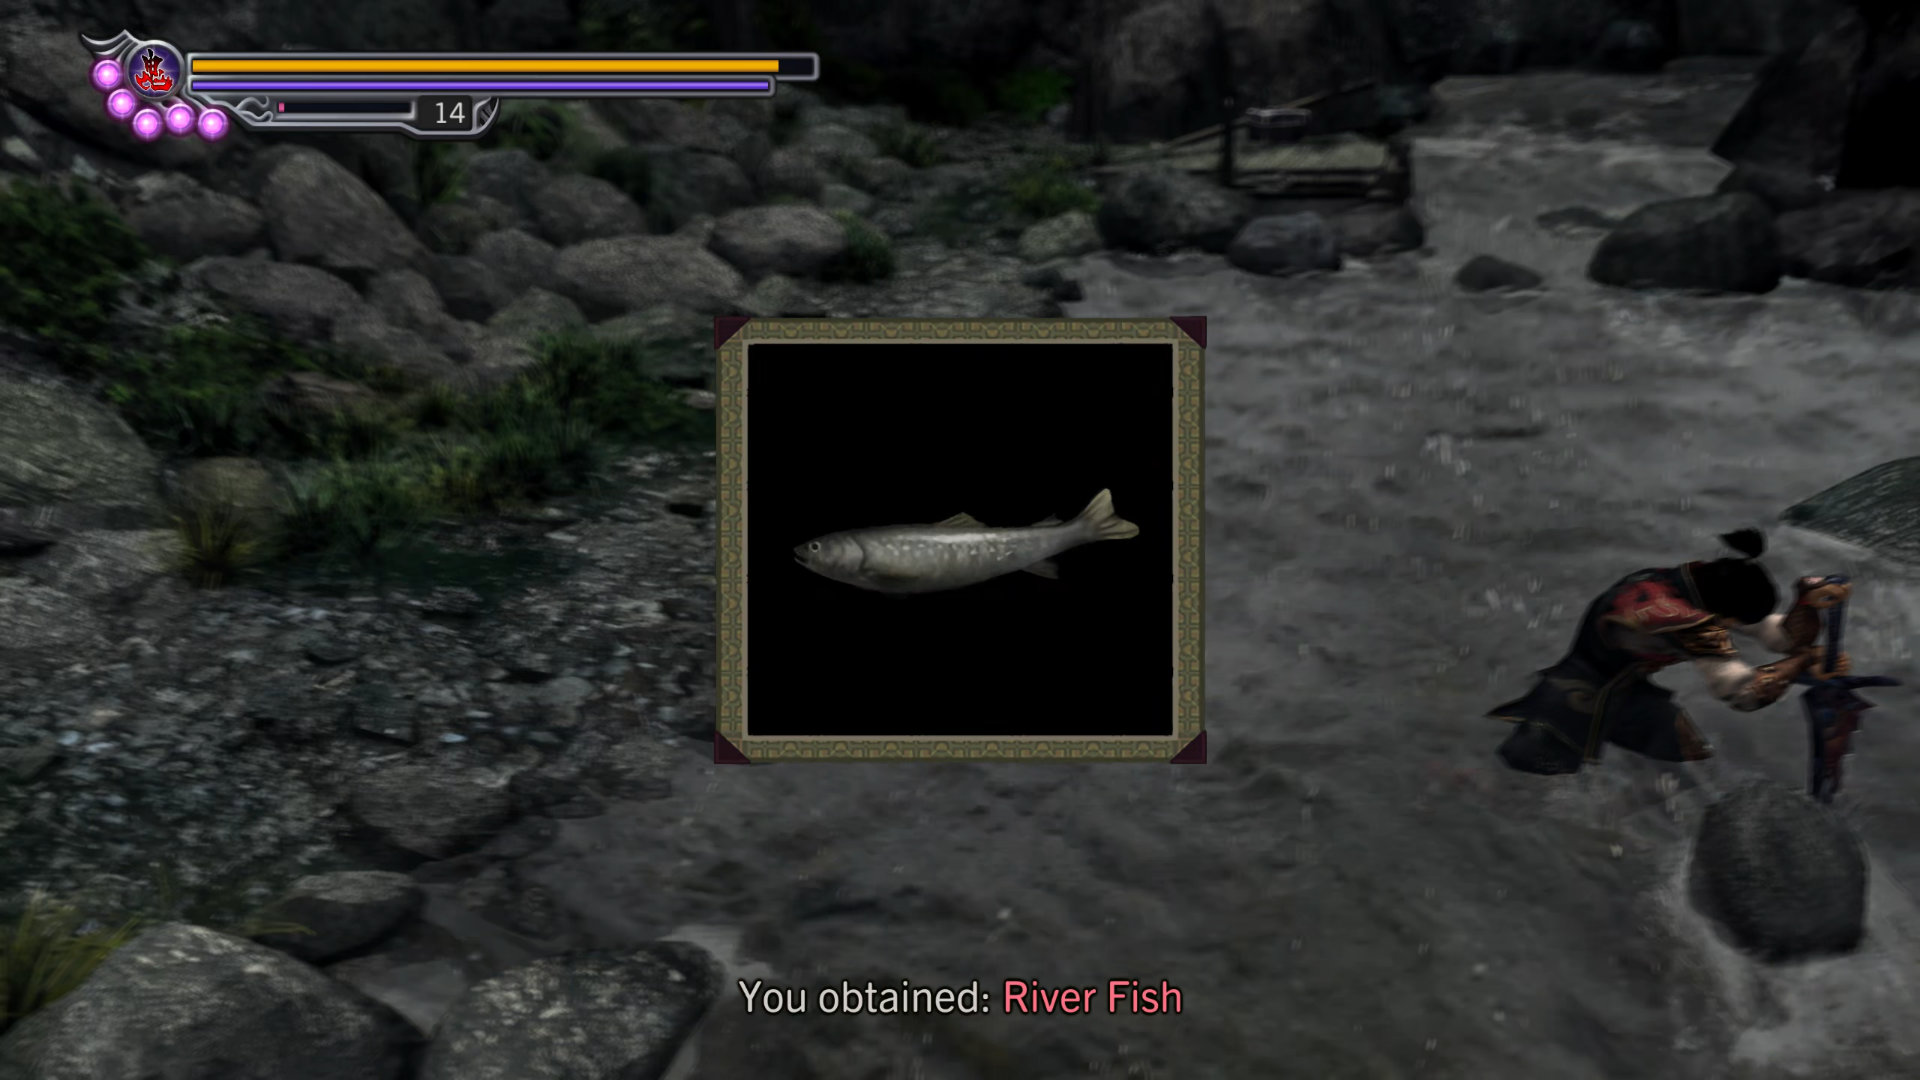
Hidden Red Souls #10: Go a bit further down stream, you'll see the hidden red soul.
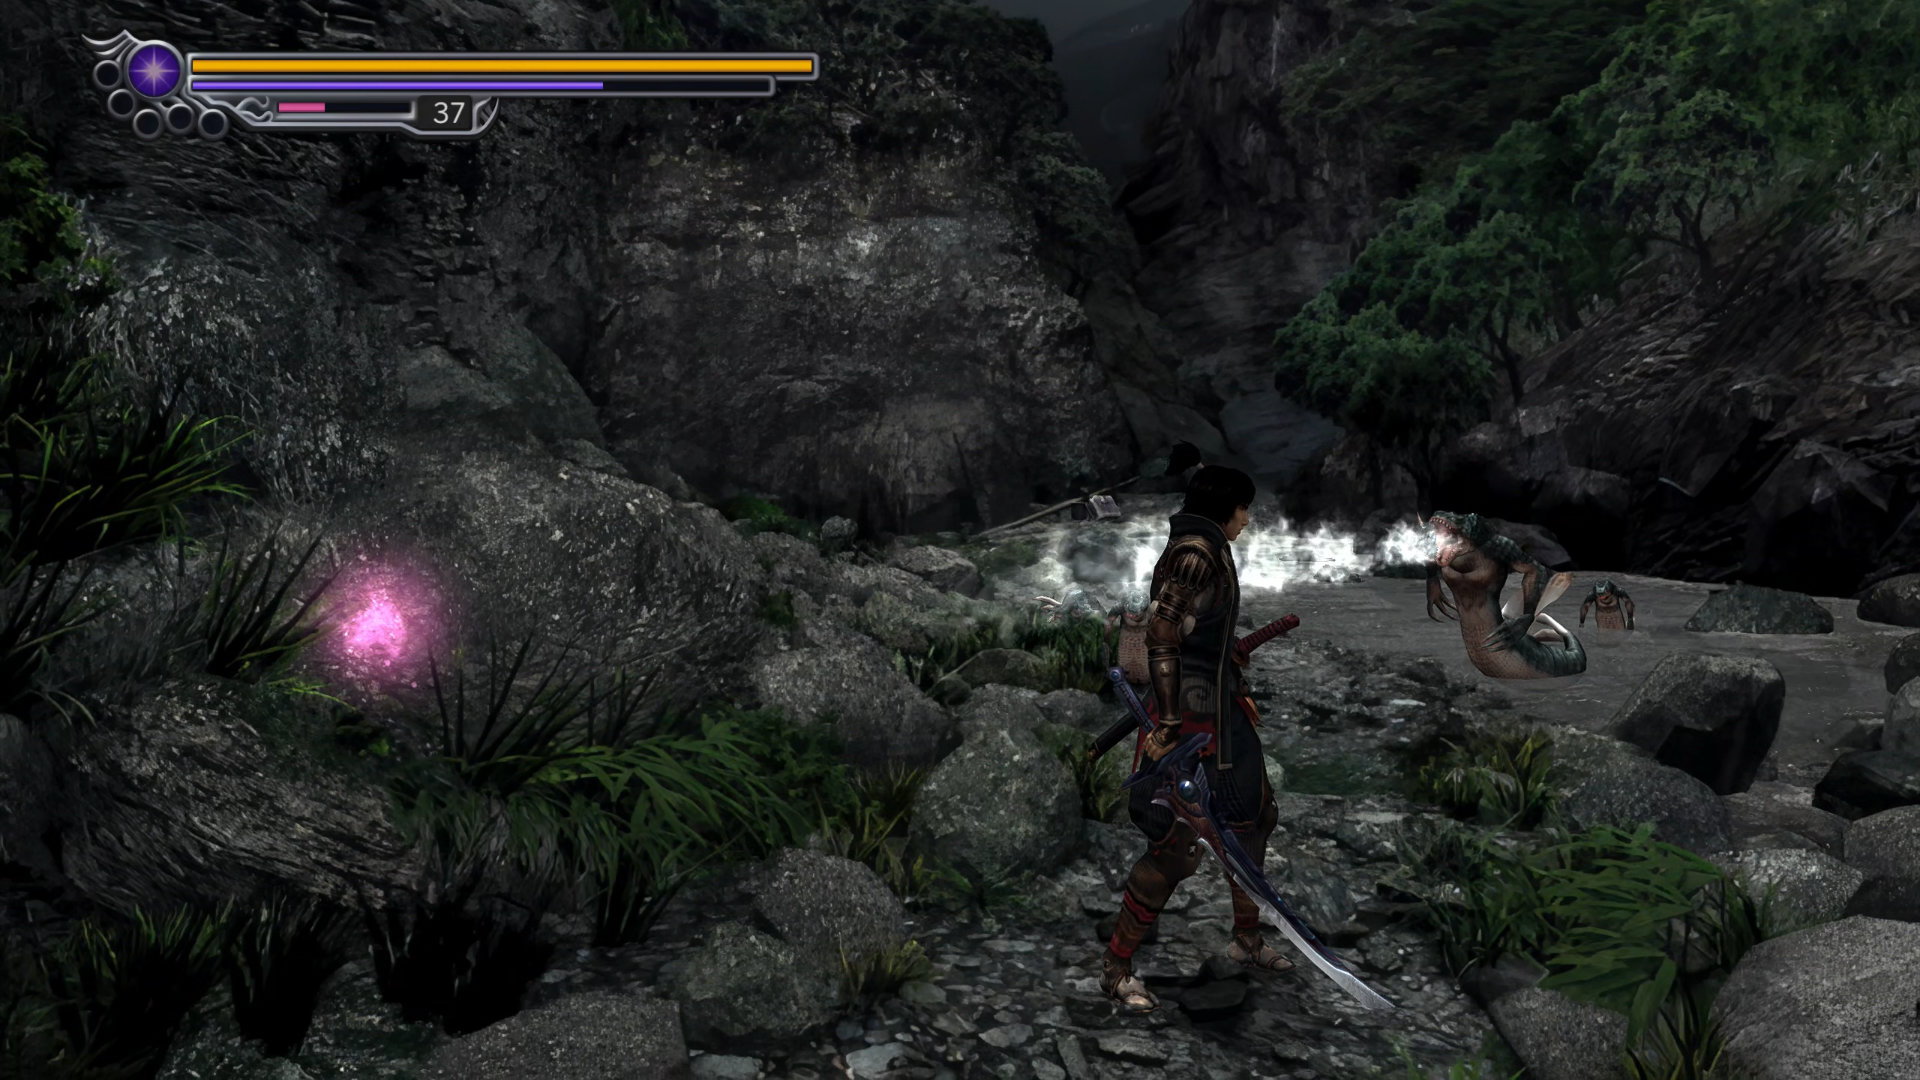
Backtrack to the Magic Mirror and save your game.
Route: Magoichi
Walk toward the swamp a little bit, a new scenario is triggered.
Scenario 5-8: Magoichi Fires a Cannon
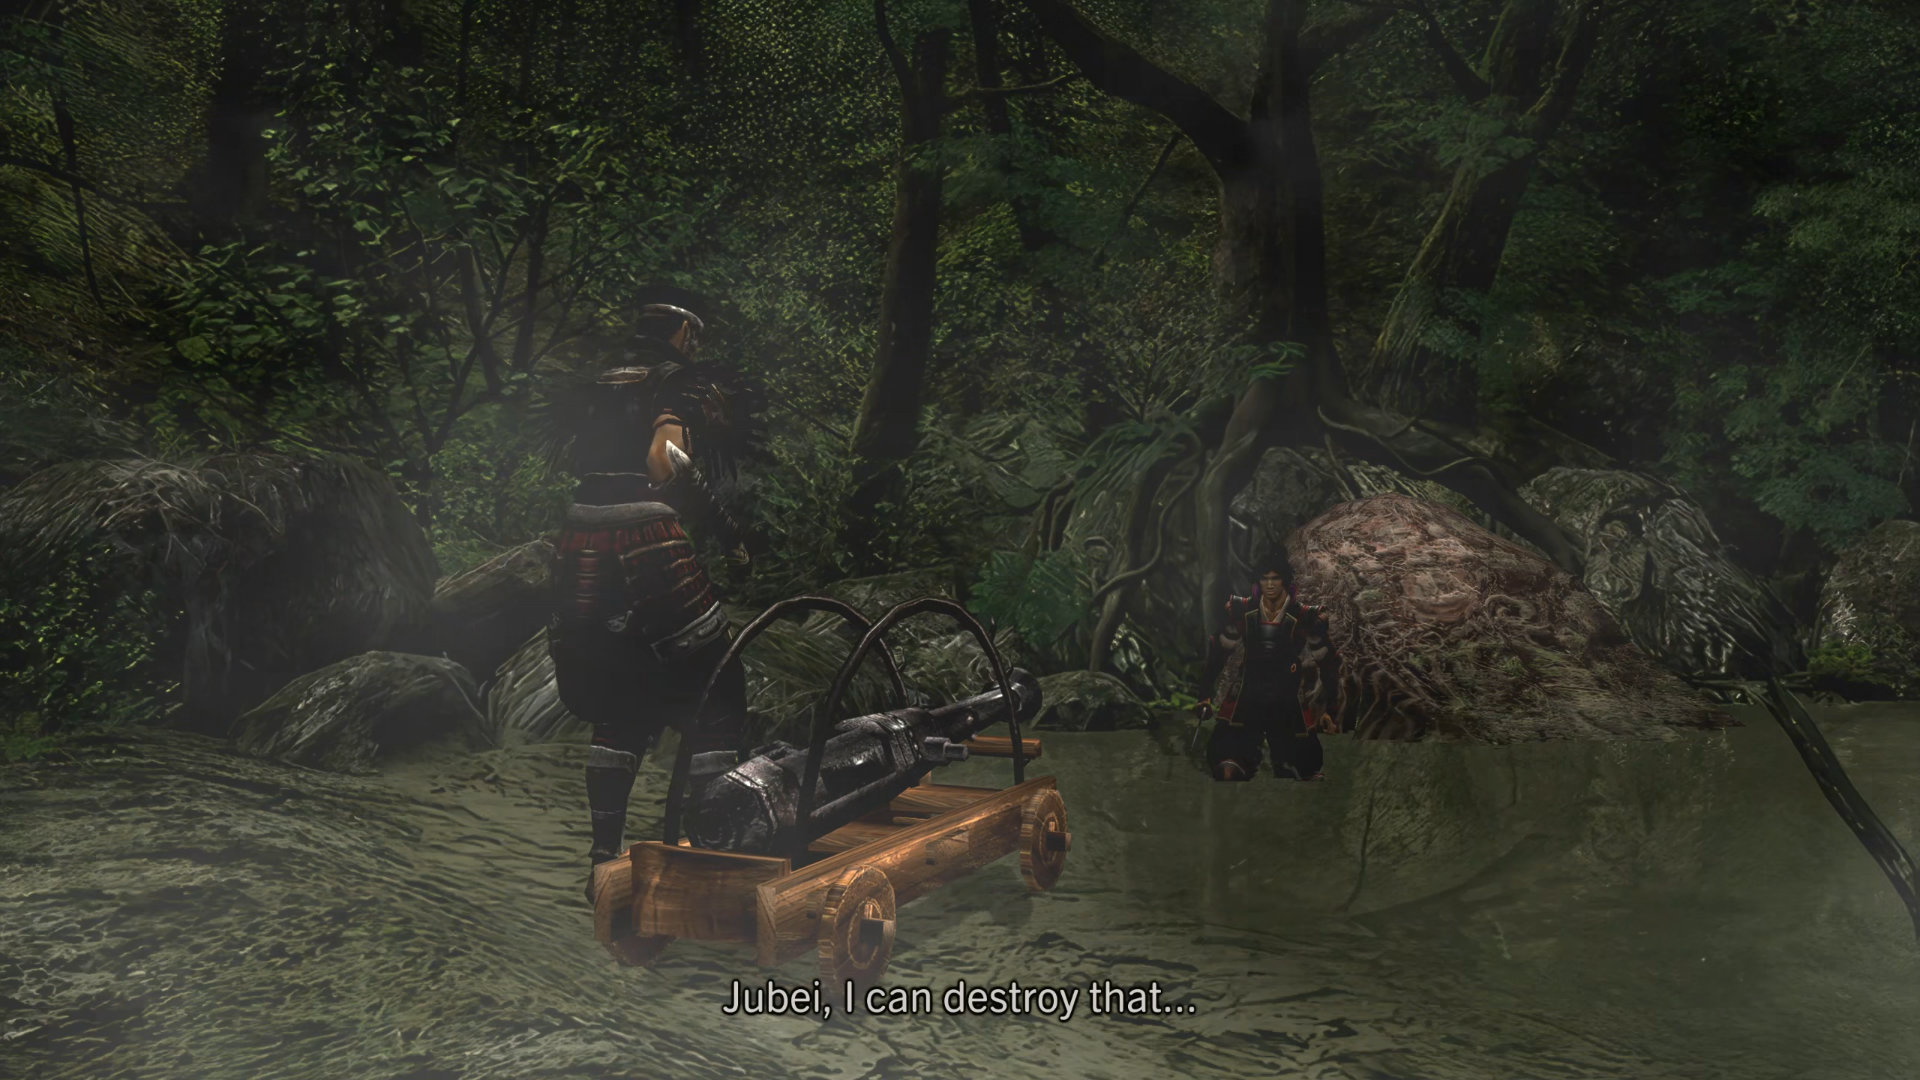
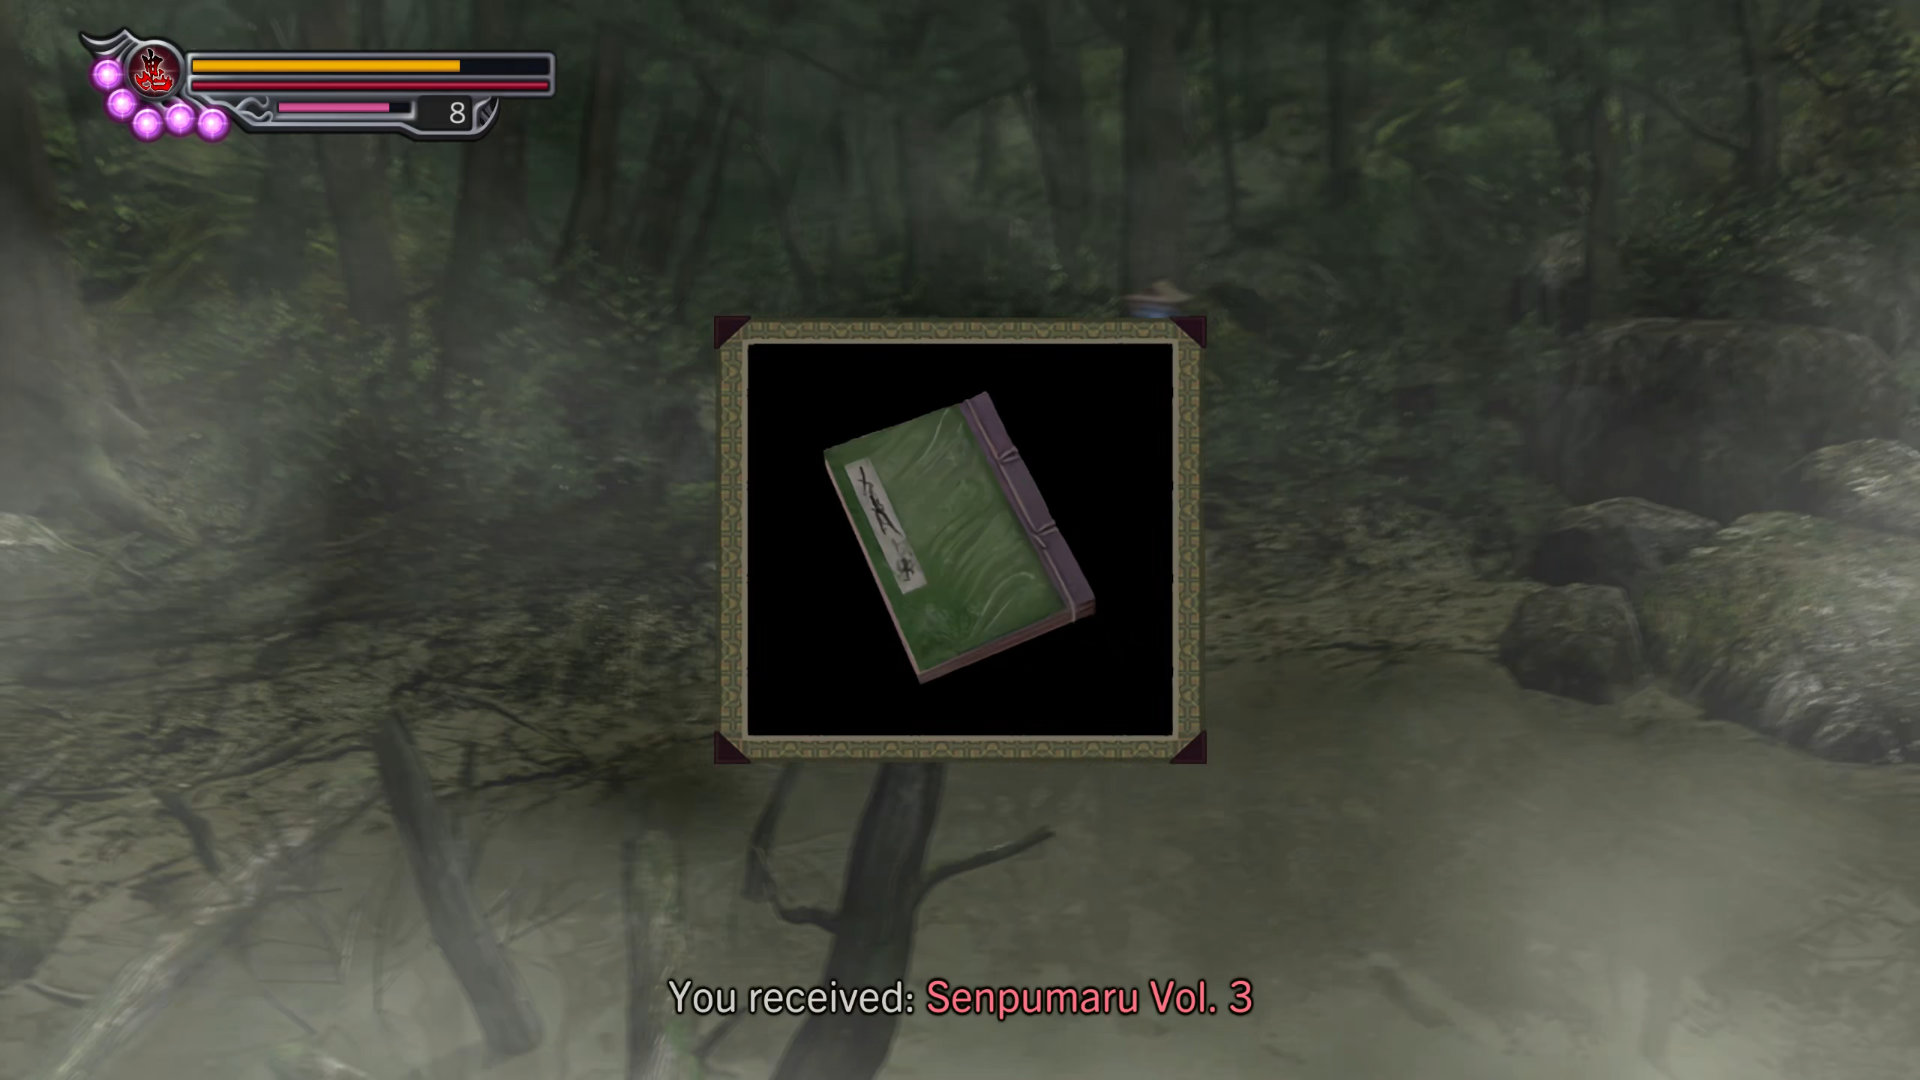
While Magoichi is preparing his canon to shoot the fish nest, all you have to do is to protect him without letting him taking any hit from the fish demons. If successful, talk to him again to get a tech book:
- Techinque Manual: Senpumaru Vol. 3
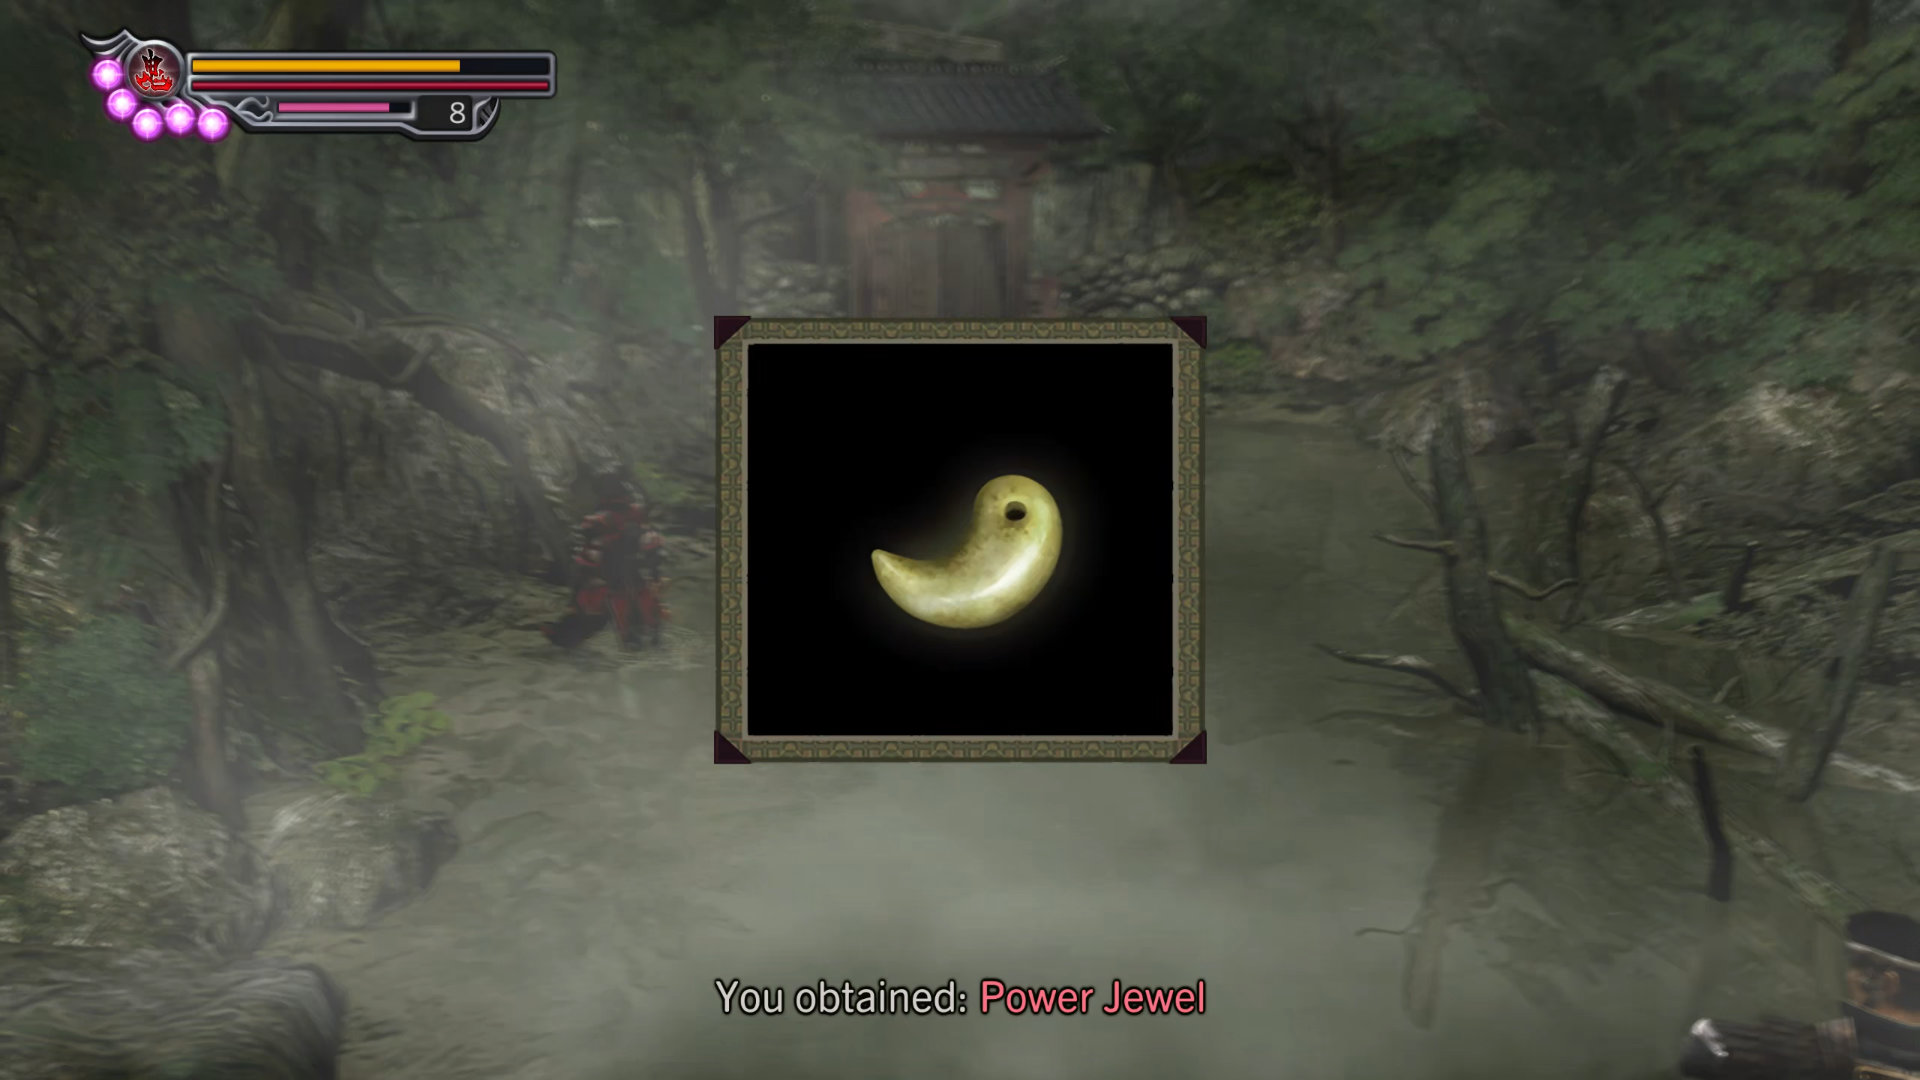
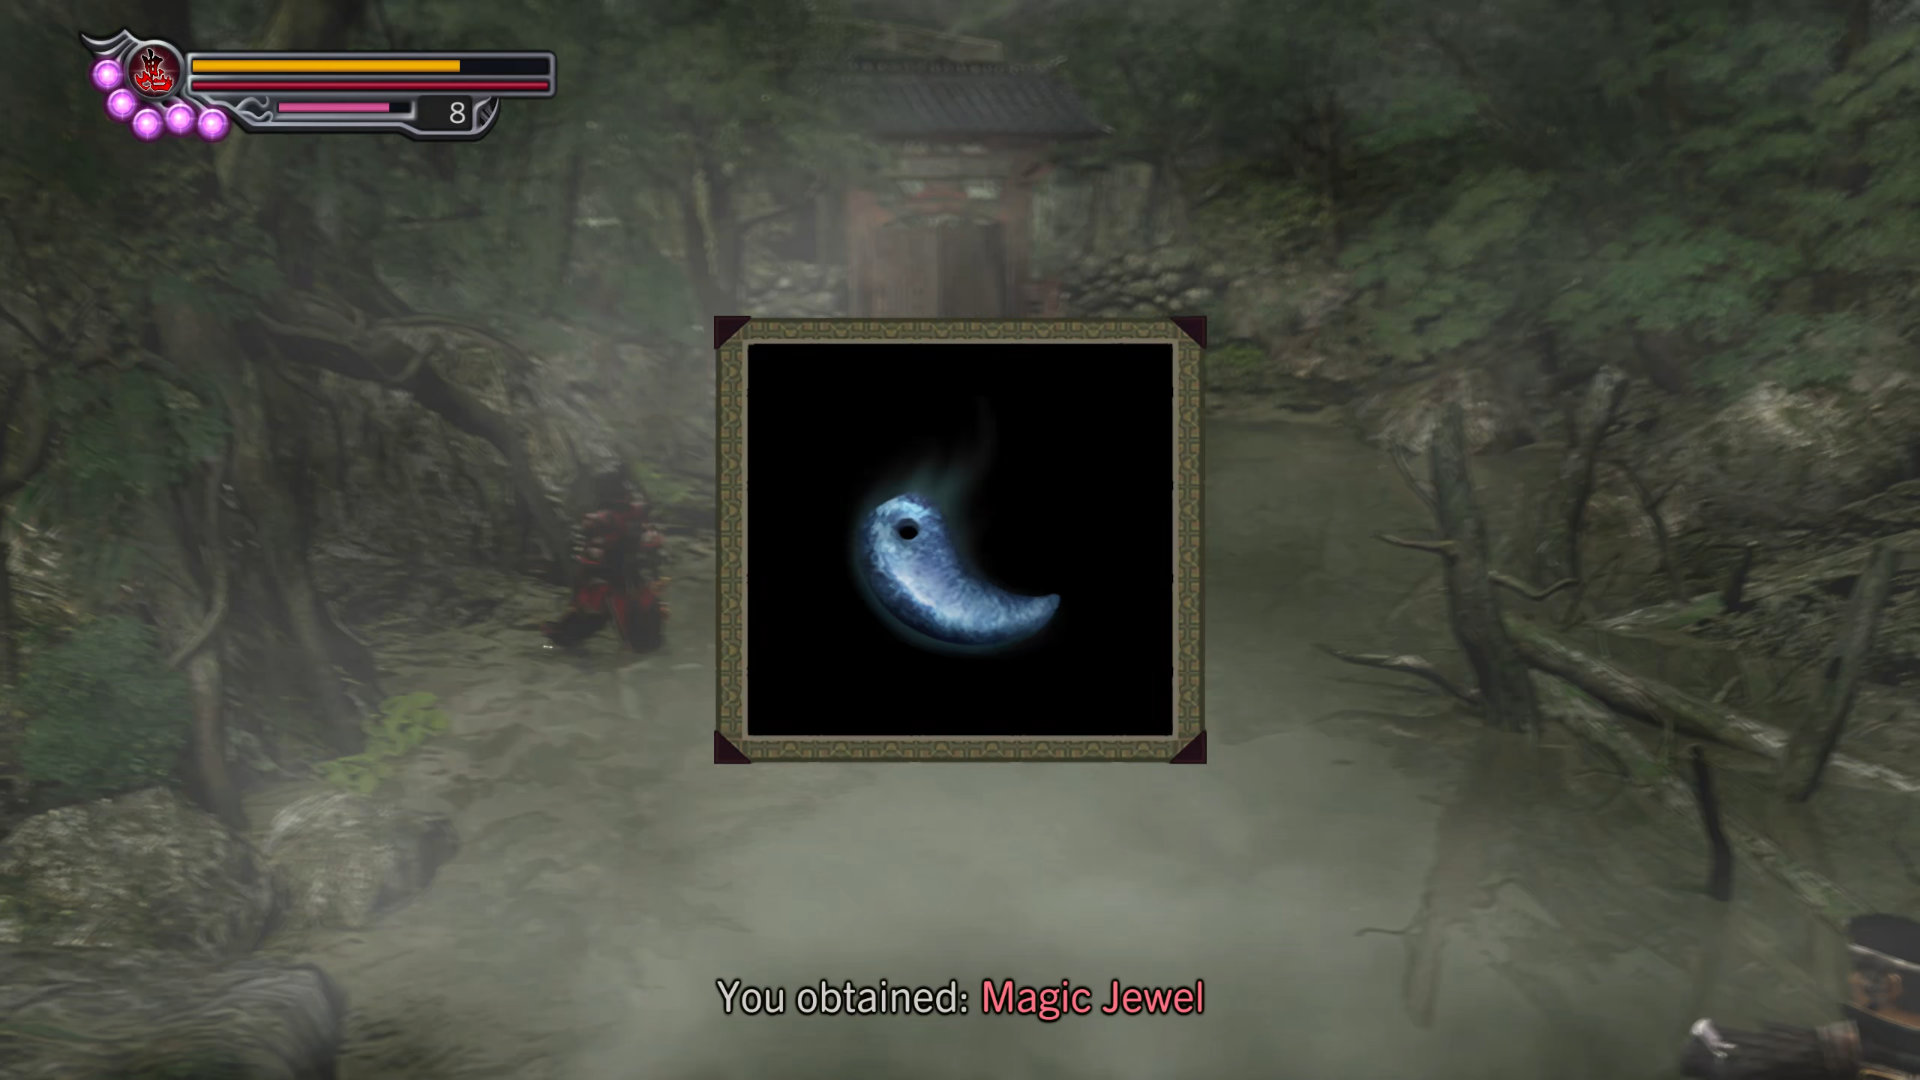
Then pick up jewels from the fish nest that just exploded:
- Item: Power Jewel
- Item: Magic Jewel
Then cross the swamp and enter the gate. At the gate, turn left for one more item before entering:
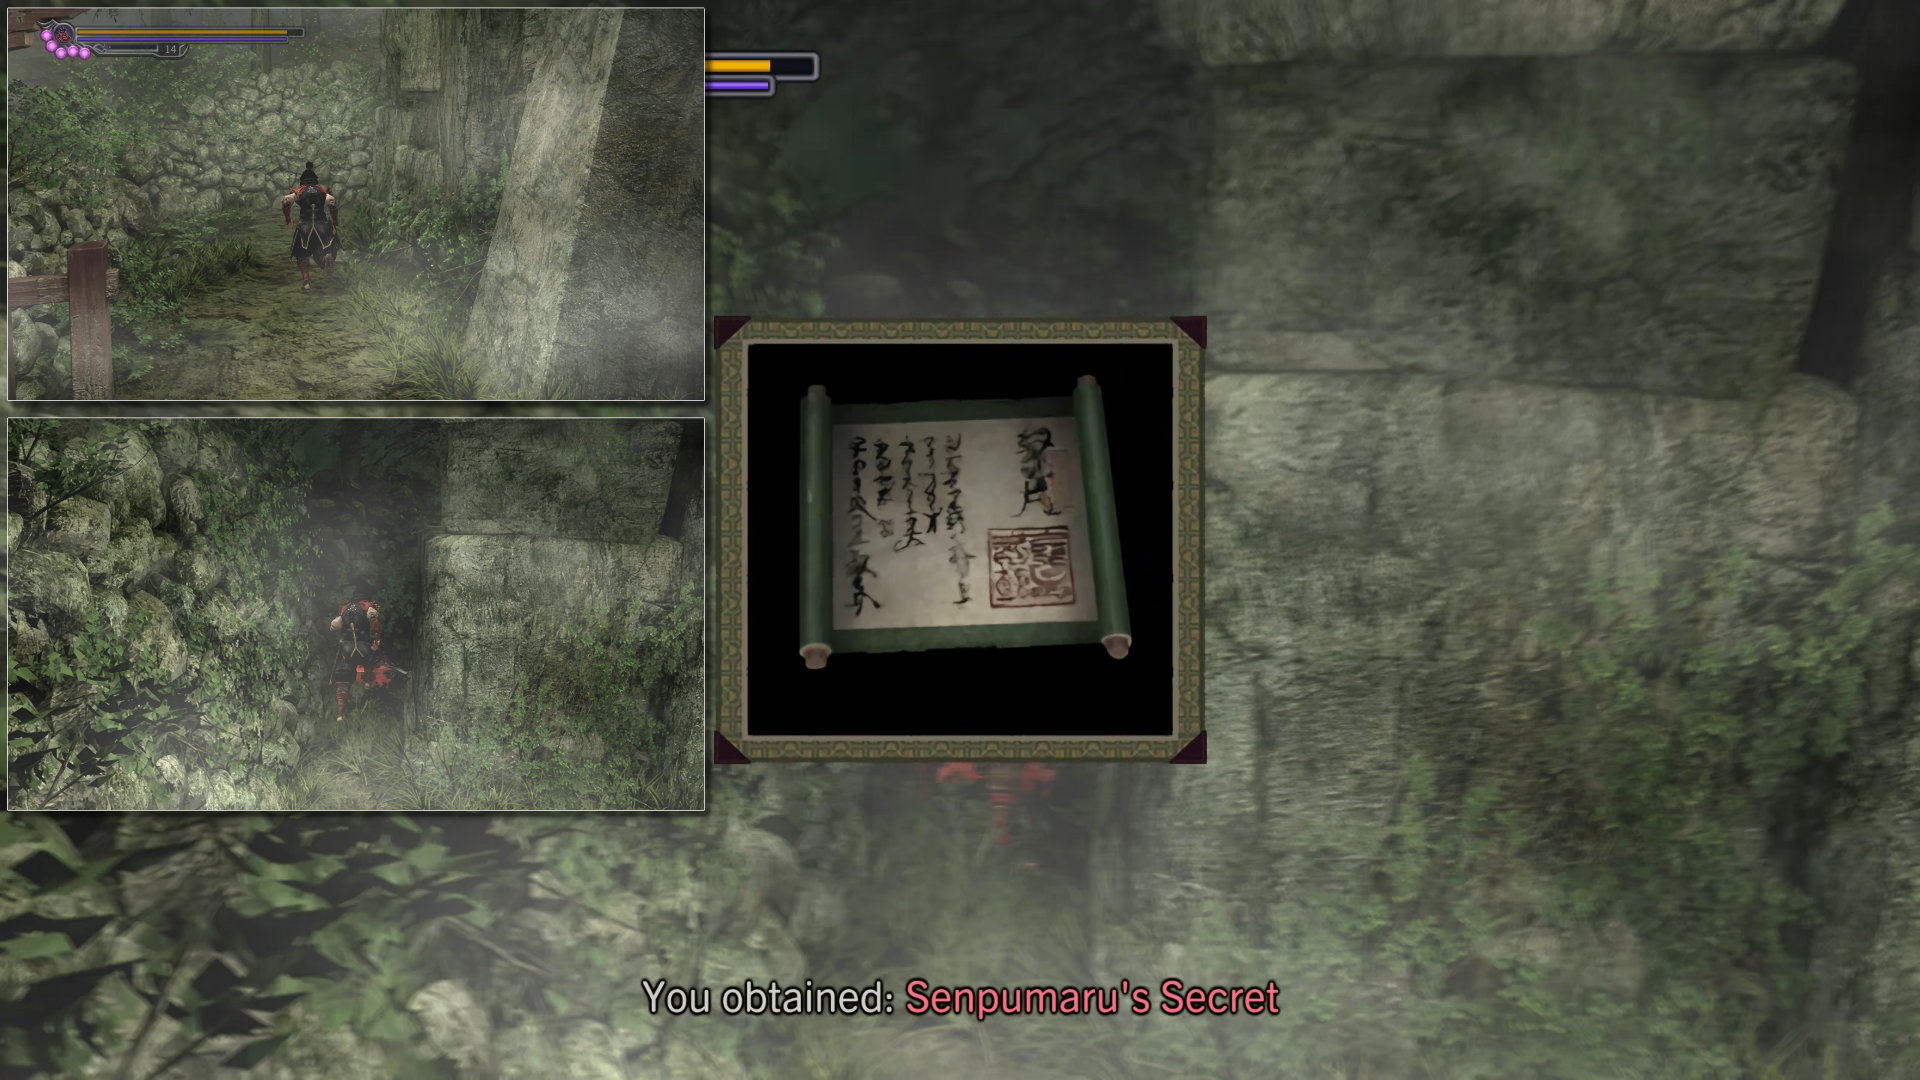
- Technique Manual: Senpumaru's Secret - (Solution: Left Bottom, Middle Right) Press "Down + Up + Attack", then "Attack" to perform the technique.
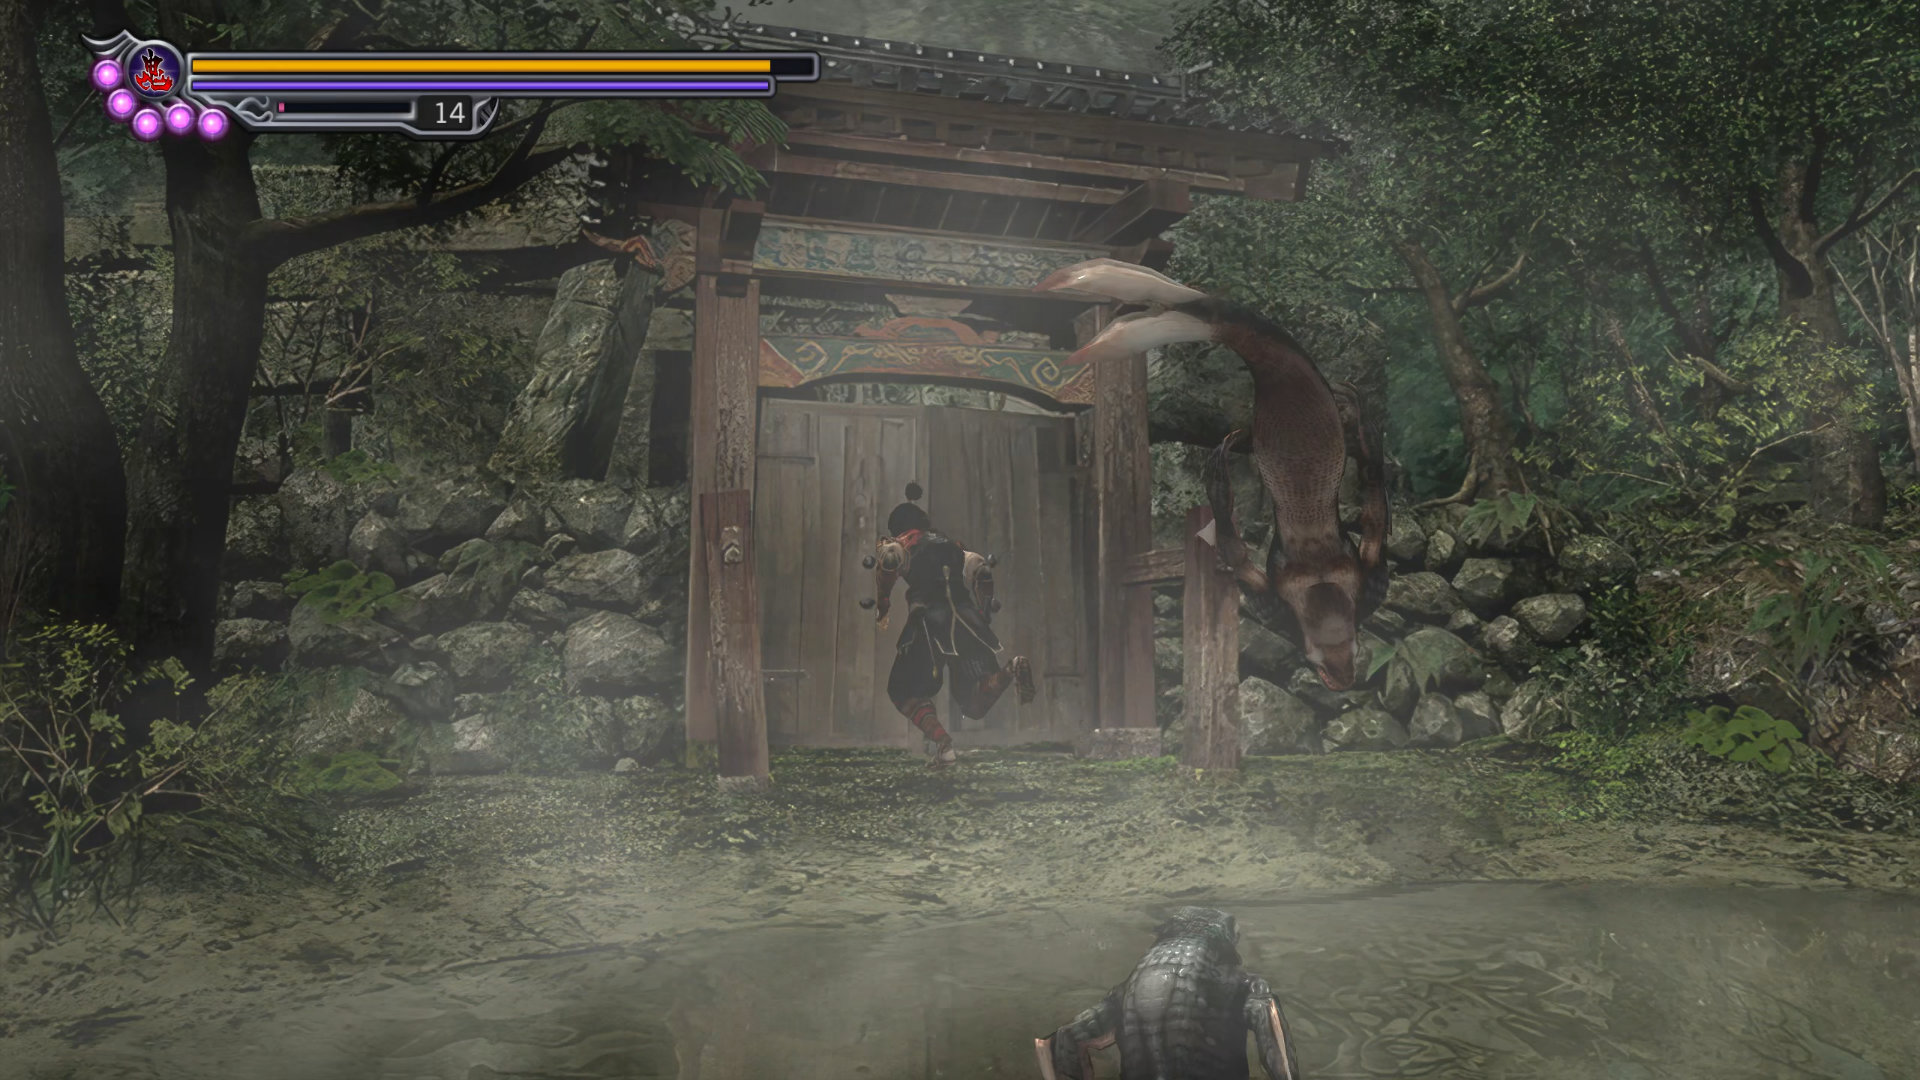
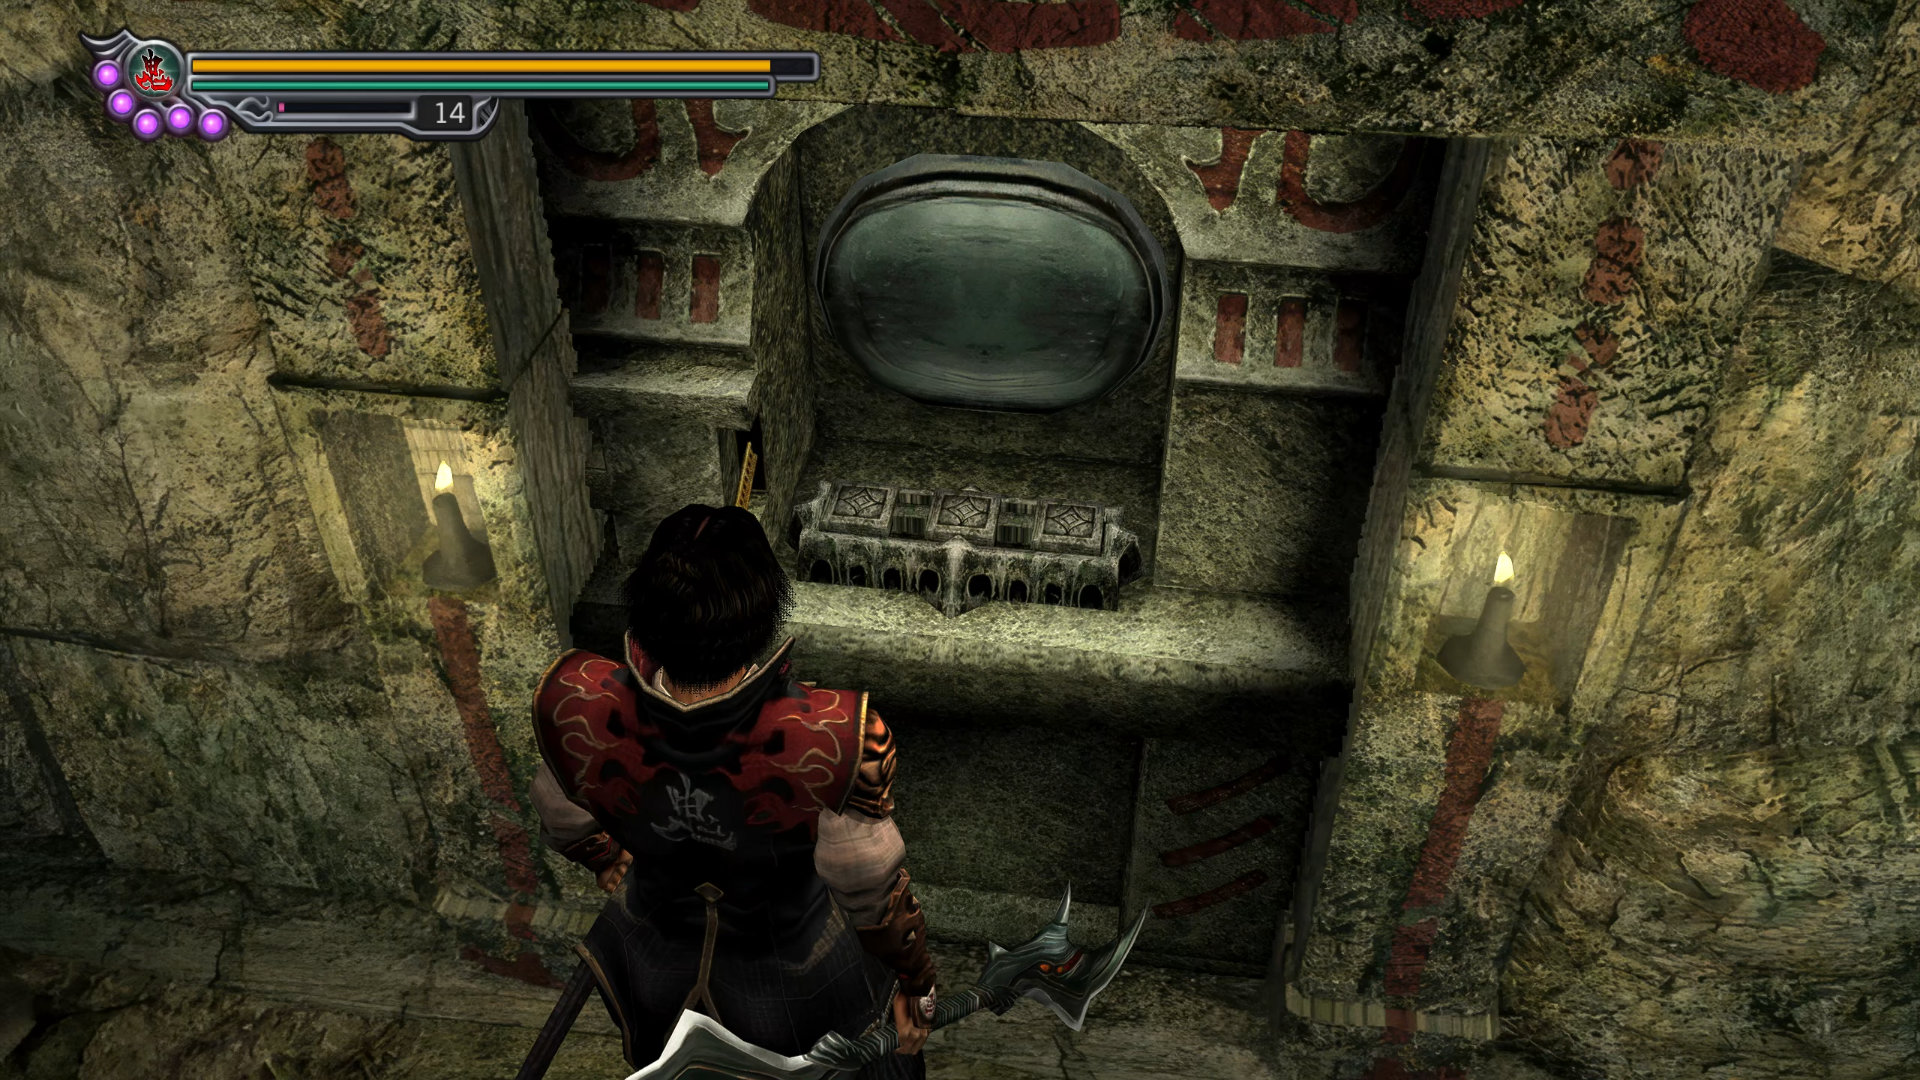
Enter the building. On the screen, you'll be asked to place 3 Nobunaga's statues in the correct order. But first, I want you to open your "Inventory -> Items" and try to remember the shape of the 3 Nobunaga's statues. When you are ready, activate the switch and place the statues in the order shown on the screen. (If you really struggle to remember the order, just take a video with your phone).
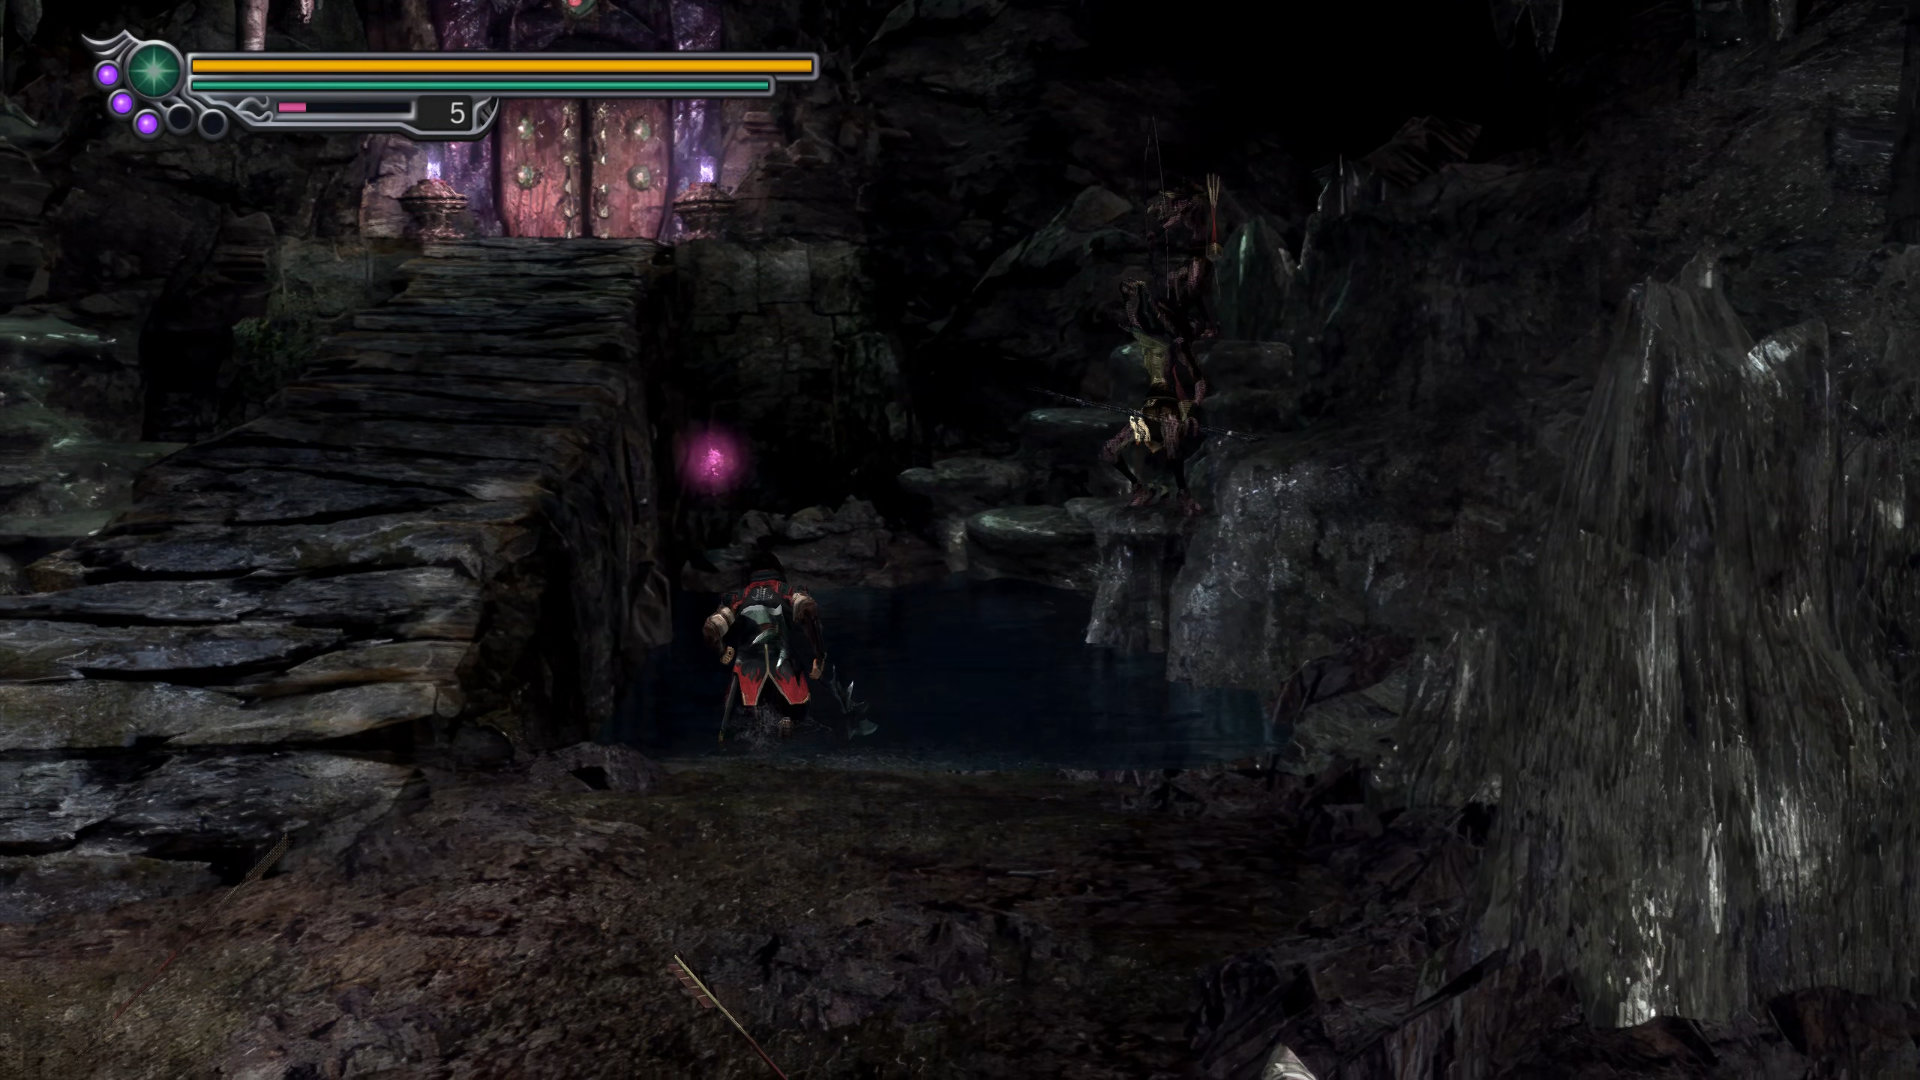
One of your allies will help you fight at the entrance. Make sure you clean up the demons before leaving.
Hidden Red Souls #11: There is a hidden red soul on the right side pond. 
Open the door to go inside, there is a new demon called "Gerohone", it's mounted to the wall blocking your way.
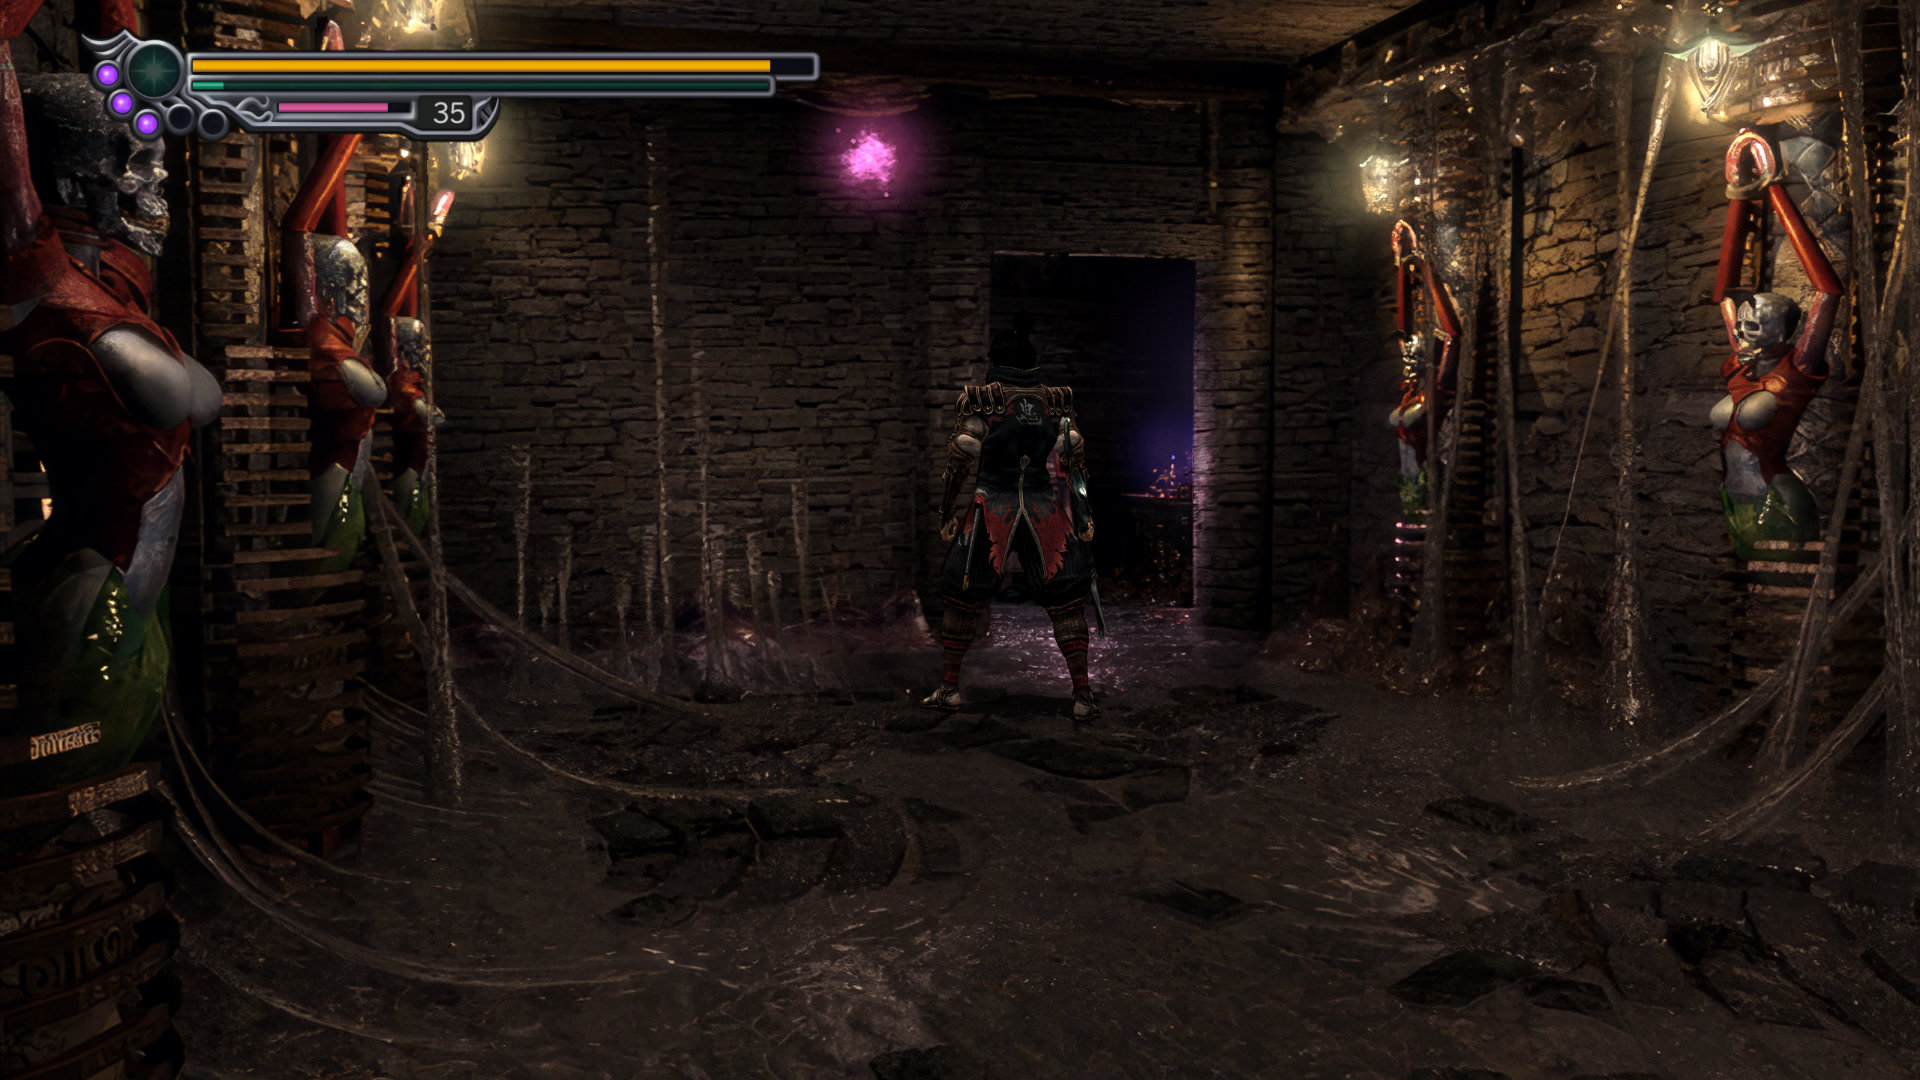
Hidden Red Souls #12: Just above the "Gerohone" hidden behind its tentacle.
Kill the wall demon, then pick up a diary behind the room. Save your game and prepare for a boss fight.
- File: Jujudormah's Diary
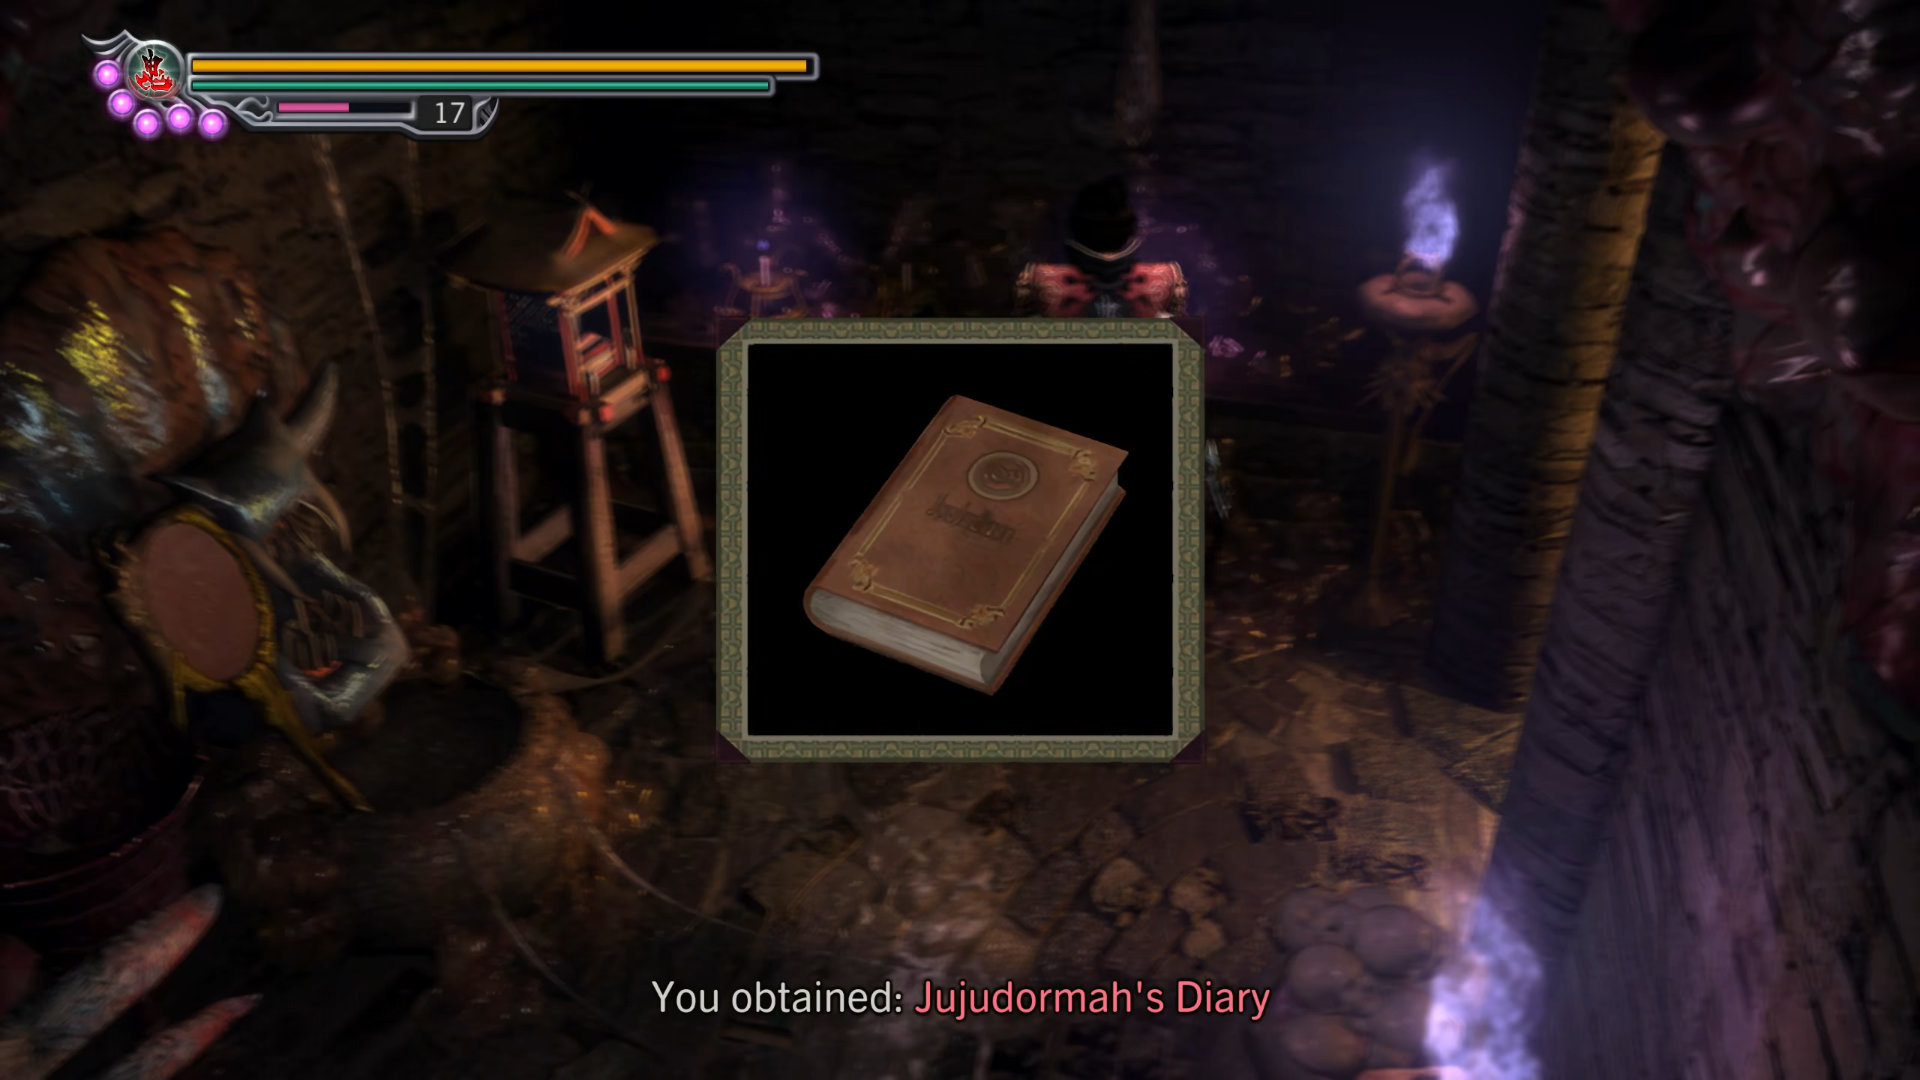
Boss: Jujudormah
The best weapon to go against this boss is your wind blades. This boss has 2 phases
- Phase 1: In this phase, she'll keep running or teleporting away from you and shoot her magic from afar, so try to get close by running in a circle dodging her bullets. When close enough, hit her with your wind blades' secret move "Down + Up + Attack" (do not use the second move). However, she'll block your attacks after 1 or 2 hits, pause a bit until she lowers her guard, then repeats the secret moves. Keep in mind that if you still attack her while she is guarding, she'll eventually encounter the attack.
- Phase 2: In this phase, she'll keep chasing you and perform different attack moves, and she cannot be knocked back when hit. So, your only opening is after her attacks end, and you have about half a second to hit her.
- Remember her attack animations below are crucial. The only one you should worry about is the thrust attack:
- Normal attack: can block but break your guard, she swings her umbrella twice. If you are in the corner, you'll get hit by the second attack.
- Slash: can block but break your guard. She performs a high-slash move with her umbrella.
- Swinging blade: can easily block, she runs toward you and swings her blades multiple times.
- Umbrella thrust: this move has 2 attacks, she thrusts her umbrella twice. If you block the first attack, you'll definitely get hit by the second attack, so dodging is the only way.
- Shooting magic: can easily block, she steps back and shoots multiple bullets at once.
- Hip attack: can block, but it'll break your guard. She launches her butt to attack you... lol.
Note: one of your allies will aid you if your health drops below 25%.
Scenario 5-9: Jujudormah's Goodbye Kiss
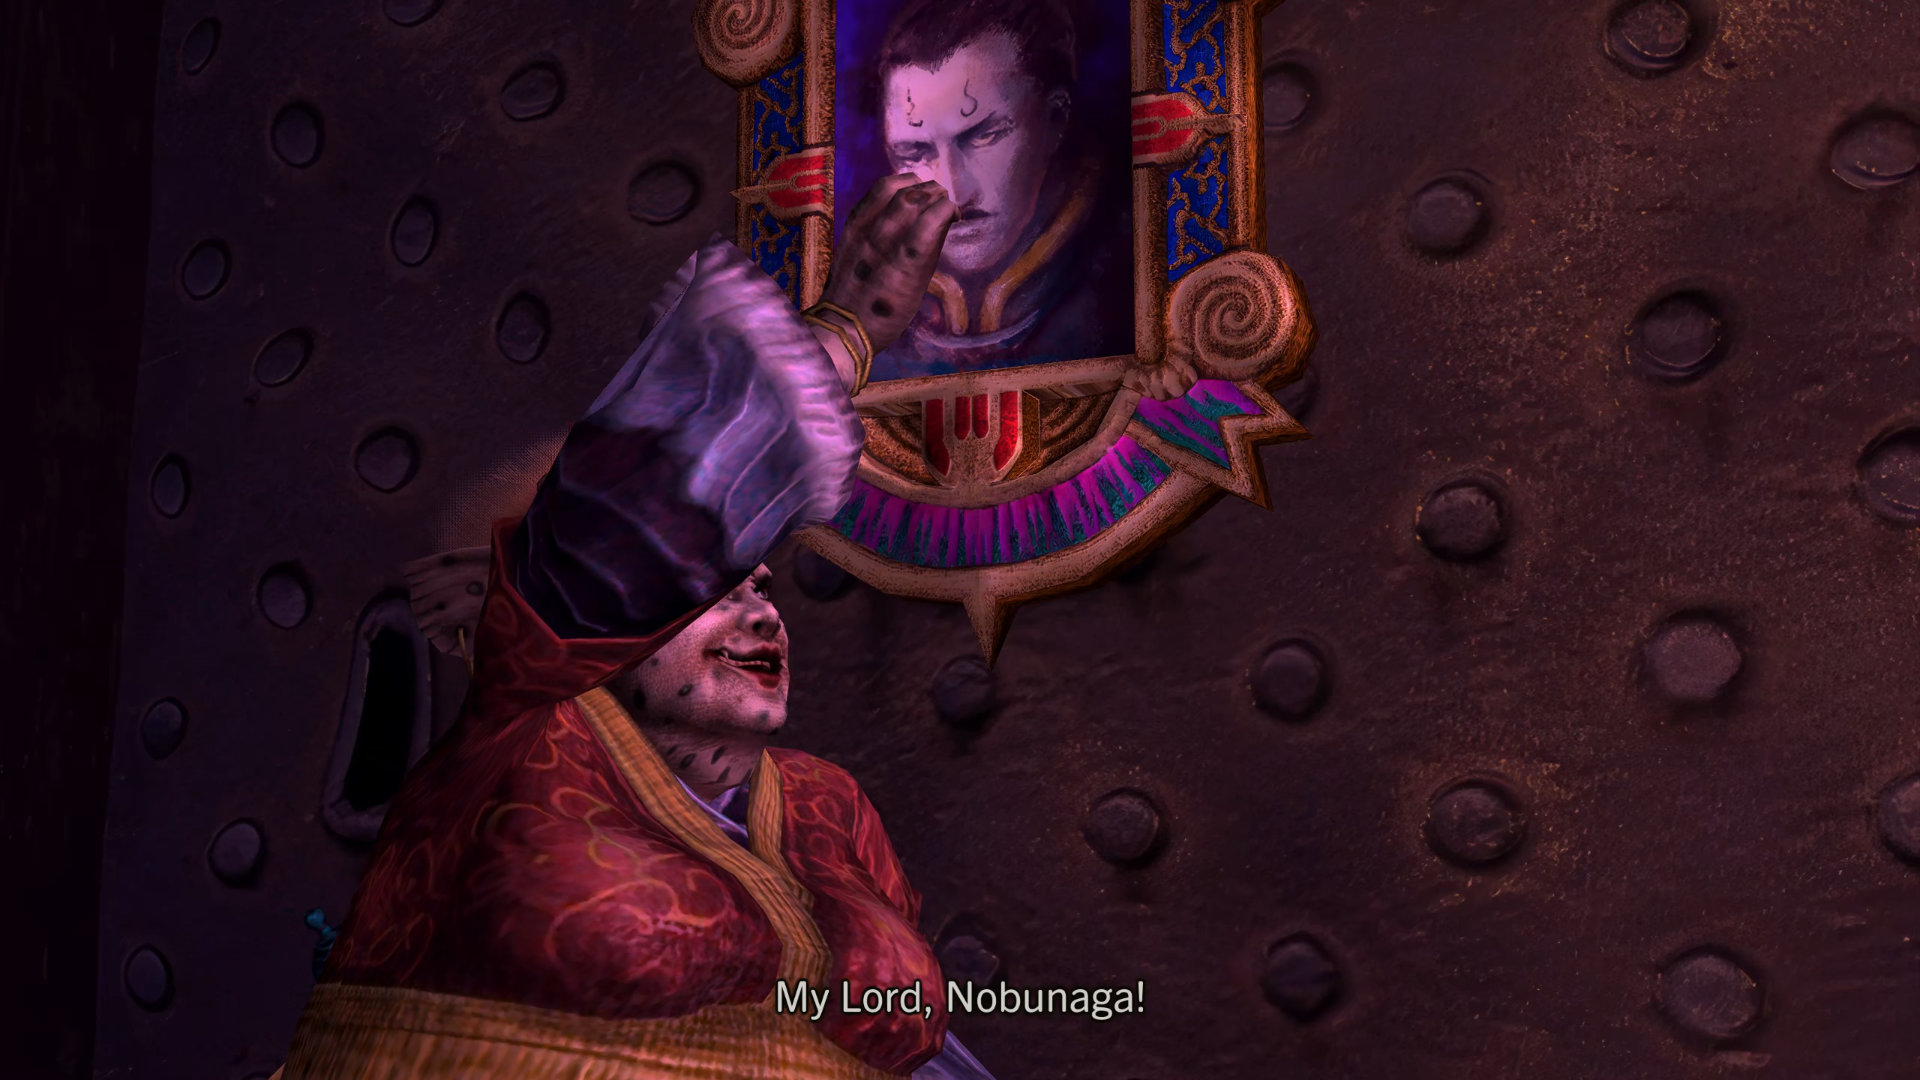
This scenario happens after you defeated her, and you'll automatically obtain Honesty Orb:
- Key Item: Honesty Orb
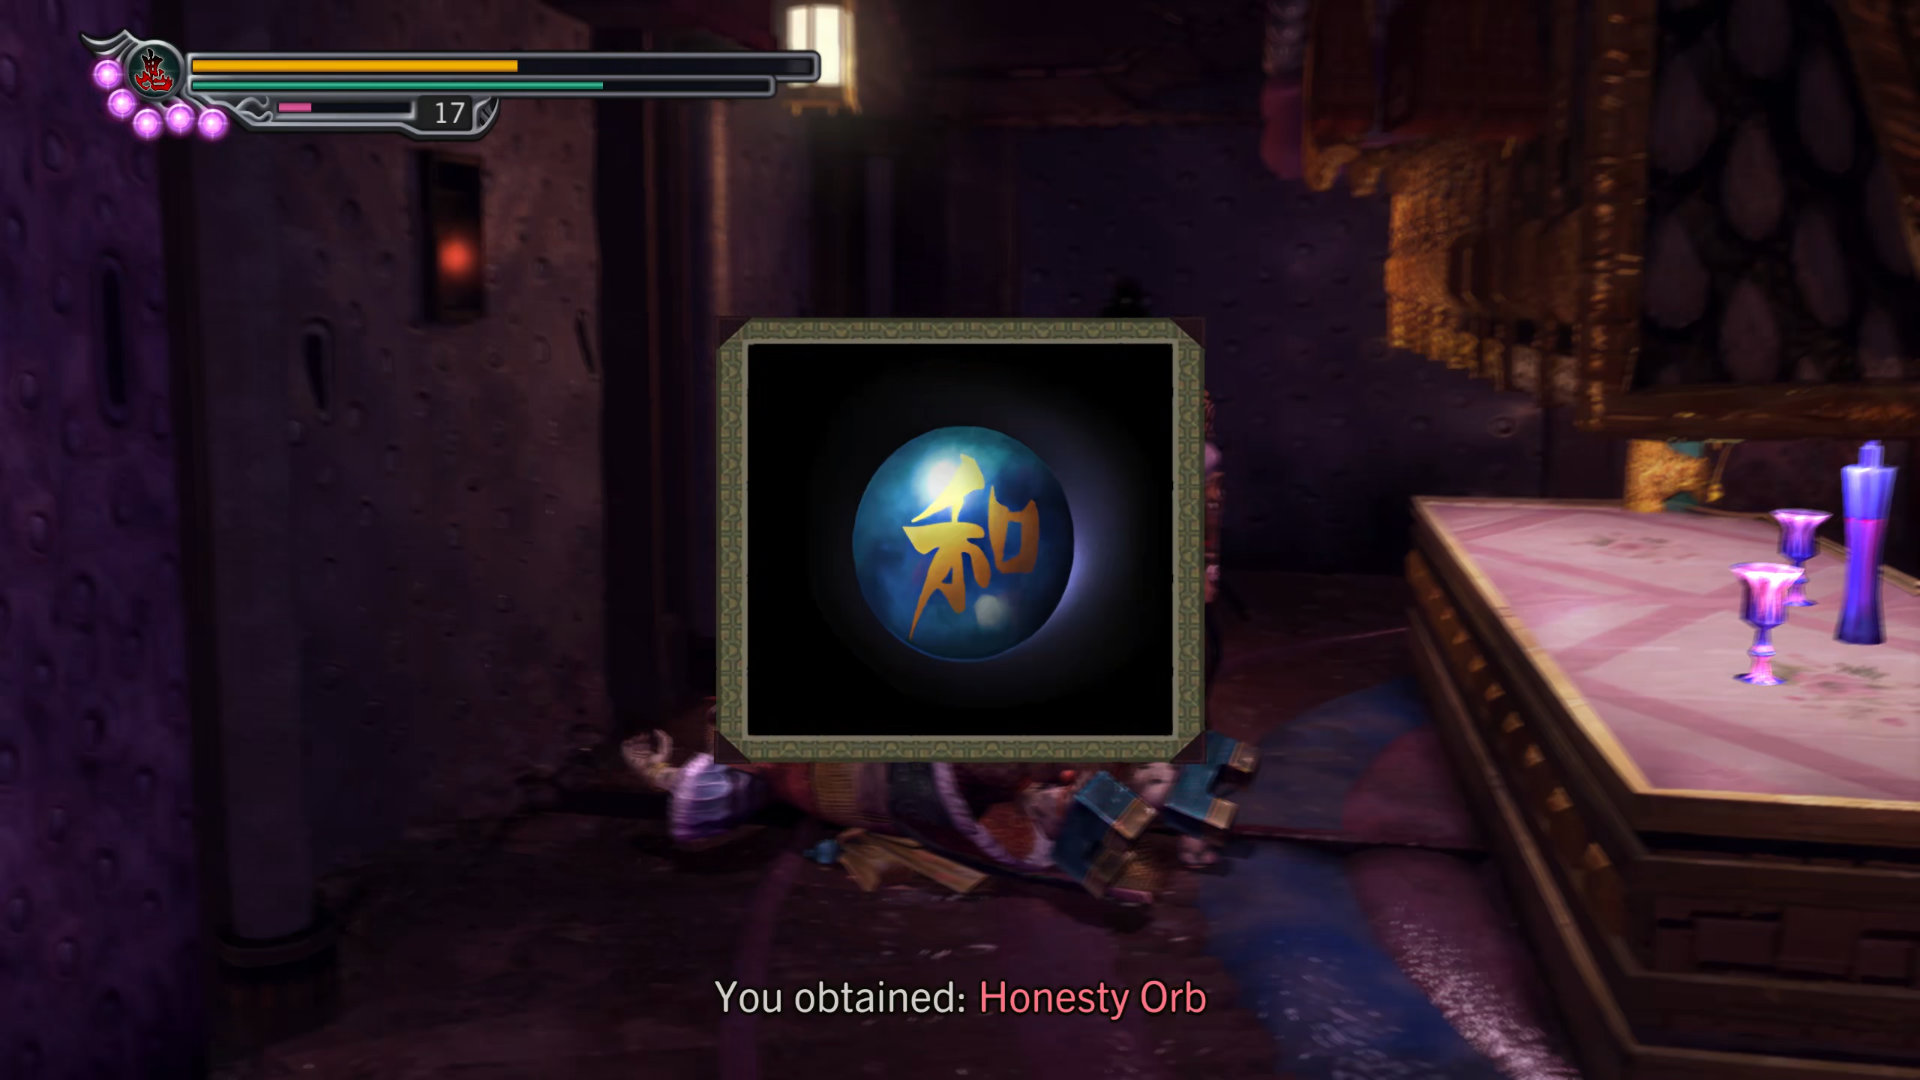
When the cutscene is finished, press the switch (red light) on the wall to open a secret passage. In there, you'll find a treasure box:
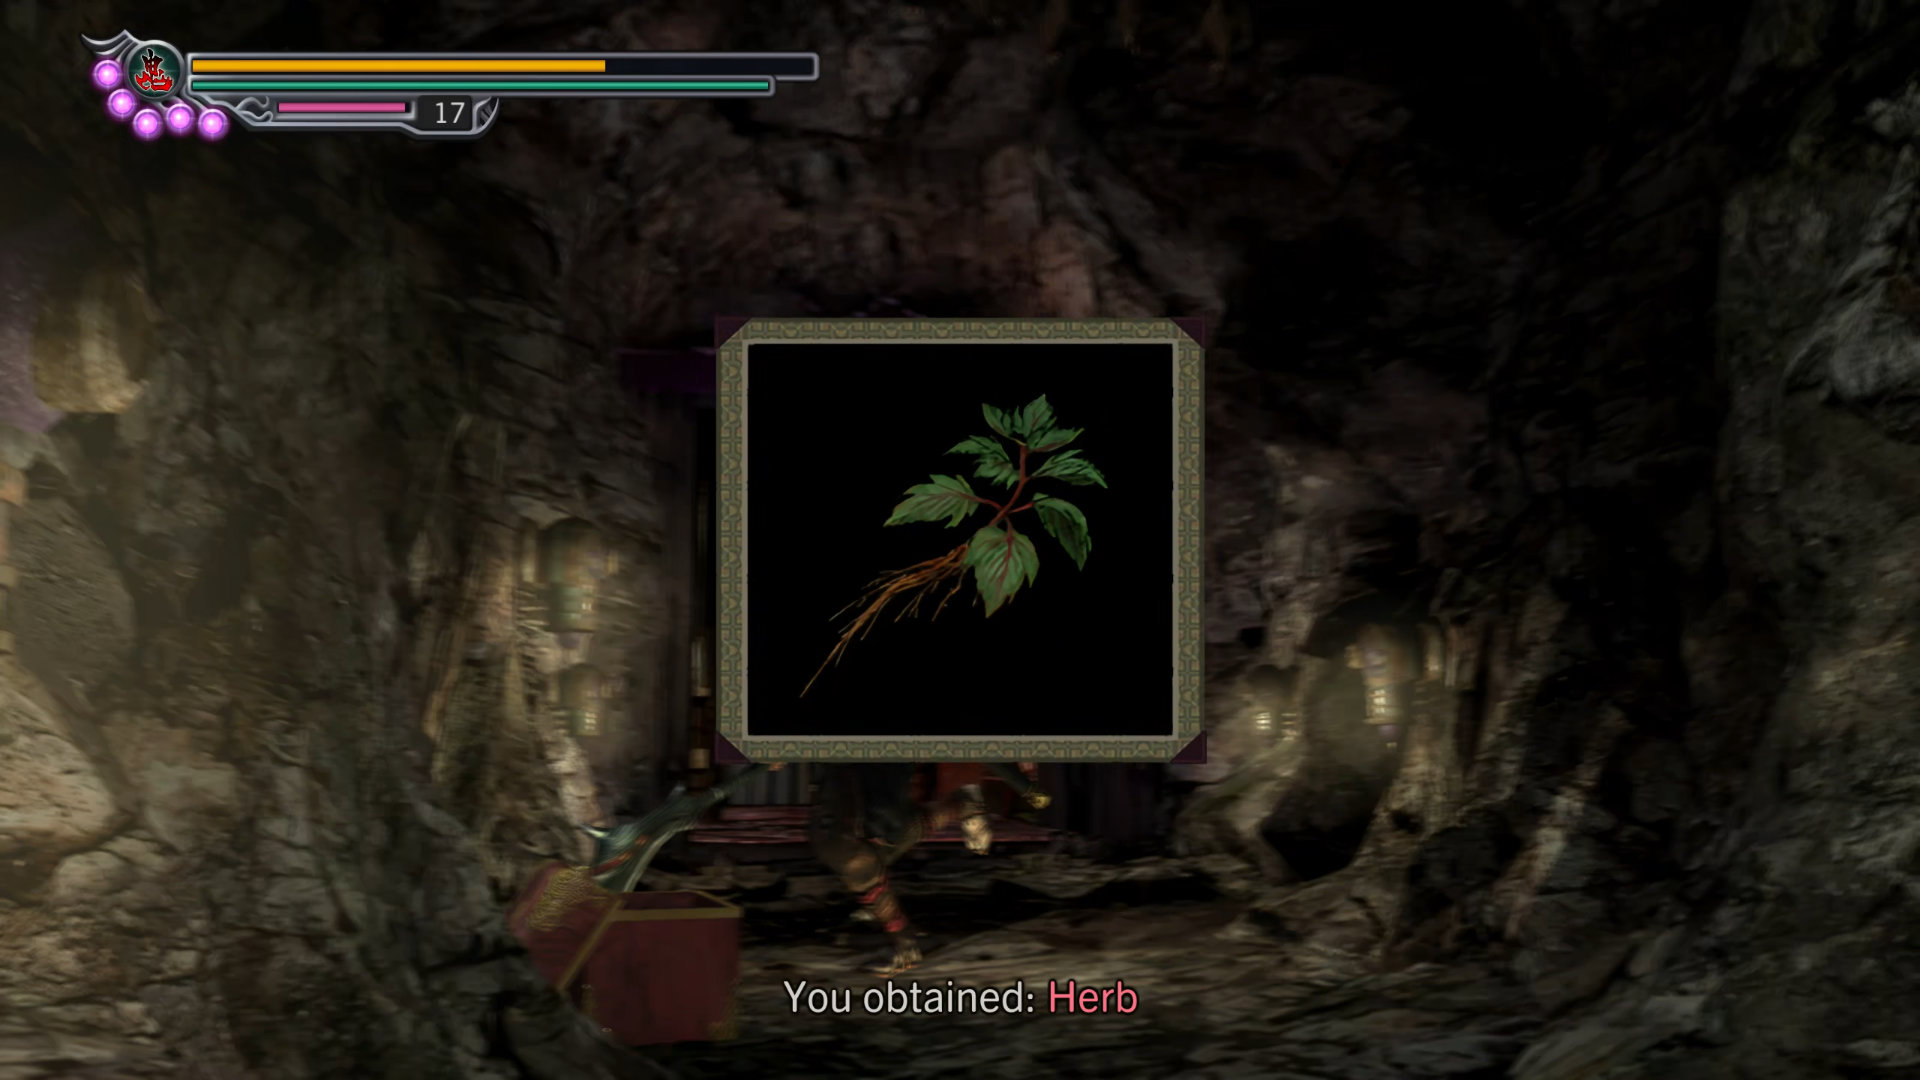
- Item: Herb
Walk a few steps further, the toxic gas is released in the passage, so just keep running to the end.
Hidden Red Souls #13: Mid-way through the passage has another hidden red soul.
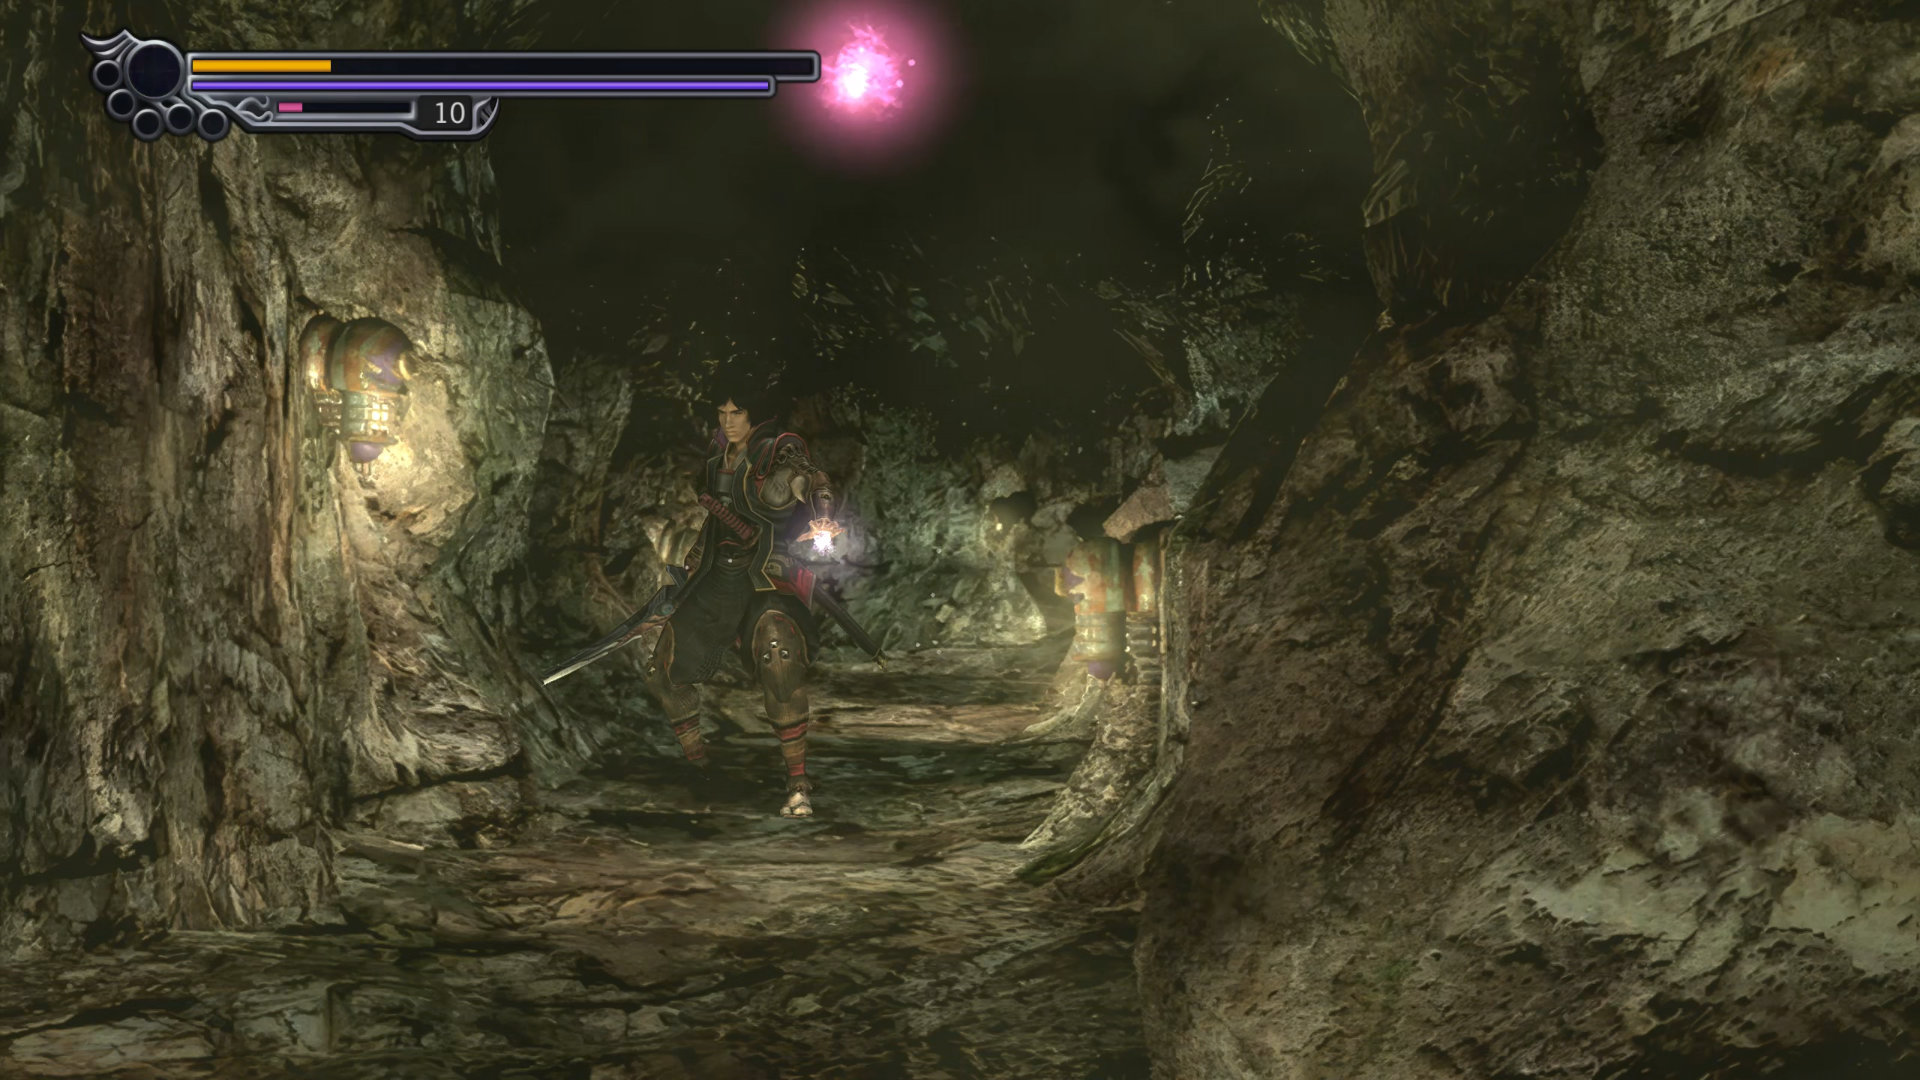
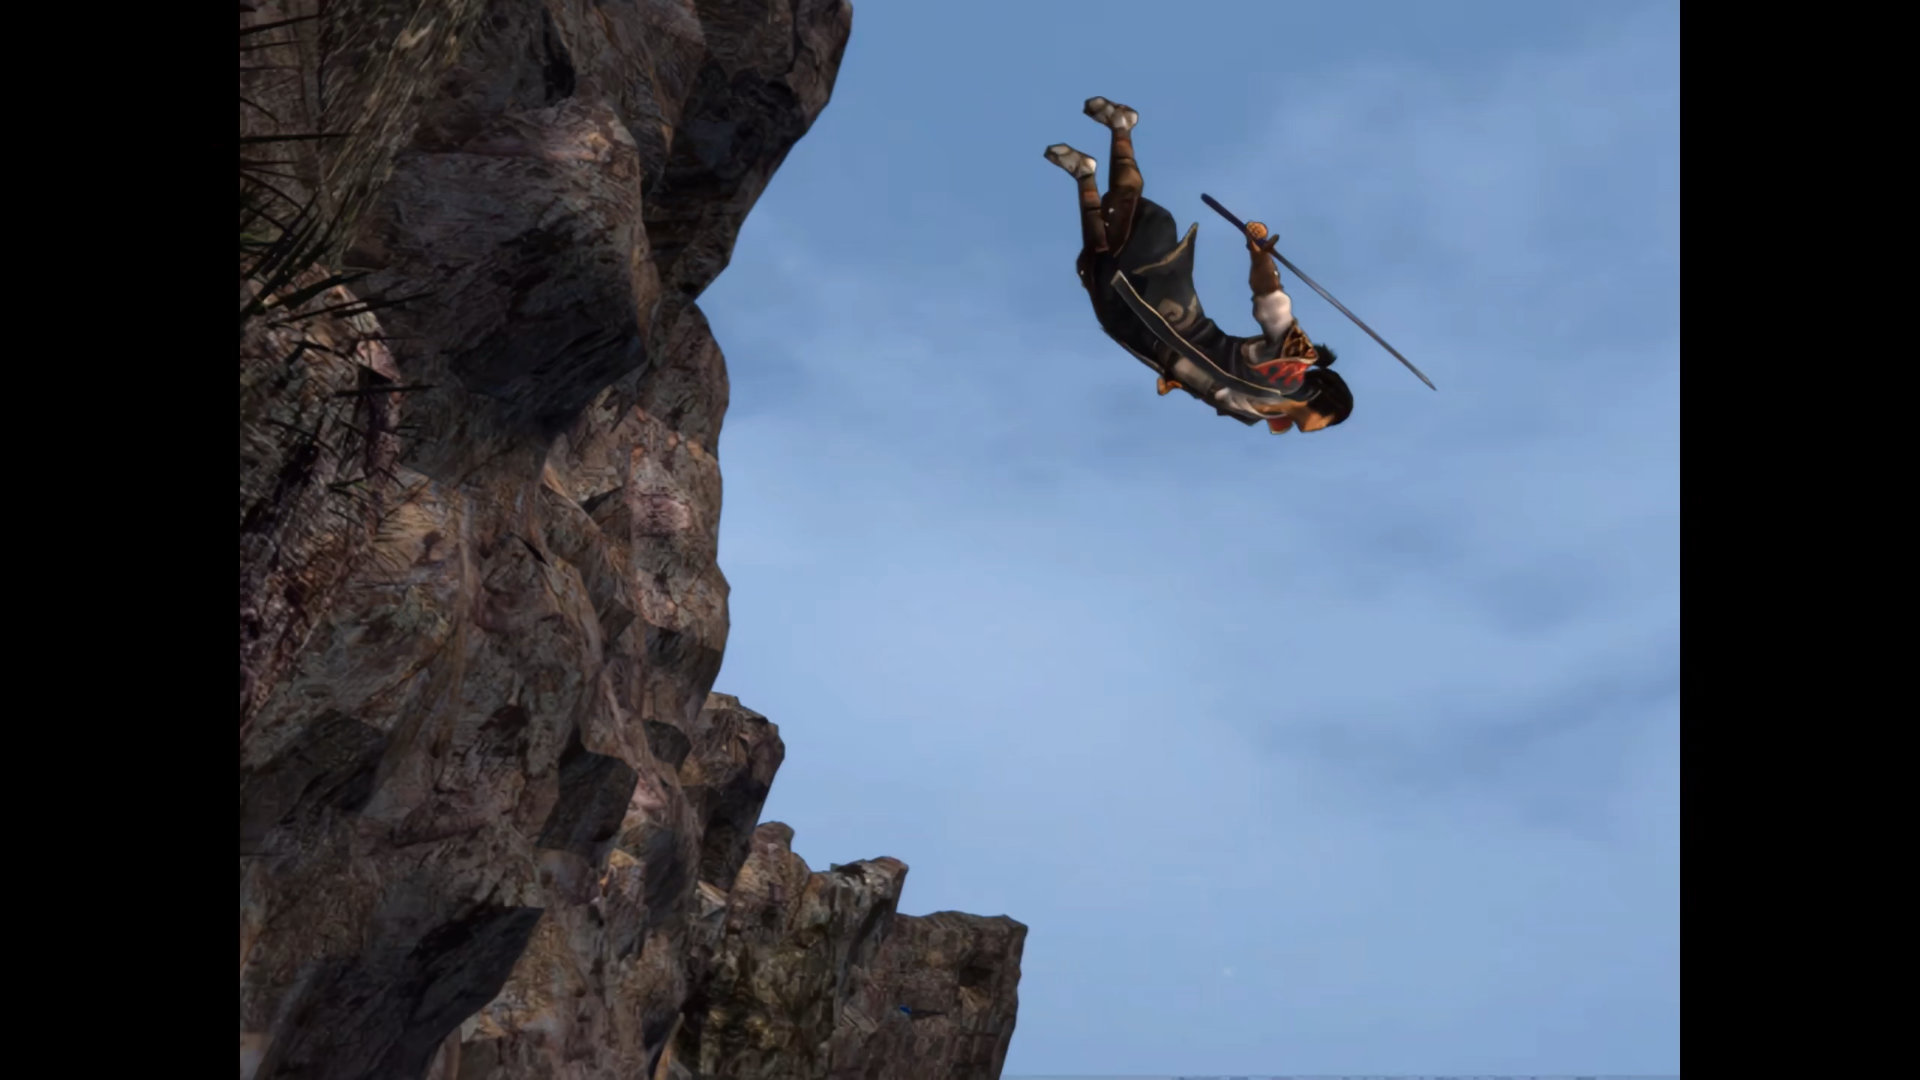
Scenario 5-10: A Risky Jump
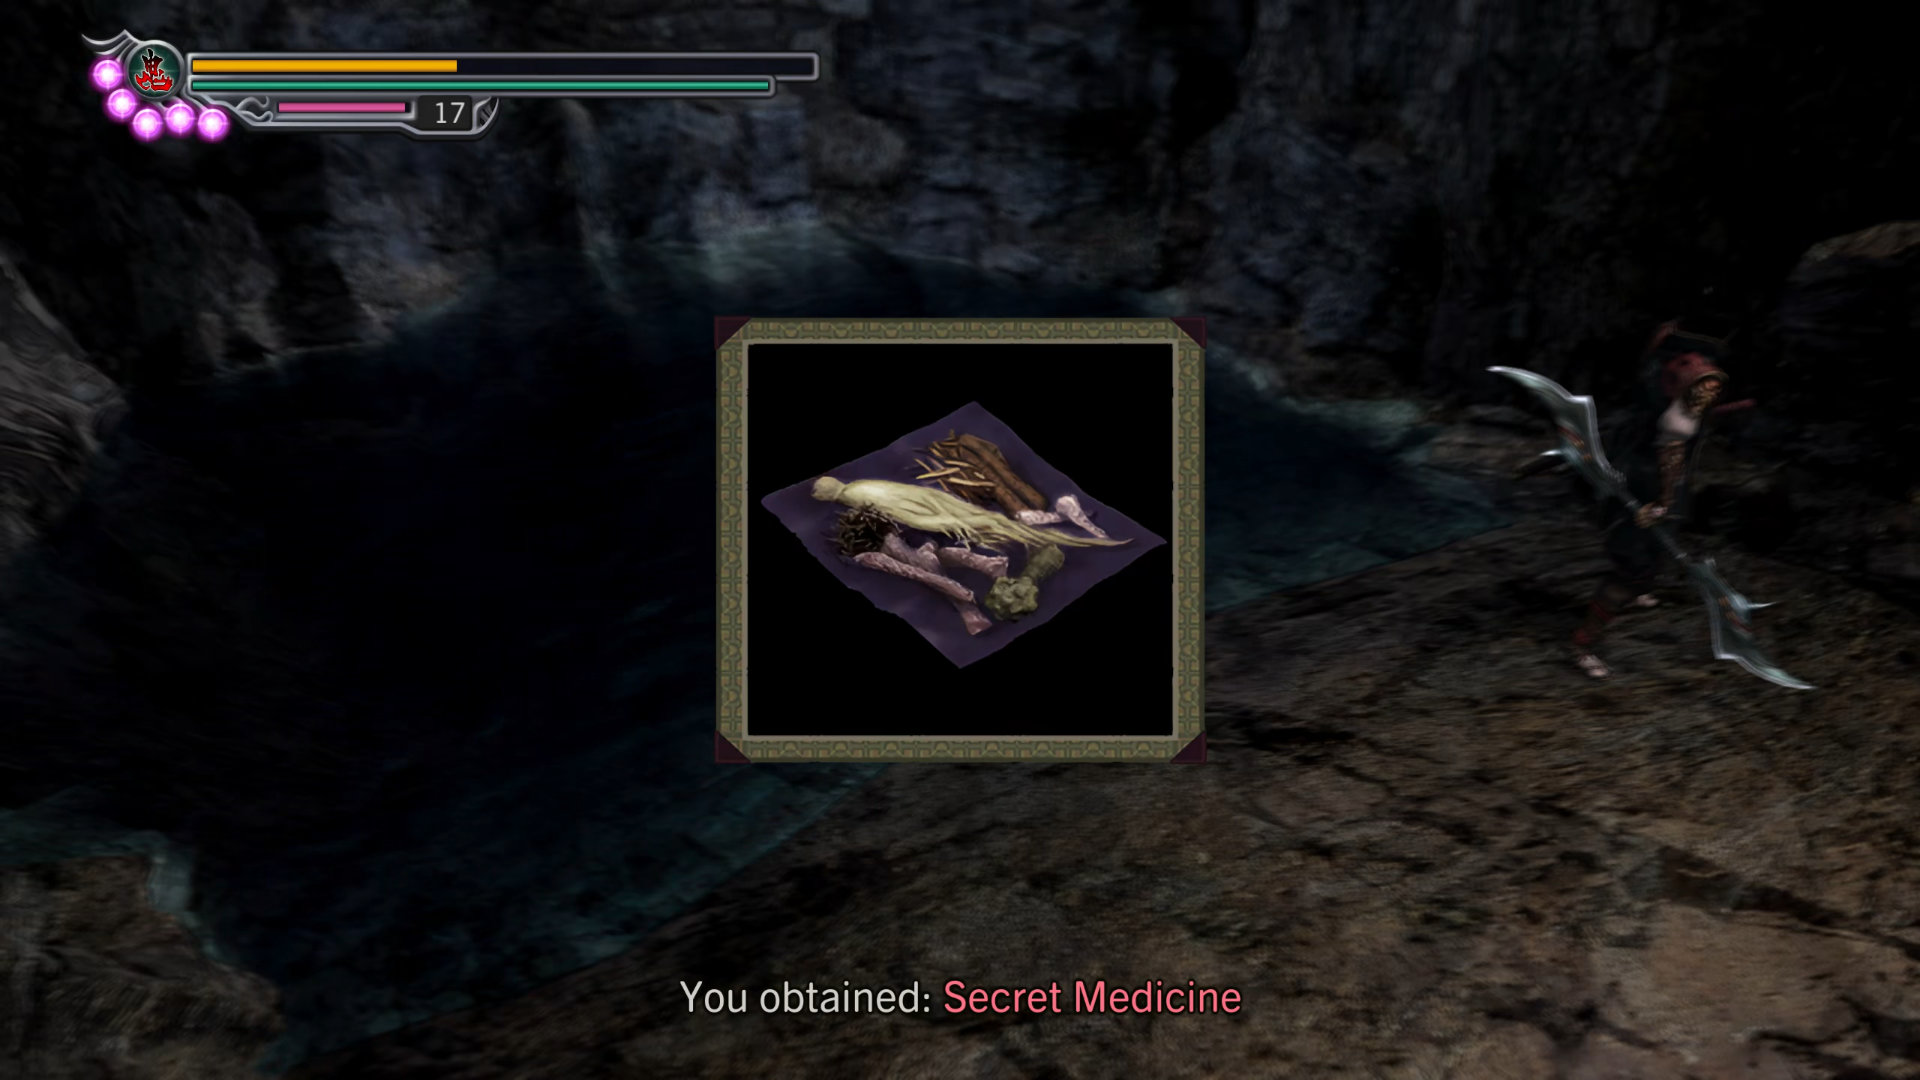
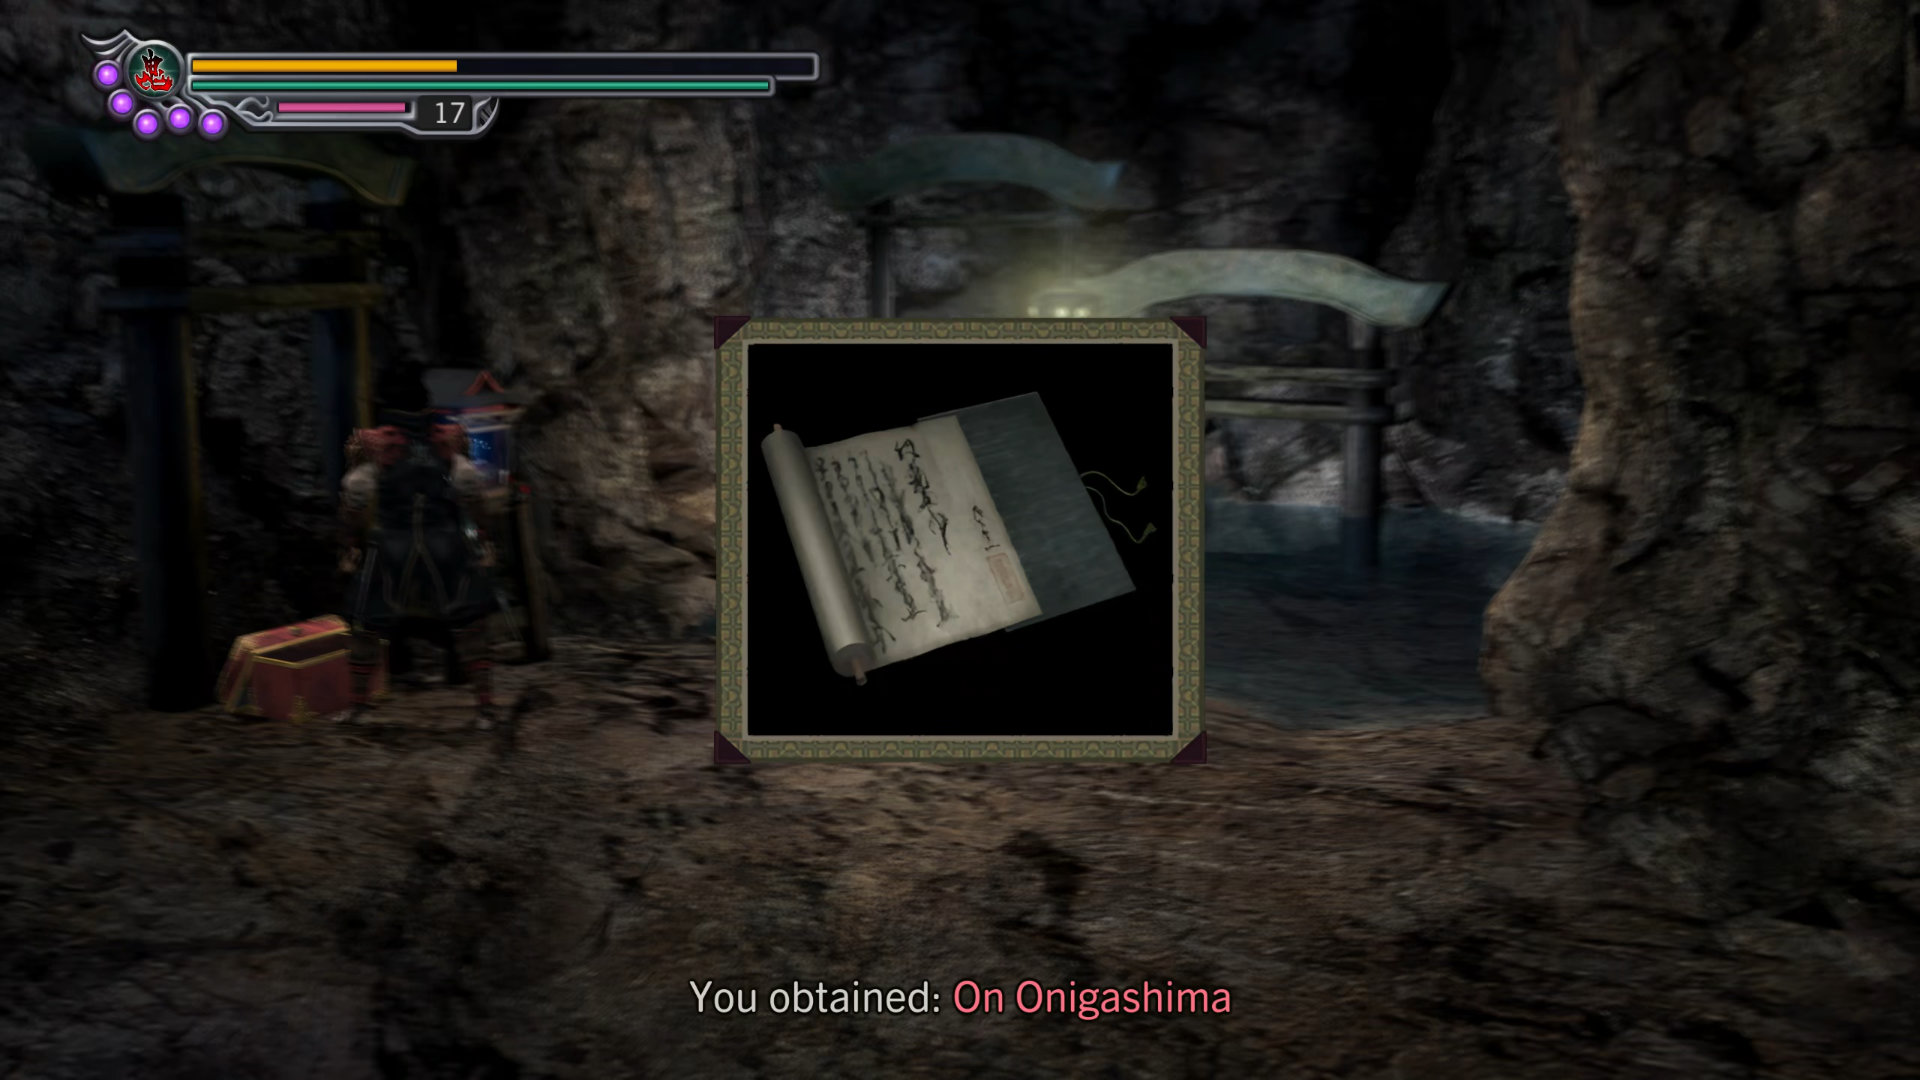
Once you regain control, pick up an item on the ground and open the treasure box:
- Item: Secret Medicine - on the ground
- File: On Onigashima - in the treasure box
Save the game, then examine the Waverider to continue.