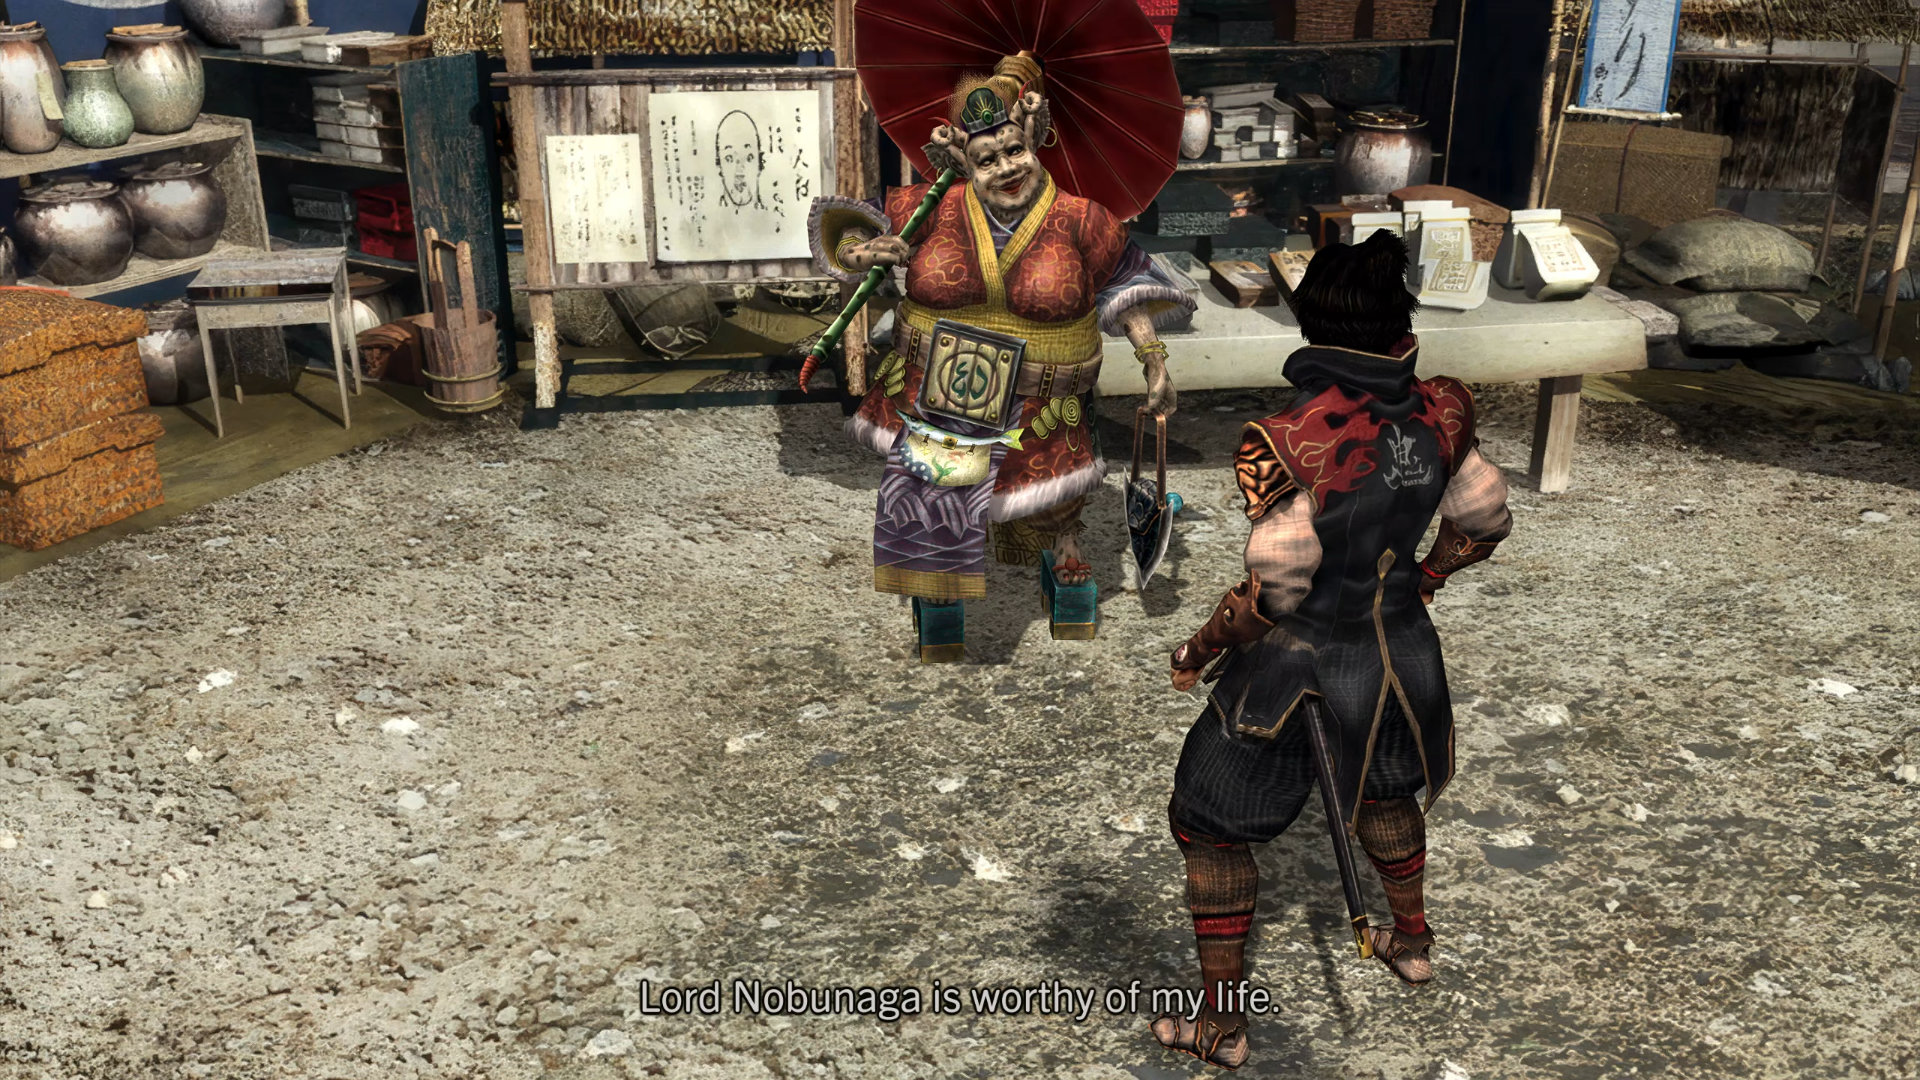
Go to the marketplace and talk to the mysterious lady with an umbrella.
Scenario 4-1: Meeting Jujudormah
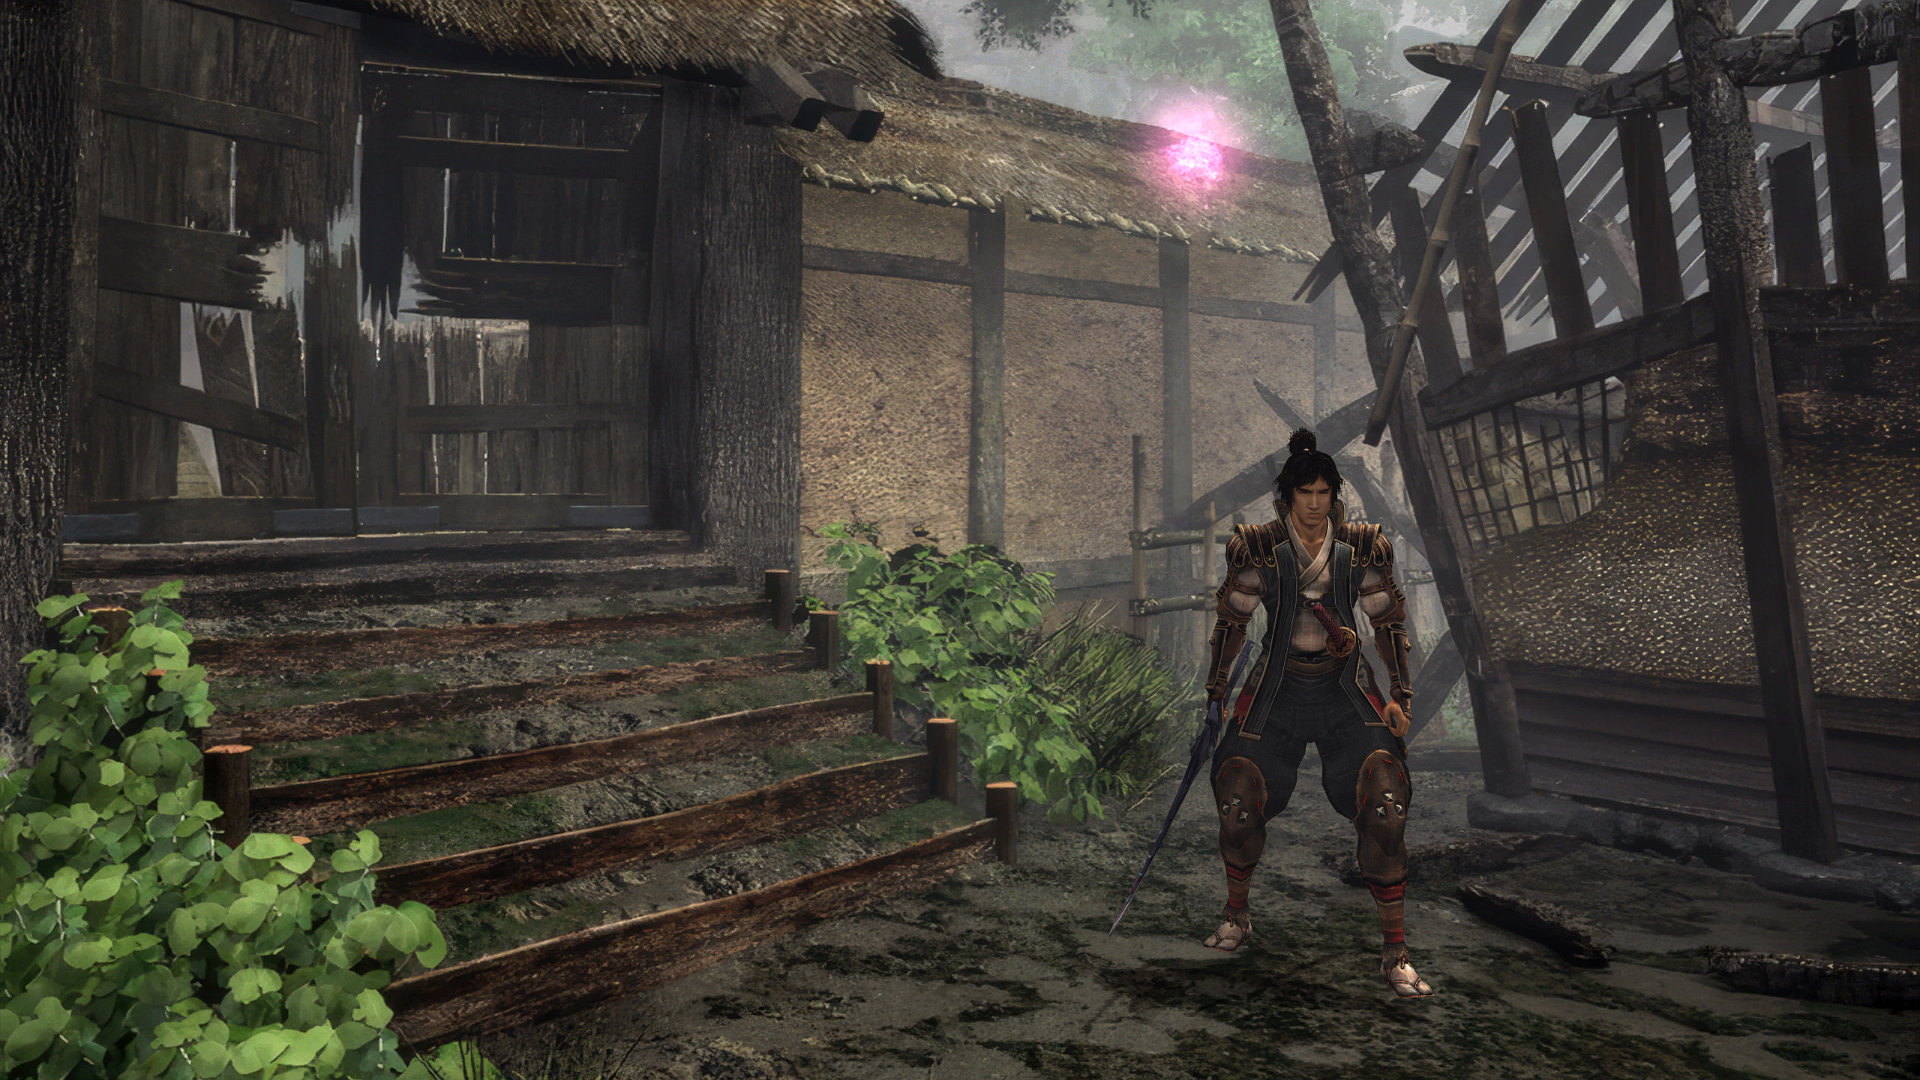
You'll appear right in front of the Yagyu residence.
Consult this map for this part:
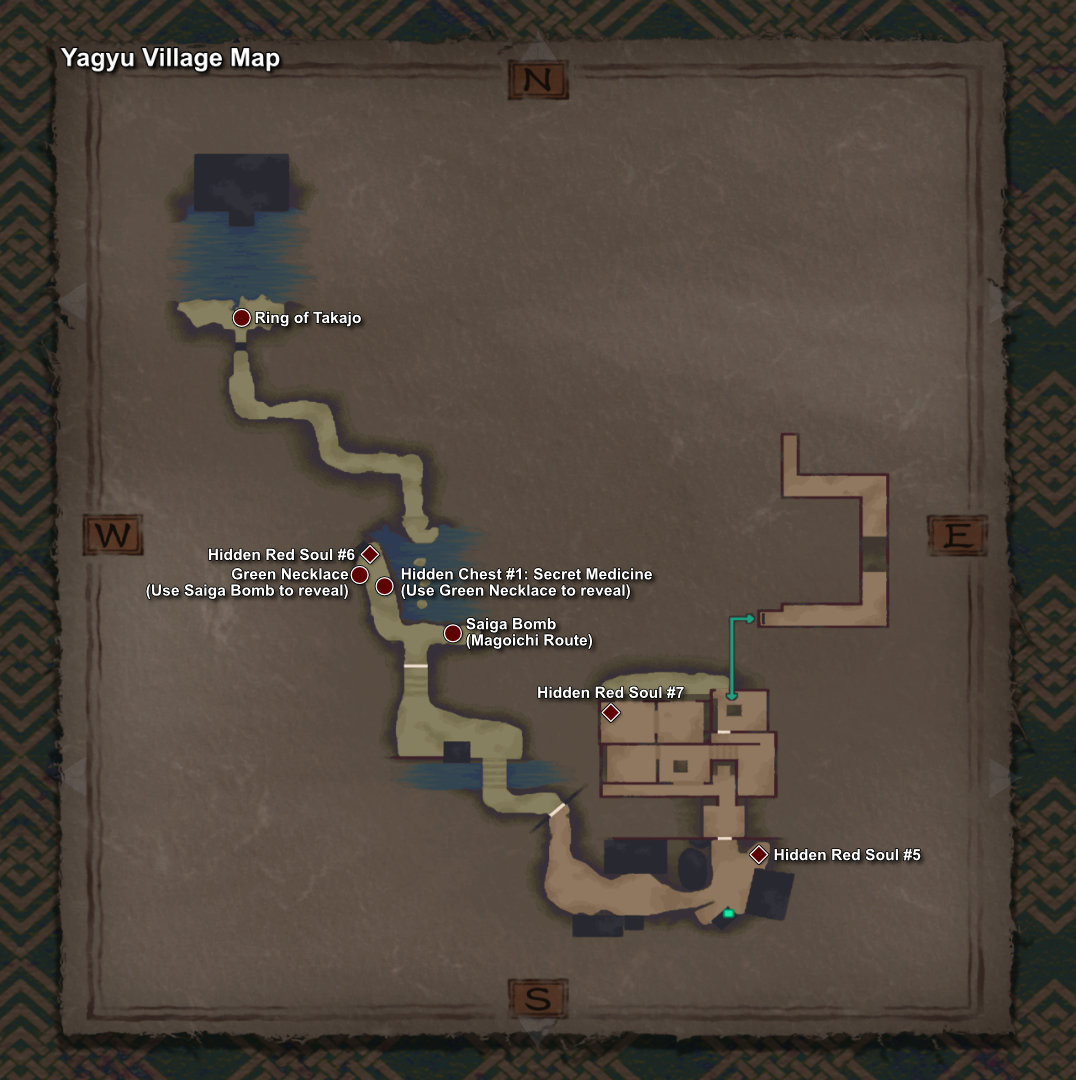
Hidden Red Souls #5: Right above your head, in front of the Yagyu residence.
Make your way to the cave where you met Jubei's mother. Halfway through at the bridge, one of the 4 scenarios will be triggered depending on your route and make sure you kill all the demons.
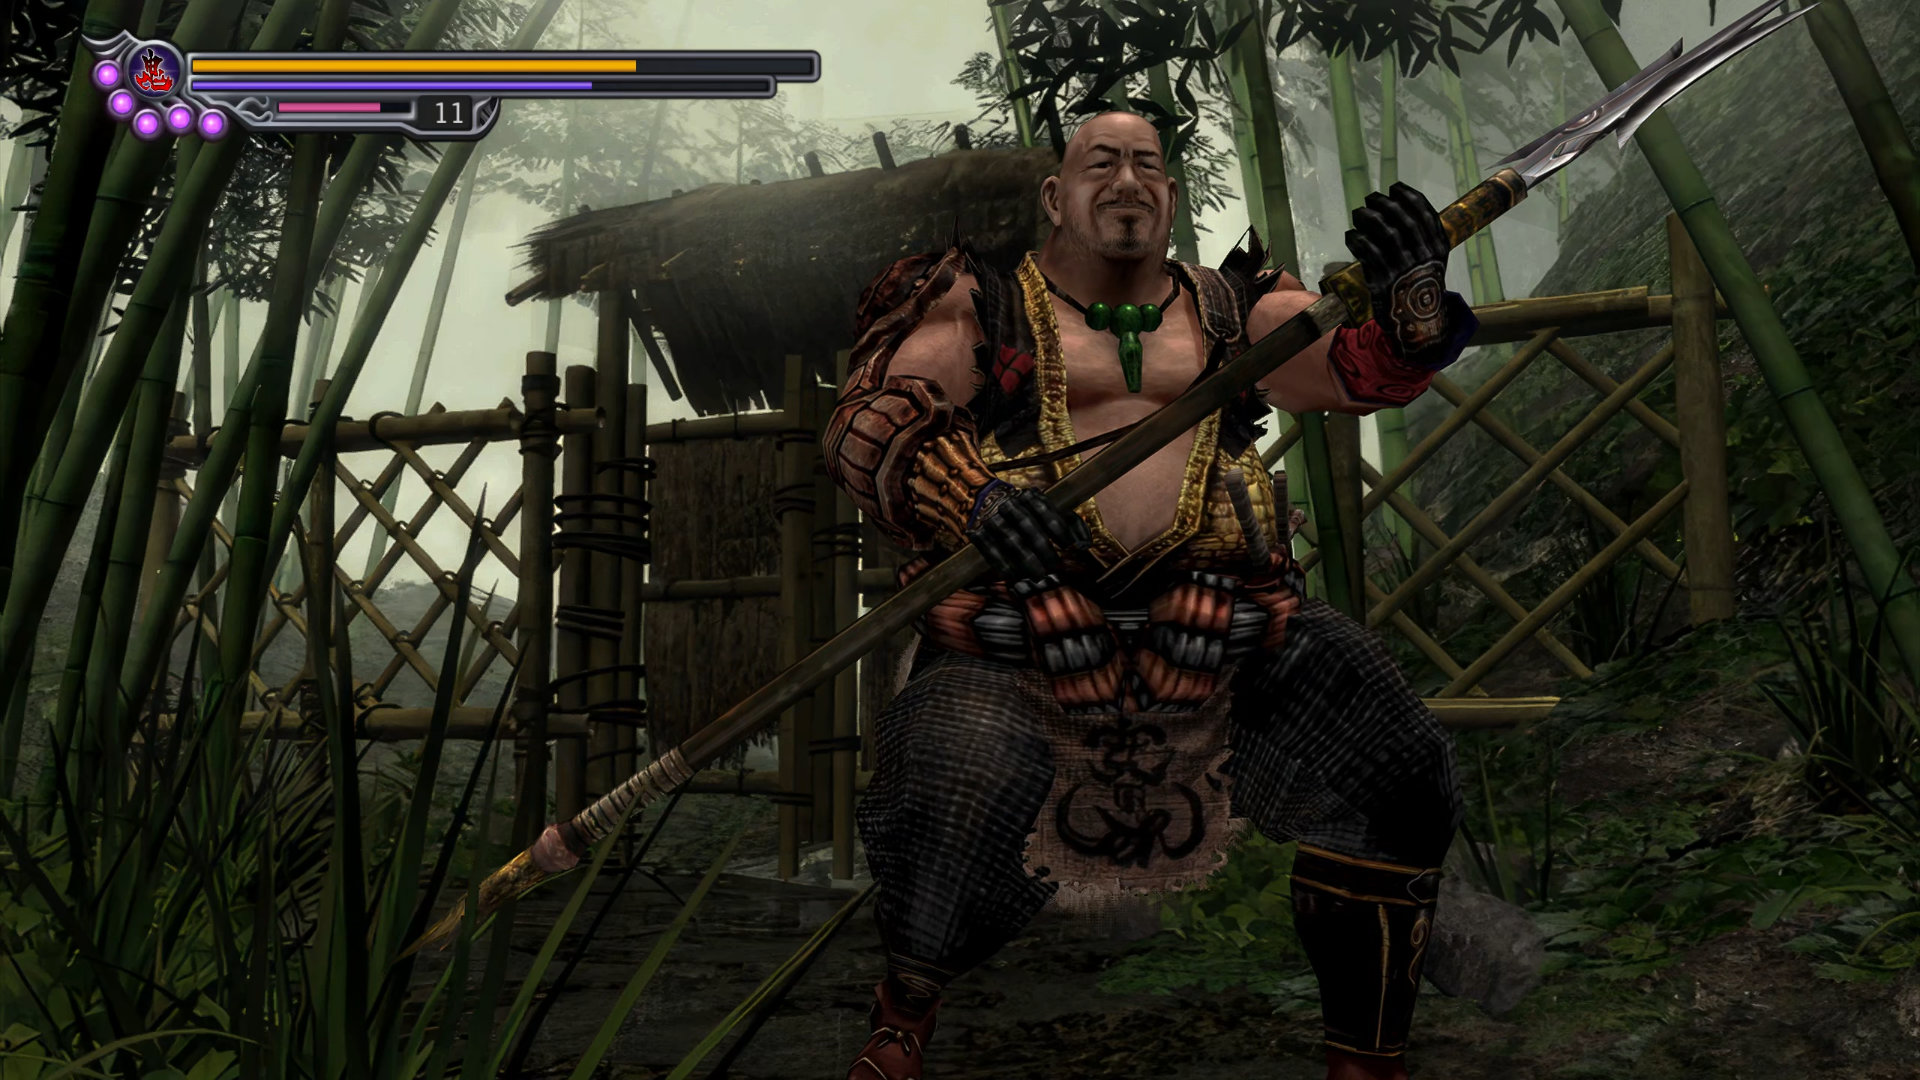
Route: Ekei
Scenario 4-2-4 Ekei Joins Jubei 2
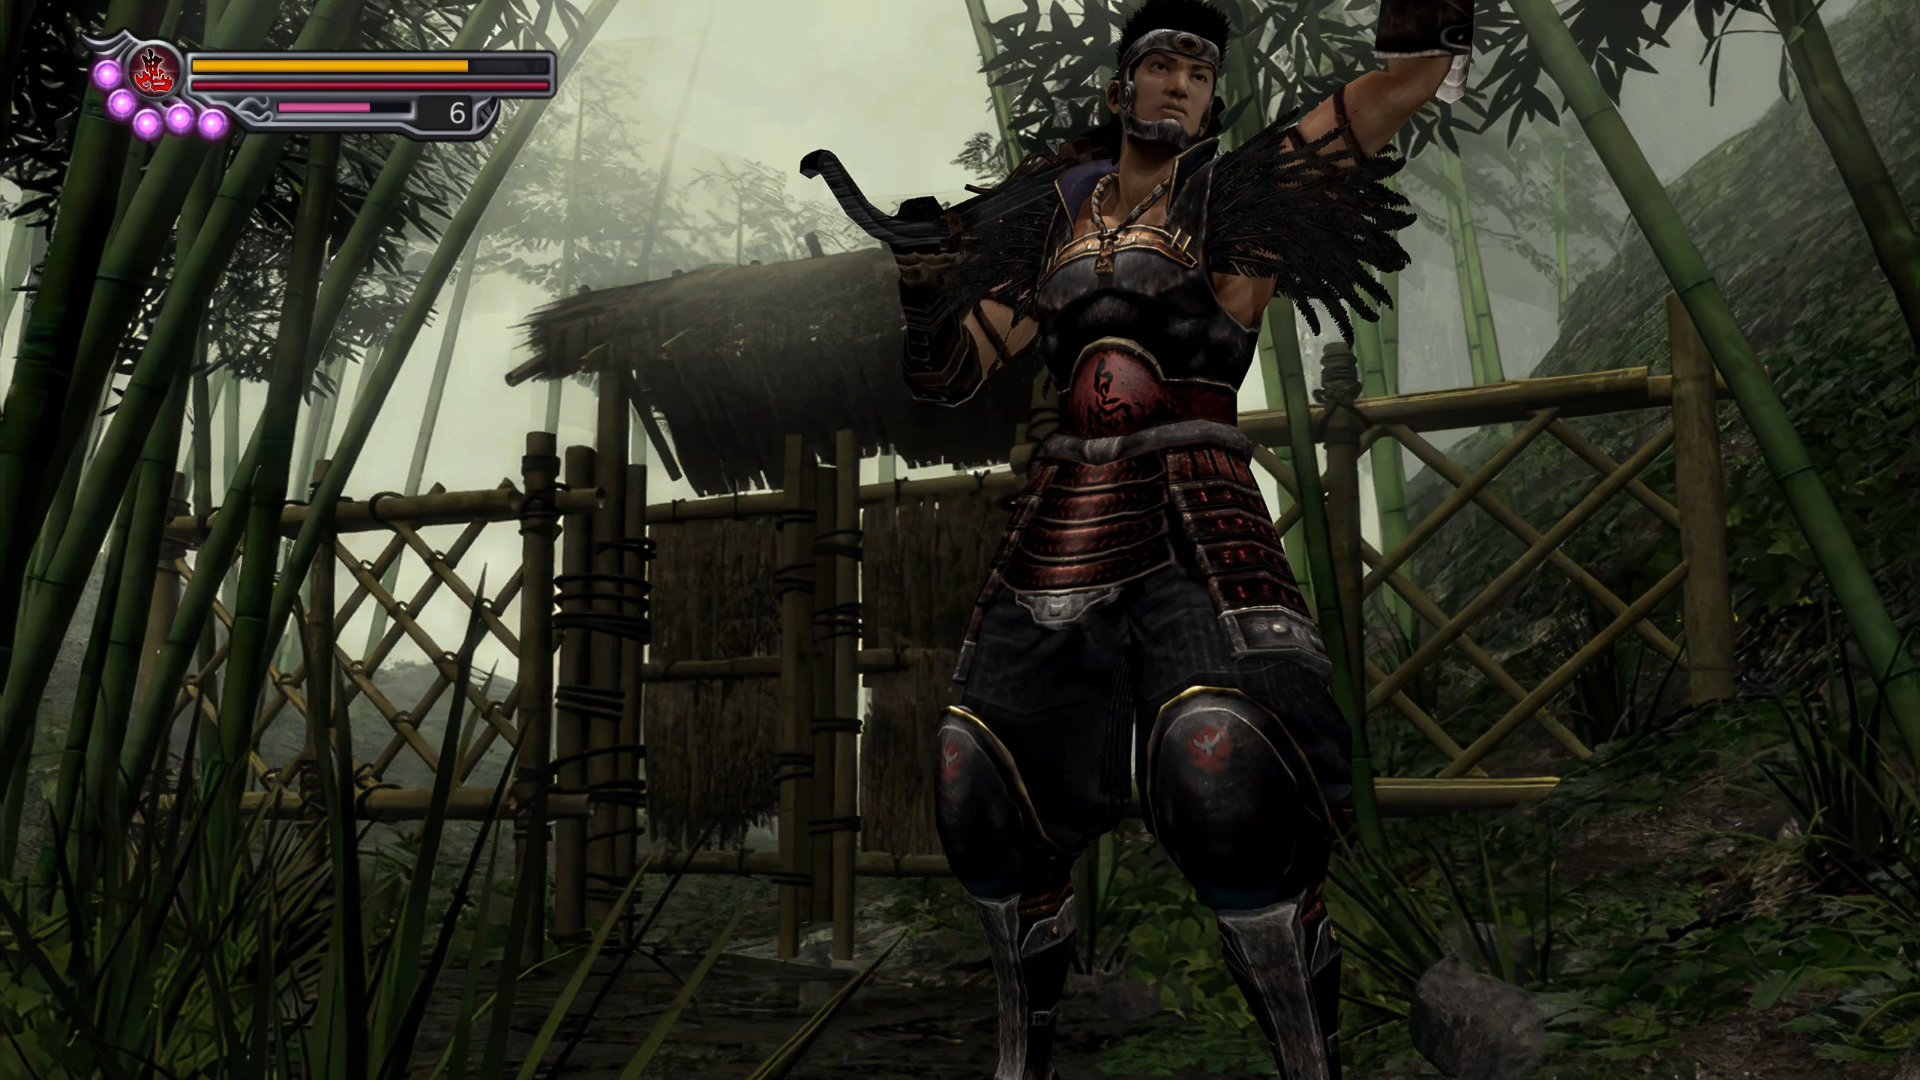
Route: Magoichi
Scenario 4-2-3: Magoichi Helps Jubei 2
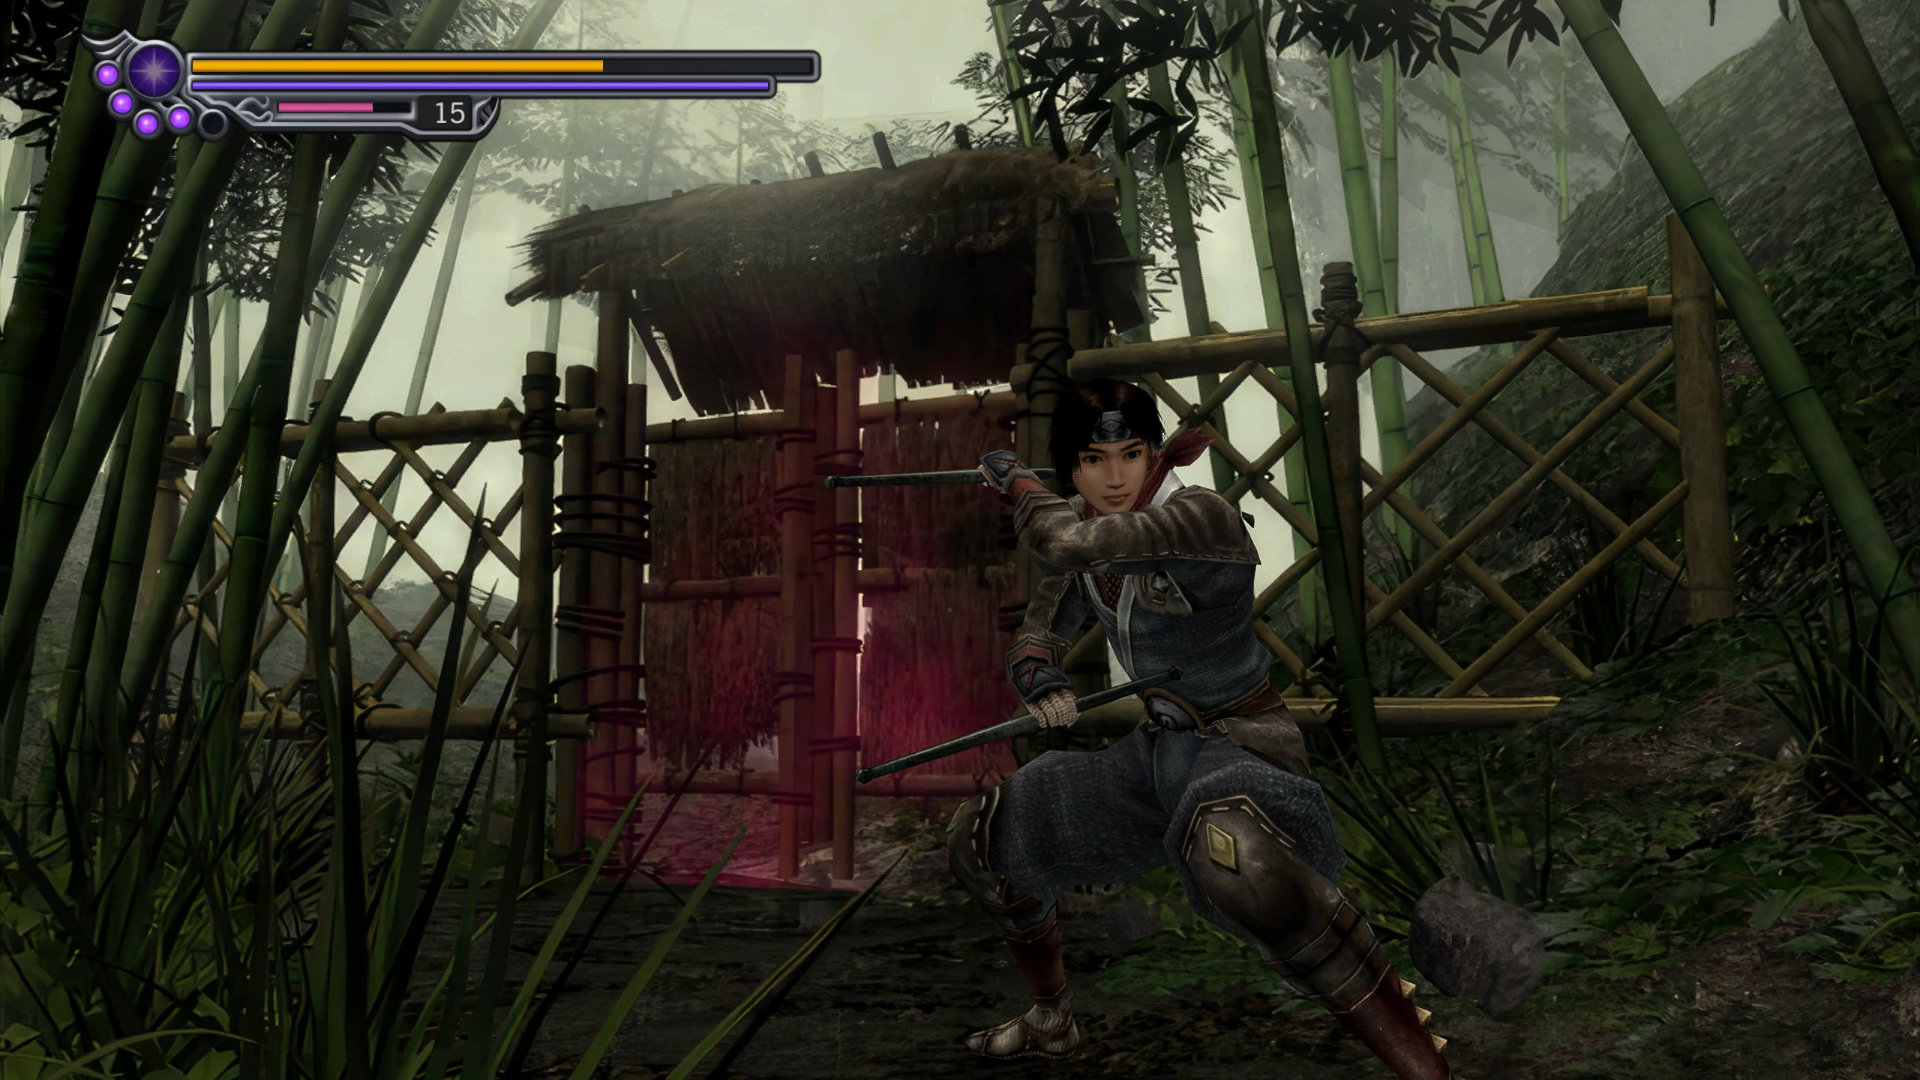
Route: Kotaro | S-Rank
Scenario 4-2-2: Kotaro to the Rescue 2
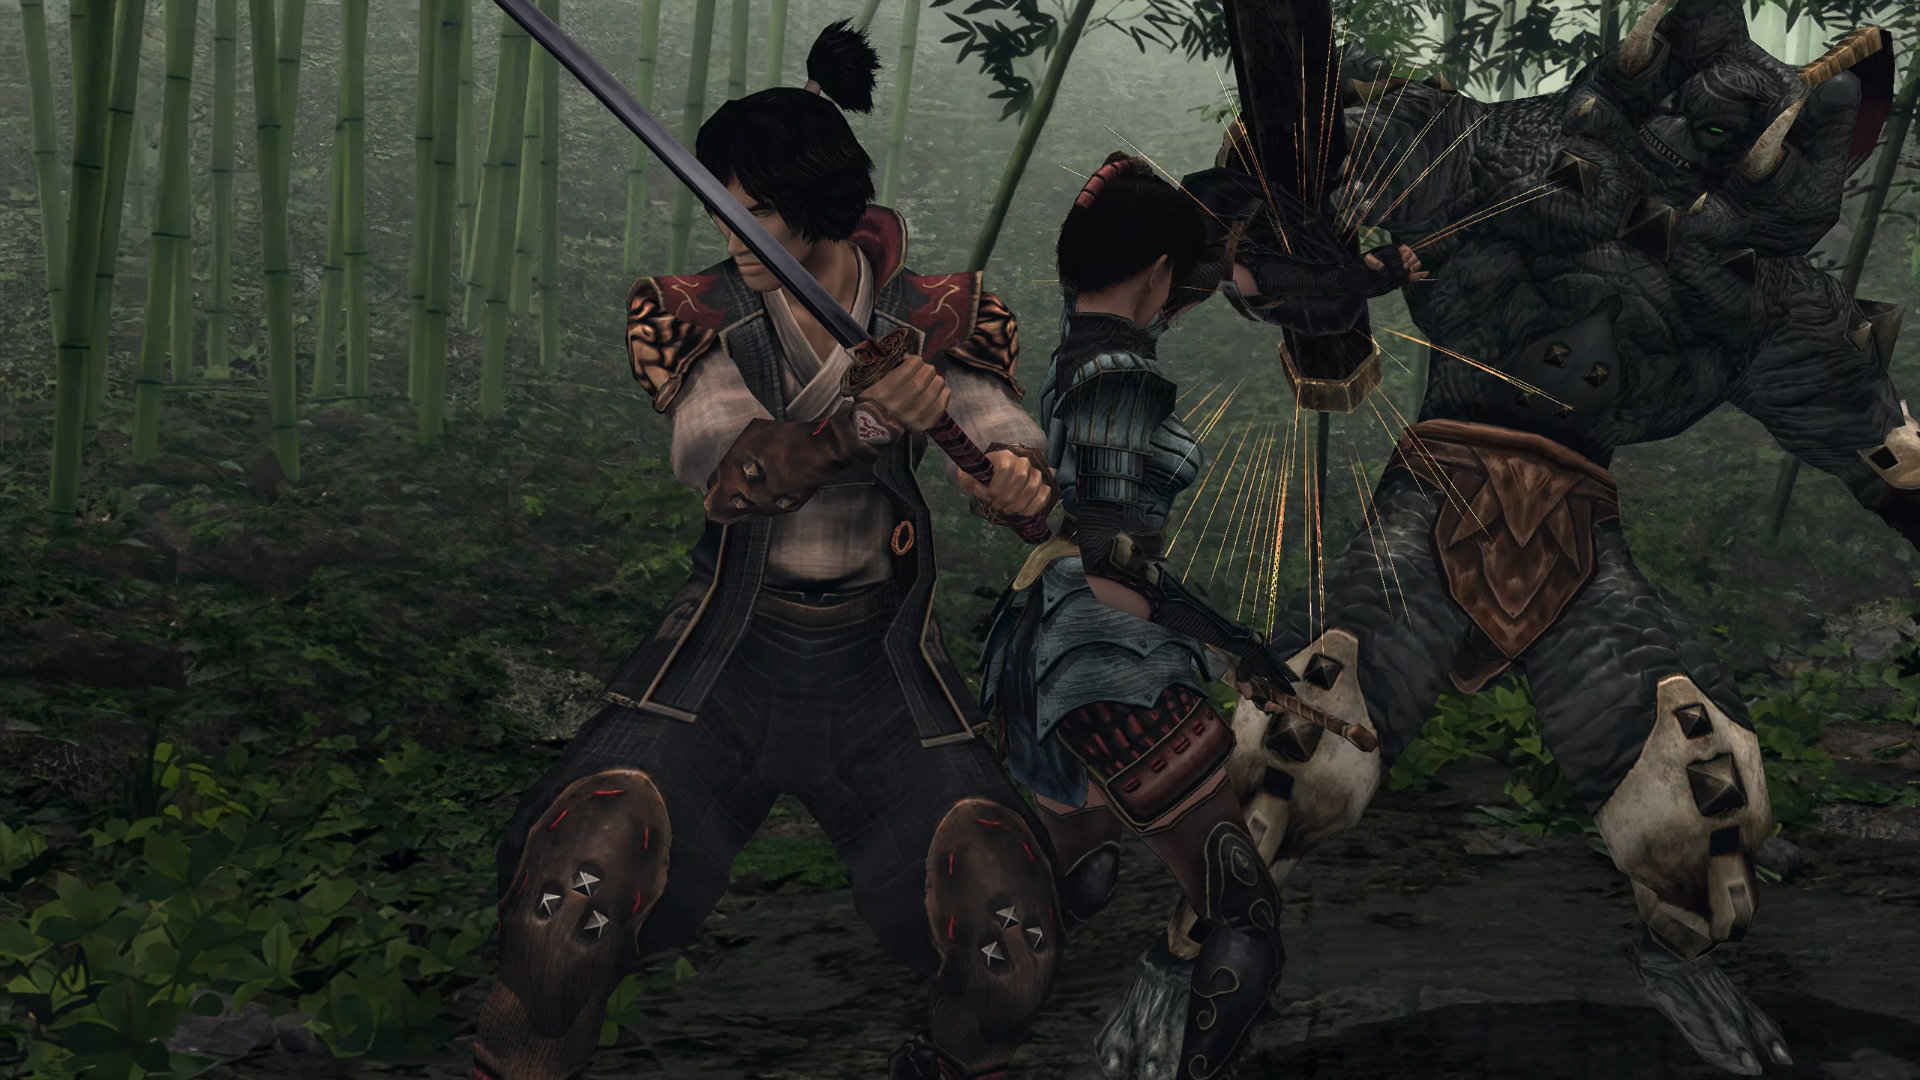
Route: Oyu
Scenario 4-2-1: Oyu Joins the Fray
Kill all the demons before you exit.
Scenario 4-3-3: Kotaro Spies on Oyu
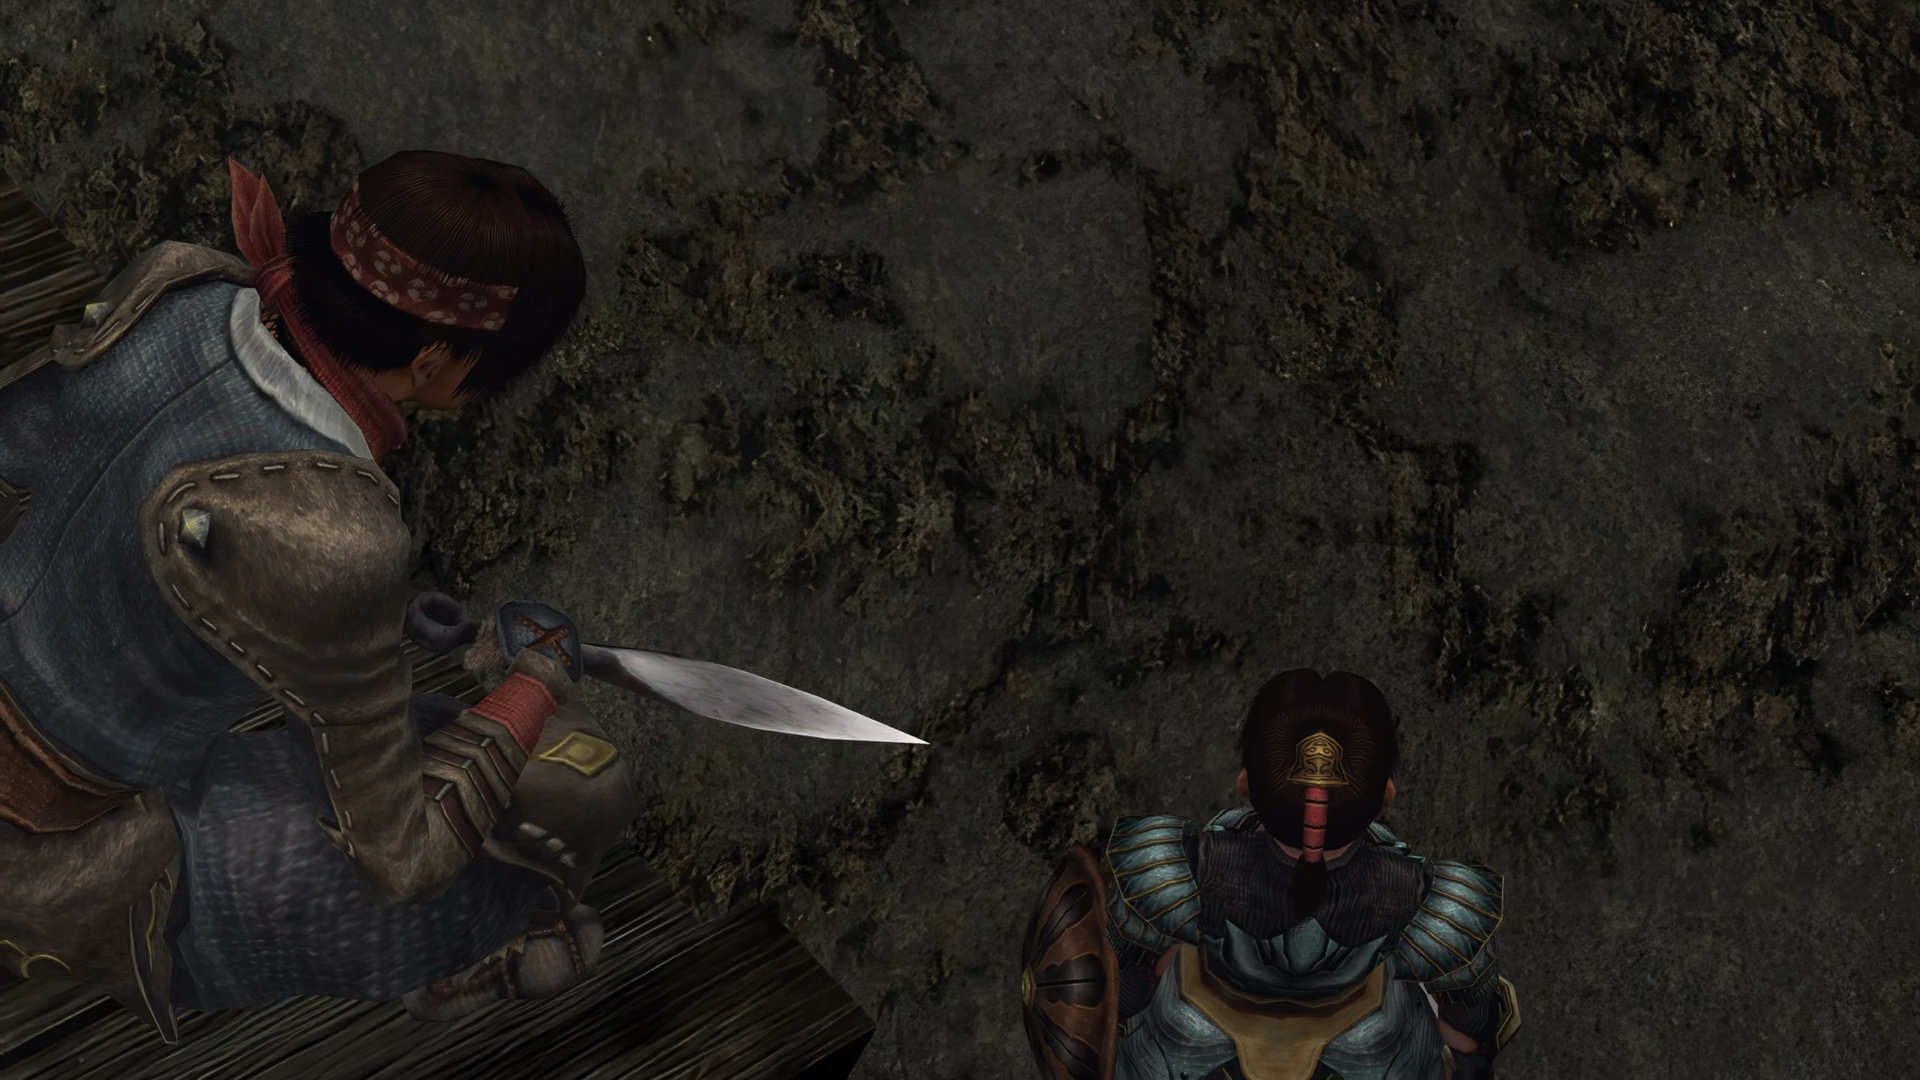
Hidden Red Souls #6: On top of the Dragon Shrine at the pond area, cave entrance.
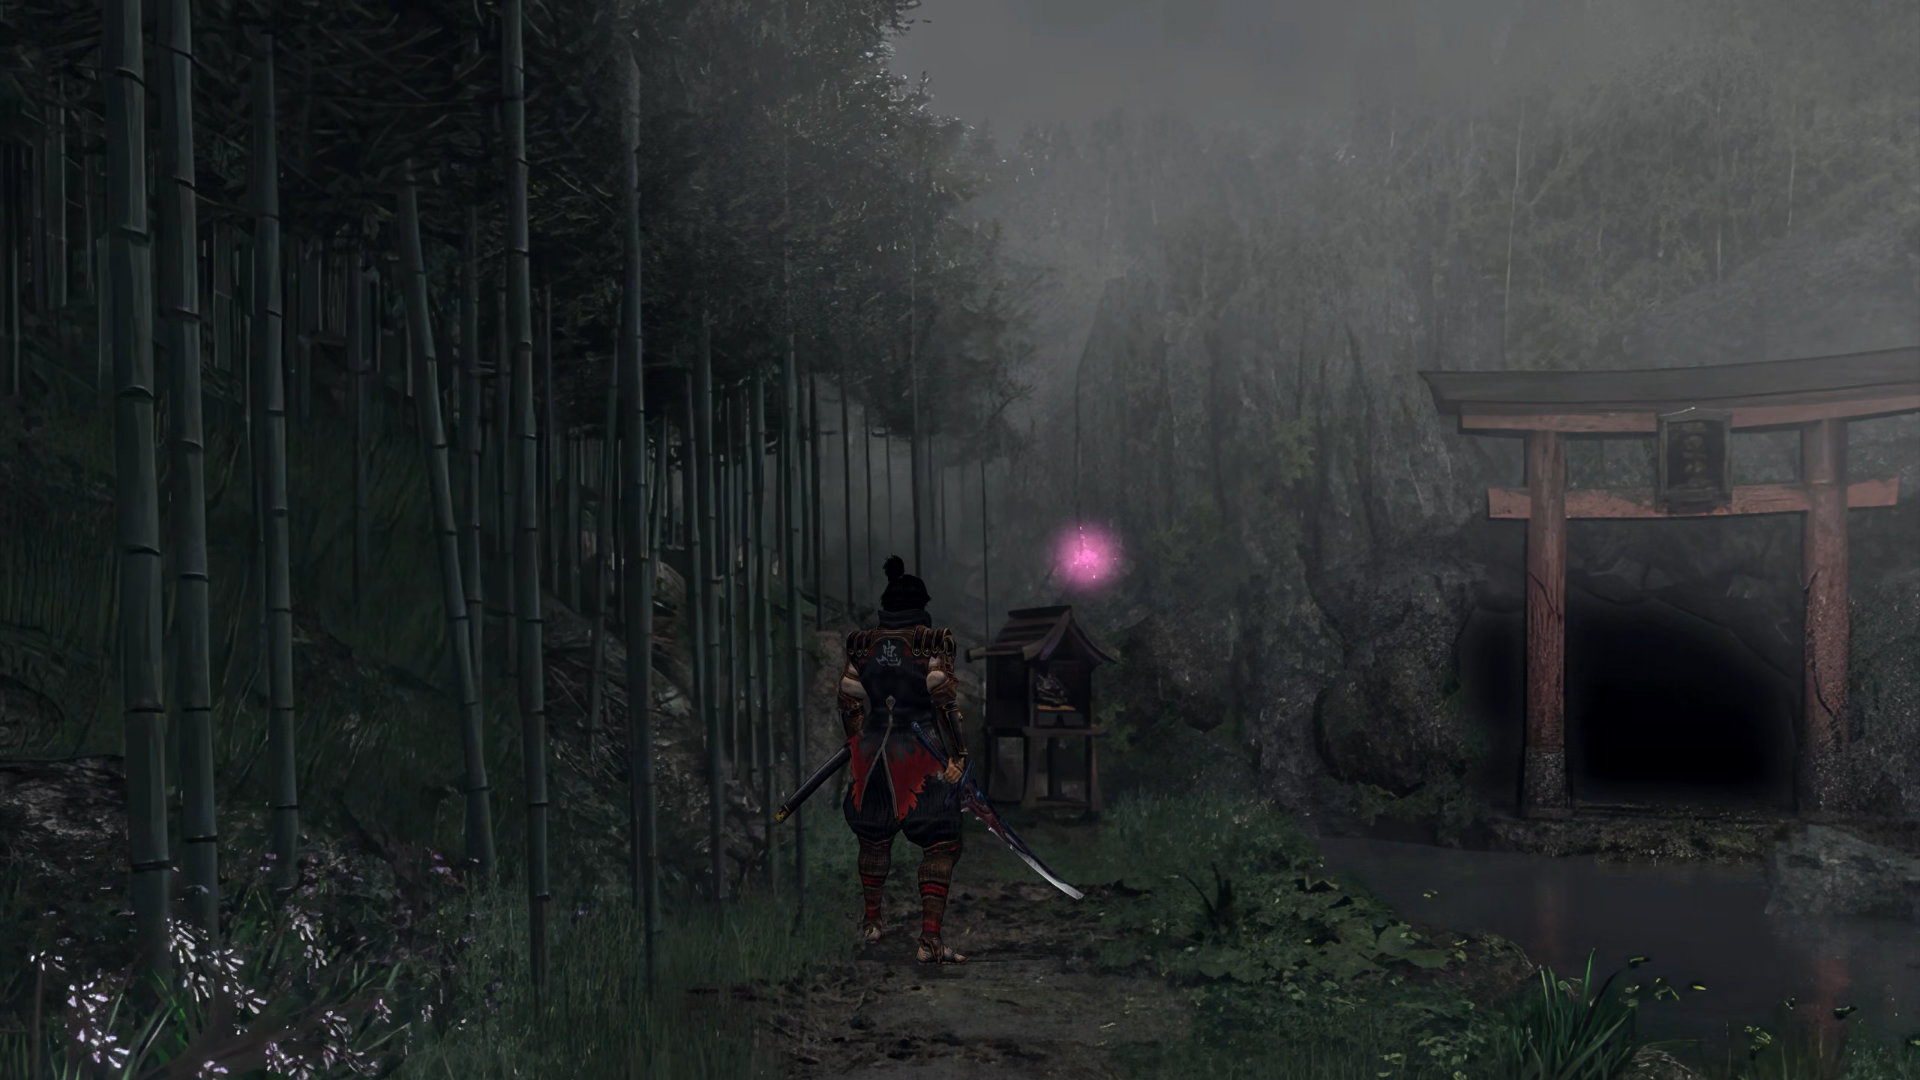
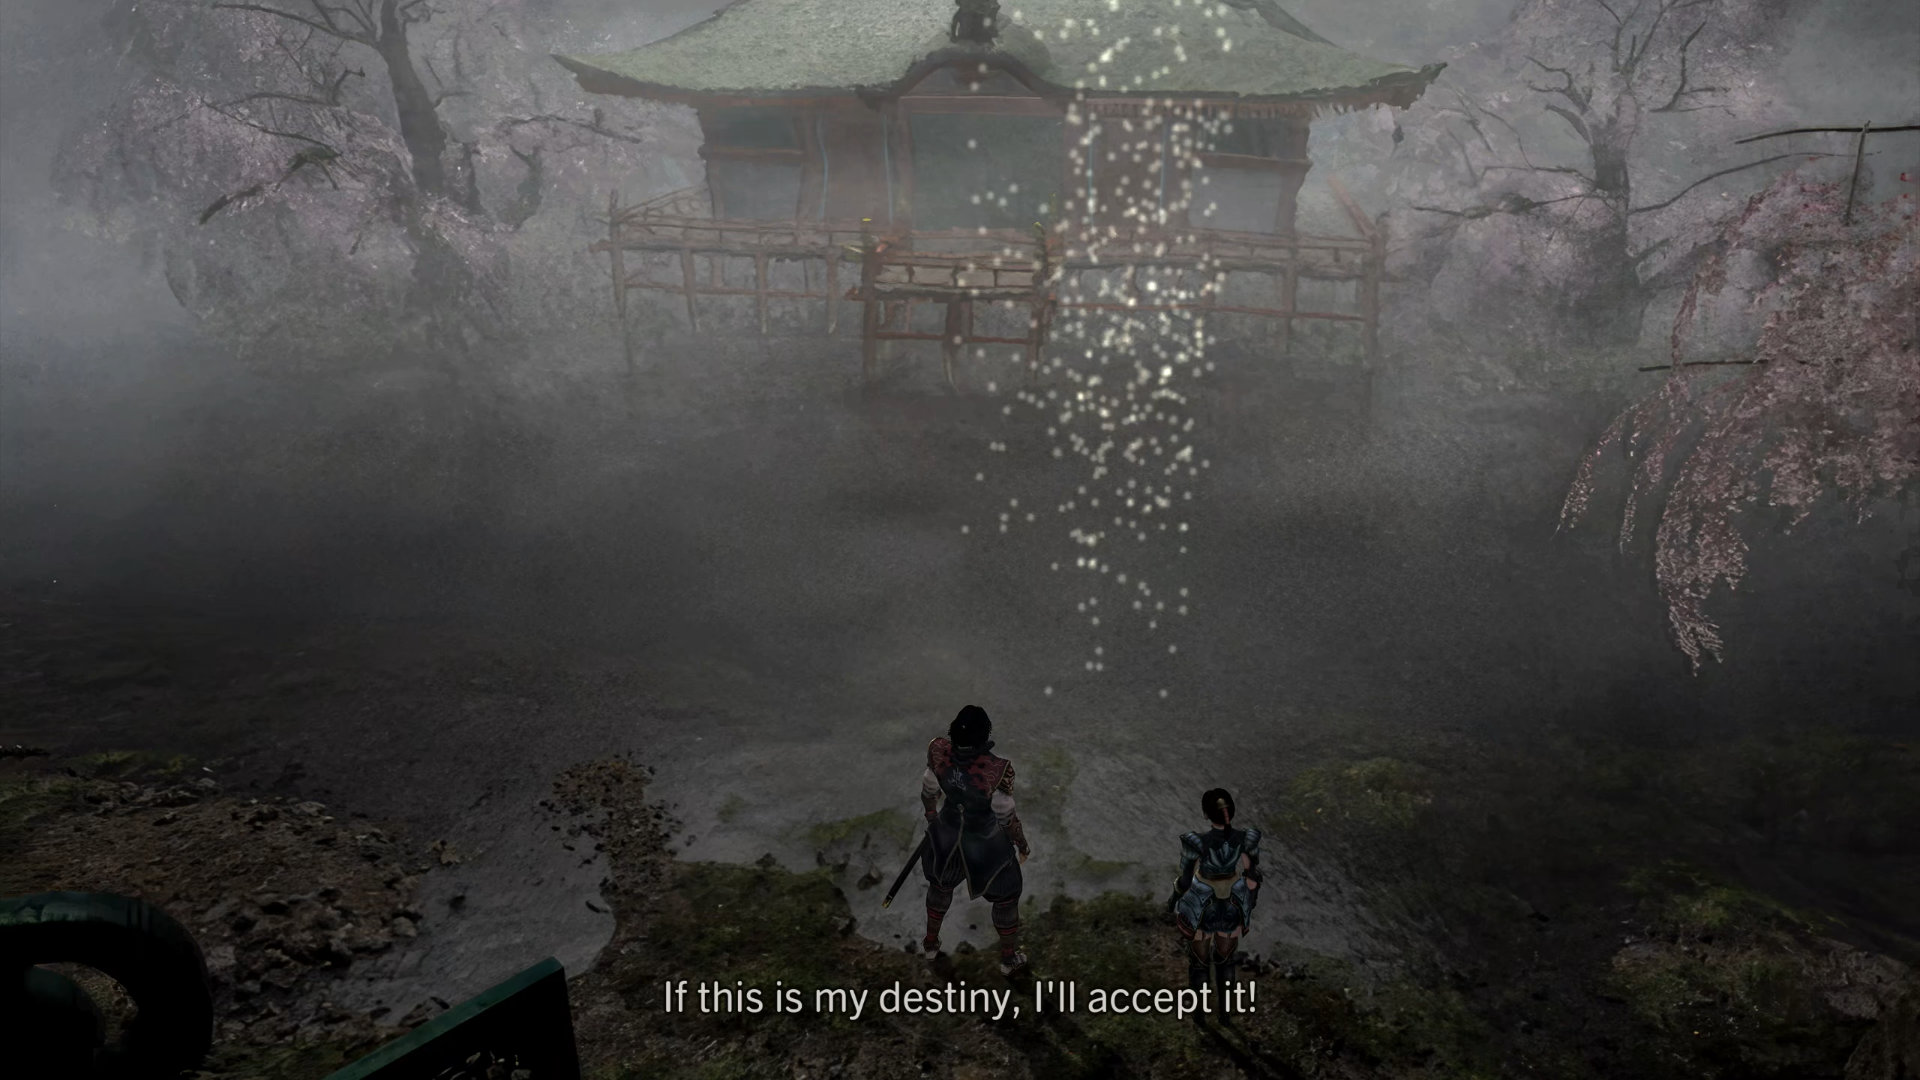
Once you reach Jubei's mother (inside the cave), 3 consecutive scenarios appear:
Scenario 4-4: Takajo's End in her Son's Arms
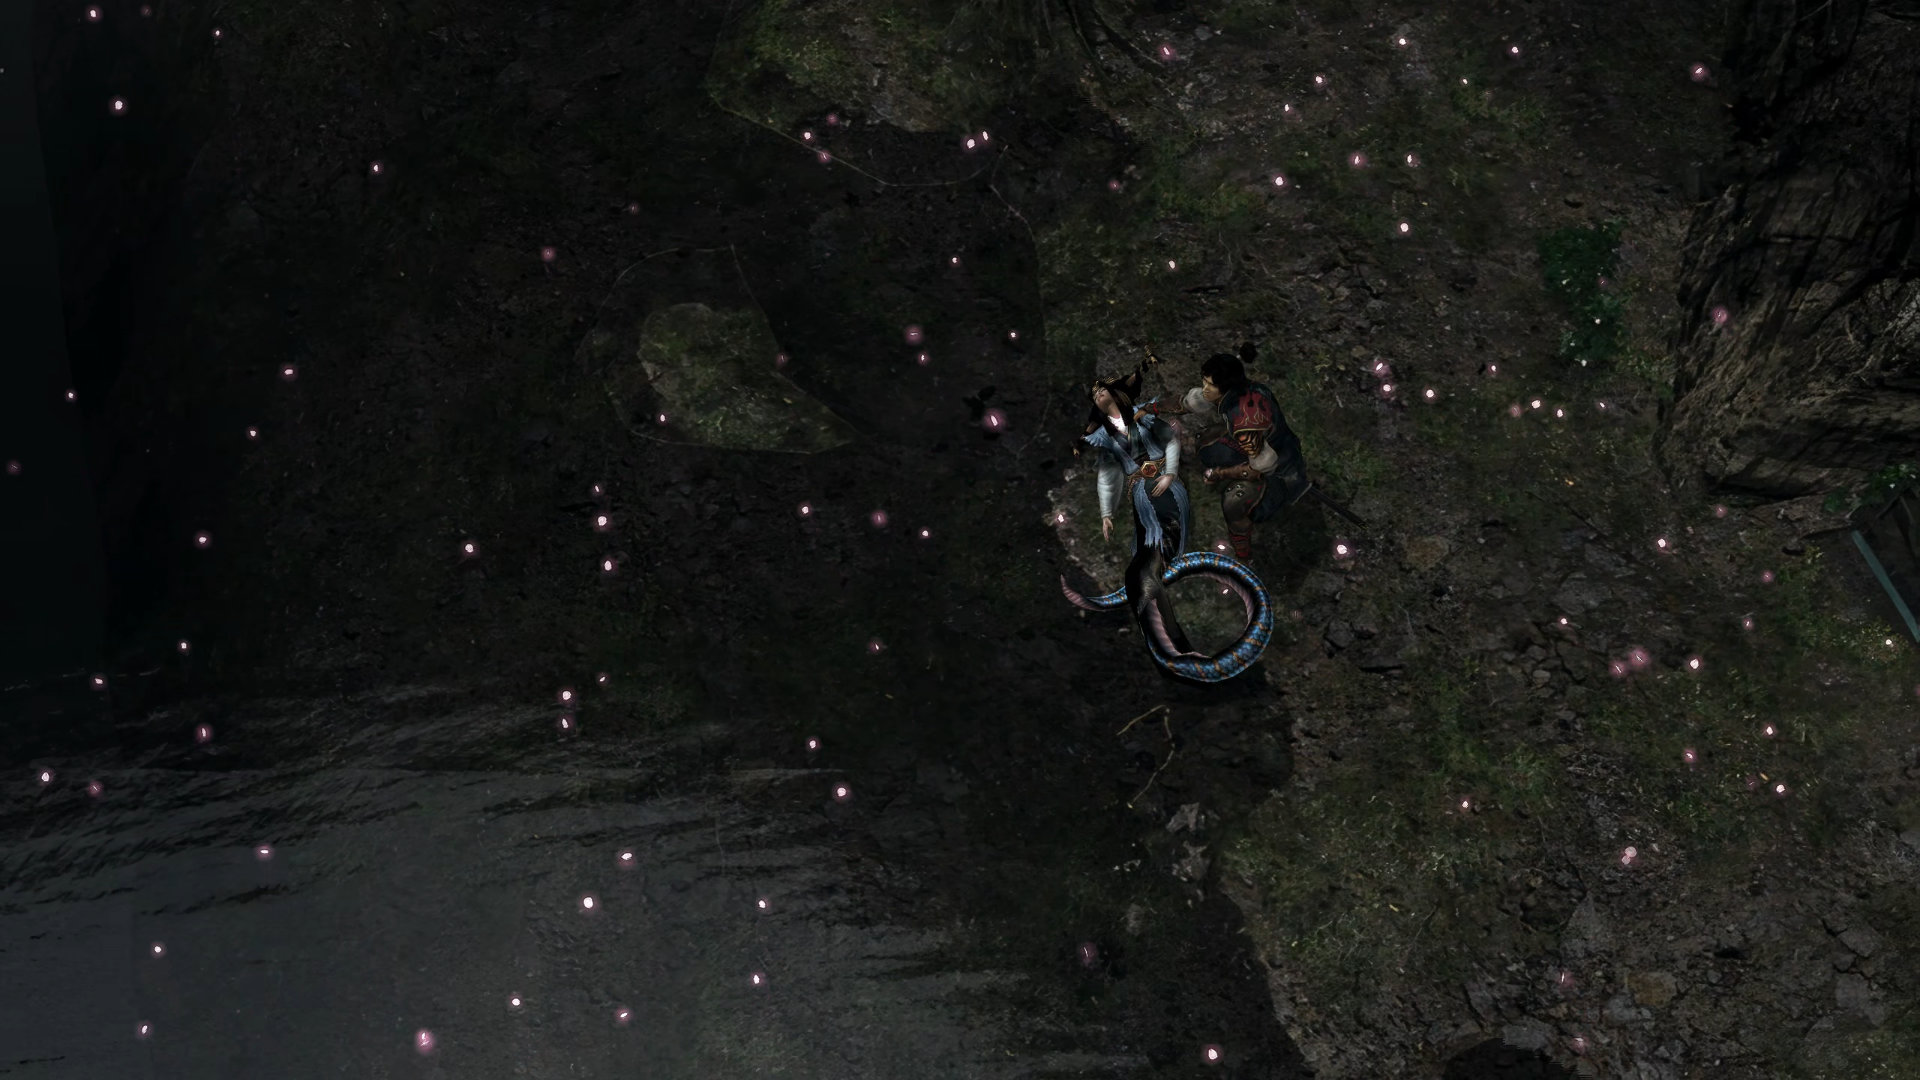
Scenario 4-5: Mother & Father
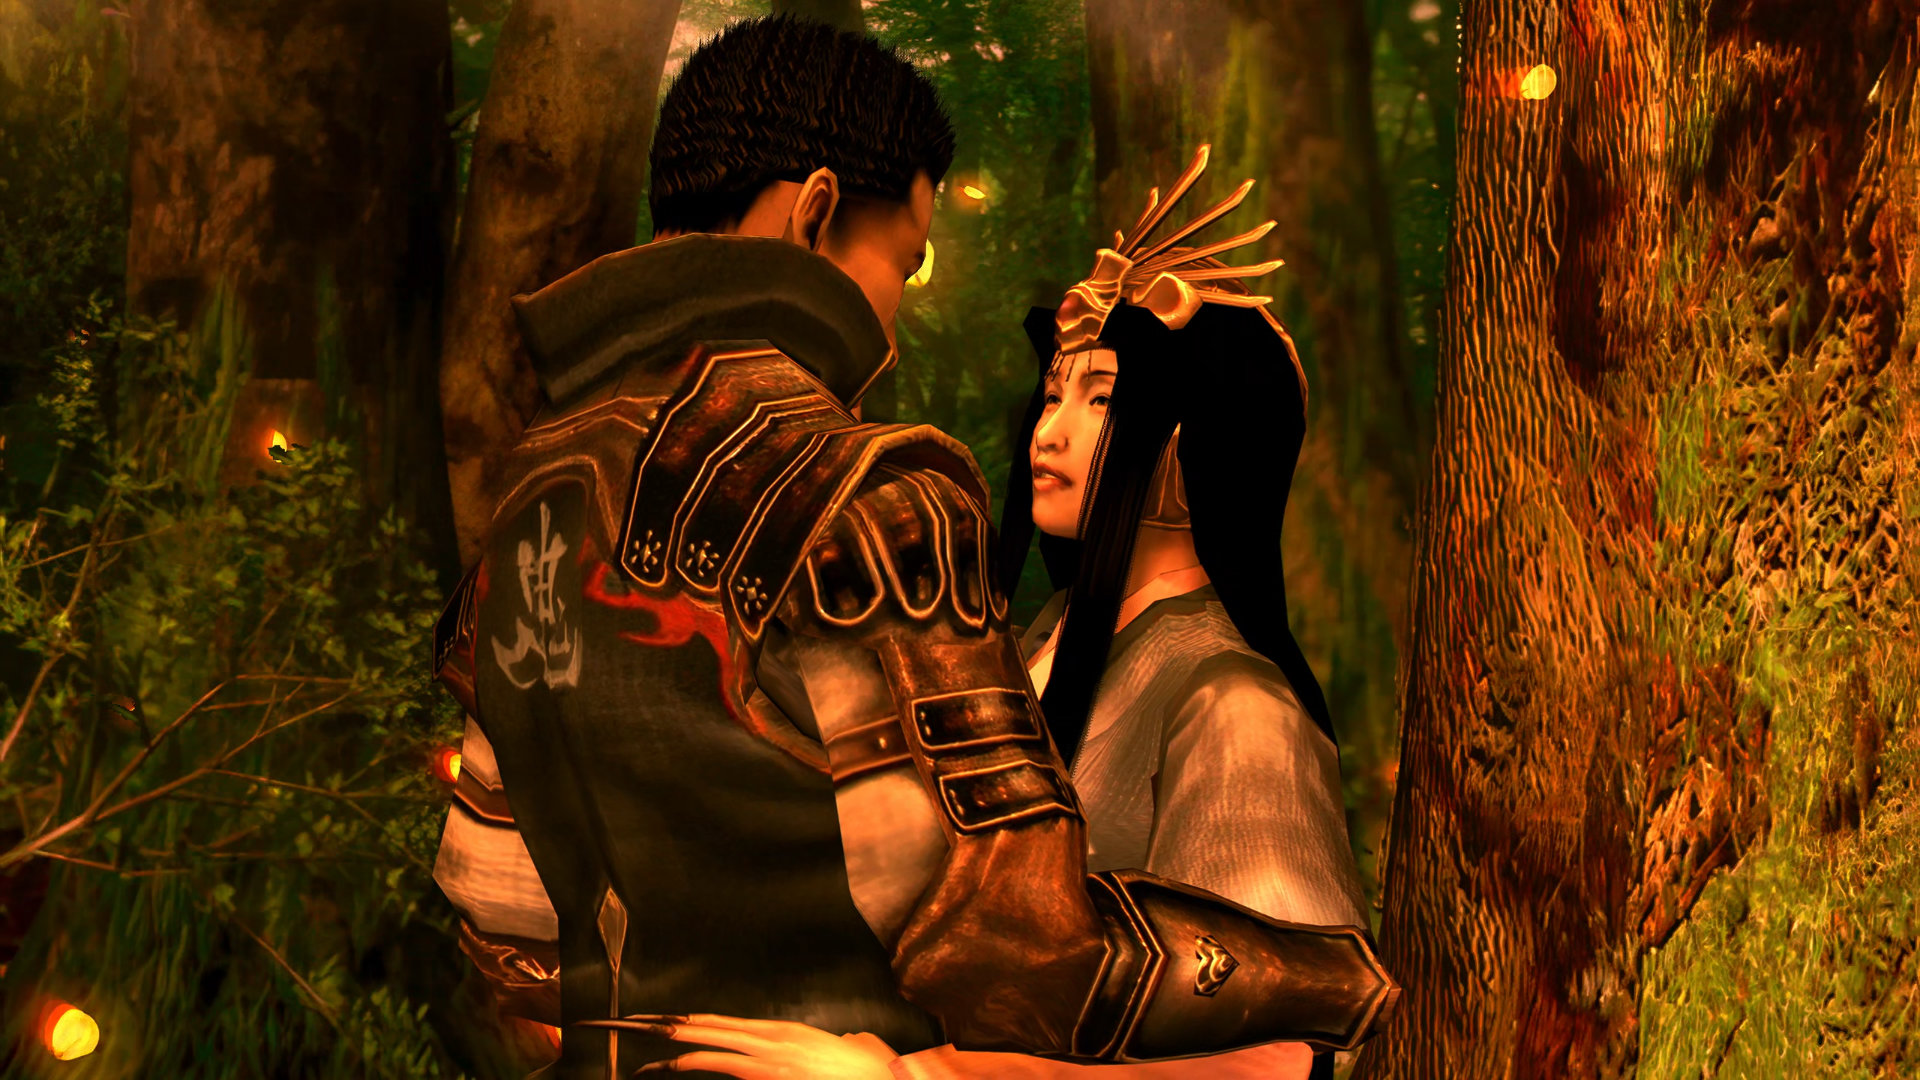
Scenario 4-6: The Oath
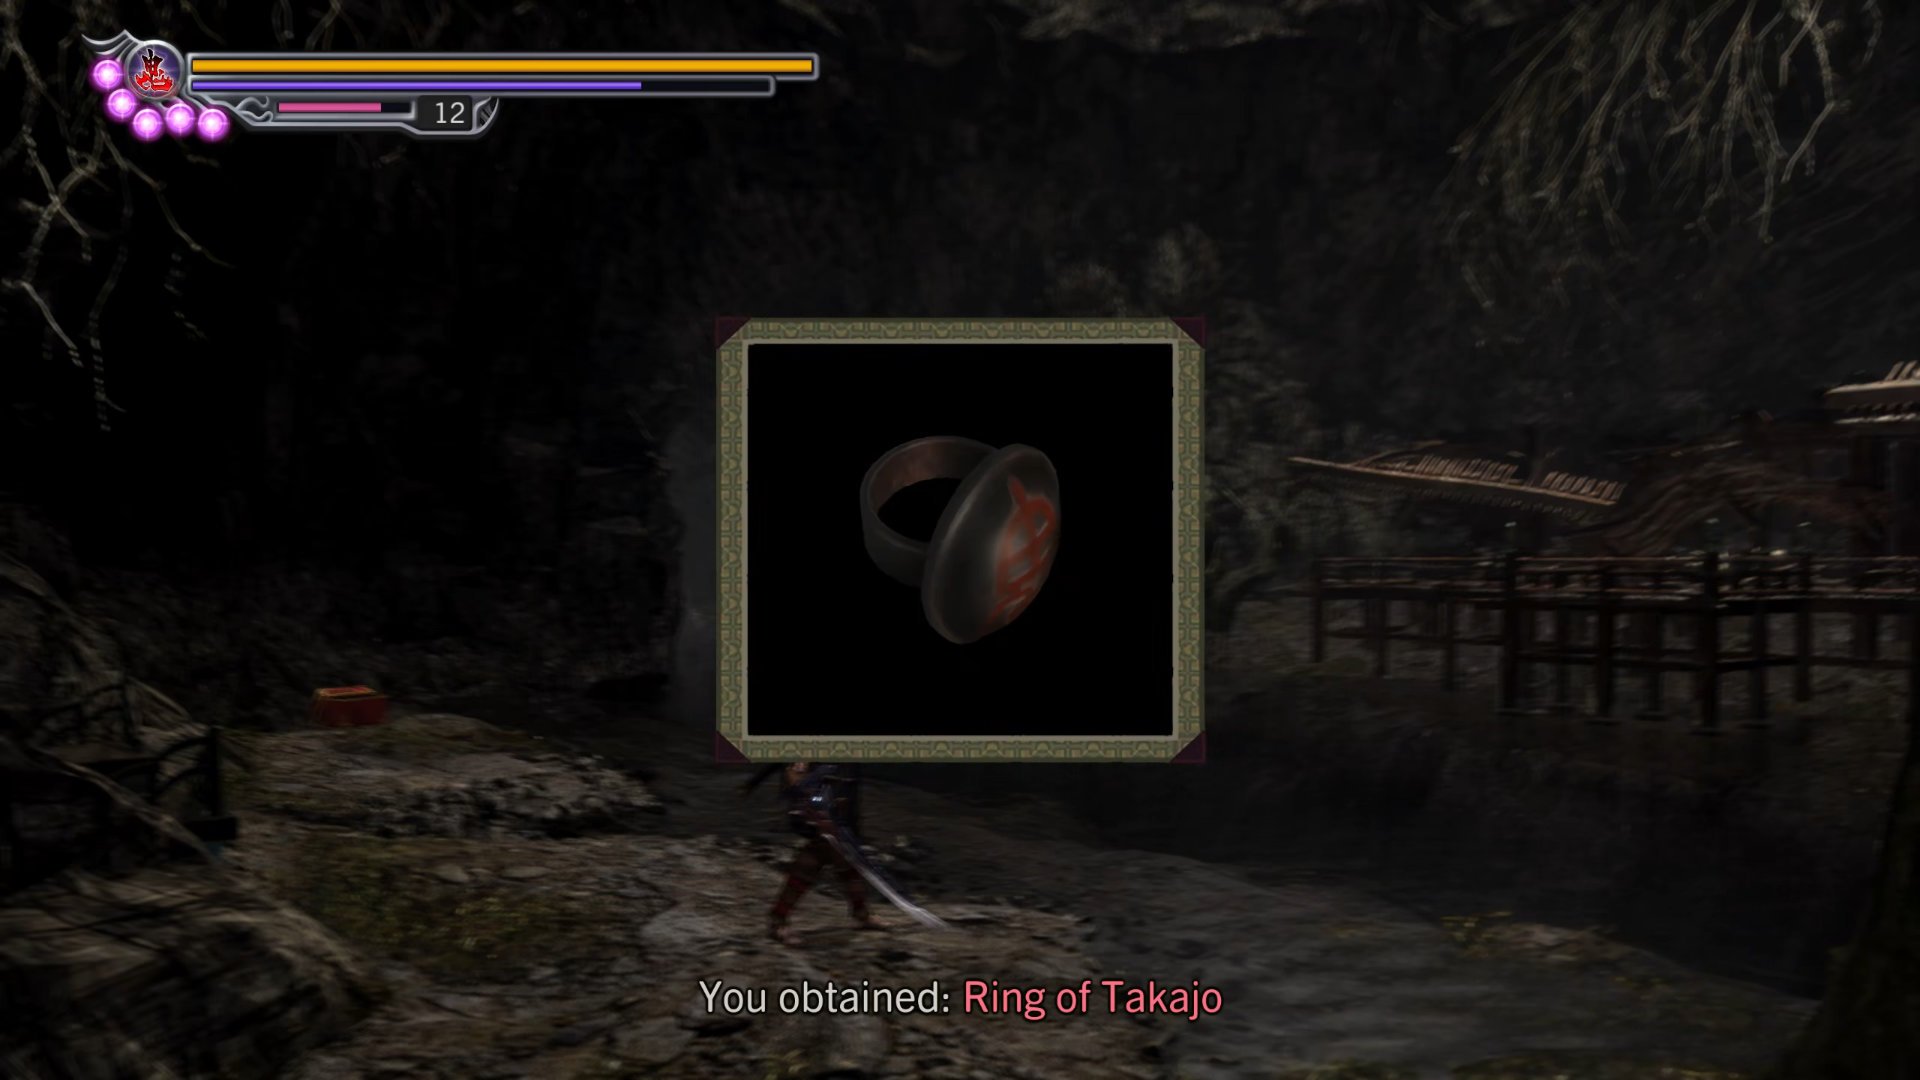
Pick up "Ring of Takajo" on the ground:
- Key Item: Ring of Takajo
Exit the cave.
Route: Magoichi
Do the following steps:
- Talk to Magoichi in front of the lake, he'll give you a Saiga Bomb.
- Use the bomb at the cracked rock near the Lightning Dragon Shrine to your left to reveal a treasure box.
- Open the treasure box for the Green Necklace. This necklace allows you to see hidden demon chests. Sadly, all the chests contain either medicine, magic liquid, or bullets and no especial items.
- Key Item: Saiga Bomb
- Equipment: Green Necklace
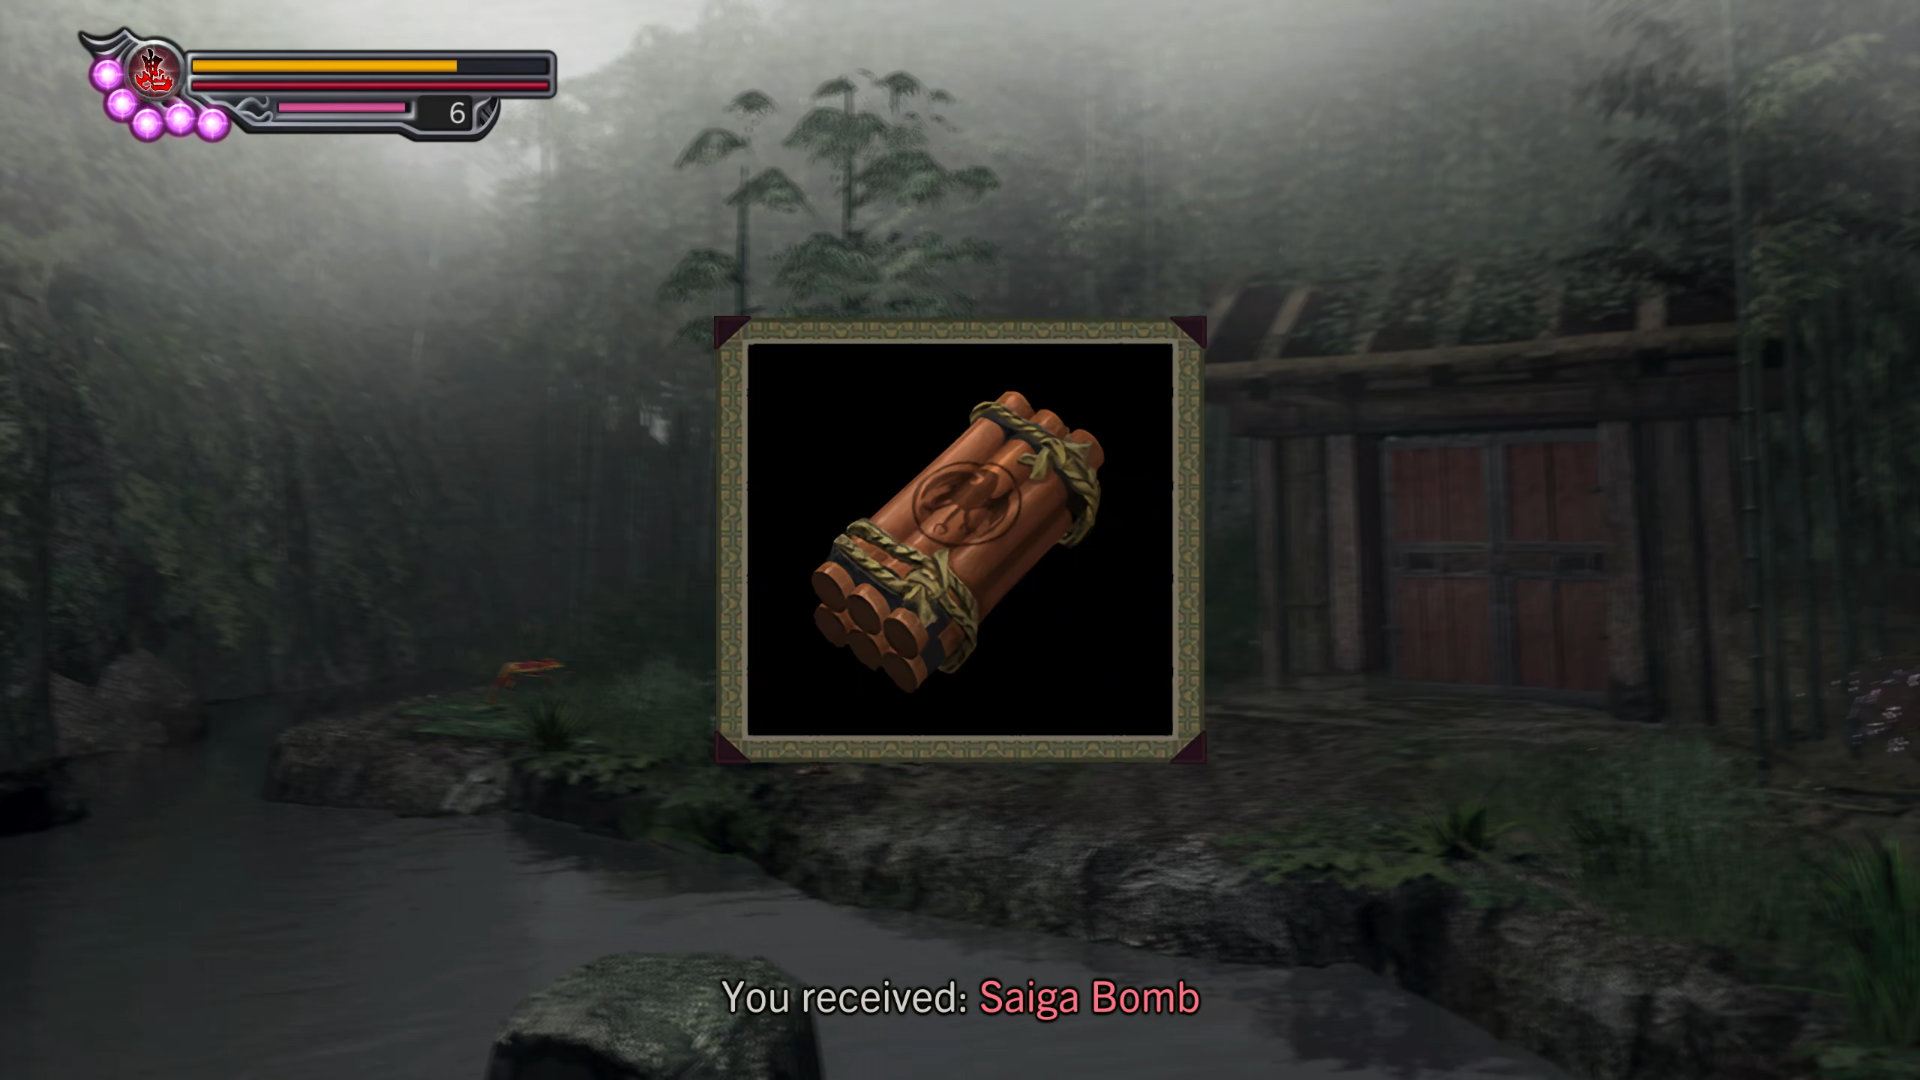
Scenario 5-1: Magoichi's Bomb
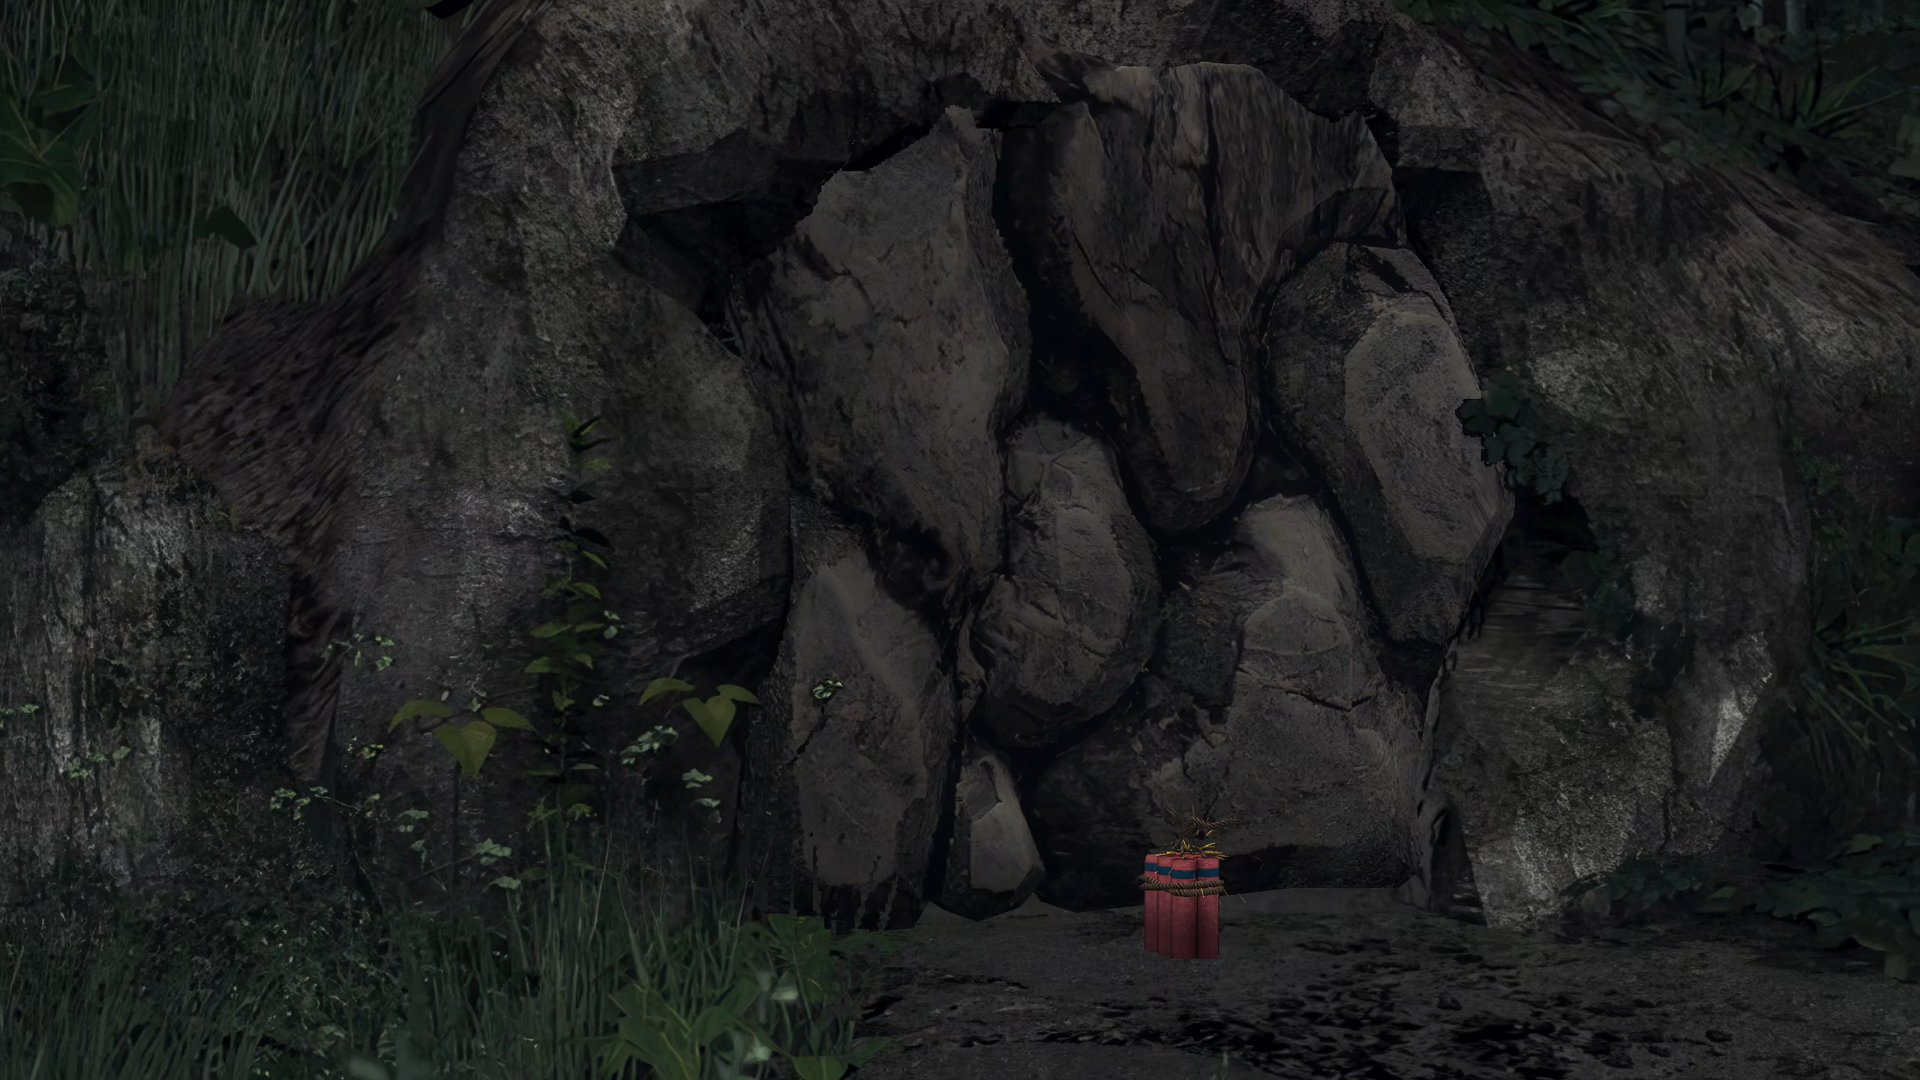
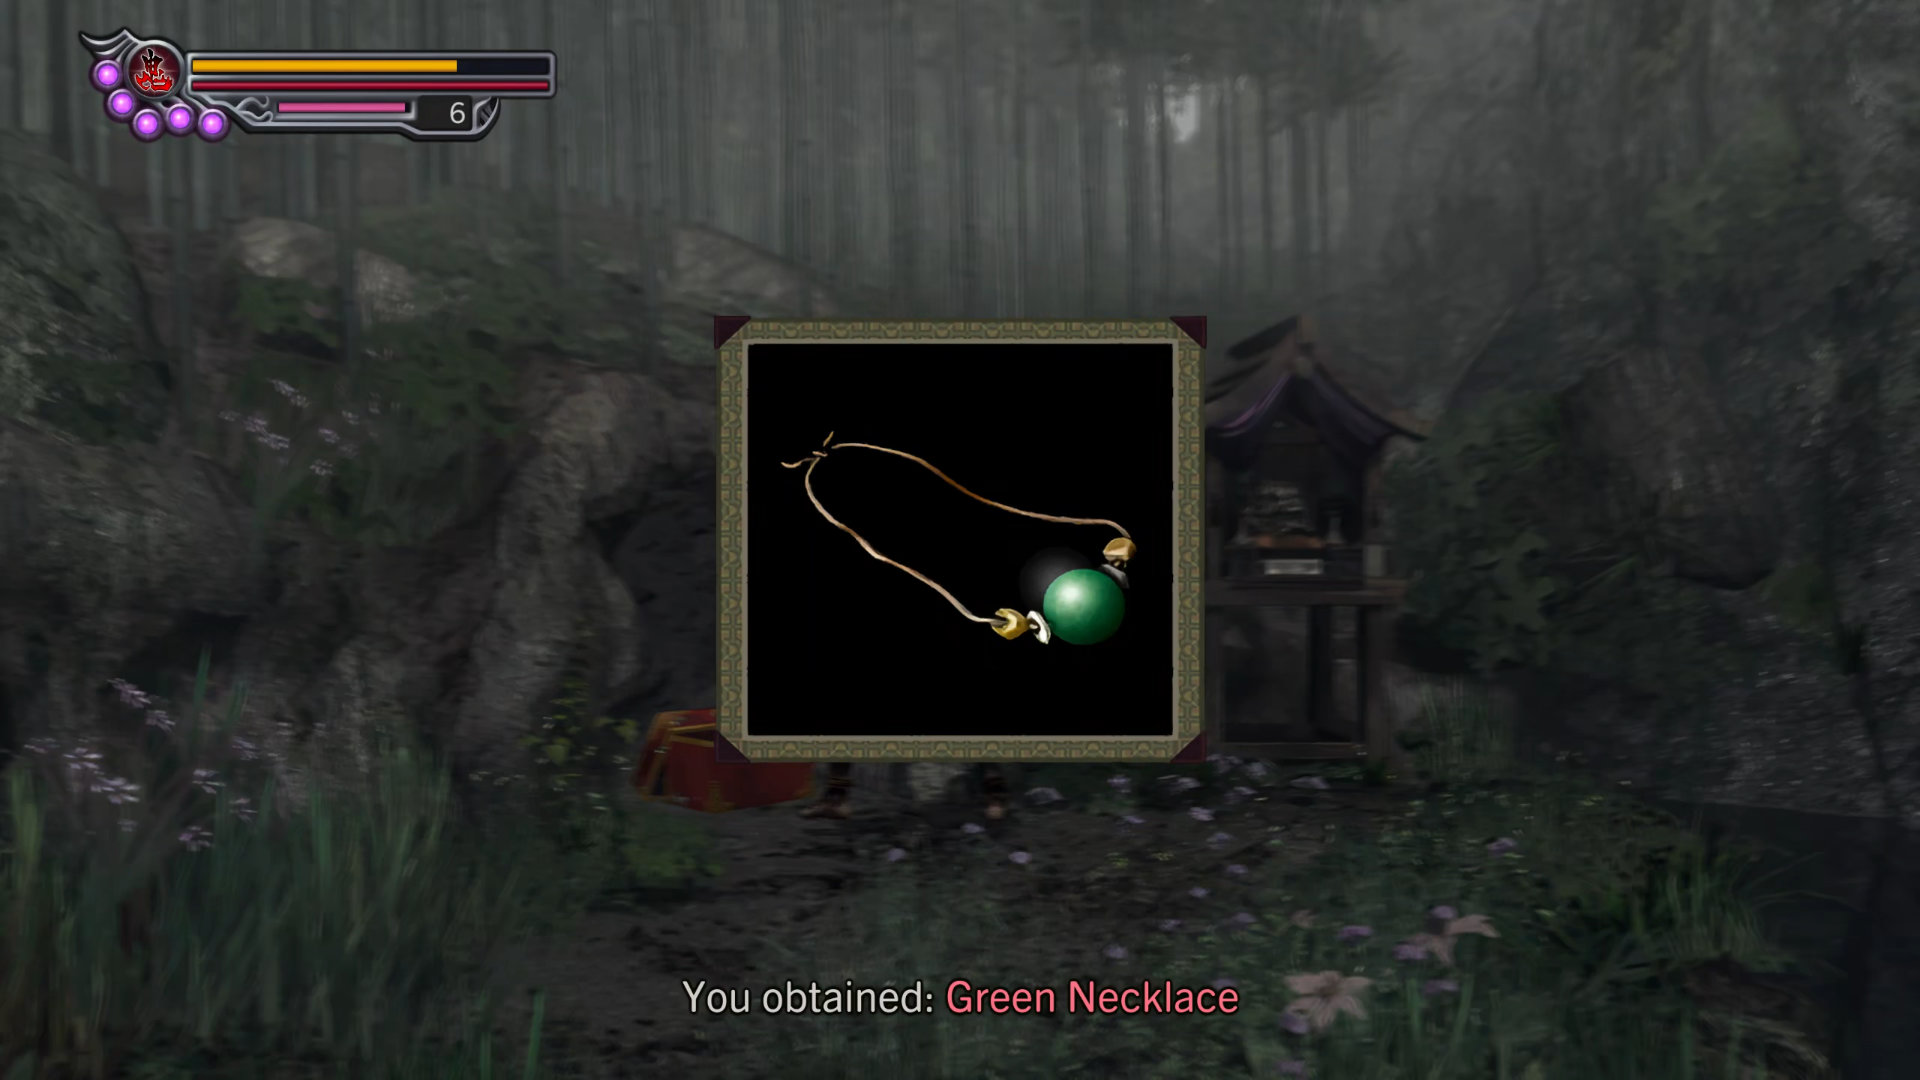
Equip the necklace immediately, you'll see your first hidden chest in front of you. From here on, I'll put a note "Hidden Chest #" to mark the location where you have to wear the necklace to the see hidden chests.
Hidden Chest #1: Secret Medicine In front of the Lightning Dragon Shrine.
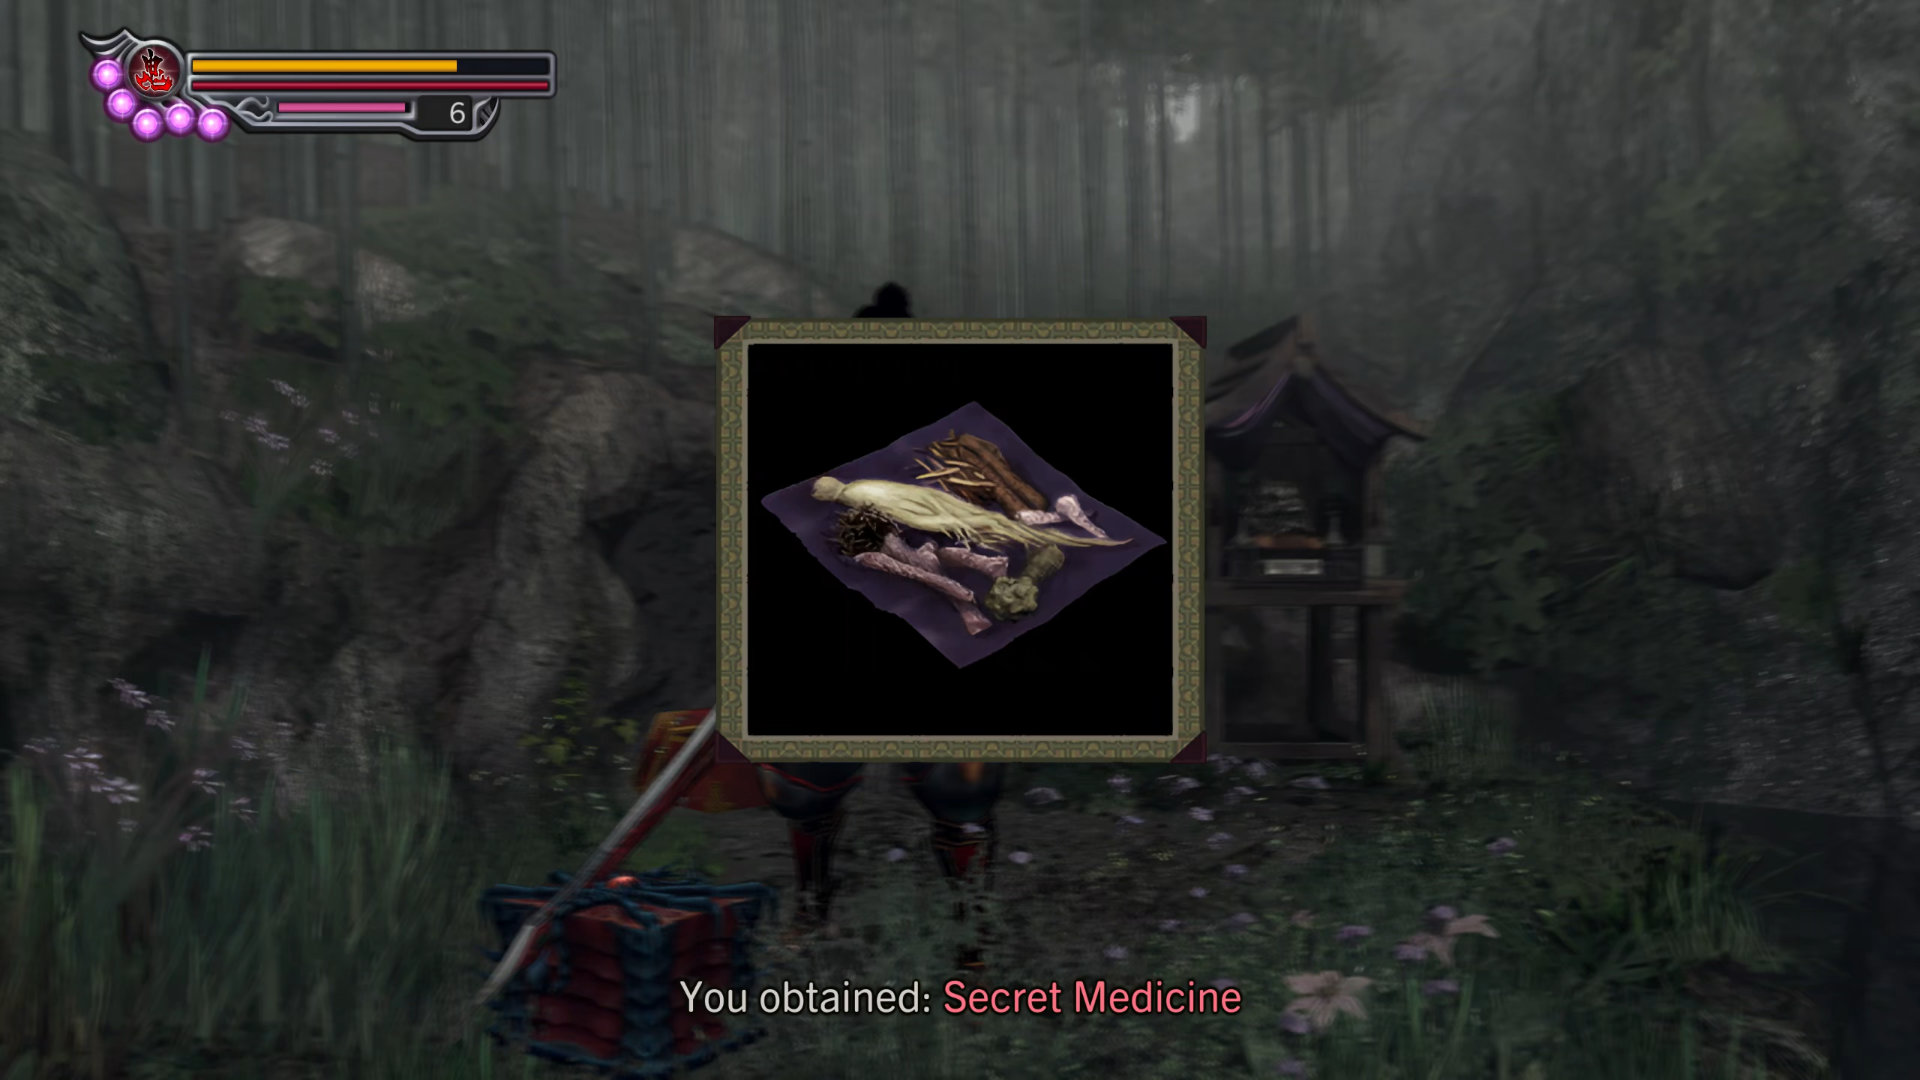
Then head back to the Yagyu residence (the house with the broken door at the very beginning). Go to the room with the fire pit behind the kitchen.
Scenario 5-2: Jubei and Oyu Talk by the Fireside
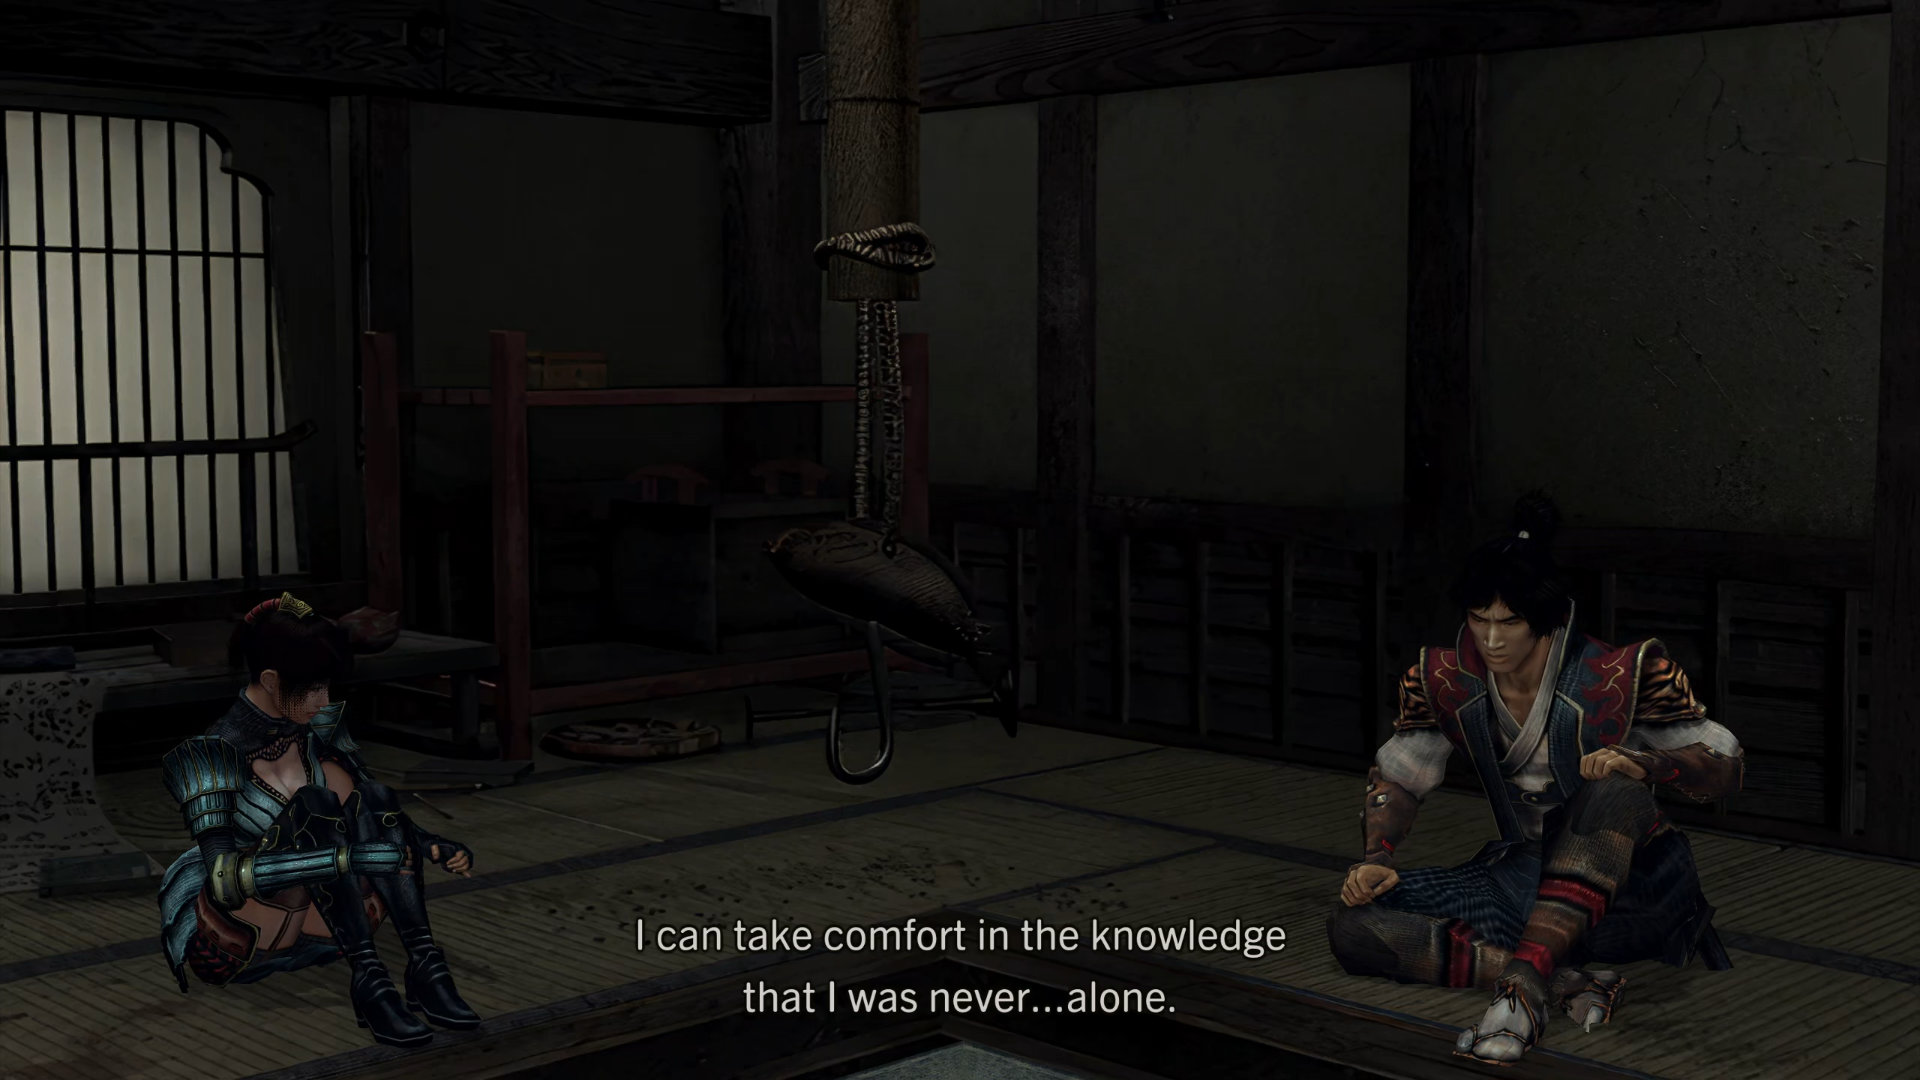
Hidden Red Souls #7: There is another "Hidden Red Souls" inside the second room in the backyard.
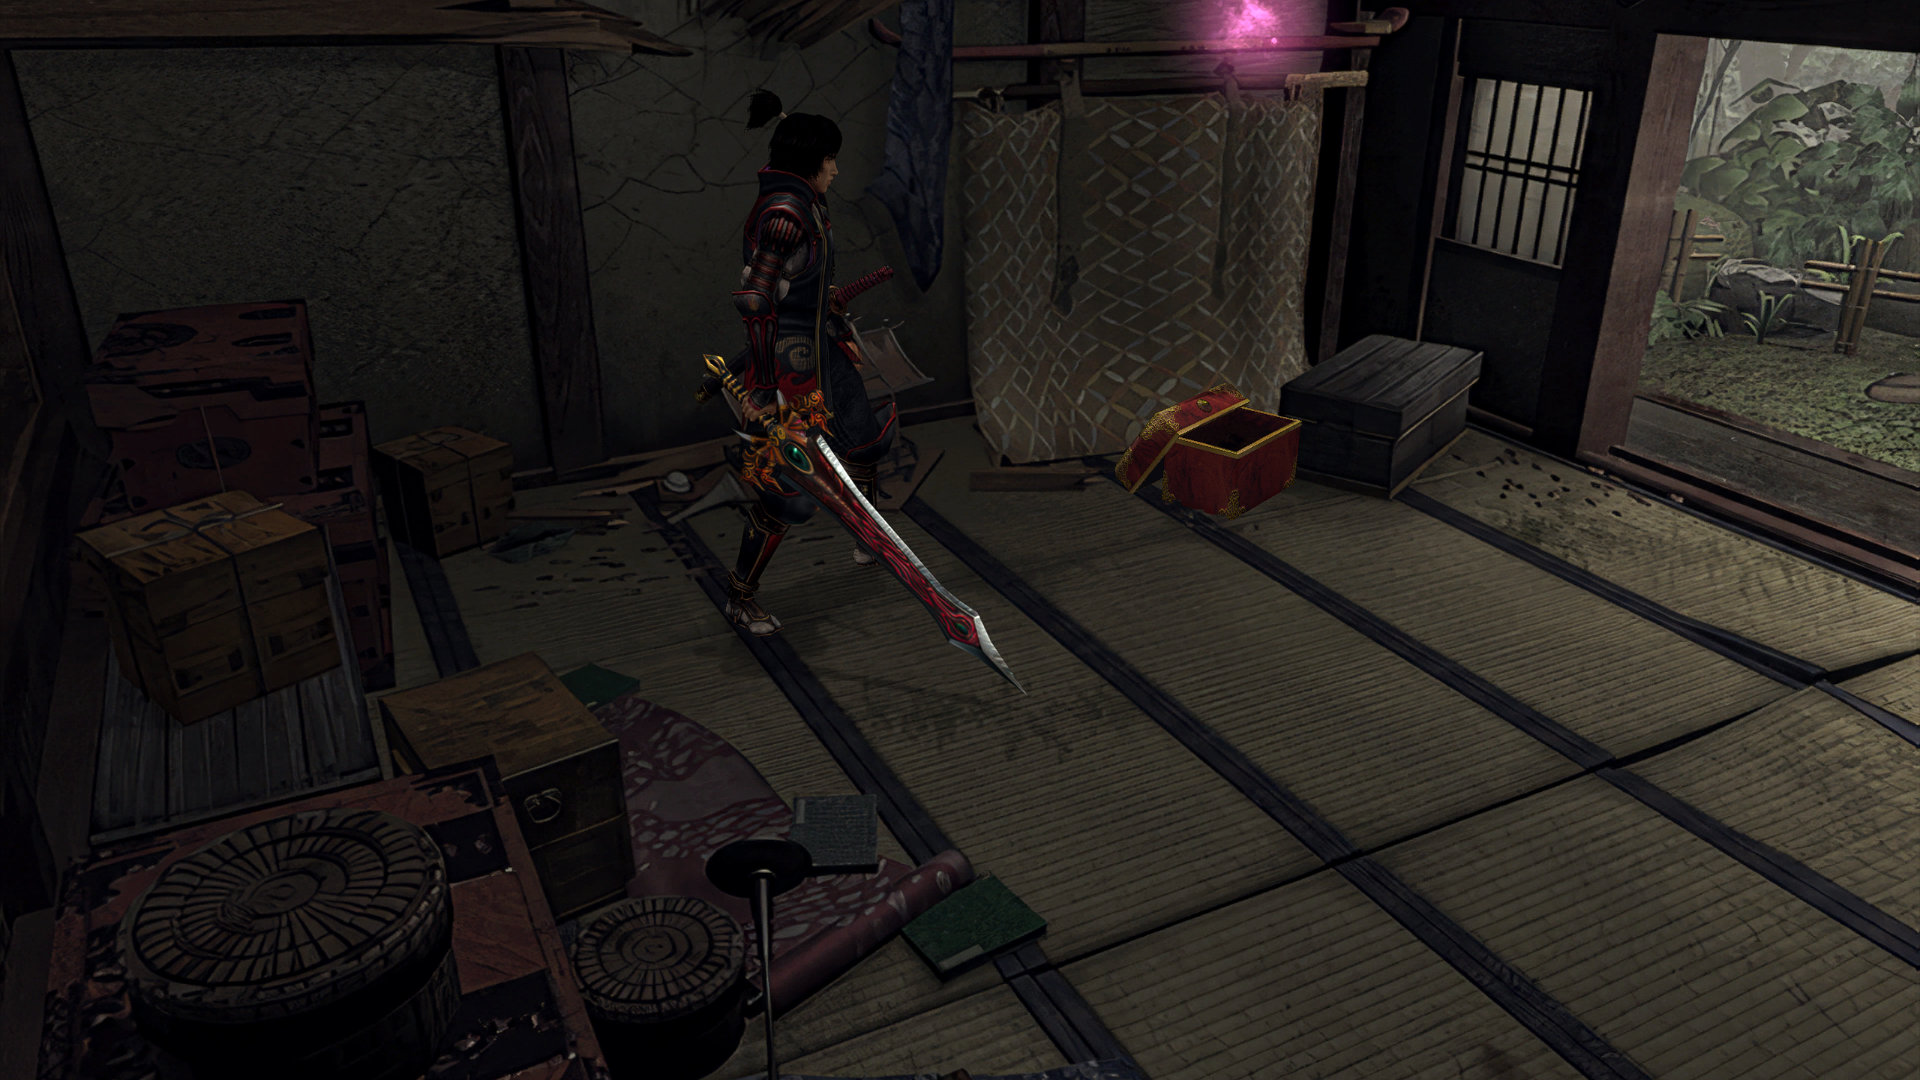
Now put the "Ring of Takajo" into the orange mechanical box. it'll prompt you to solve a puzzle. The solution is from the 2 pieces of the "Four Guardians" you collected very early in the game.
- Solution: top-black, bottom-red, left-white, right-blue
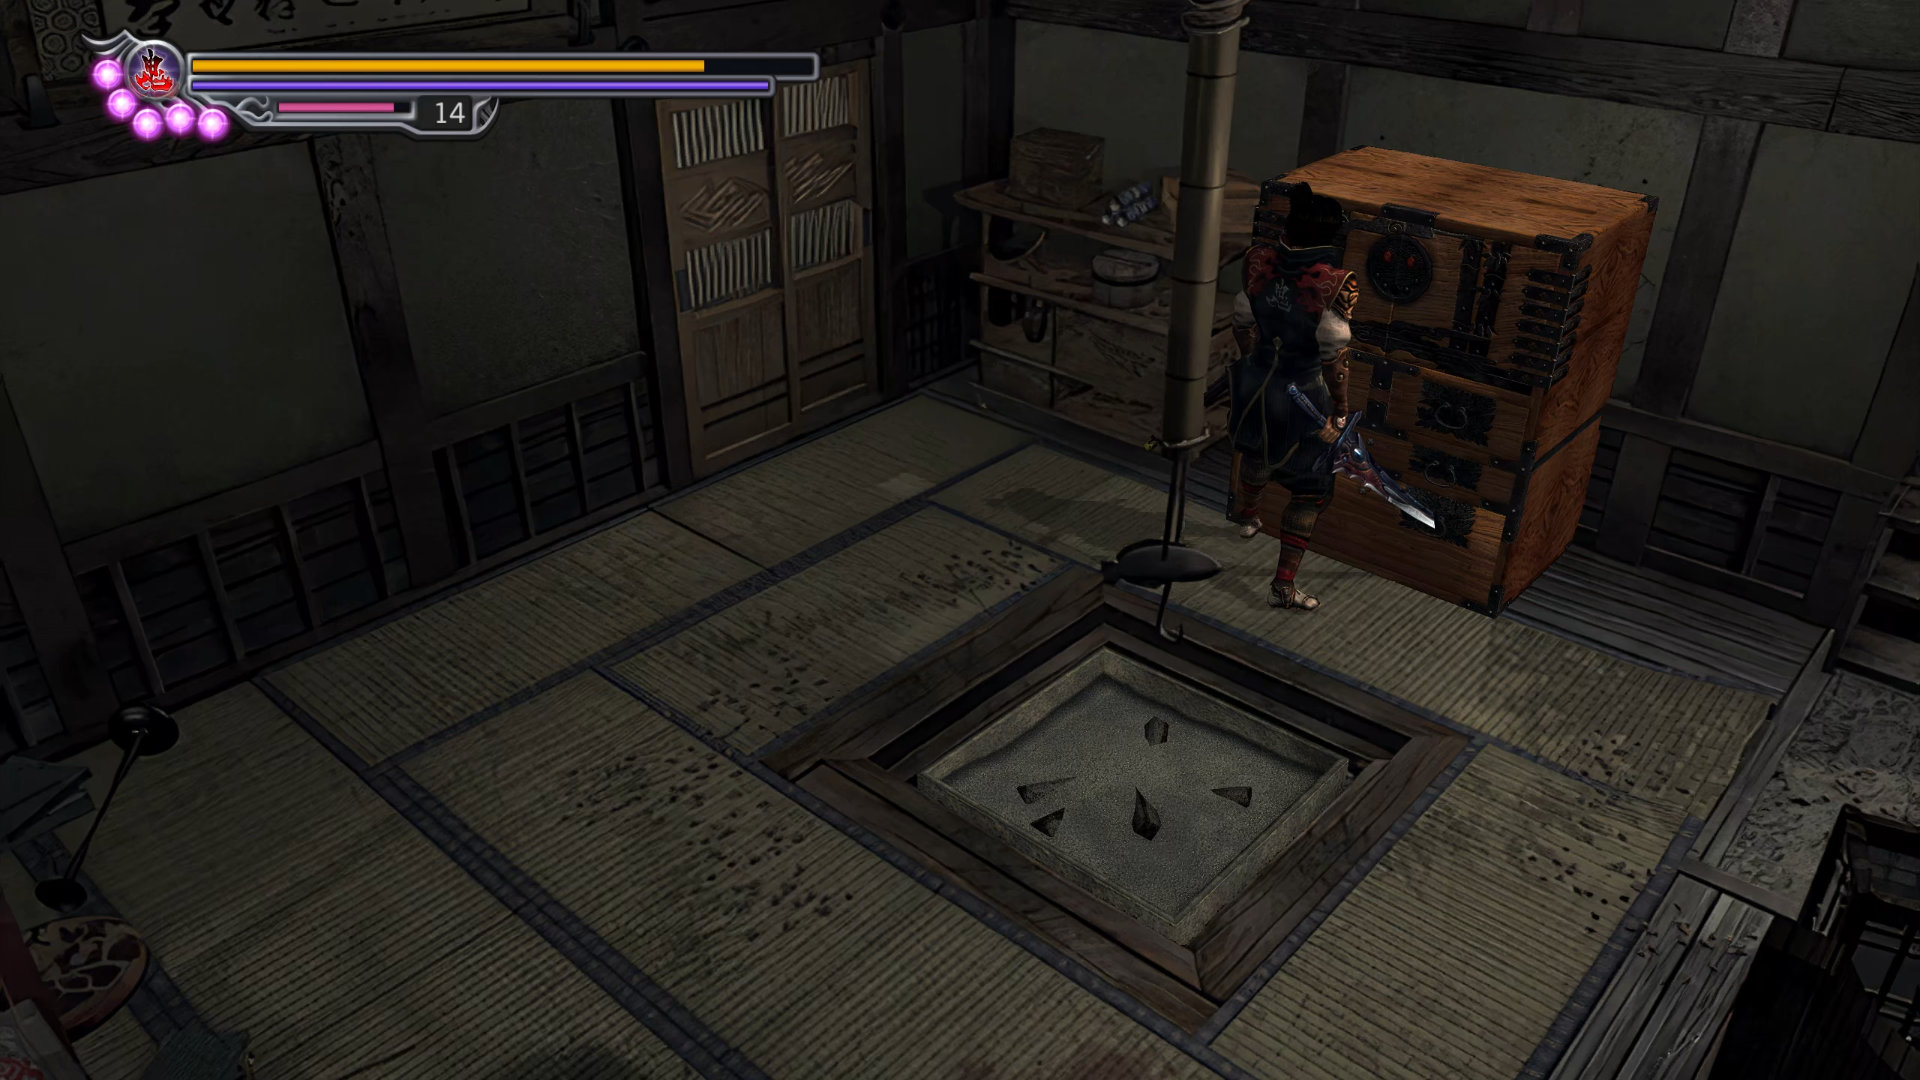
Go down the ladder.
This underground passage doesn't have anything, so keep going until you narrowly miss a spiked-pit trap. Jump over to the other side, then press "Up" to climb up.
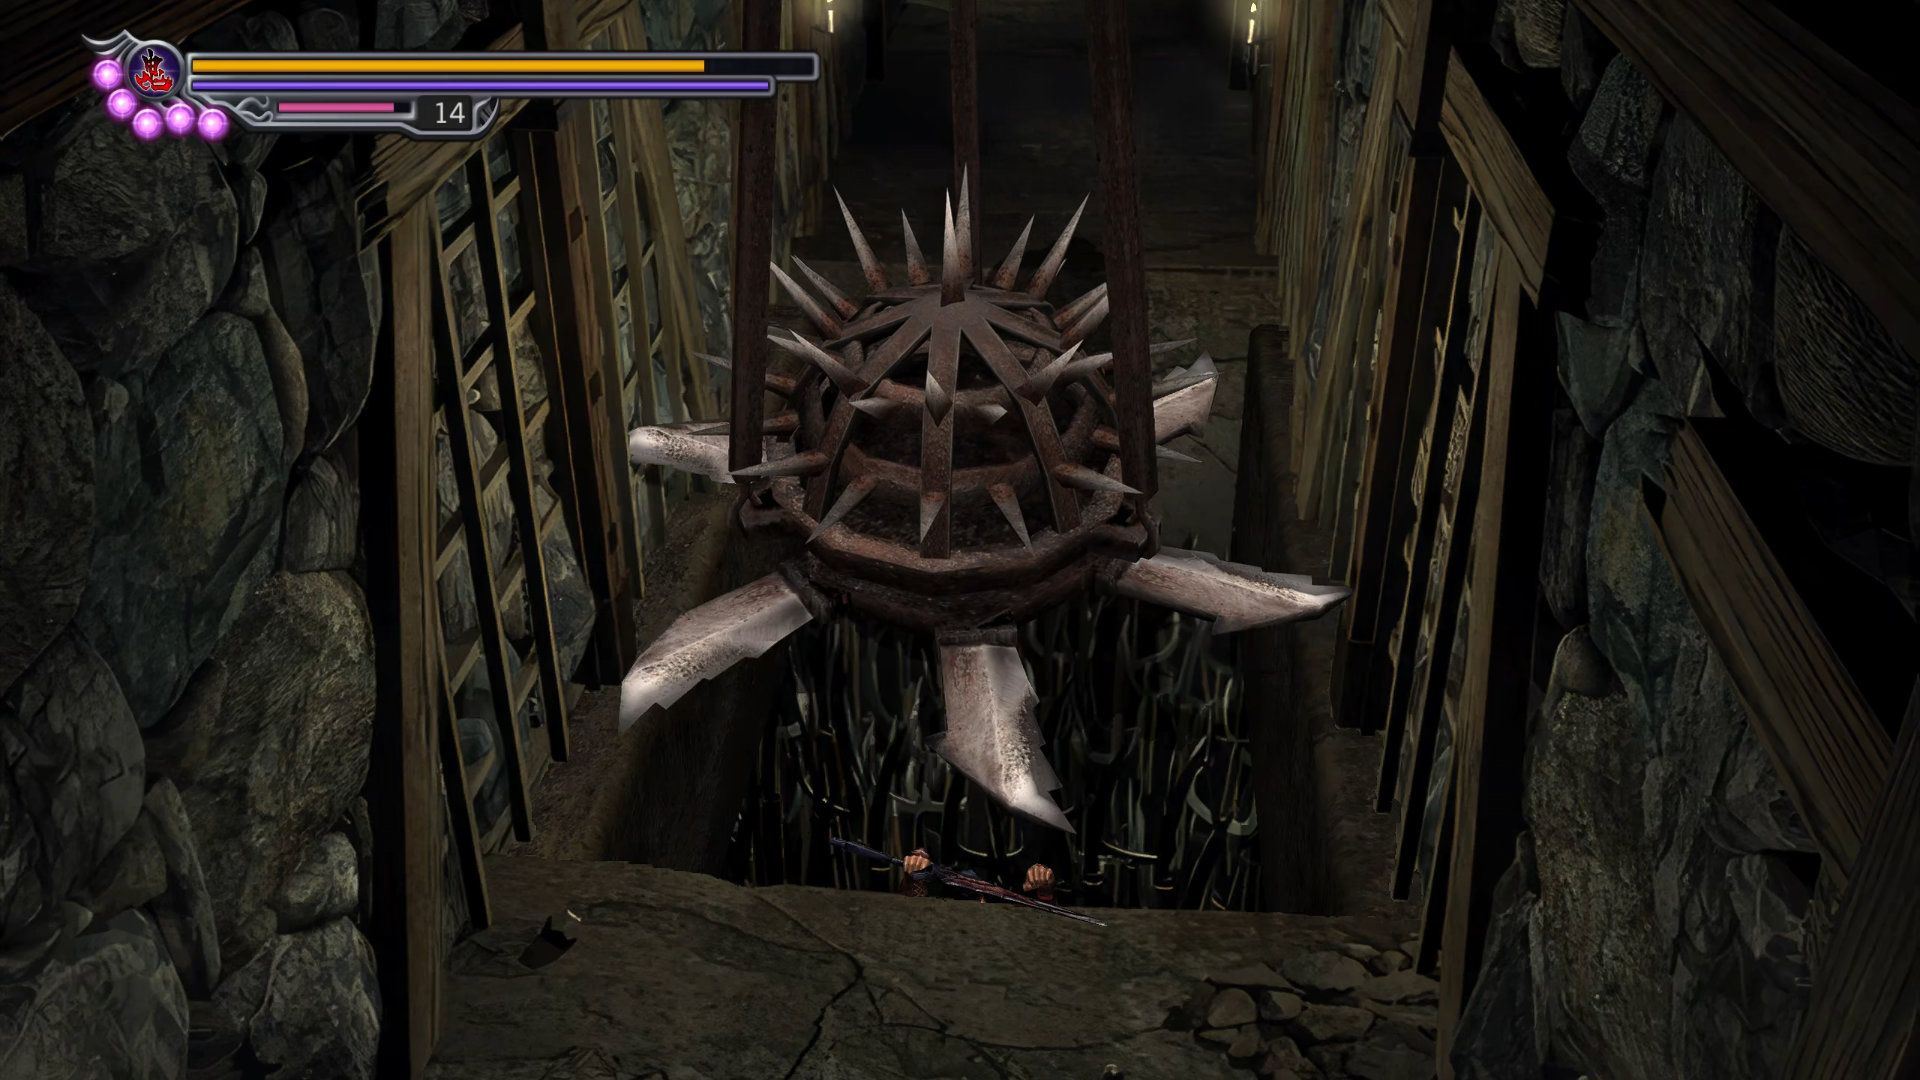
Next, cut the ropes blocking your path. This triggers a spinning blade trap. Immediately turn around and jump over the pit and hang there until the blades pass overhead, climb up, jump back to continue to the next area.