Consult this map for this part:
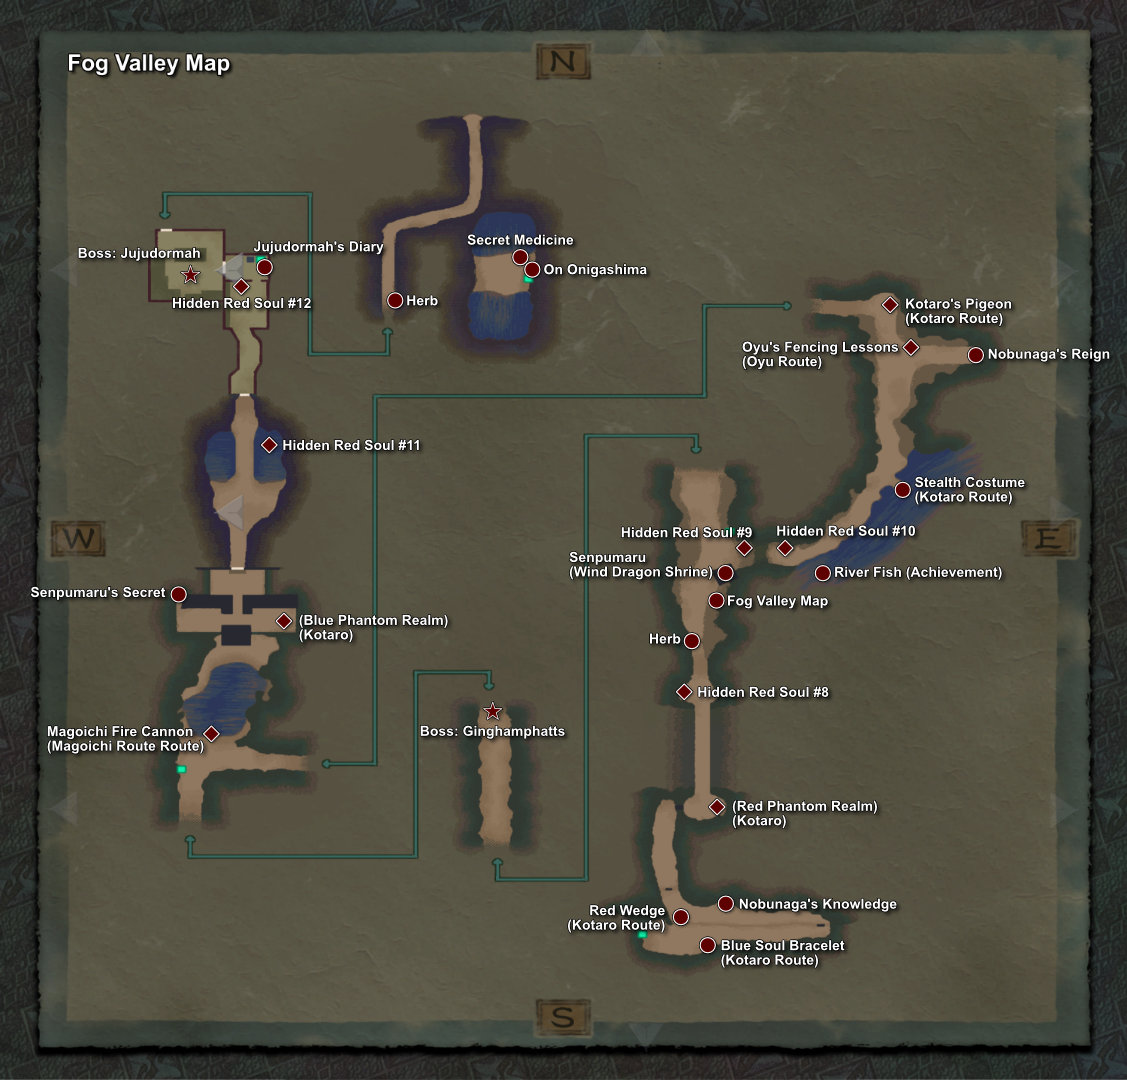
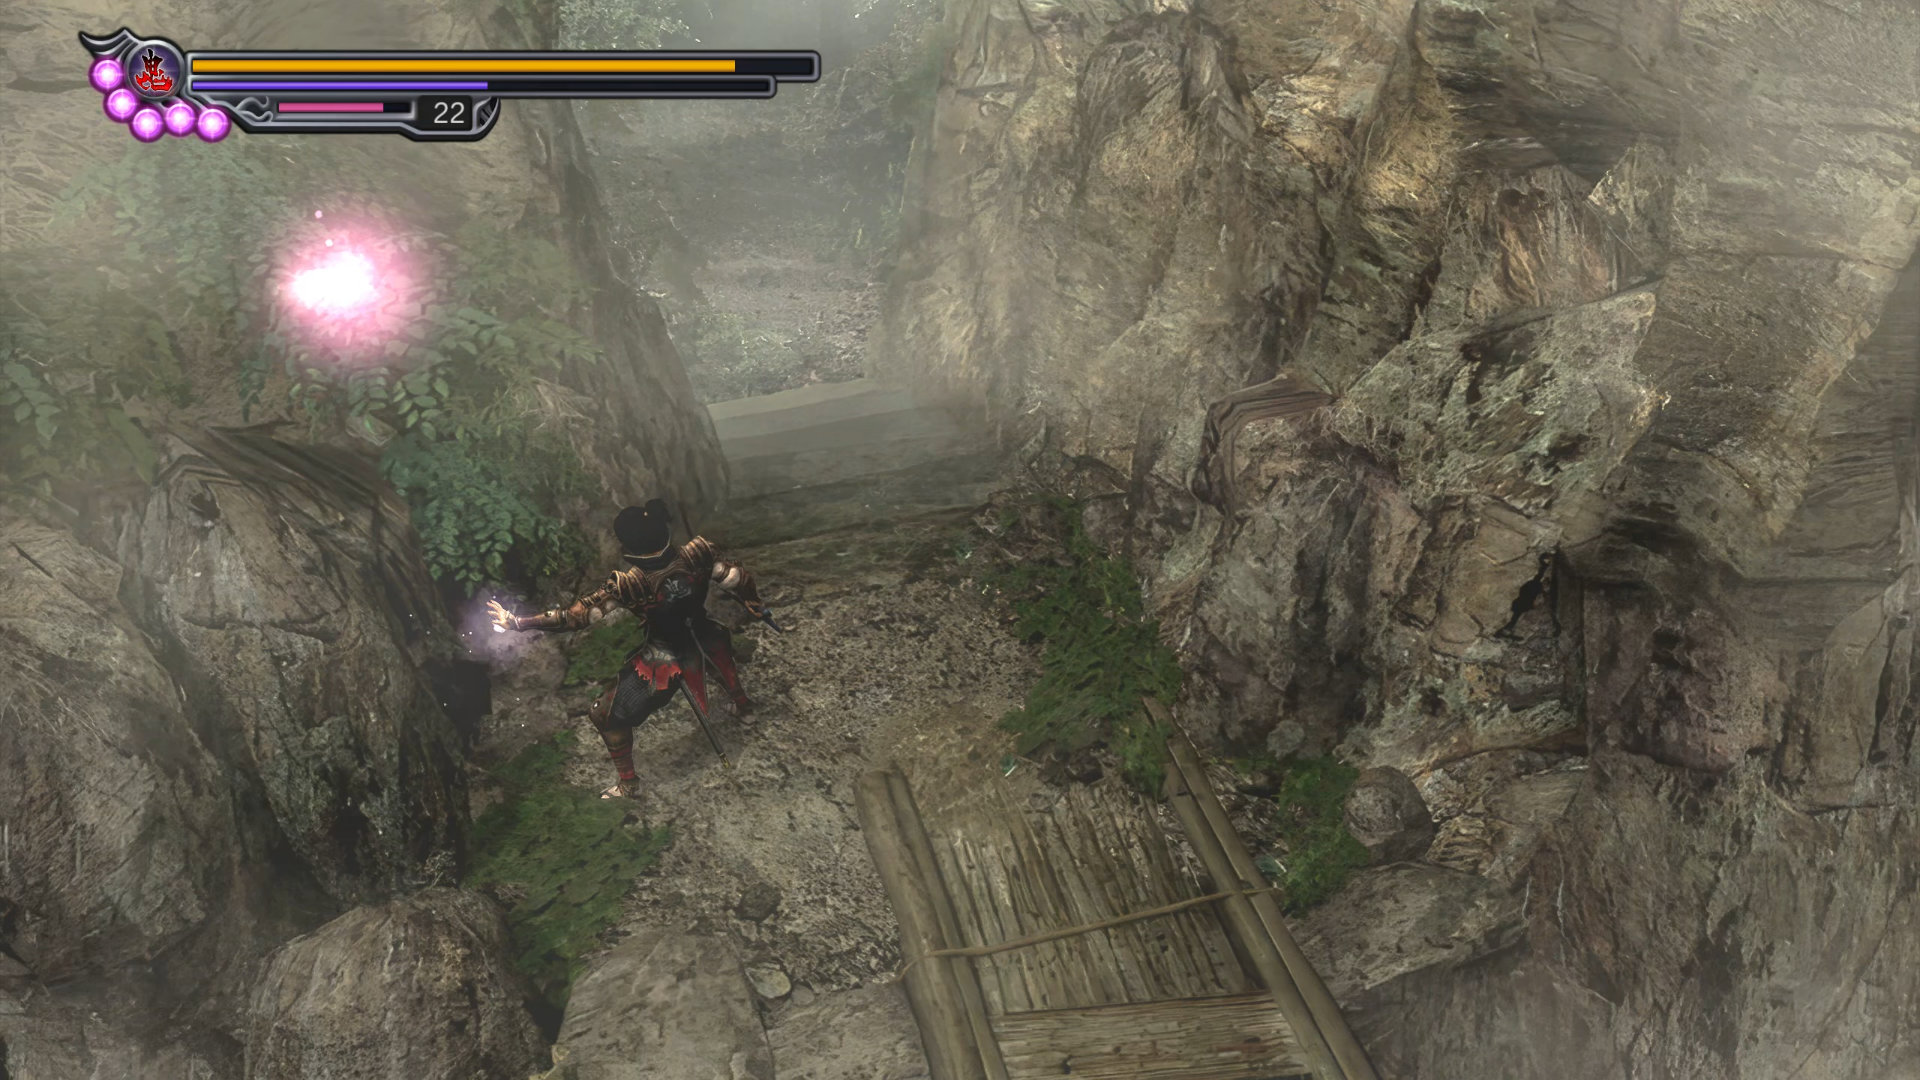
Save your game at Magic Mirror right in front of the cave entrance, then follow the path, climb up the first ladder, skip the green seal, climb up the second ladder, then the third ladder.
Here at the bridge, either Oyu, Magoichi, or Ekei will show up to help you if she/he has the highest friendship points, so you should stay and clean up the area before leaving her.
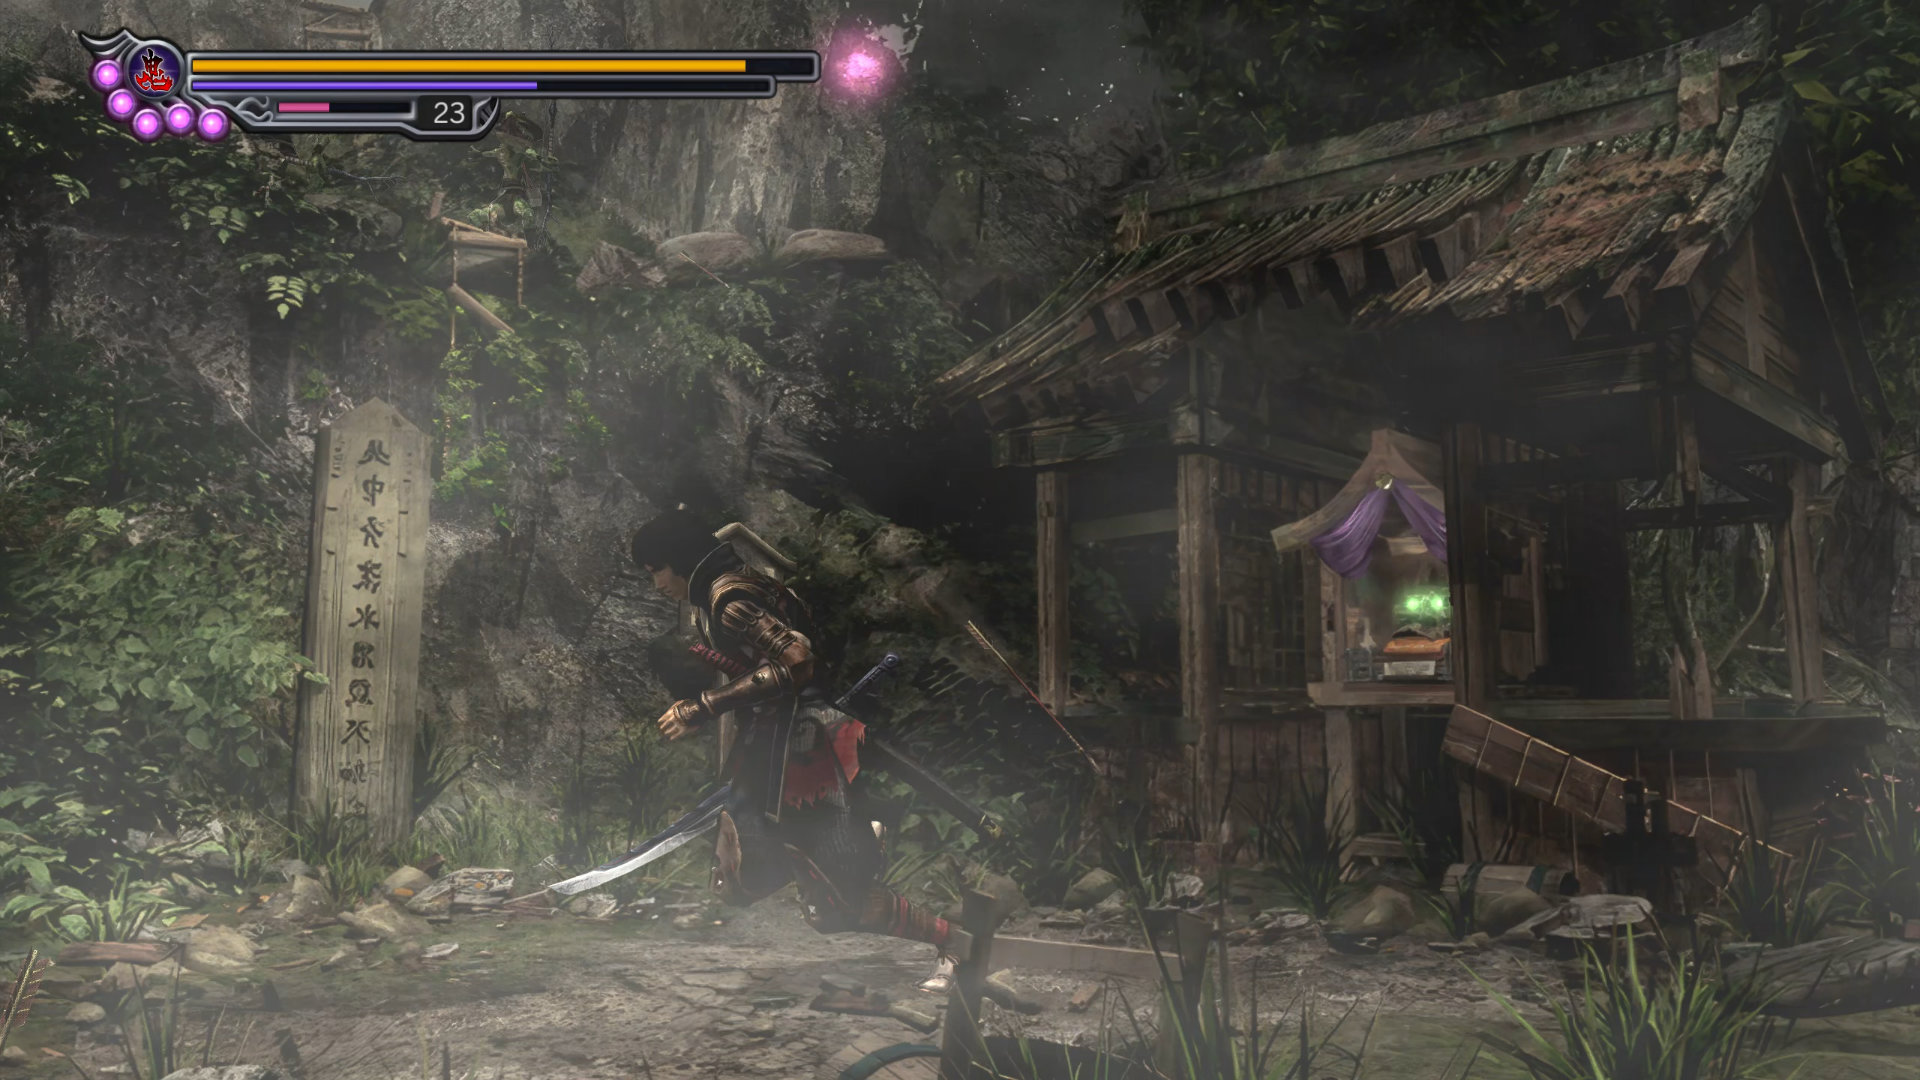
Hidden Red Souls #8: At the end of the skybridge
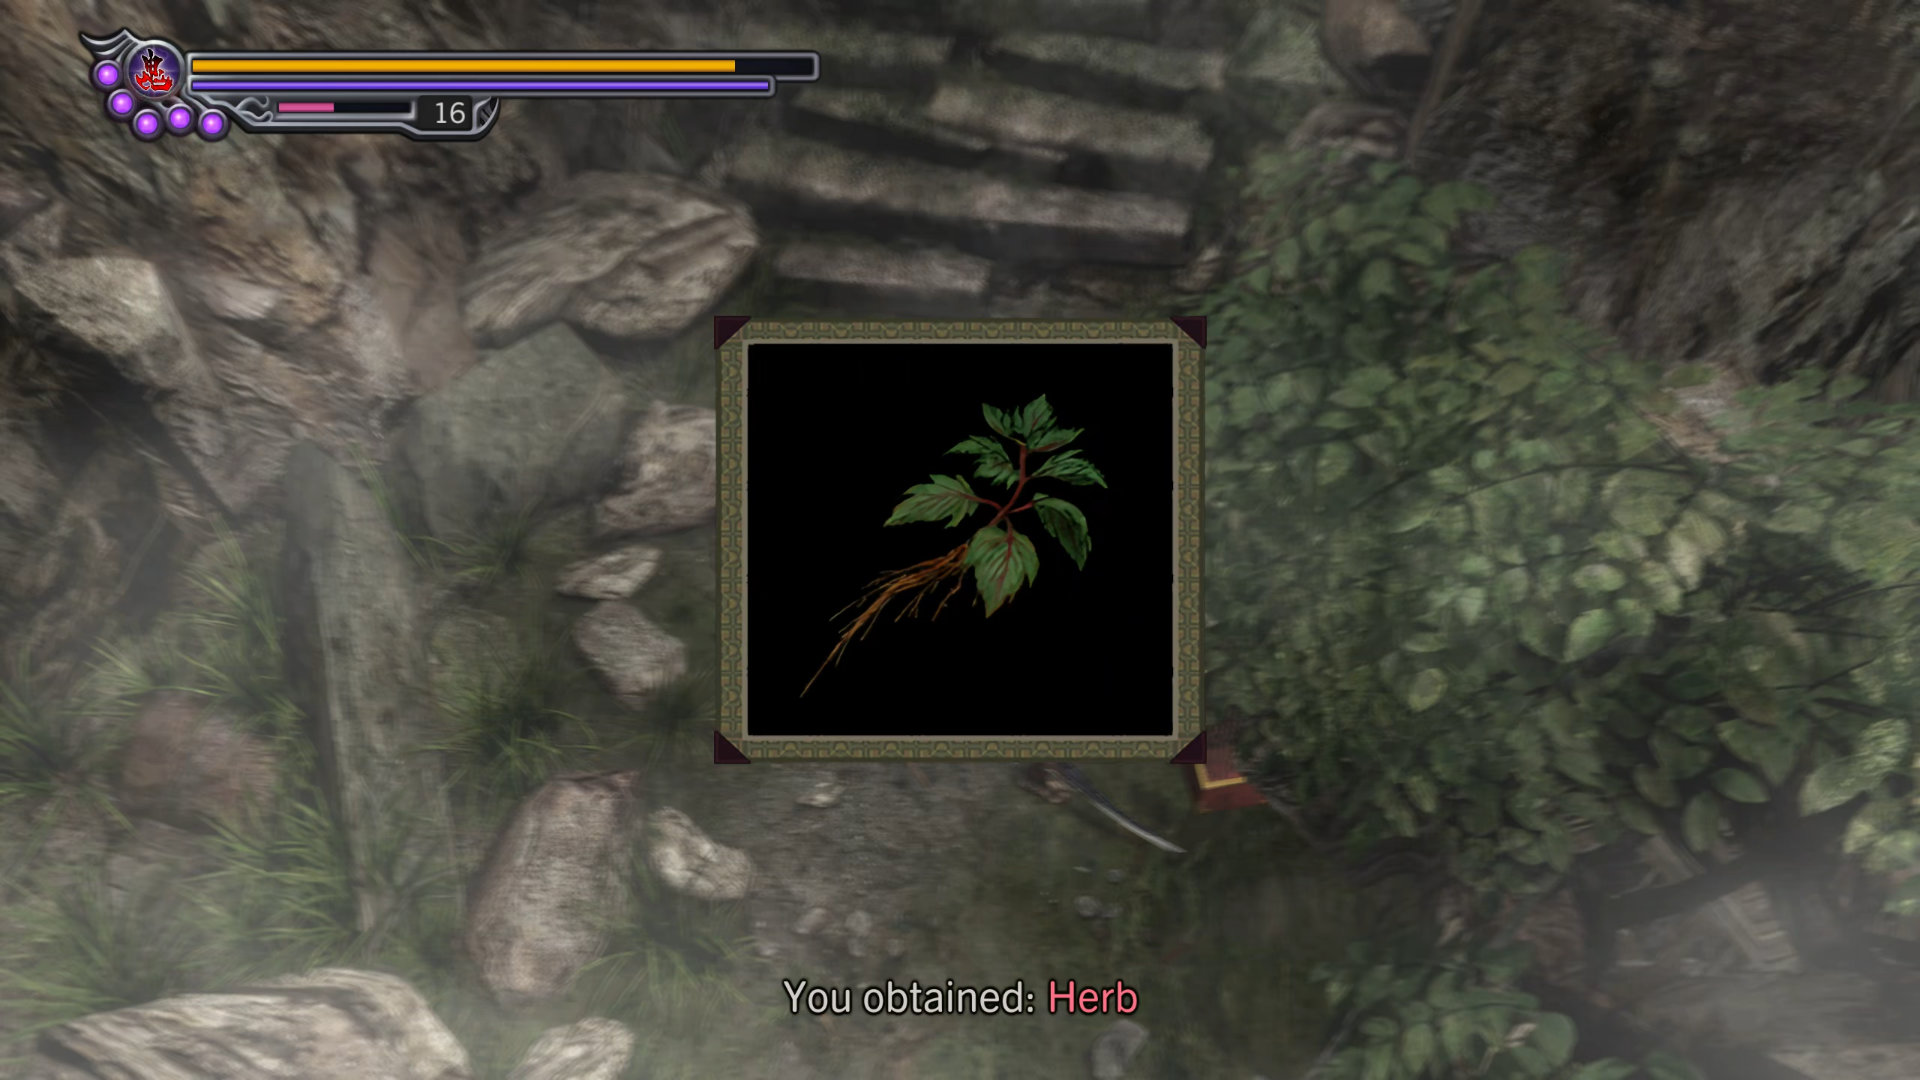
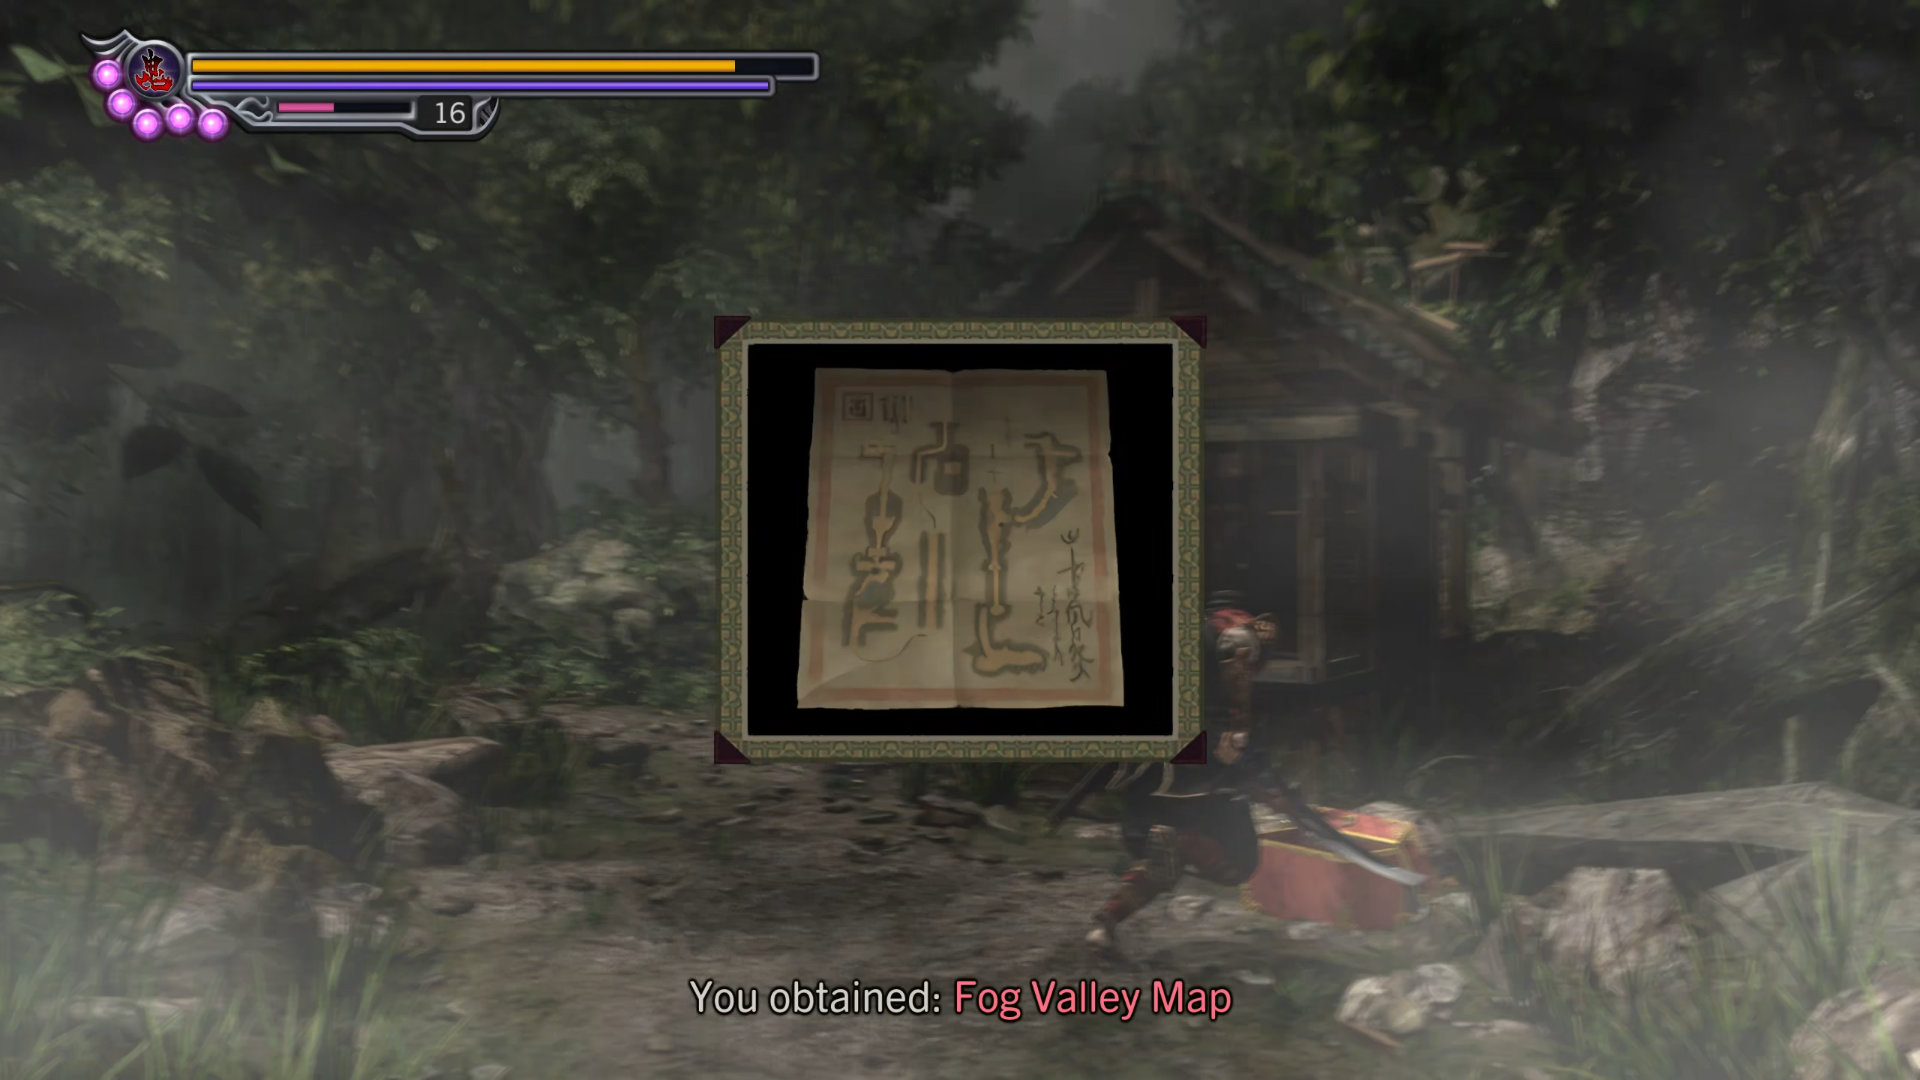
Continue down the stairs, then open two treasure boxes and examine the Dragon Shrine for a new weapon, wind blades.
- Item: Herb - at the end of the stairs
- Map: Fog Valley Map - near the Dragon Shrine
- Equipment: Senpumaru - Wind Dragon Shrine
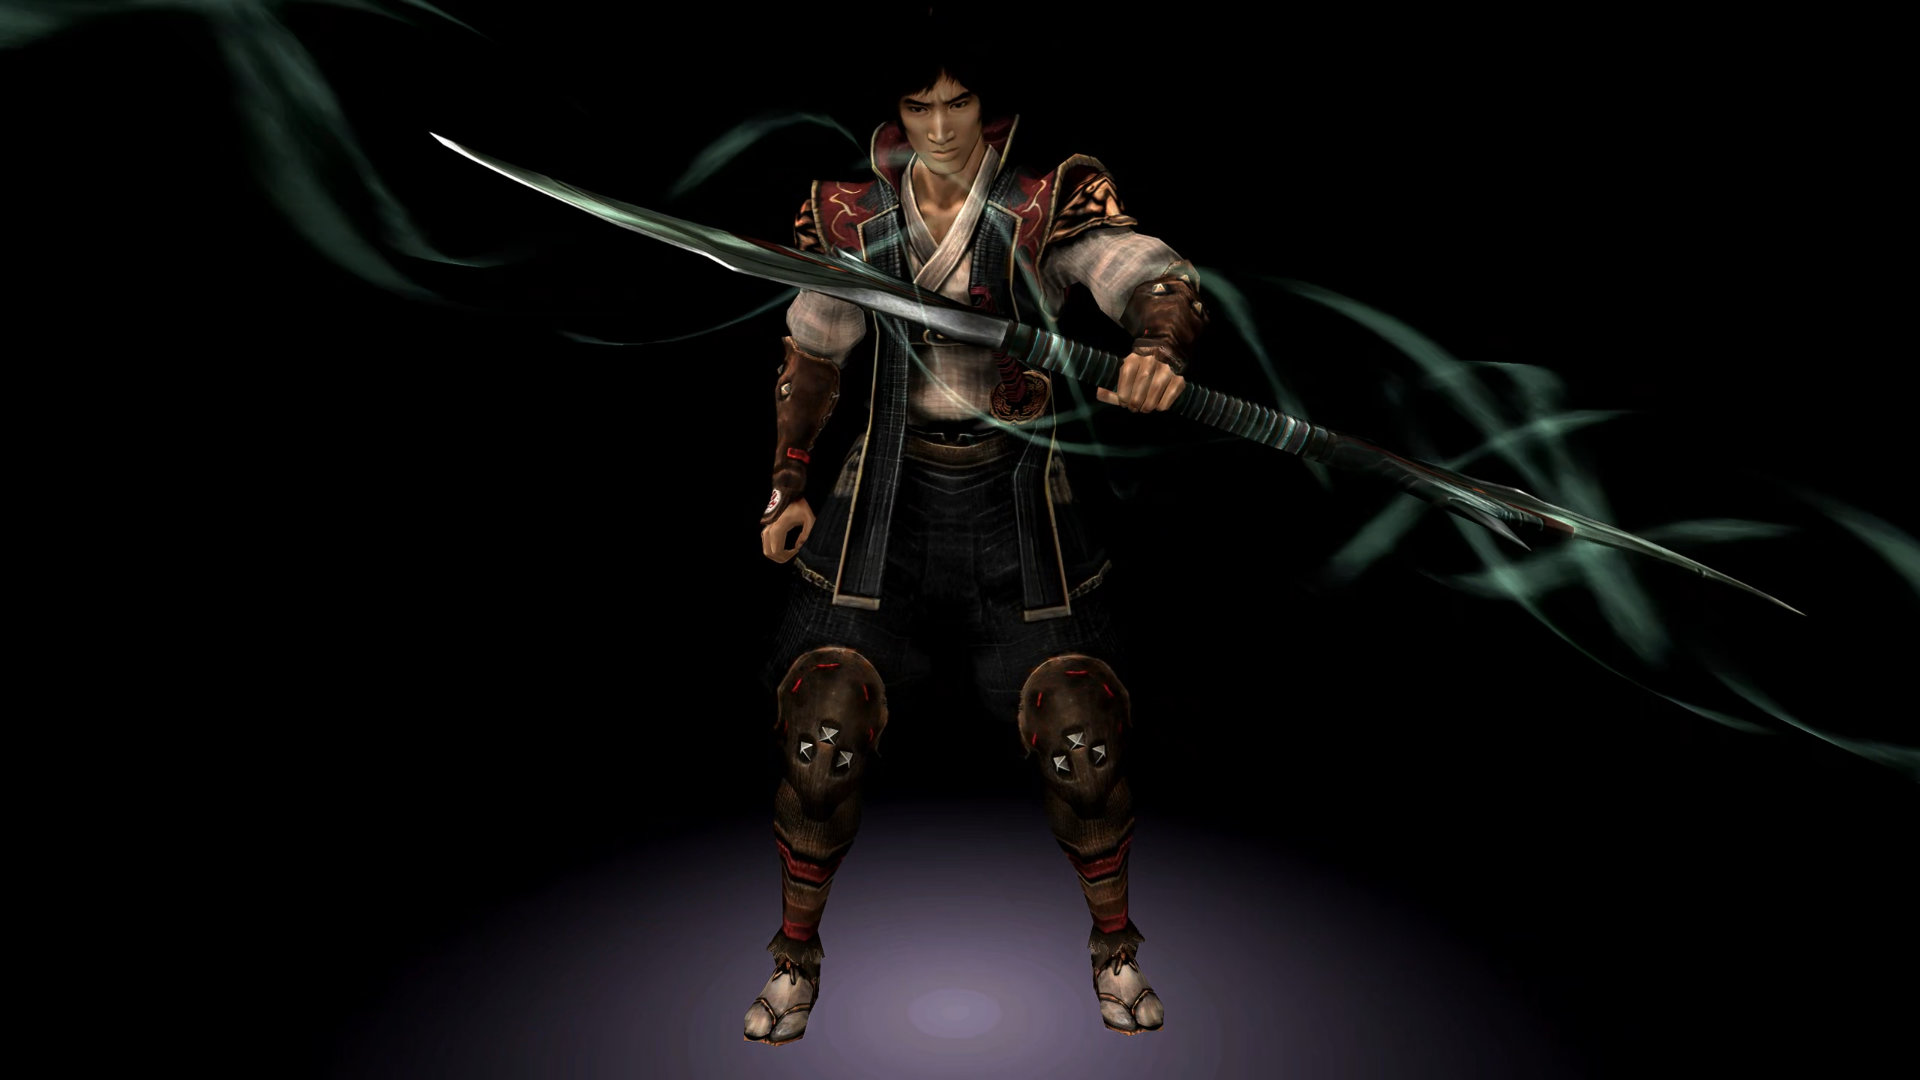
Hidden Red Souls #9: Another Hidden Red Souls on top of the cliff near the Dragon Shrine. 
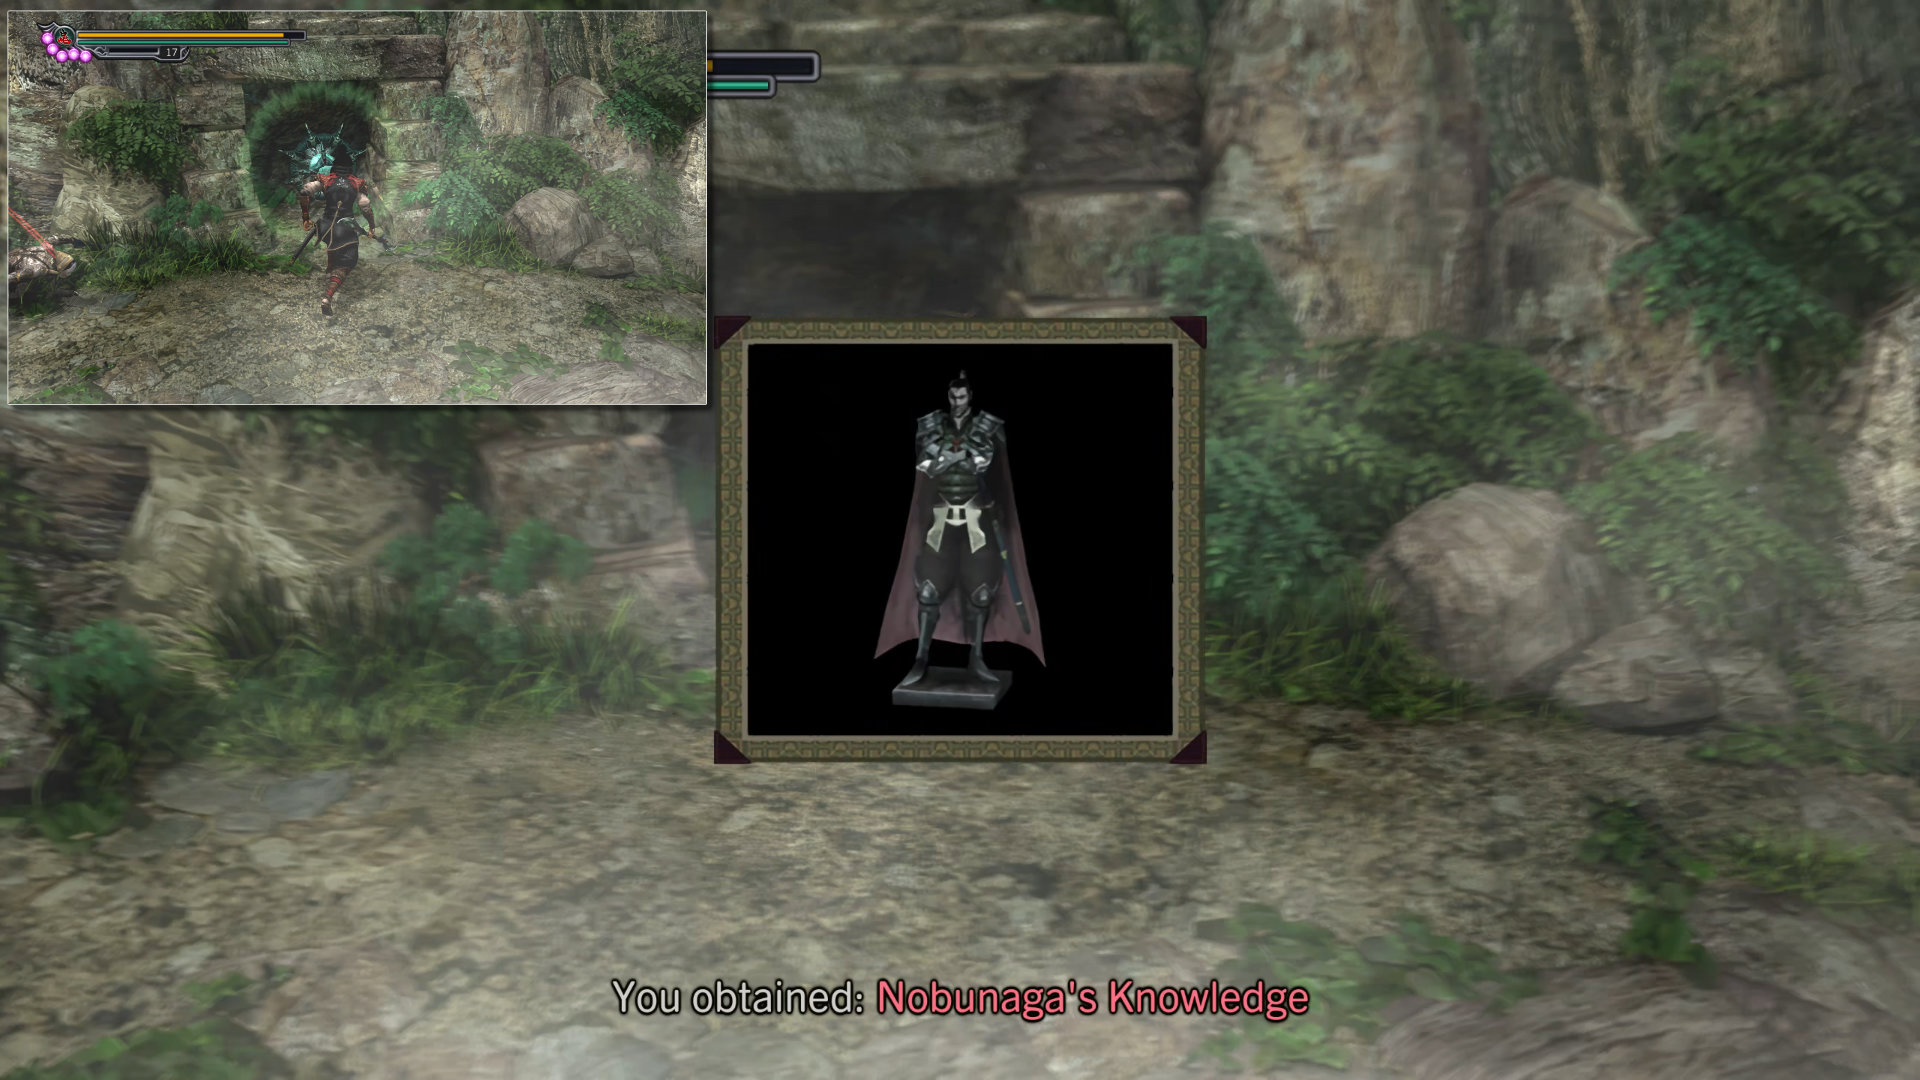
Go back to the green seal you skipped early, then use the wind blades to destroy it for an item:
- Key Item: Nobunaga's Knowledge
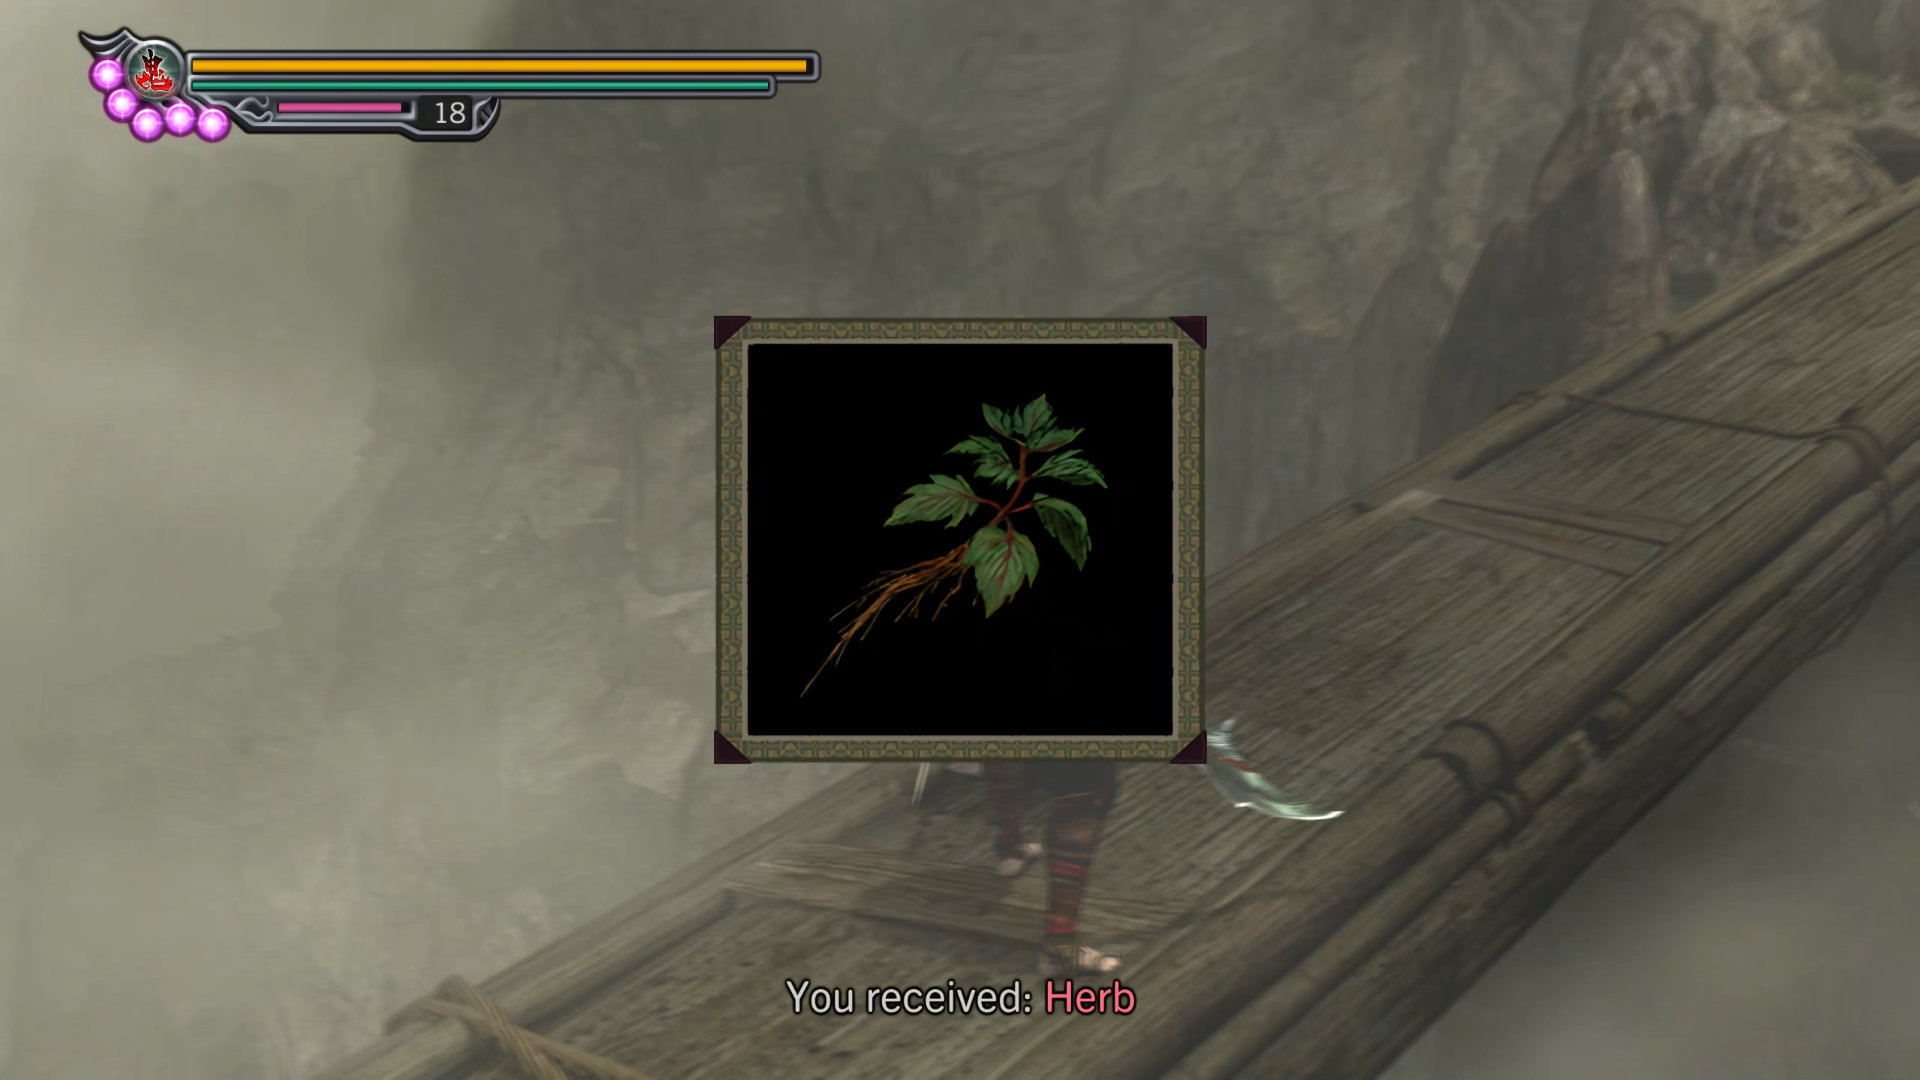
Go back to the Dragon Shrine. While at the skybridge area, Oyu will help you fight (if you have high friendship points with her), so make sure to kill all the demons here, then talk to her for an item:
- Item: Herb
Before we continue, save your game at the Magic Mirror near the Dragon Shrine. I highly recommend you enhance the wind blades to level 2 if you have enough red souls.
Once done, enter the misty forest.
Route: Ekei | Magoich | Oyu
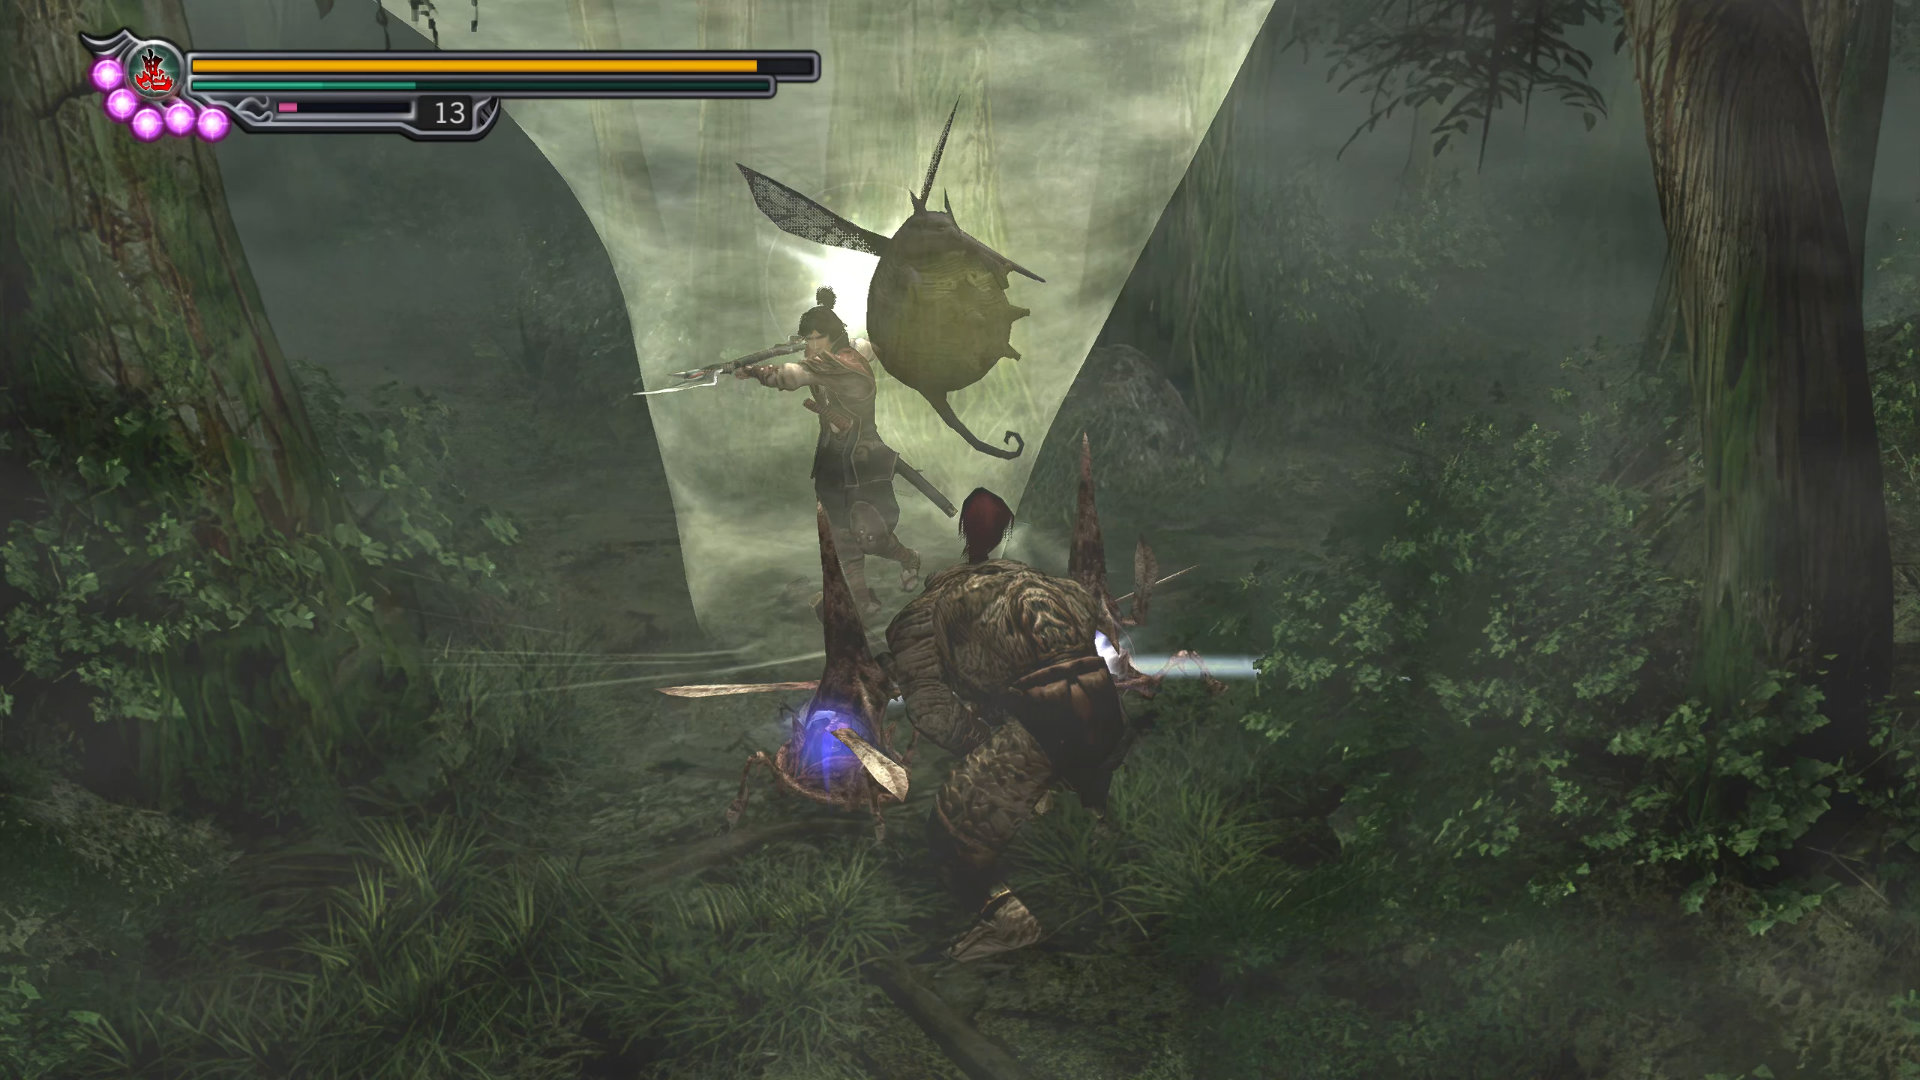
Note: The thing about this forest is that you cannot get out unless you kill these bulbous hummingbird demons (it is called Kechacha) flying around at the forks. It's hard to see because its color is kind of blended with the forest. It'll disappear if you take too long to kill it.
Now move forward until you see the first one who is alone, so it's easy to kill it with normal attacks. The second and third ones have demons protecting them. So the best way to eliminate them is to use wind blades magic.
Route: Kotaro | S-Rank
You will be lost in the forest, it doesn't matter a left or right path you take. So keep going forward until a scenario is triggered.
Scenario 5-3: Kotaro's Friendship
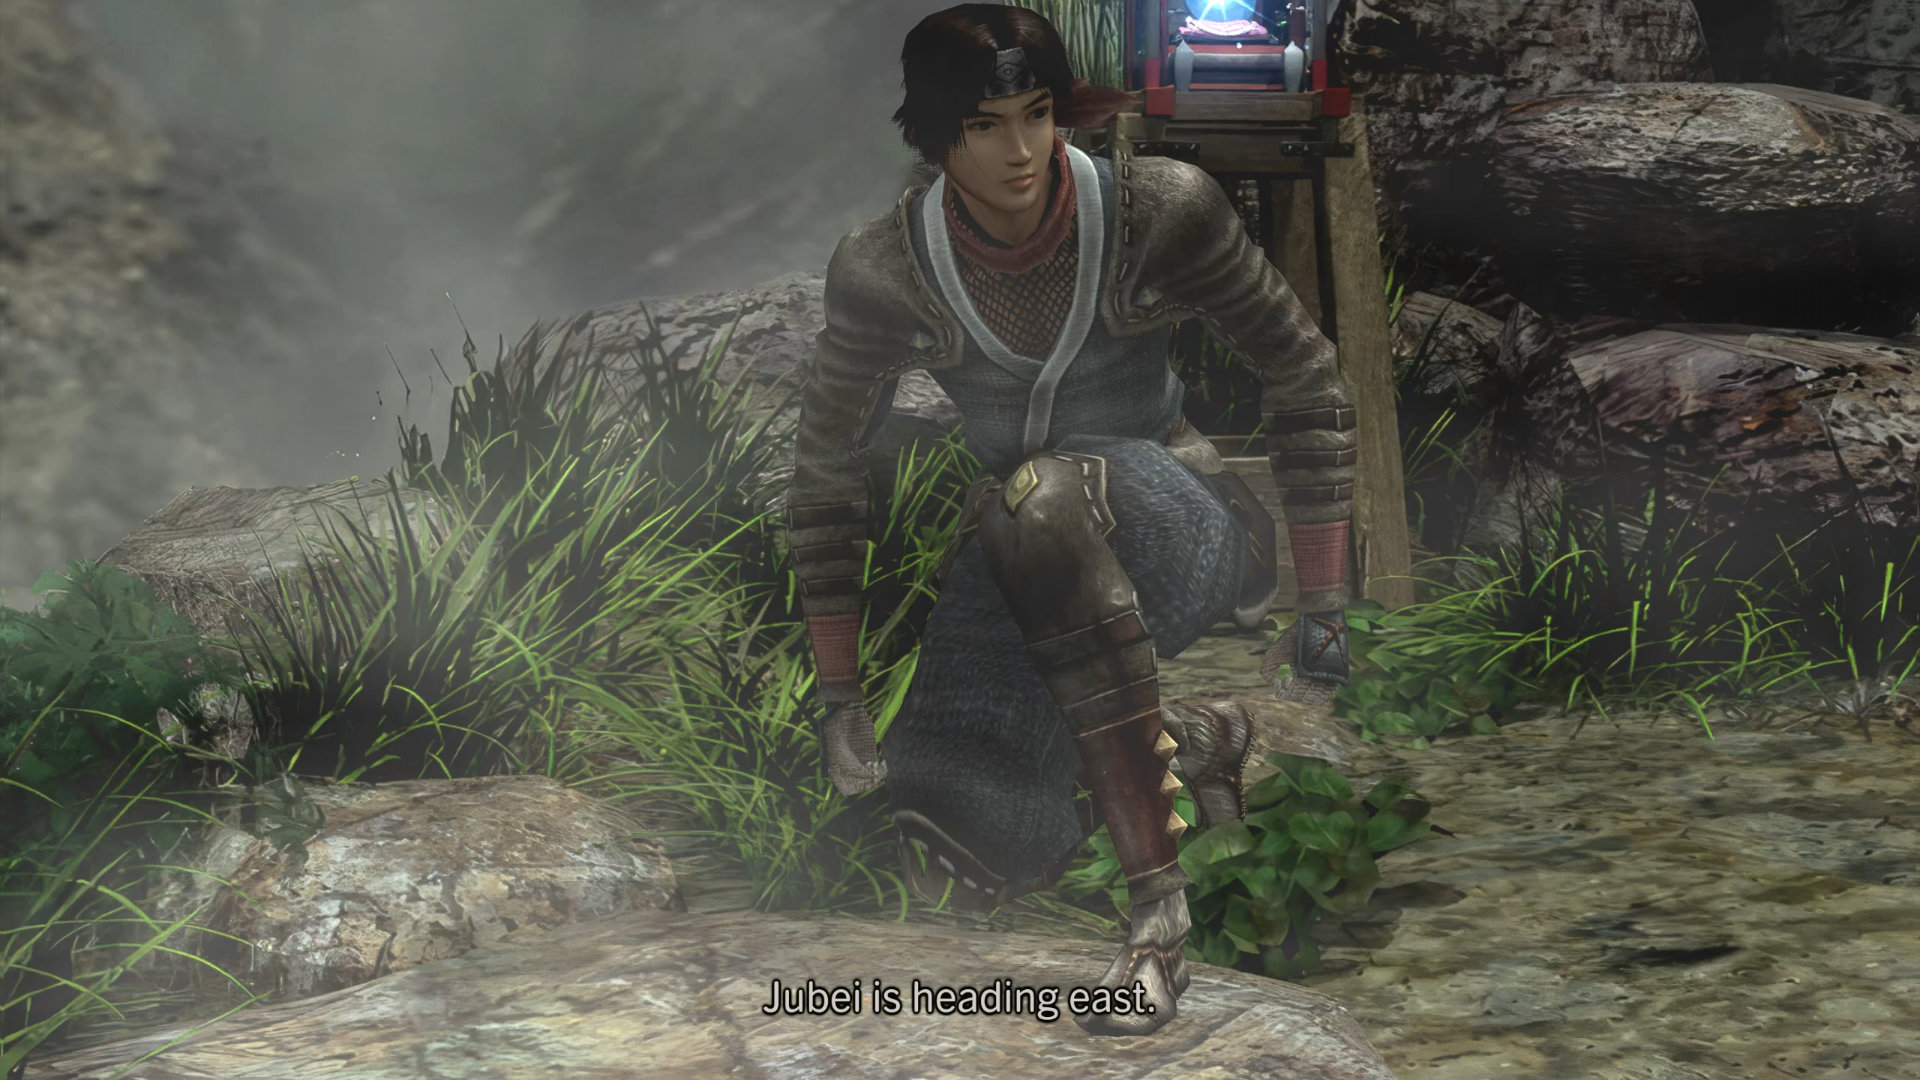
You are now taking control over Kotaro.
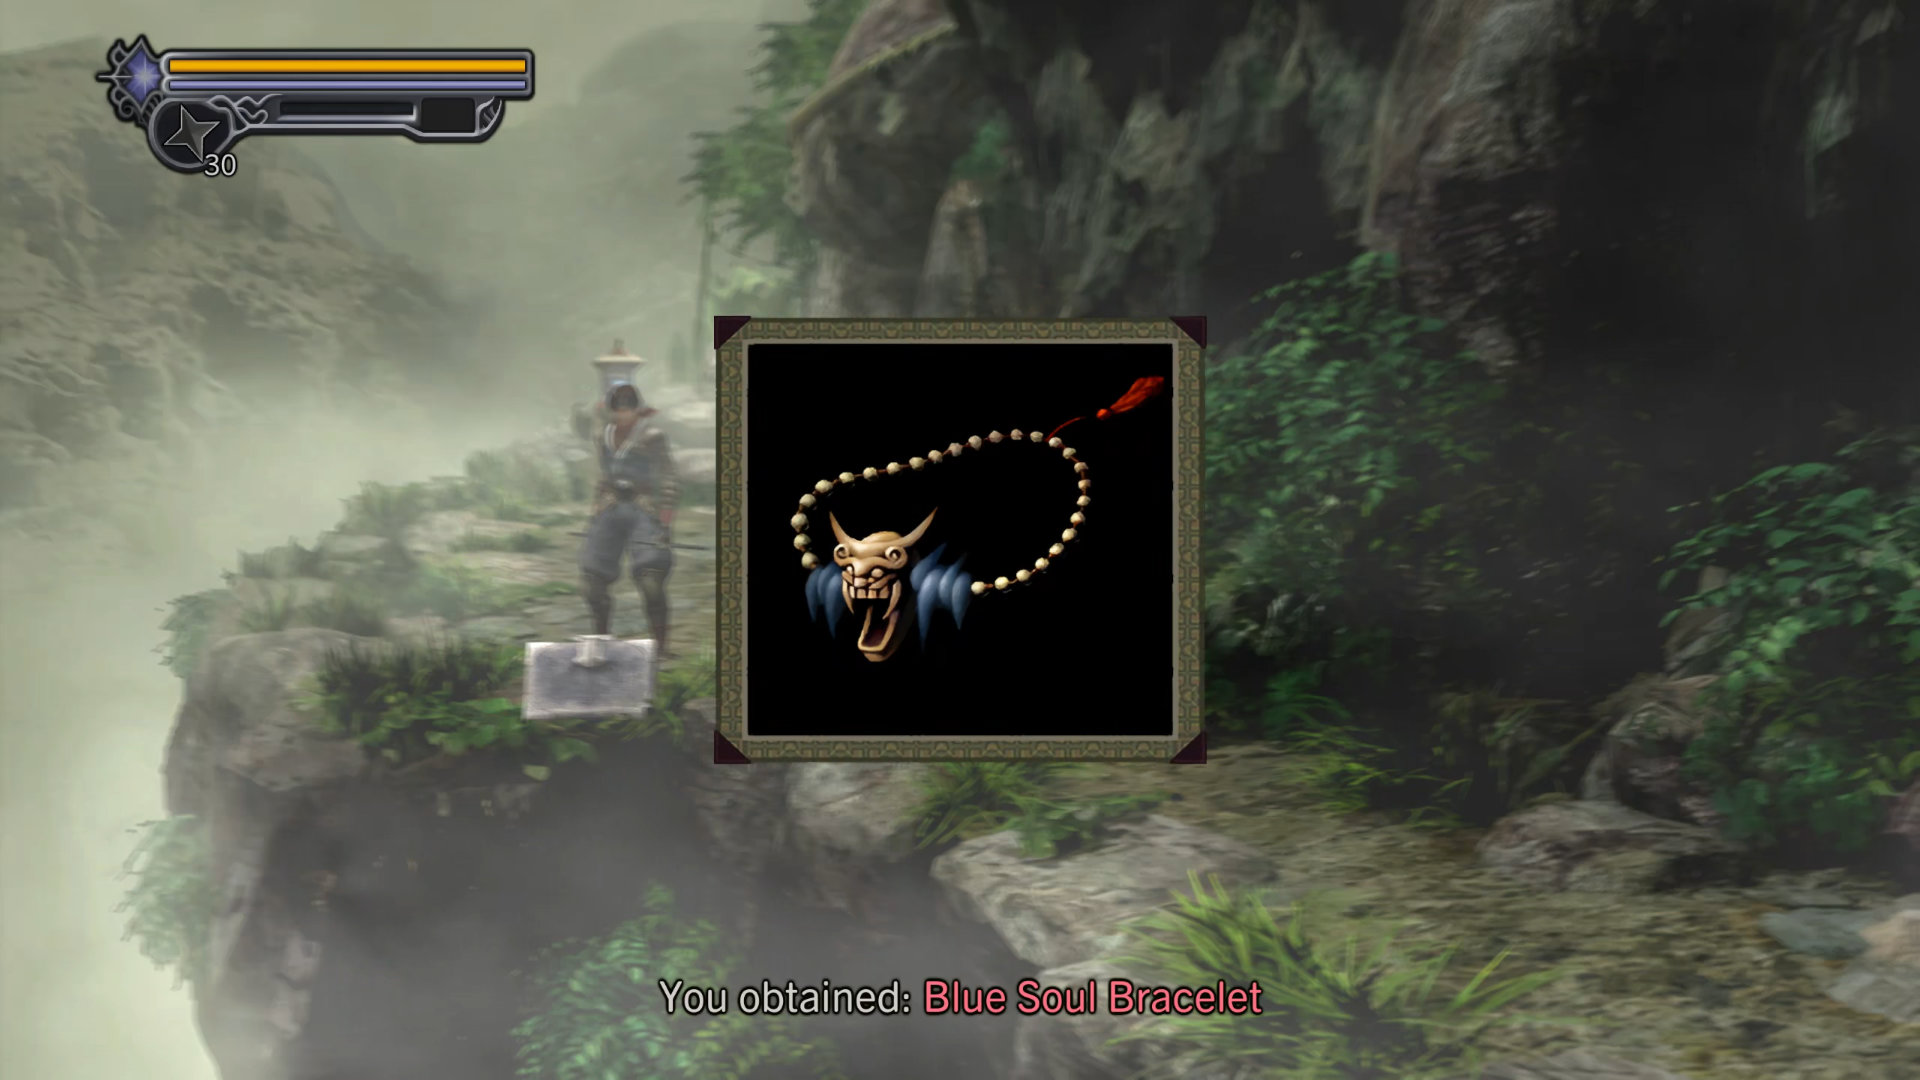
- Key Item: Blue Soul Bracelet - open the silver box. It allows you to absorb souls.
- Key Item: Red Wedge - Follow the path and jump over the first ladder. Right in front of the second ladder.
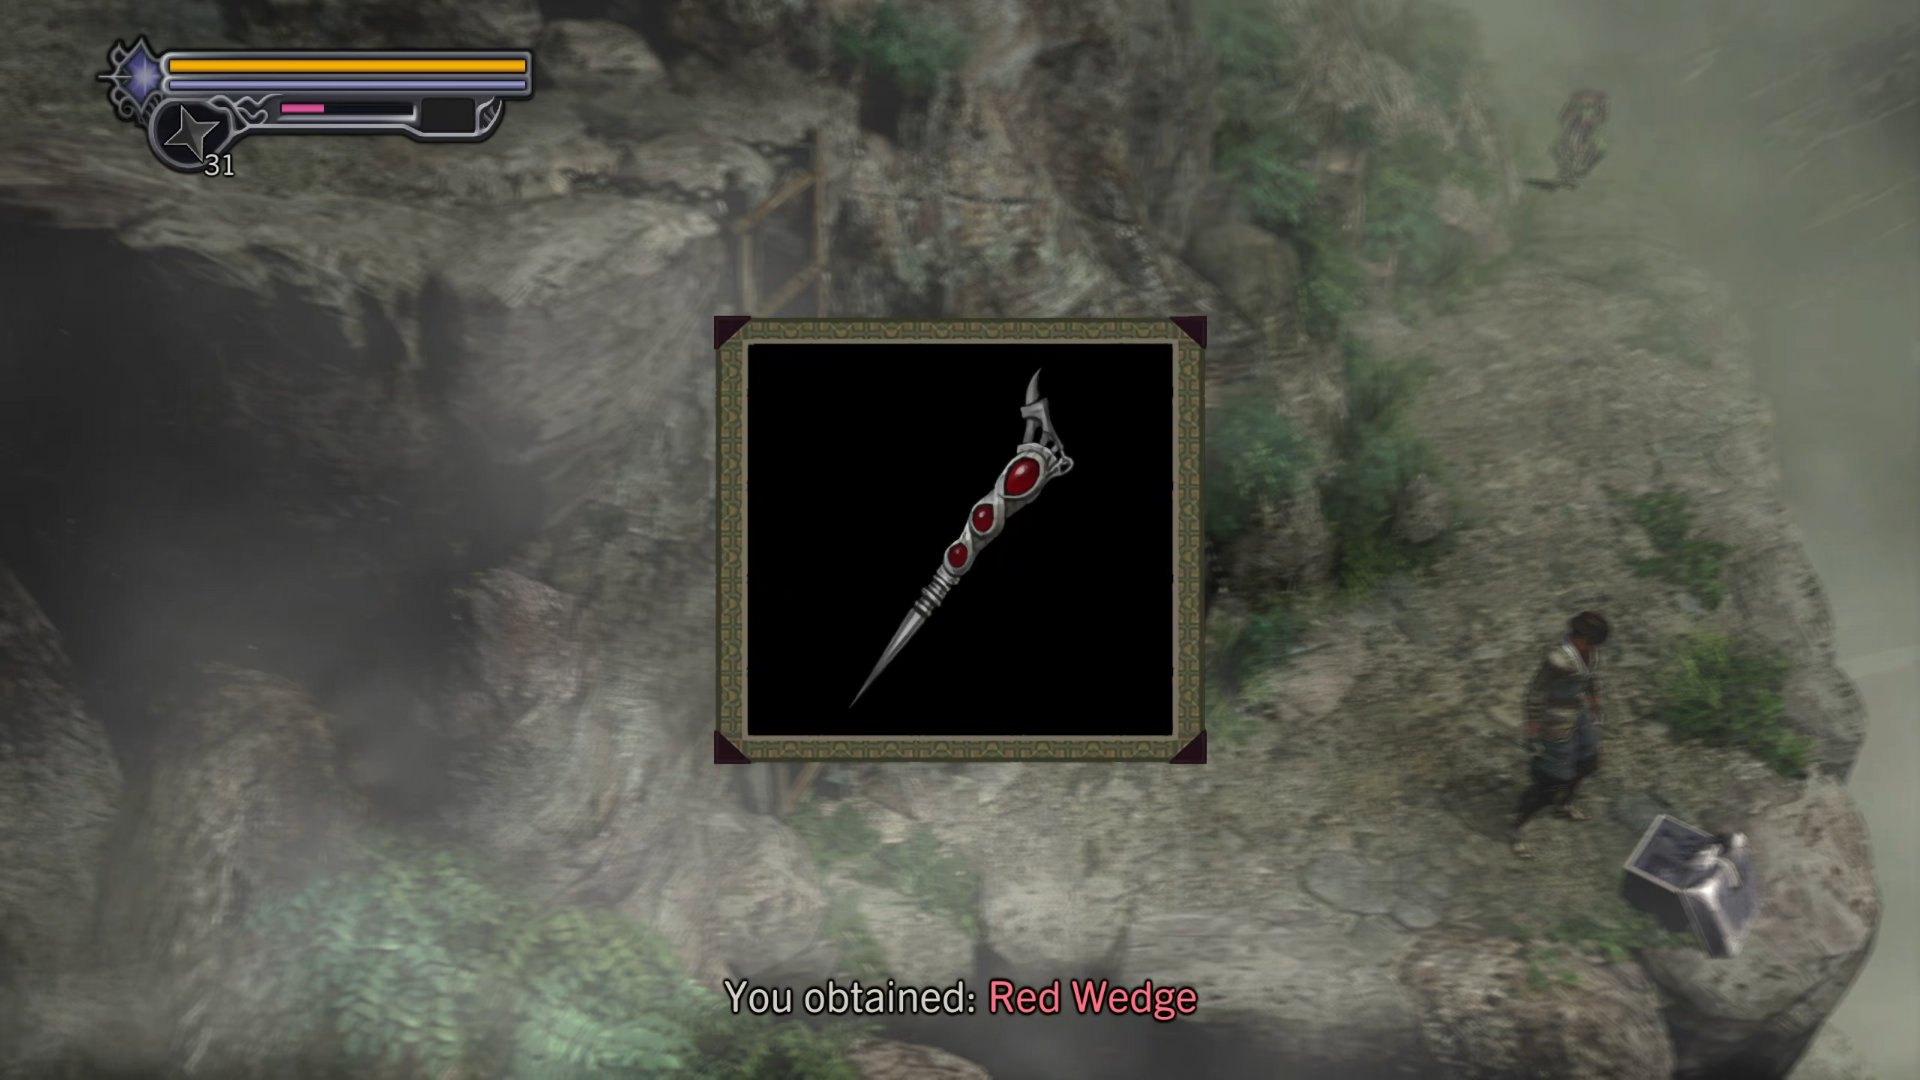
After picking up the item, jump over the second and third ladders and continue to the skybridge. Here, you'll see a glowing red light. Step on it, open your inventory -> item, then use the "Red Wedge" to open a portal to the Red Phantom Realm.
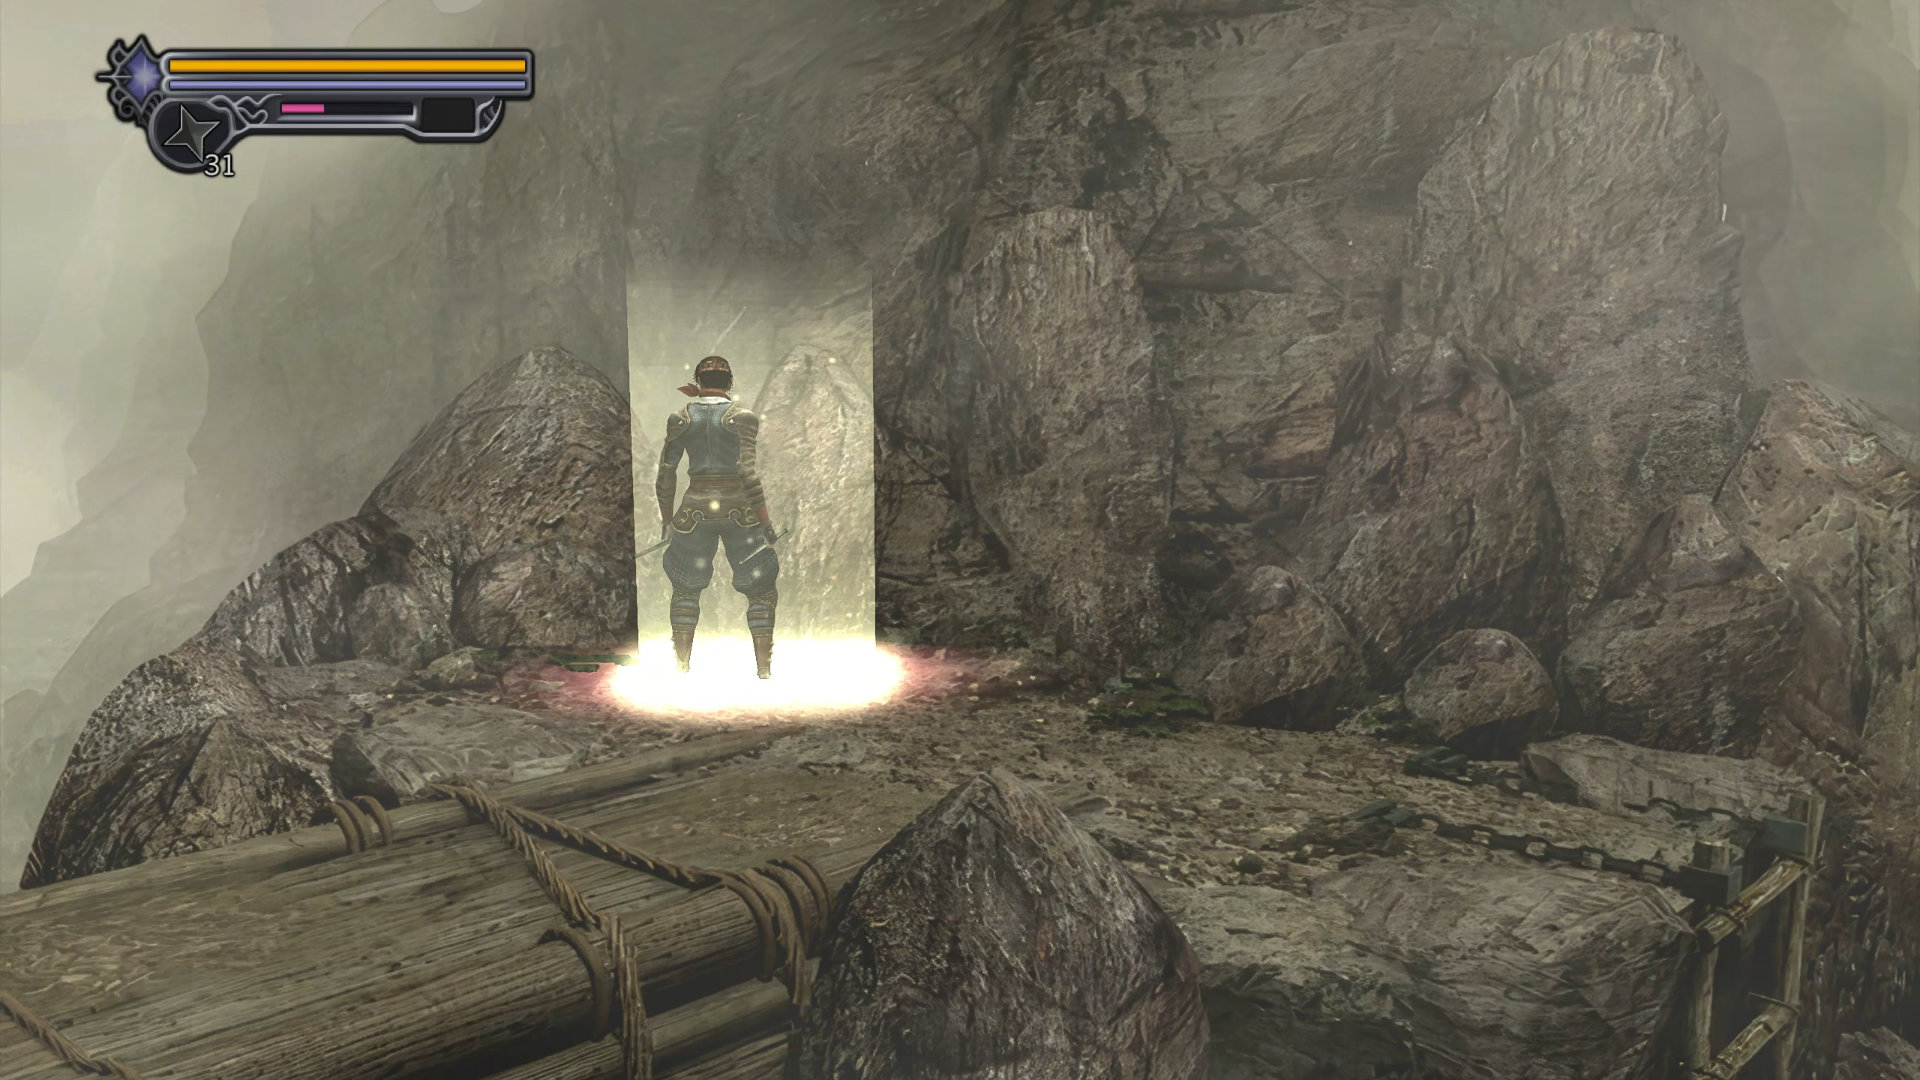
This Phantom Realm has only 5 floors, and enemies are relatively easy to deal with. You'll obtain 4 items completing this dungeon:
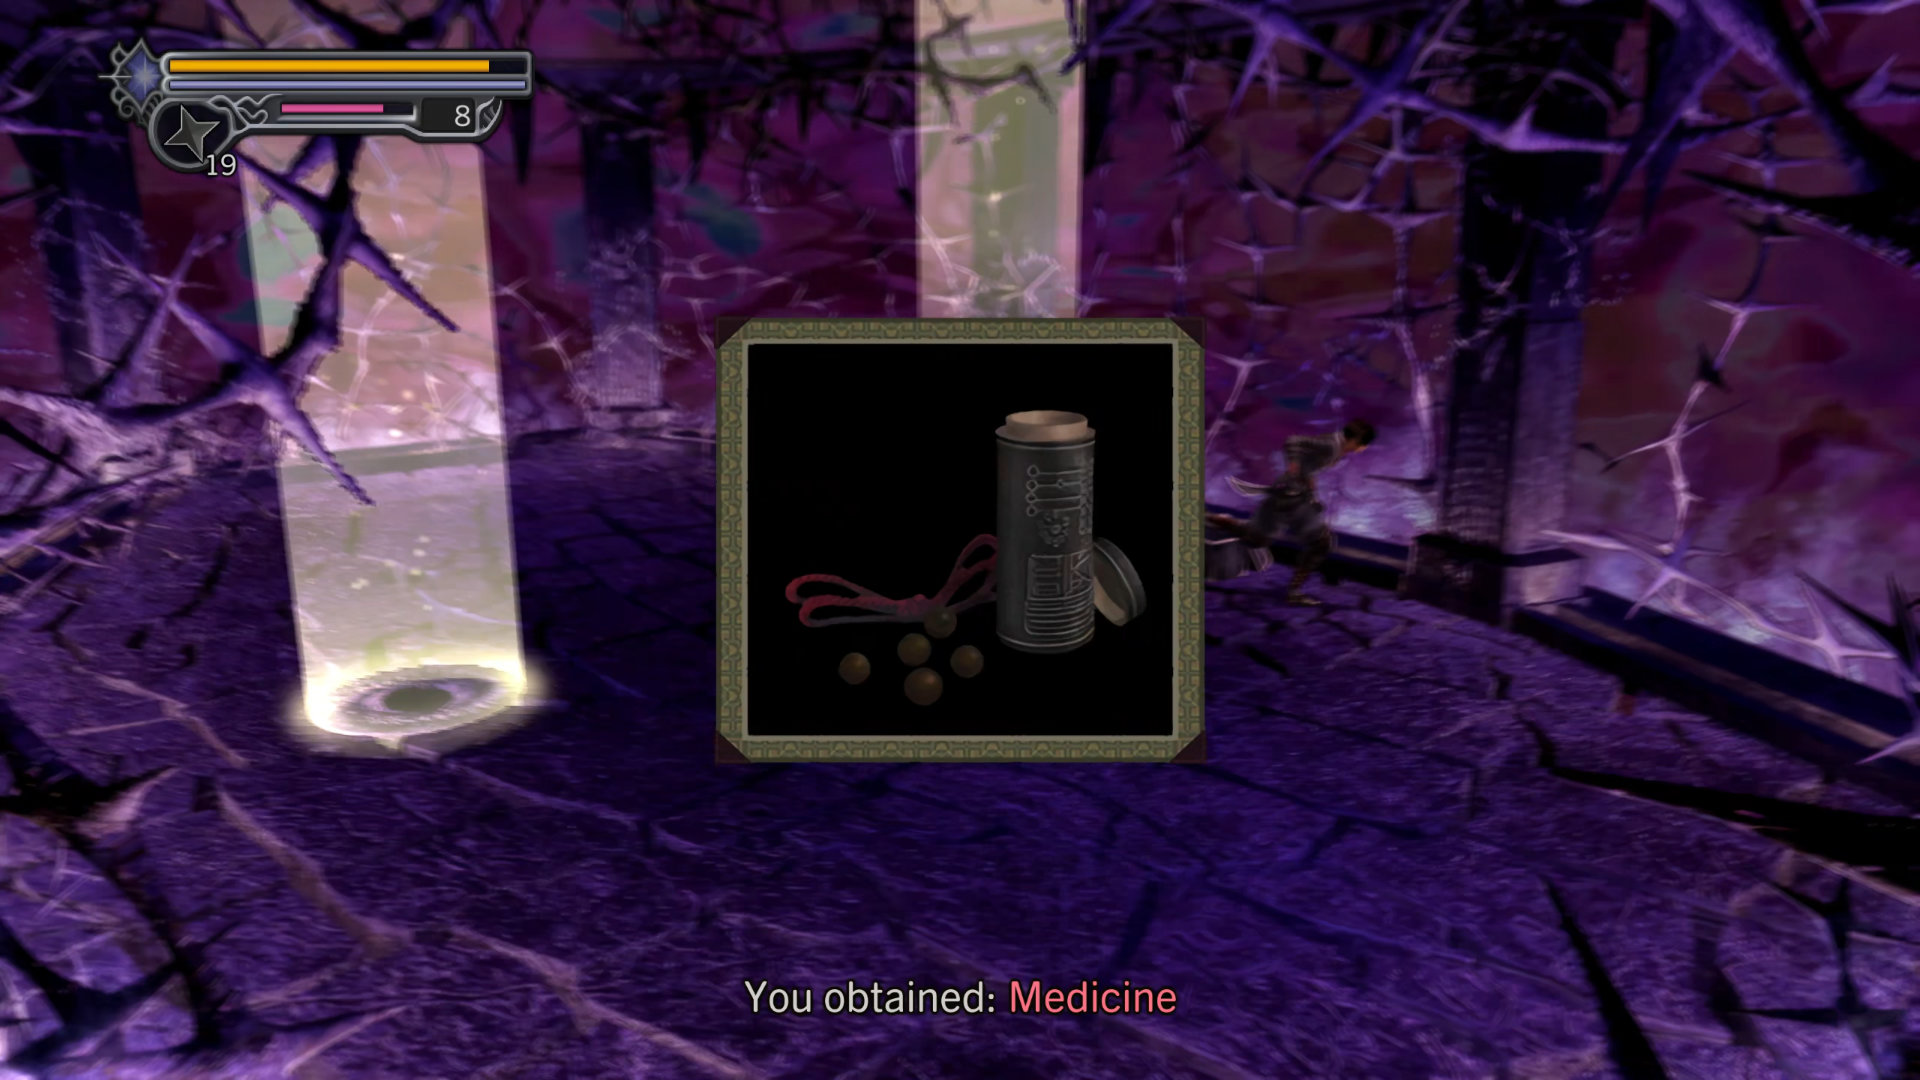
- Item: Medincine - 3rd floor
- Equipment: Roga Kunai - 5th floor. Equip this on Kotaro immediately, go to "Inventory -> Equip"
- Key Item: Blue Wedge - 5th floor. This is a key to another Phantom Realm to get another "Stone Peg".
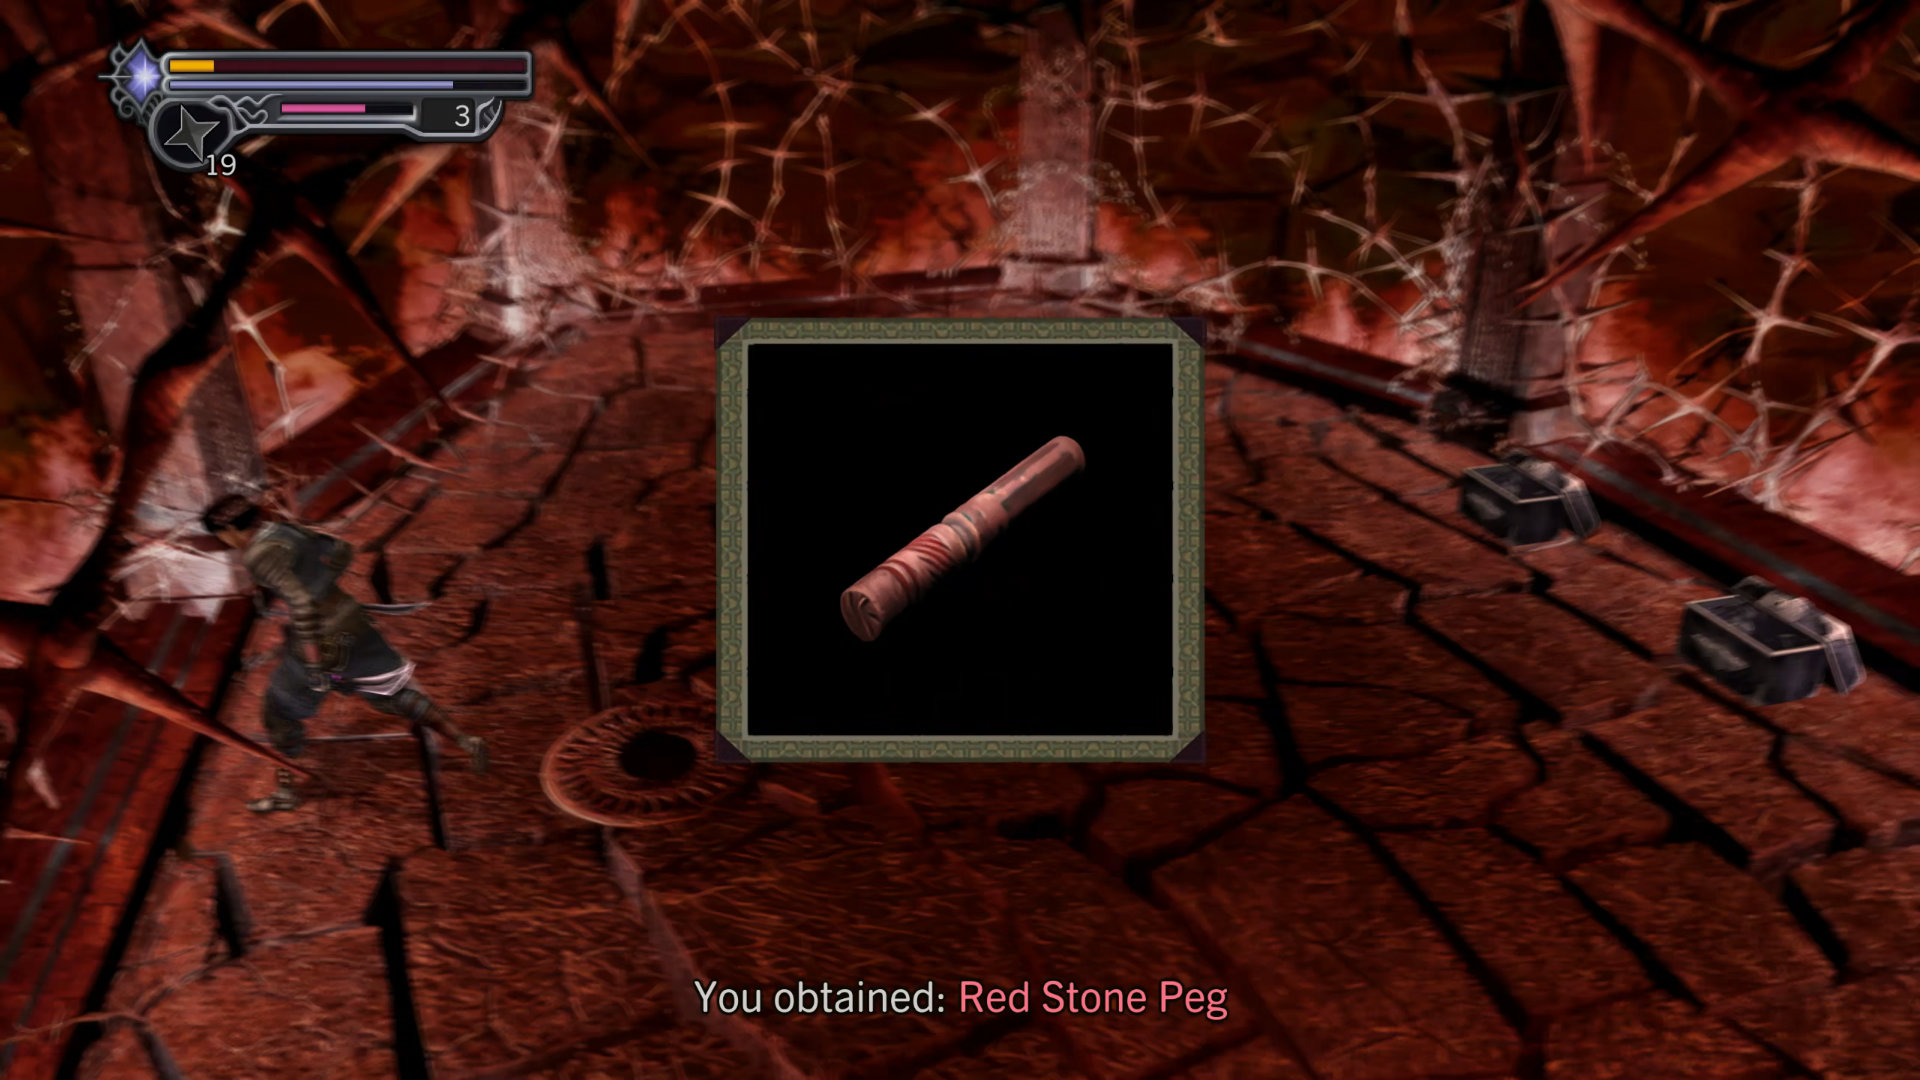
- Key Item: Red Stone Peg - 5th floor. A key item to dispel the misty forest illusion.
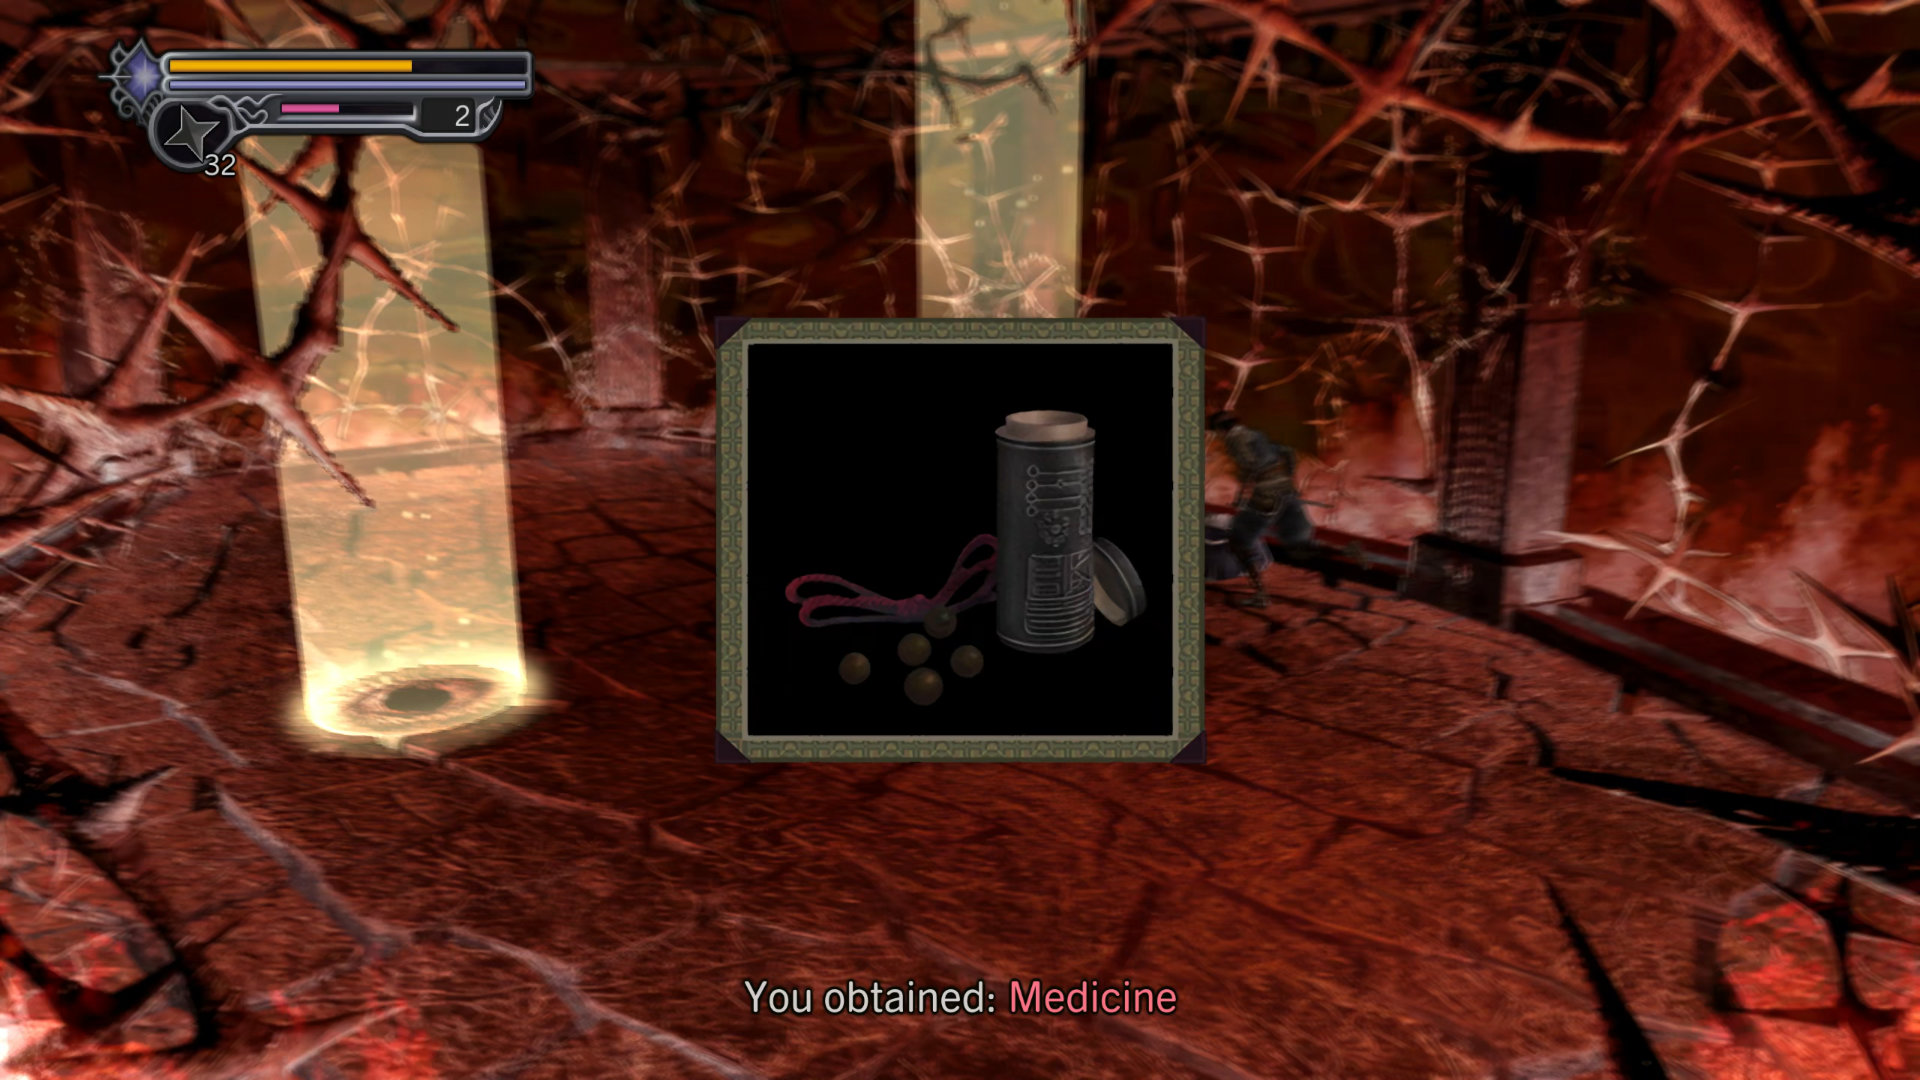
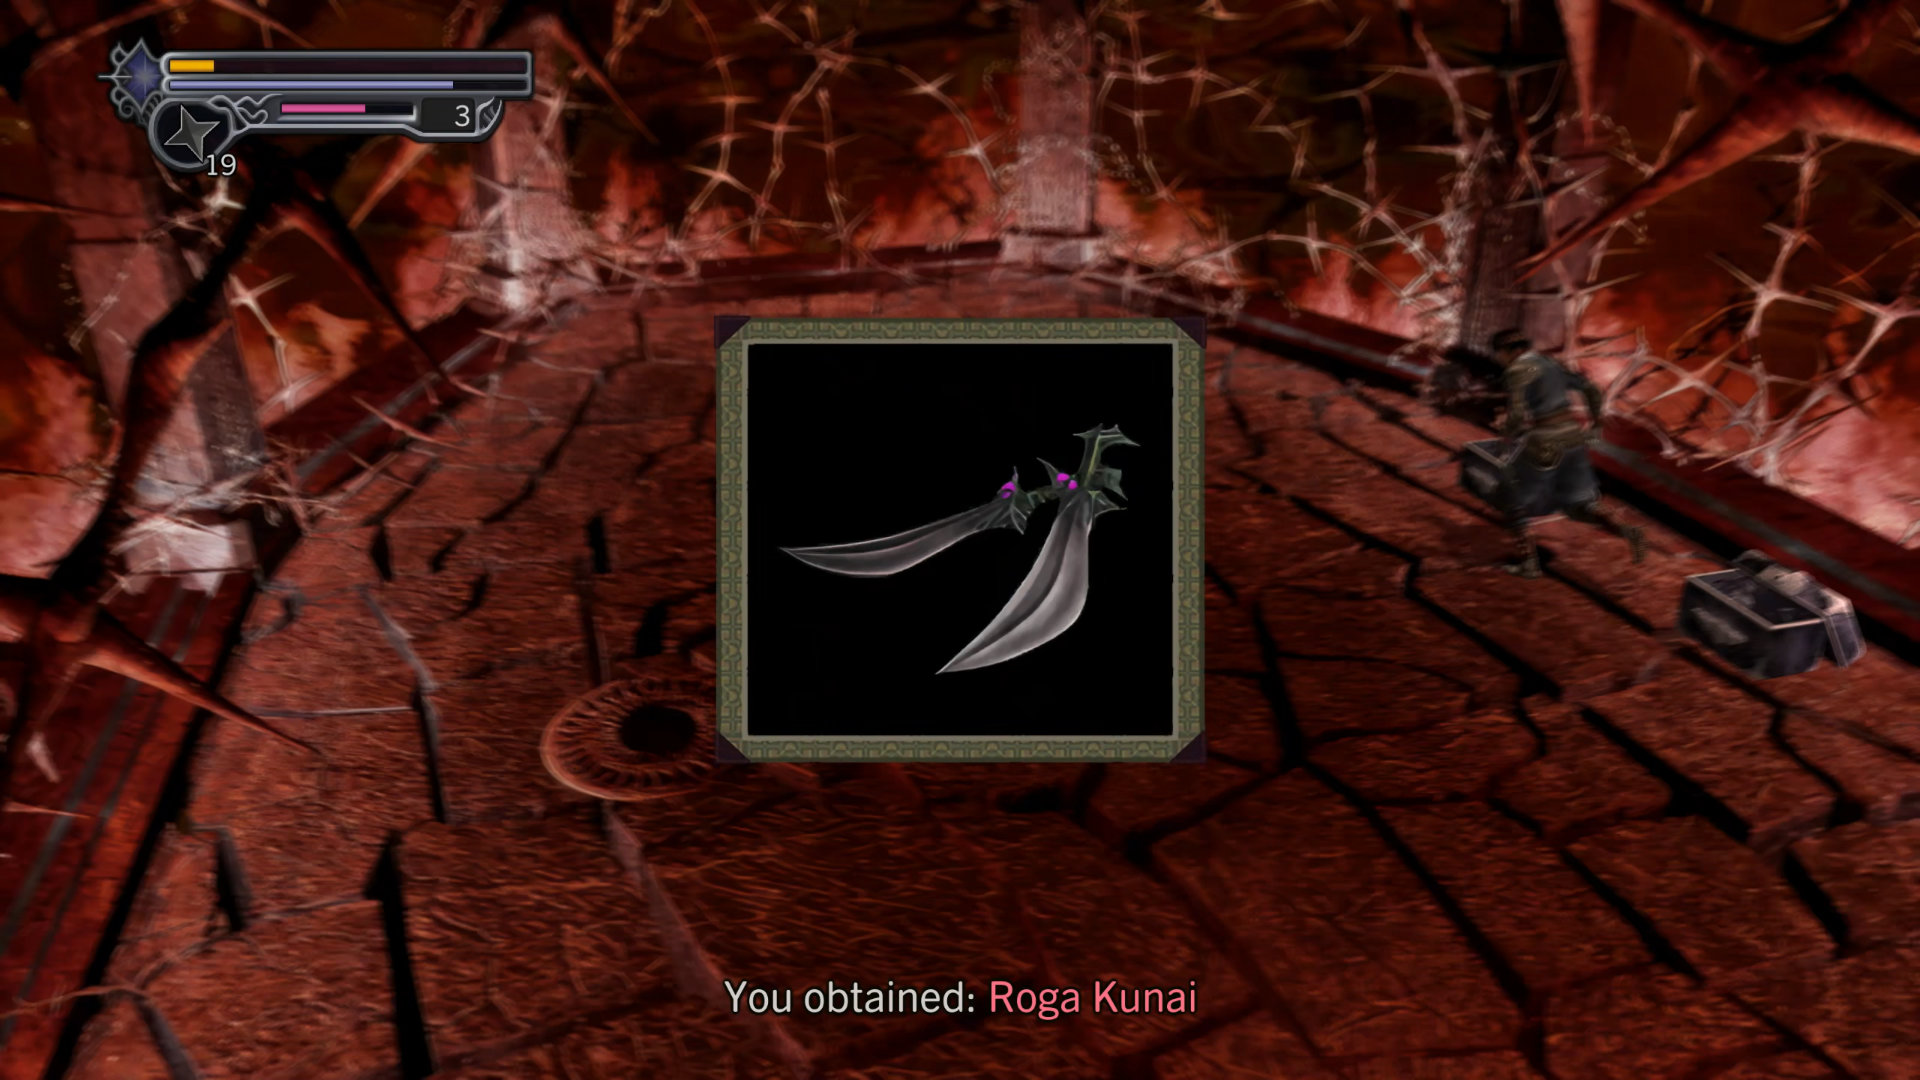
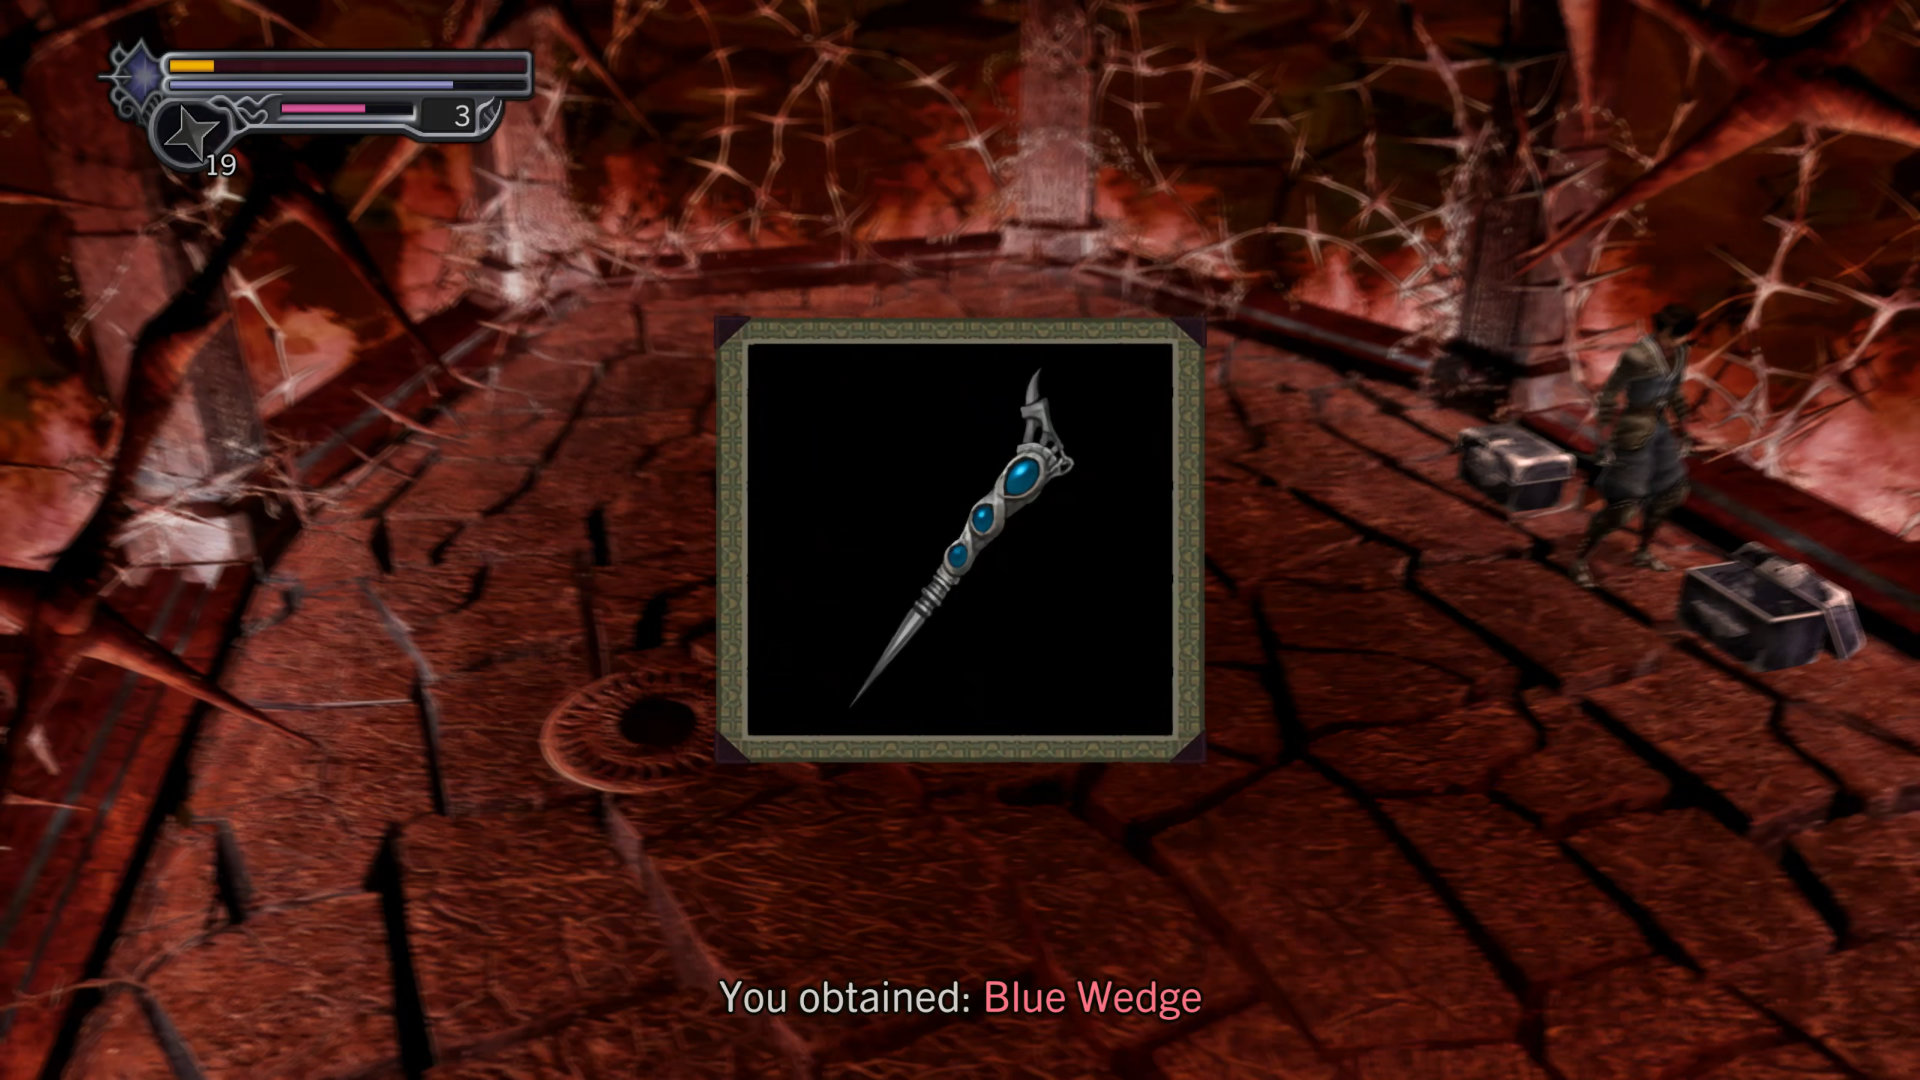
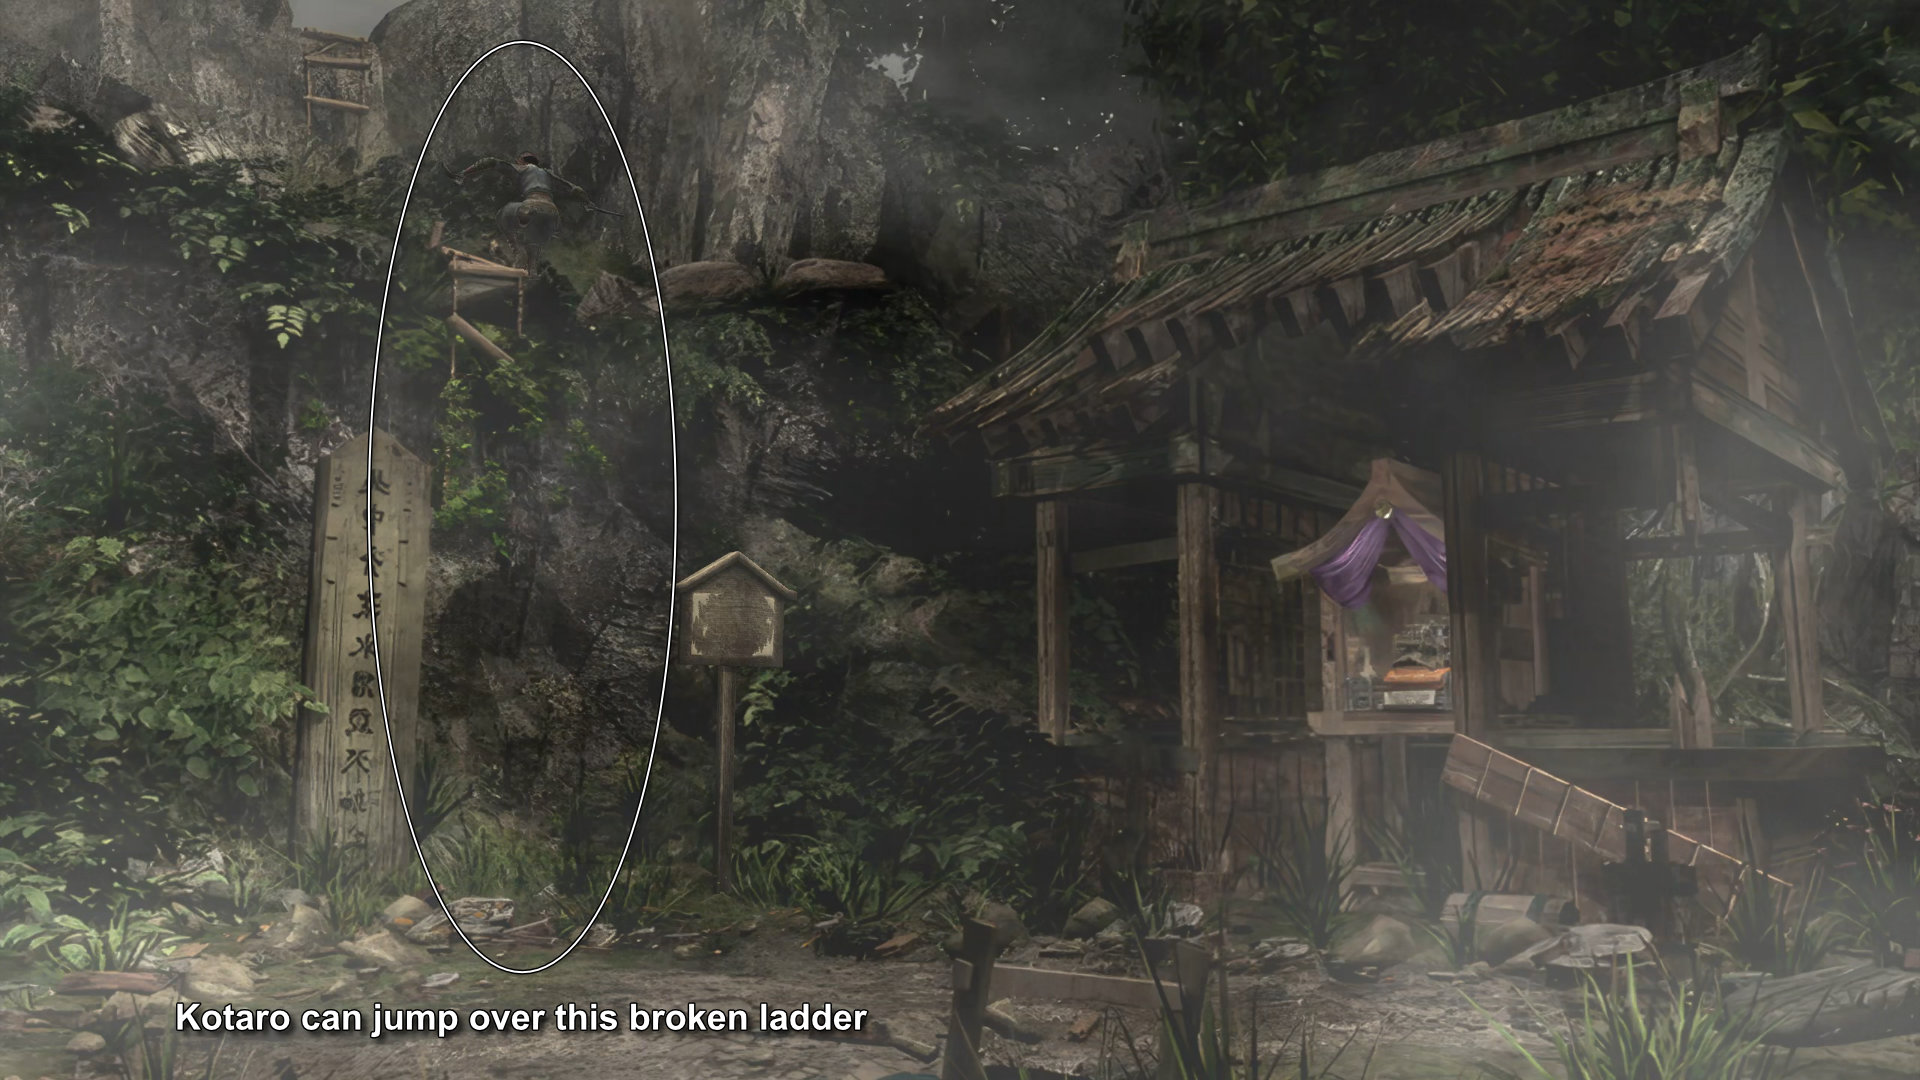
Exit, then continue to the Dragon Shrine area and save your game at the Magic Mirror. You probably noticed a broken ladder next to the Dragon Shrine. Kotaro can actually jump over there to a new area.
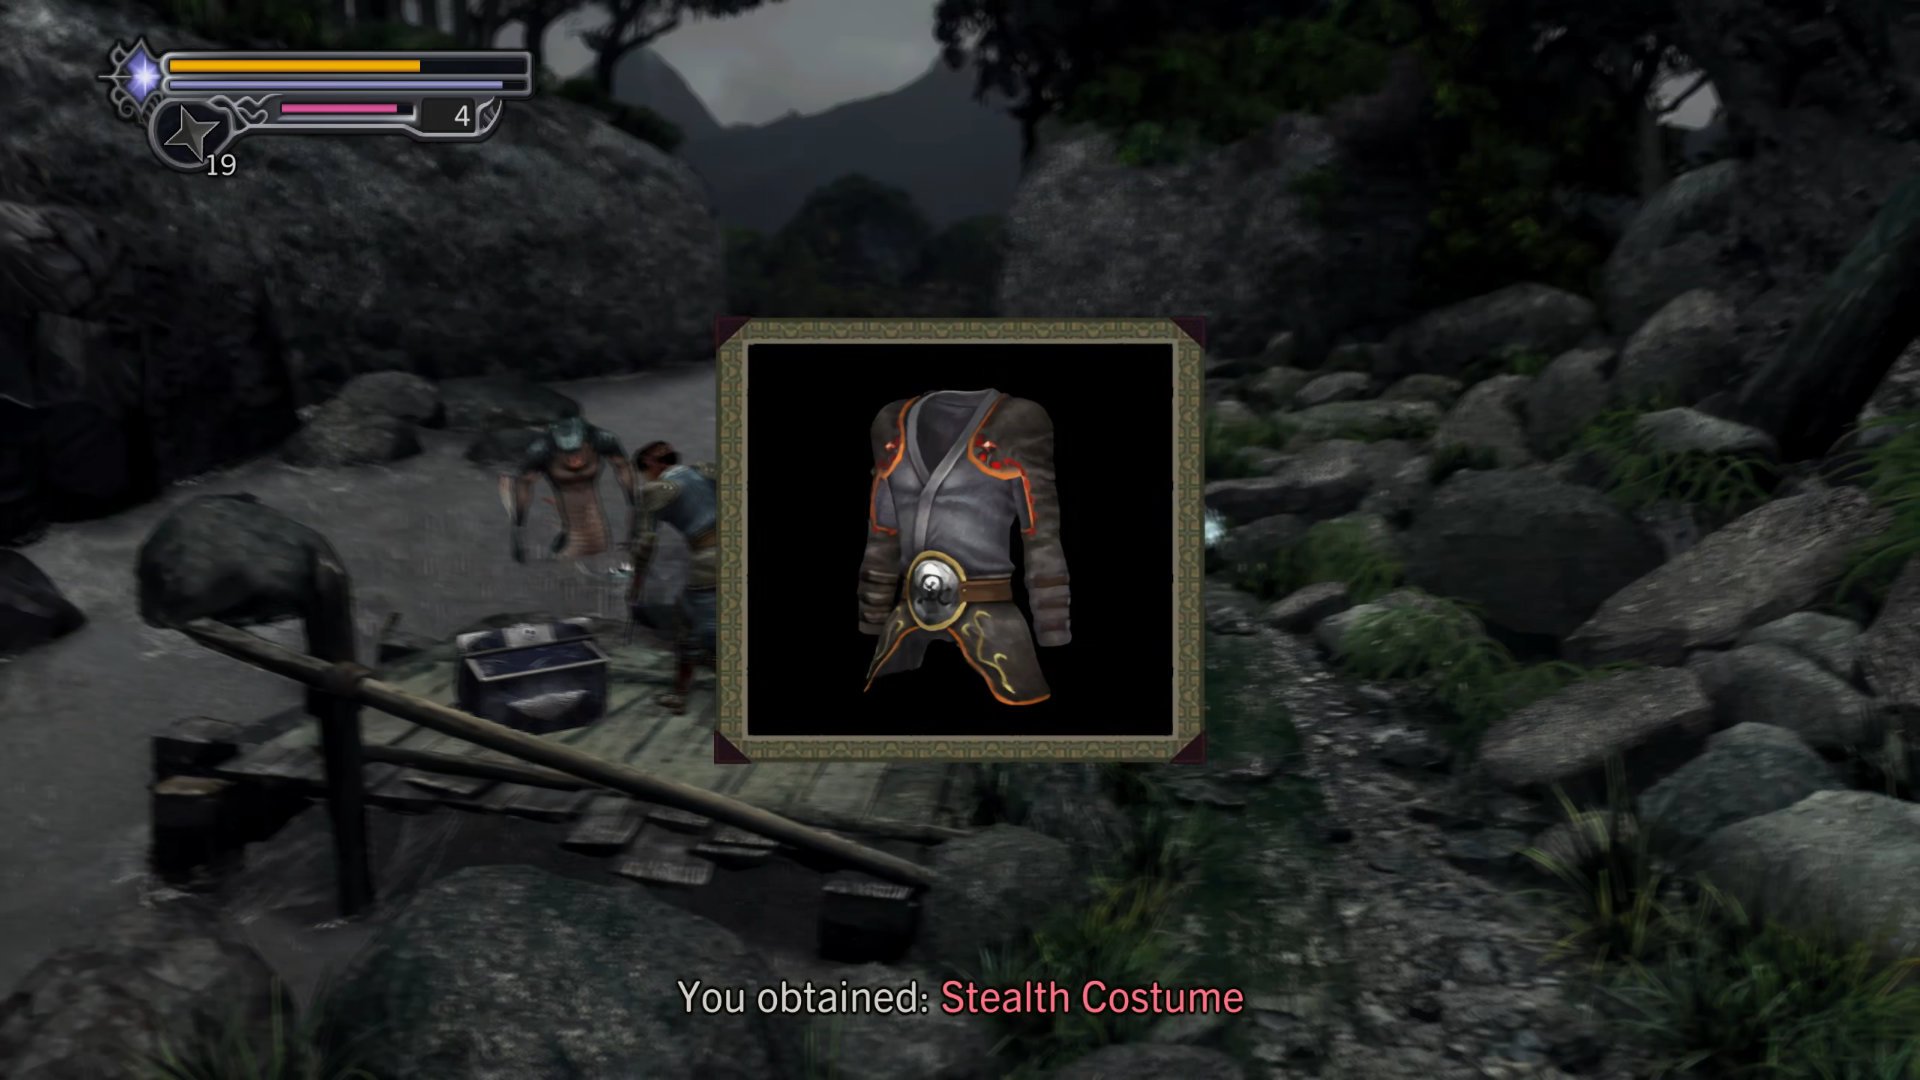
Follow the path, pick up Kotaro's armor at the pier:
- Equipment: Stealth Costume - Equip this armor on Kotaro immediately, go to "Inventory -> Equip -> Armor".
Exit to the next area you'll find it very bushy. To your right is a dead end with a blue seal, so you should go straight and use the stairs to go down. There is a Magic Mirror in front of the swamp, and a totem pole next to it.
Cross the swamp and enter the gate to the north. You'll immediately see another glowing light to your right. Use the "Blue Wedge" on the light to open another portal to the Blue Phantom Realm.
This realm also has 5 floors, but the enemies are a bit stronger than the previous one. On the 5th floor. You'll have to fight a red giant bull demon, and the best way to deal with it is to charge your weapon 3 times before attacking (charged attack can knock back enemies preventing them from counter-attack).
- Item: Medicine - 3rd floor
- Key Item: Blue Stone Peg - 5th floor
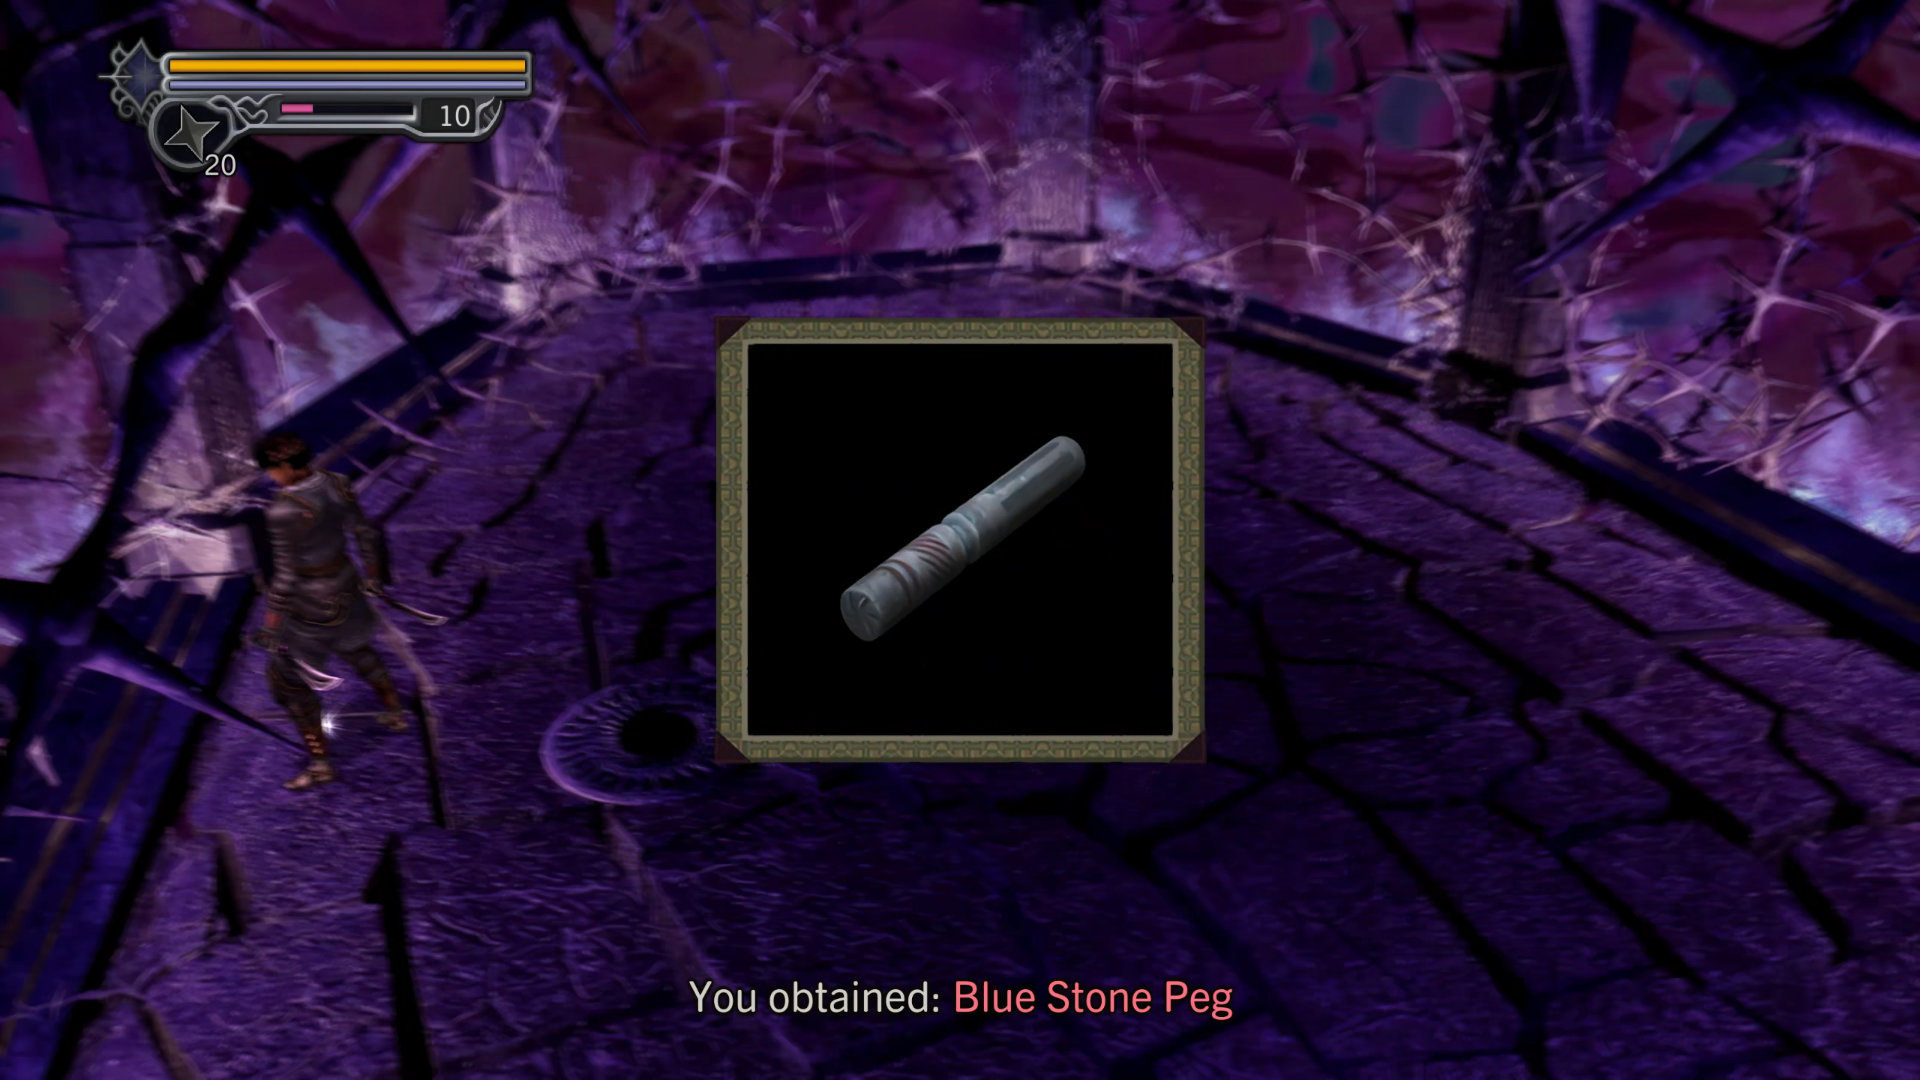
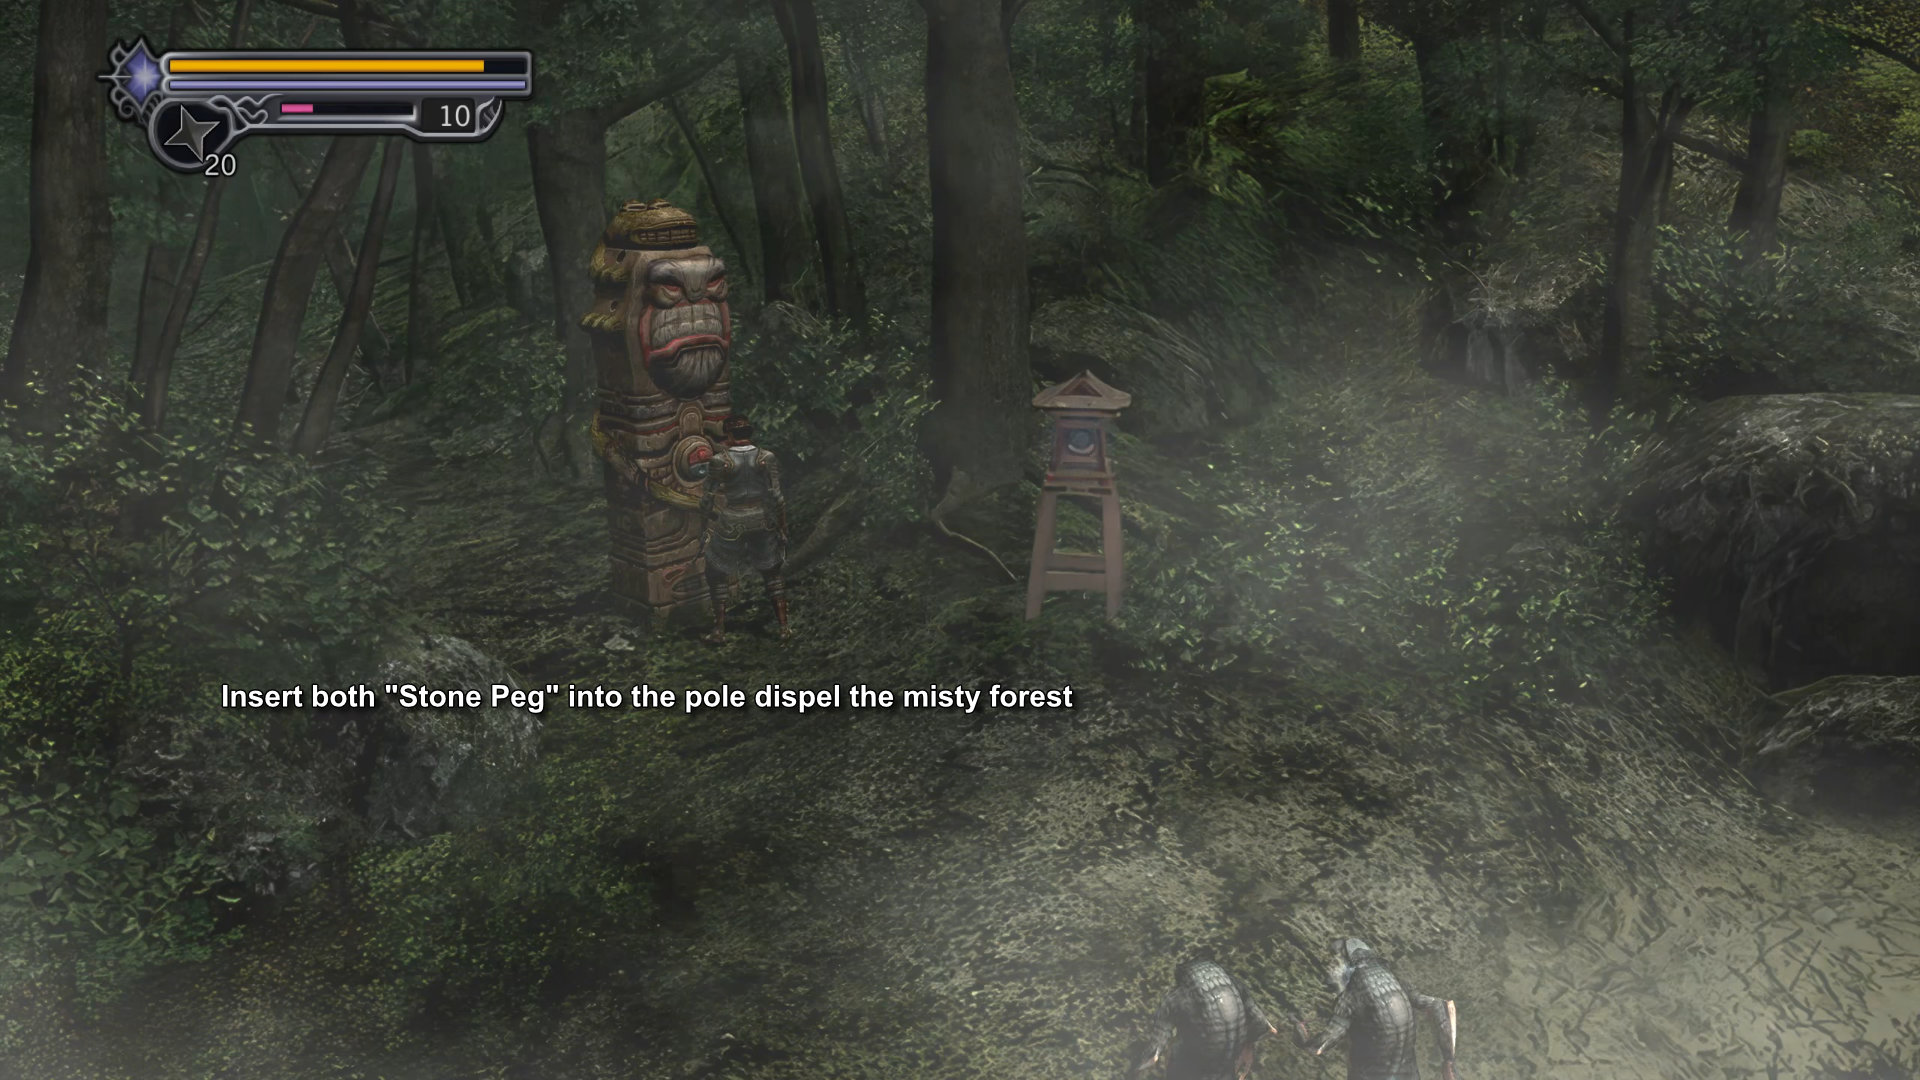
Once completed, exit the Phantom Realm and go back to the totem pole near the Magic Mirror. Insert both of them into the pole, then enter the forest and go straight to the next area.
Scenario 5-4: Kotaro Saves Jubei
Back to Jubei. Proceed to the next area and prepare for a boss fight.
Scenario 5-5: Jujudormah and Ginghamphatts
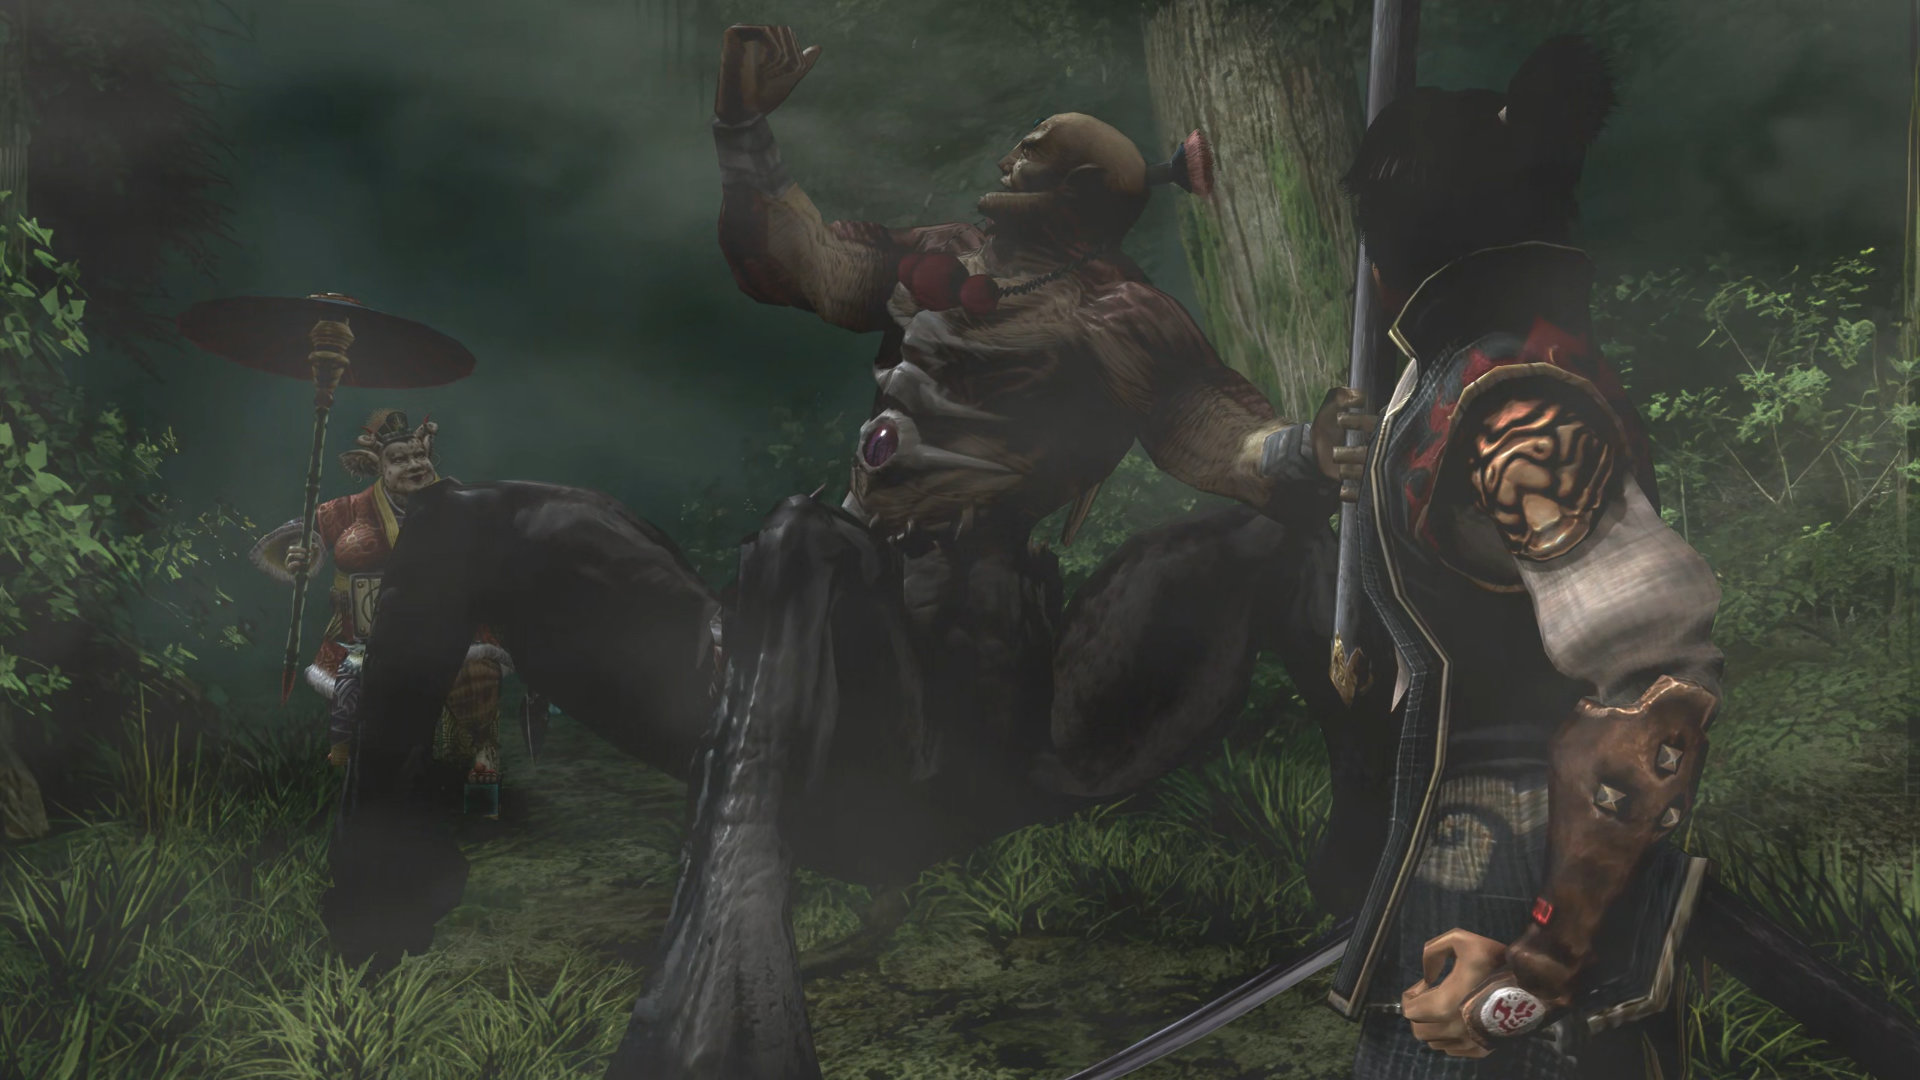
Boss: Ginghamphatts - Battle 2
This time he has a new trick. He'll jump into the forest and perform rush attacks back and forth. So you have 2 options here, either wait until he stops or interrupt him using Magic (press the triangle button). When facing him head on, try the following strategies:
- charge your lightning sword 3 times (hold R2) before attacking him (keep in mind though your charge will reset if you press "L1" to block an attack)
- or a simple strategy like hit, block, and run.
Note: One of your allies will come in to help you fight if your health is too low.
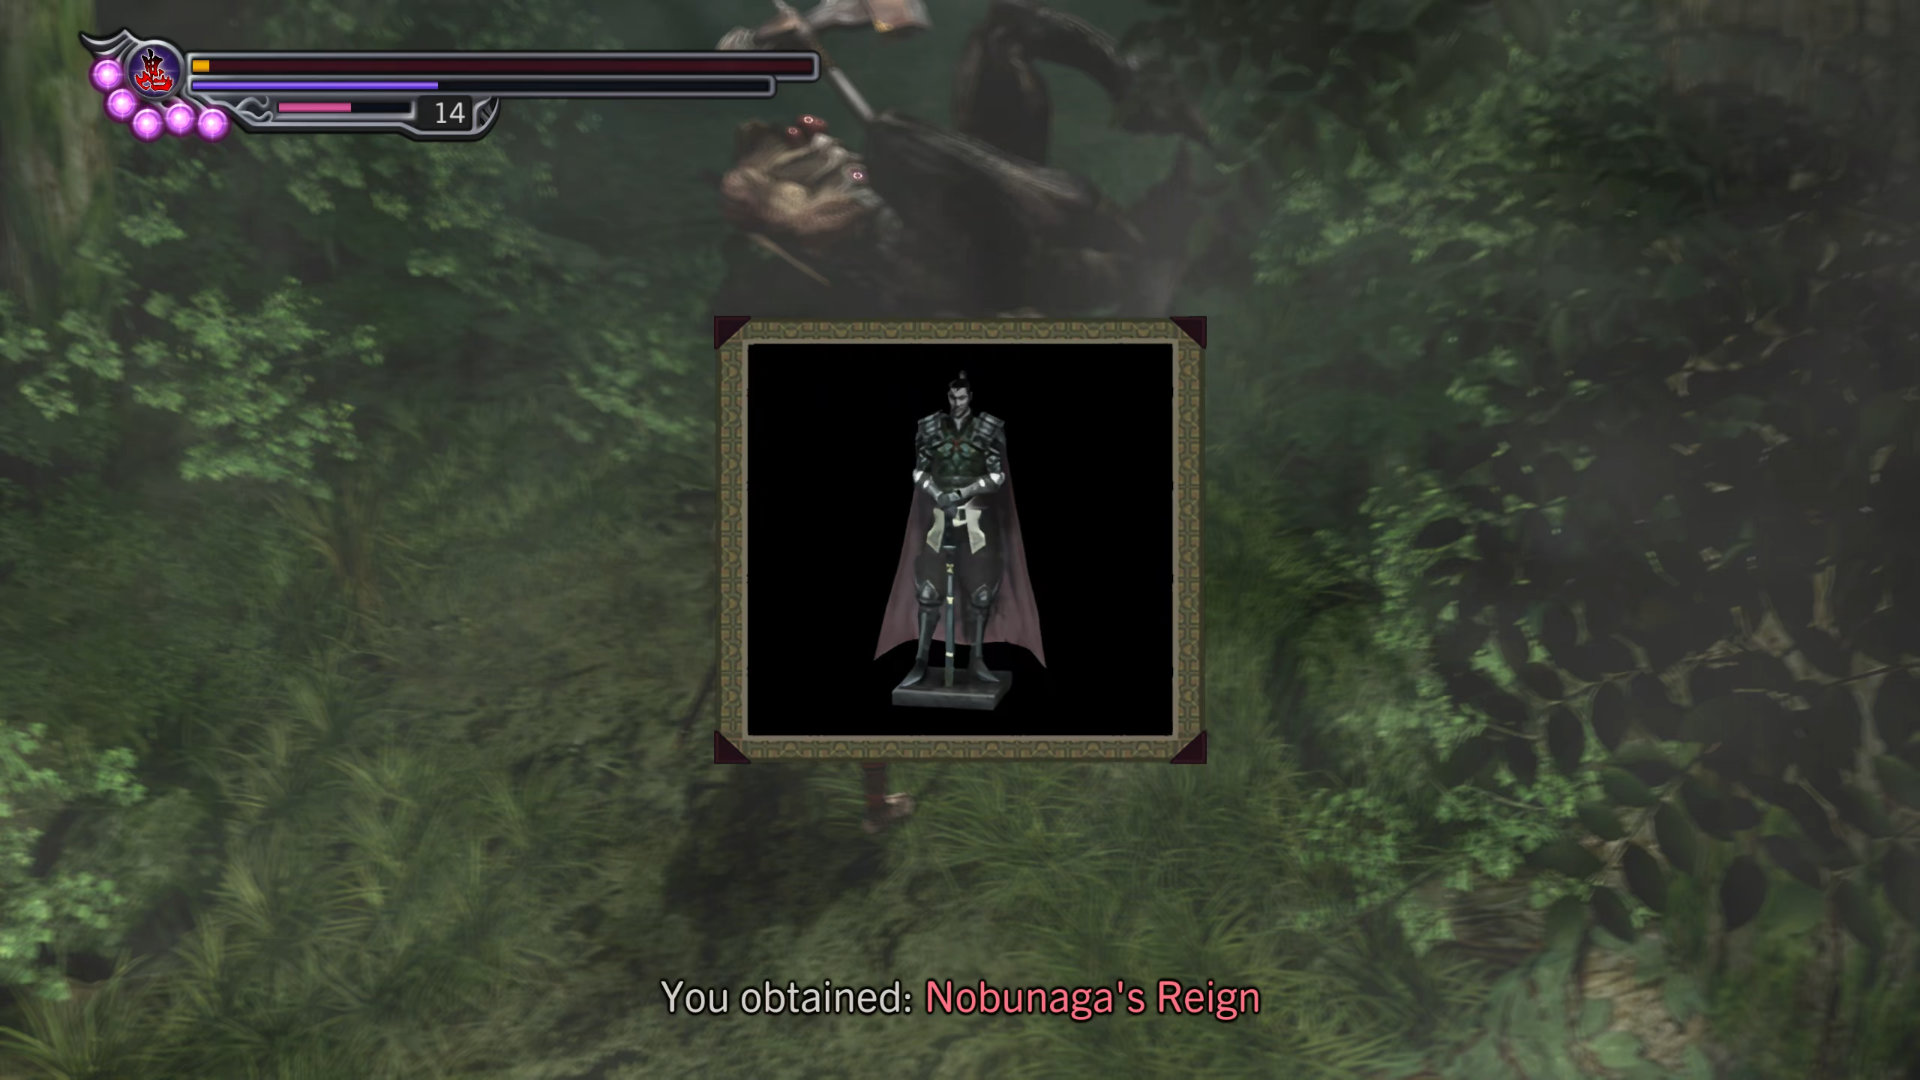
You'll obtain another Nobunaga statue after defeating the boss:
- Key Item: Nobunaga's Reign
Continue to the next area.
Scenario 5-6: Reasons to Fight
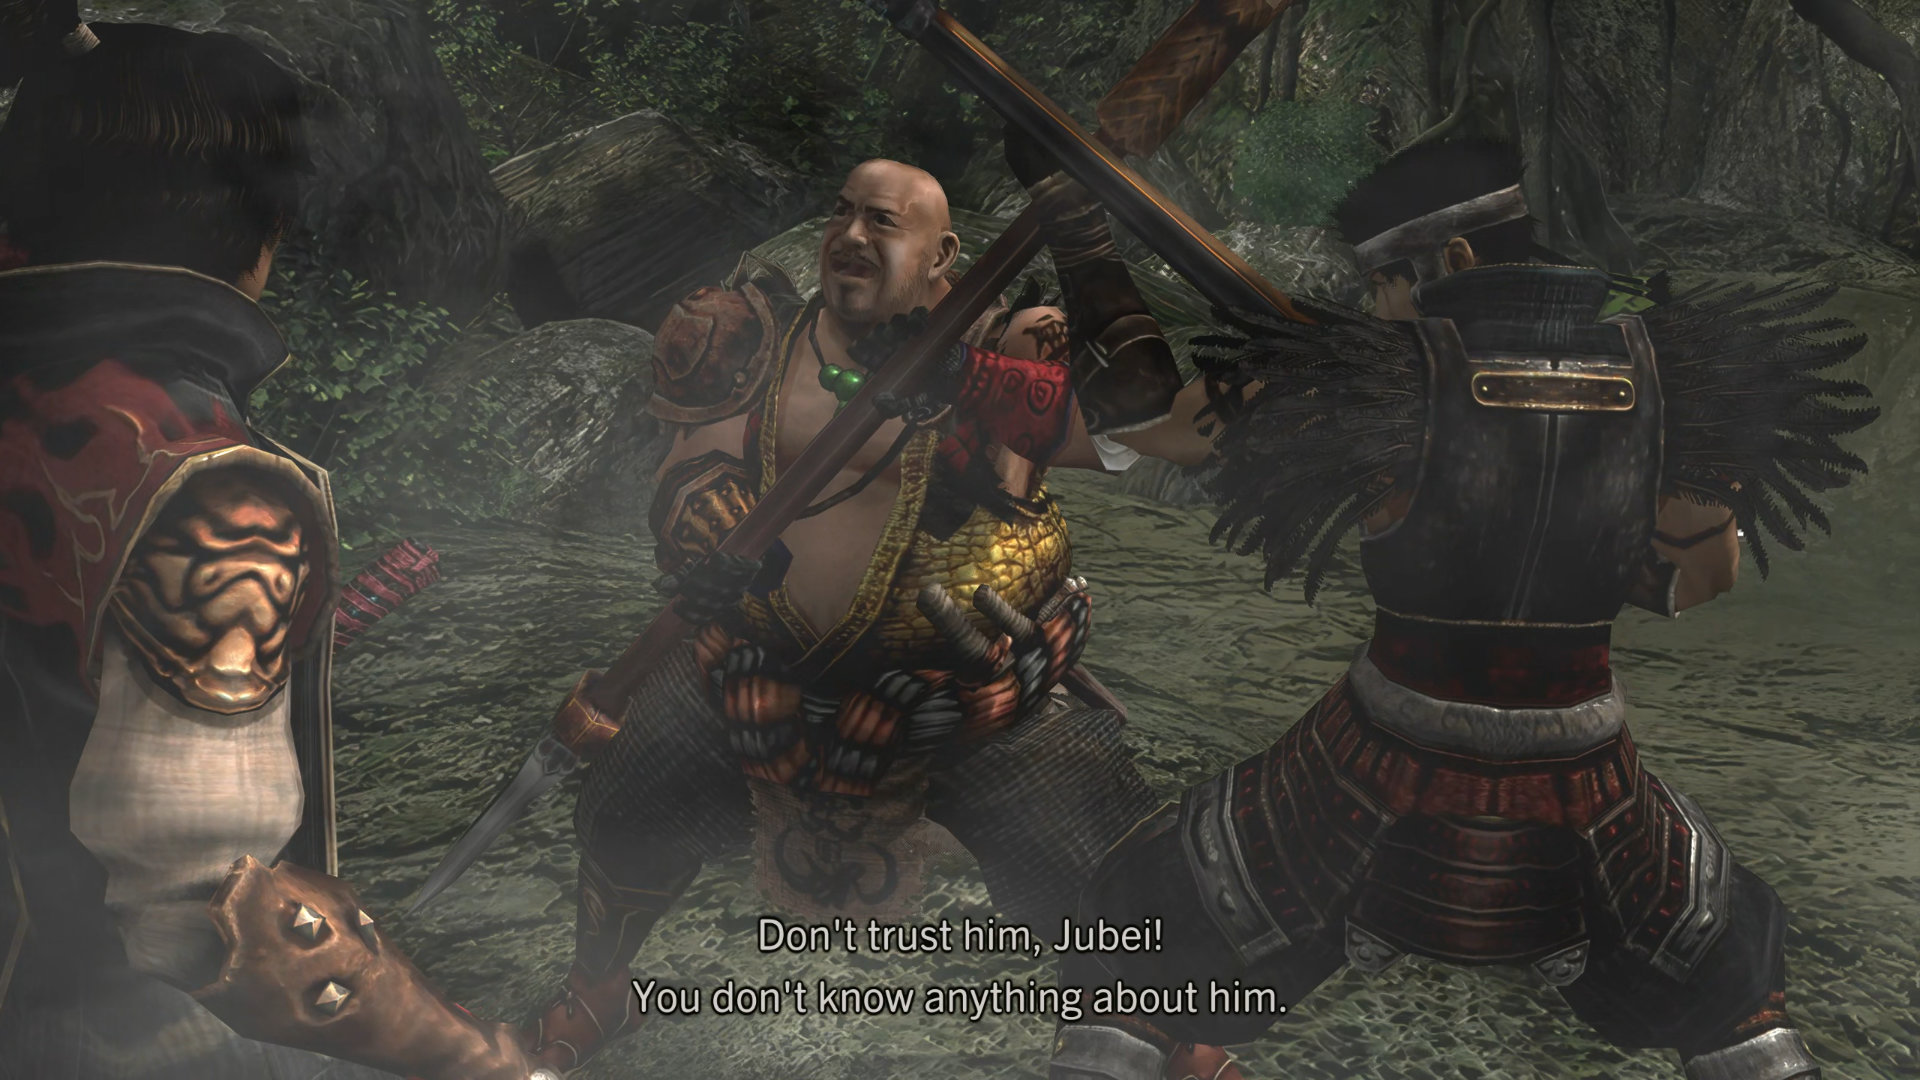
IMPORTANT: Save your game at the Magic Mirror right next to you, then go east (your left side), you'll see stairs that go up to the hill.