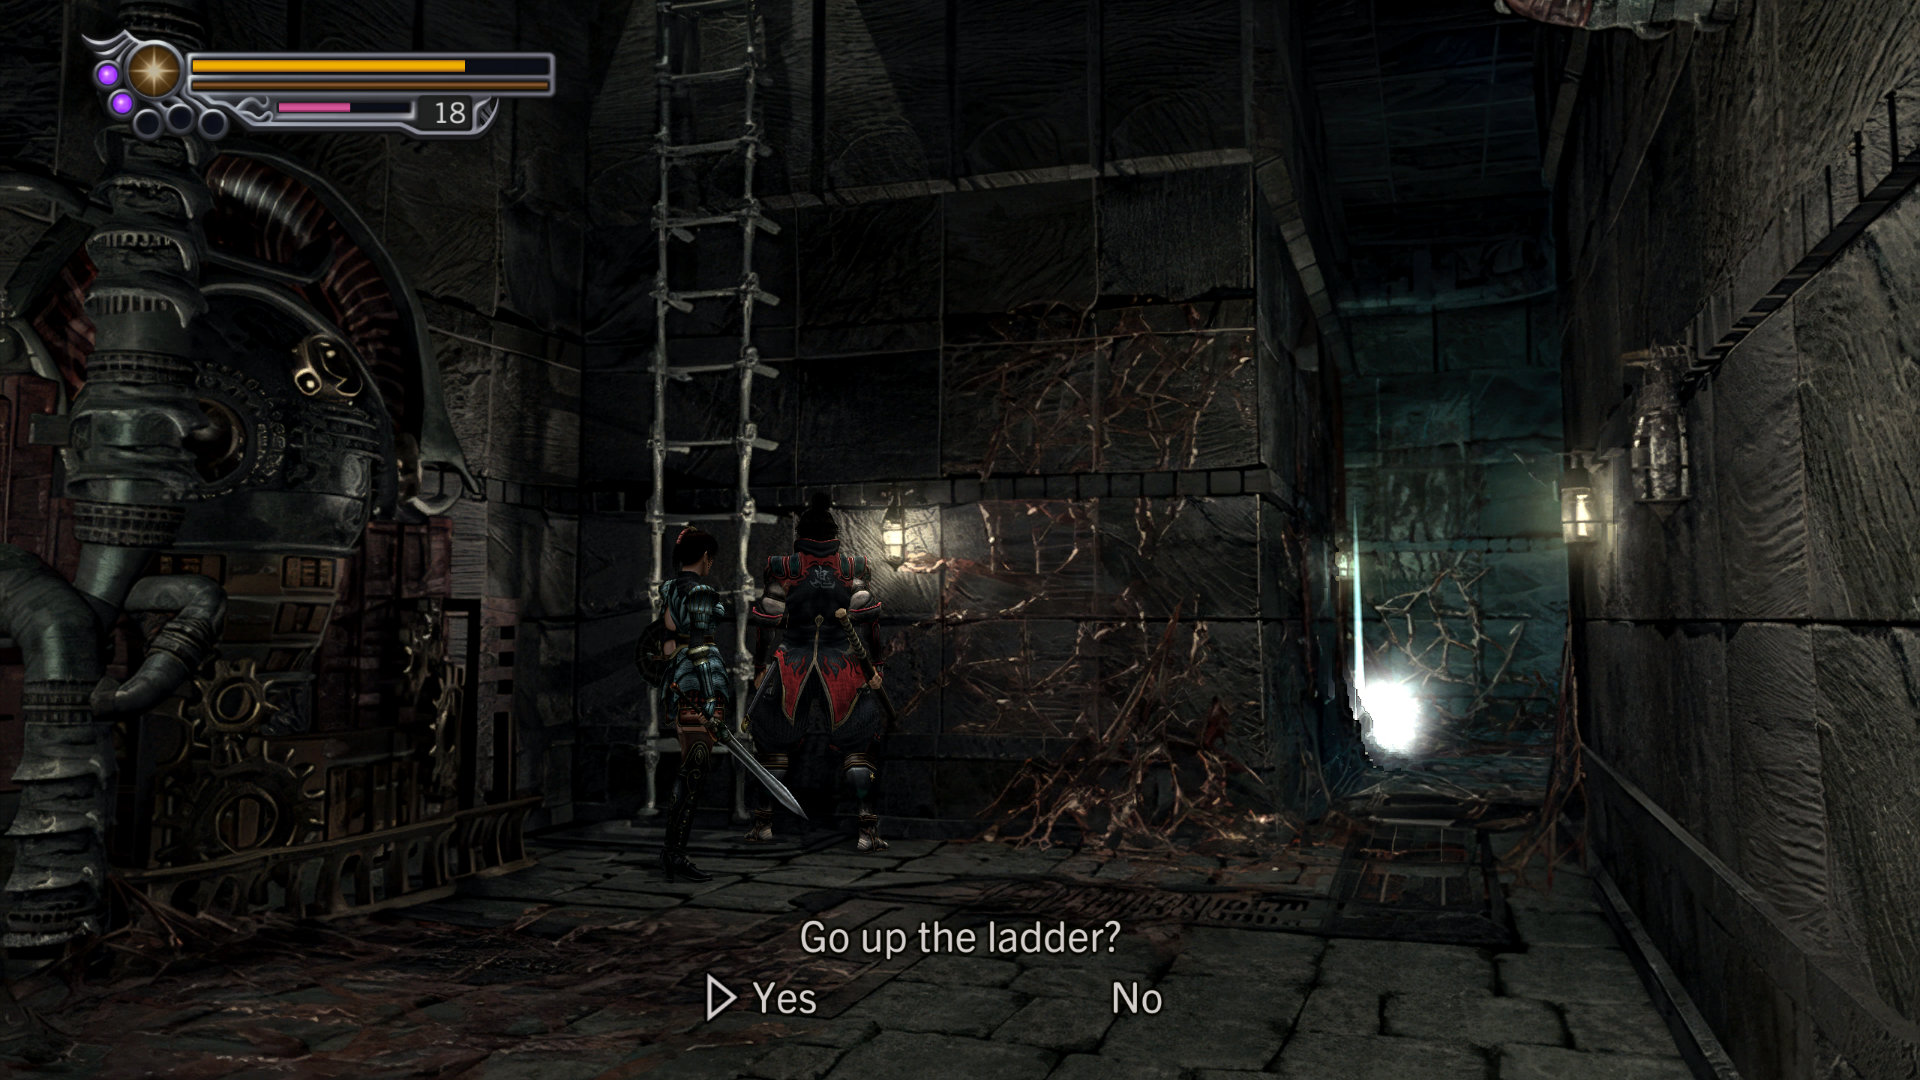
Two scenarios happen here:
Scenario 5-11: To Onigashima
Scenario 6-1: Gogandantess Battle 2
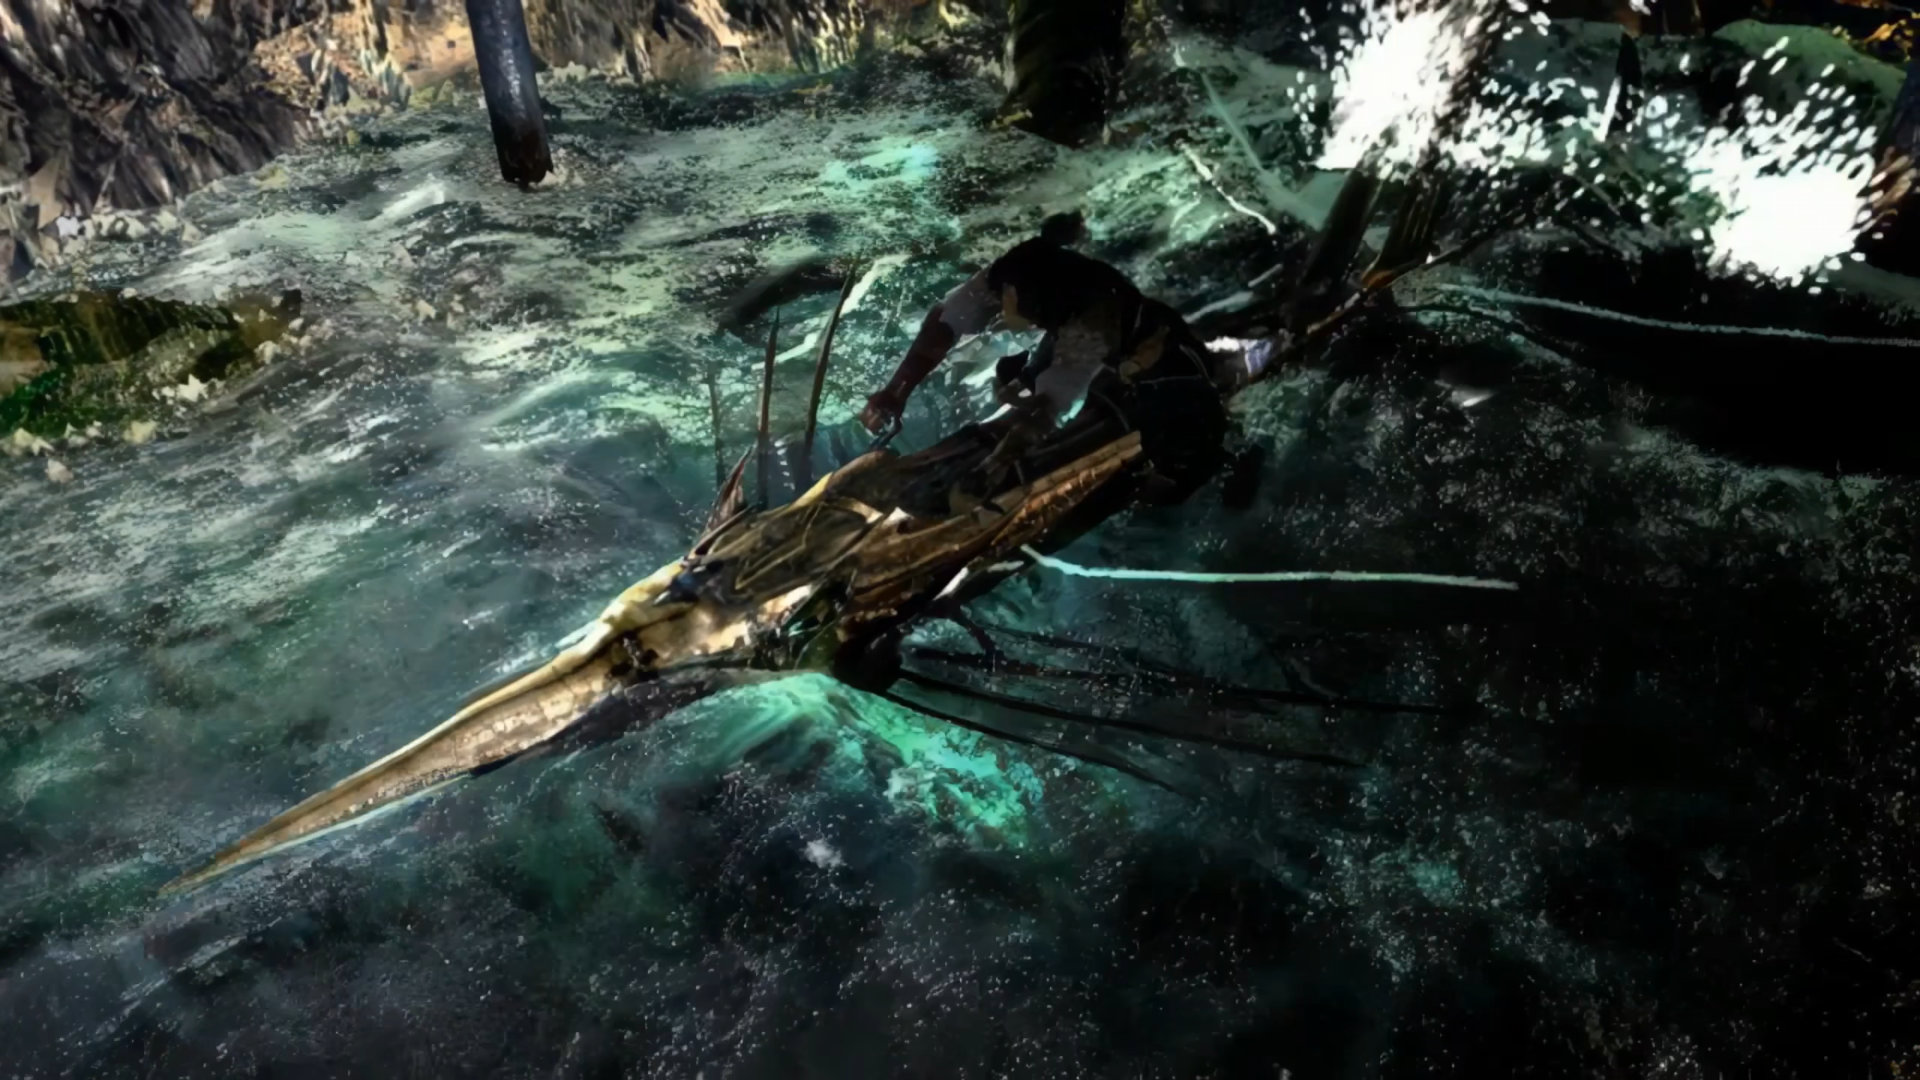
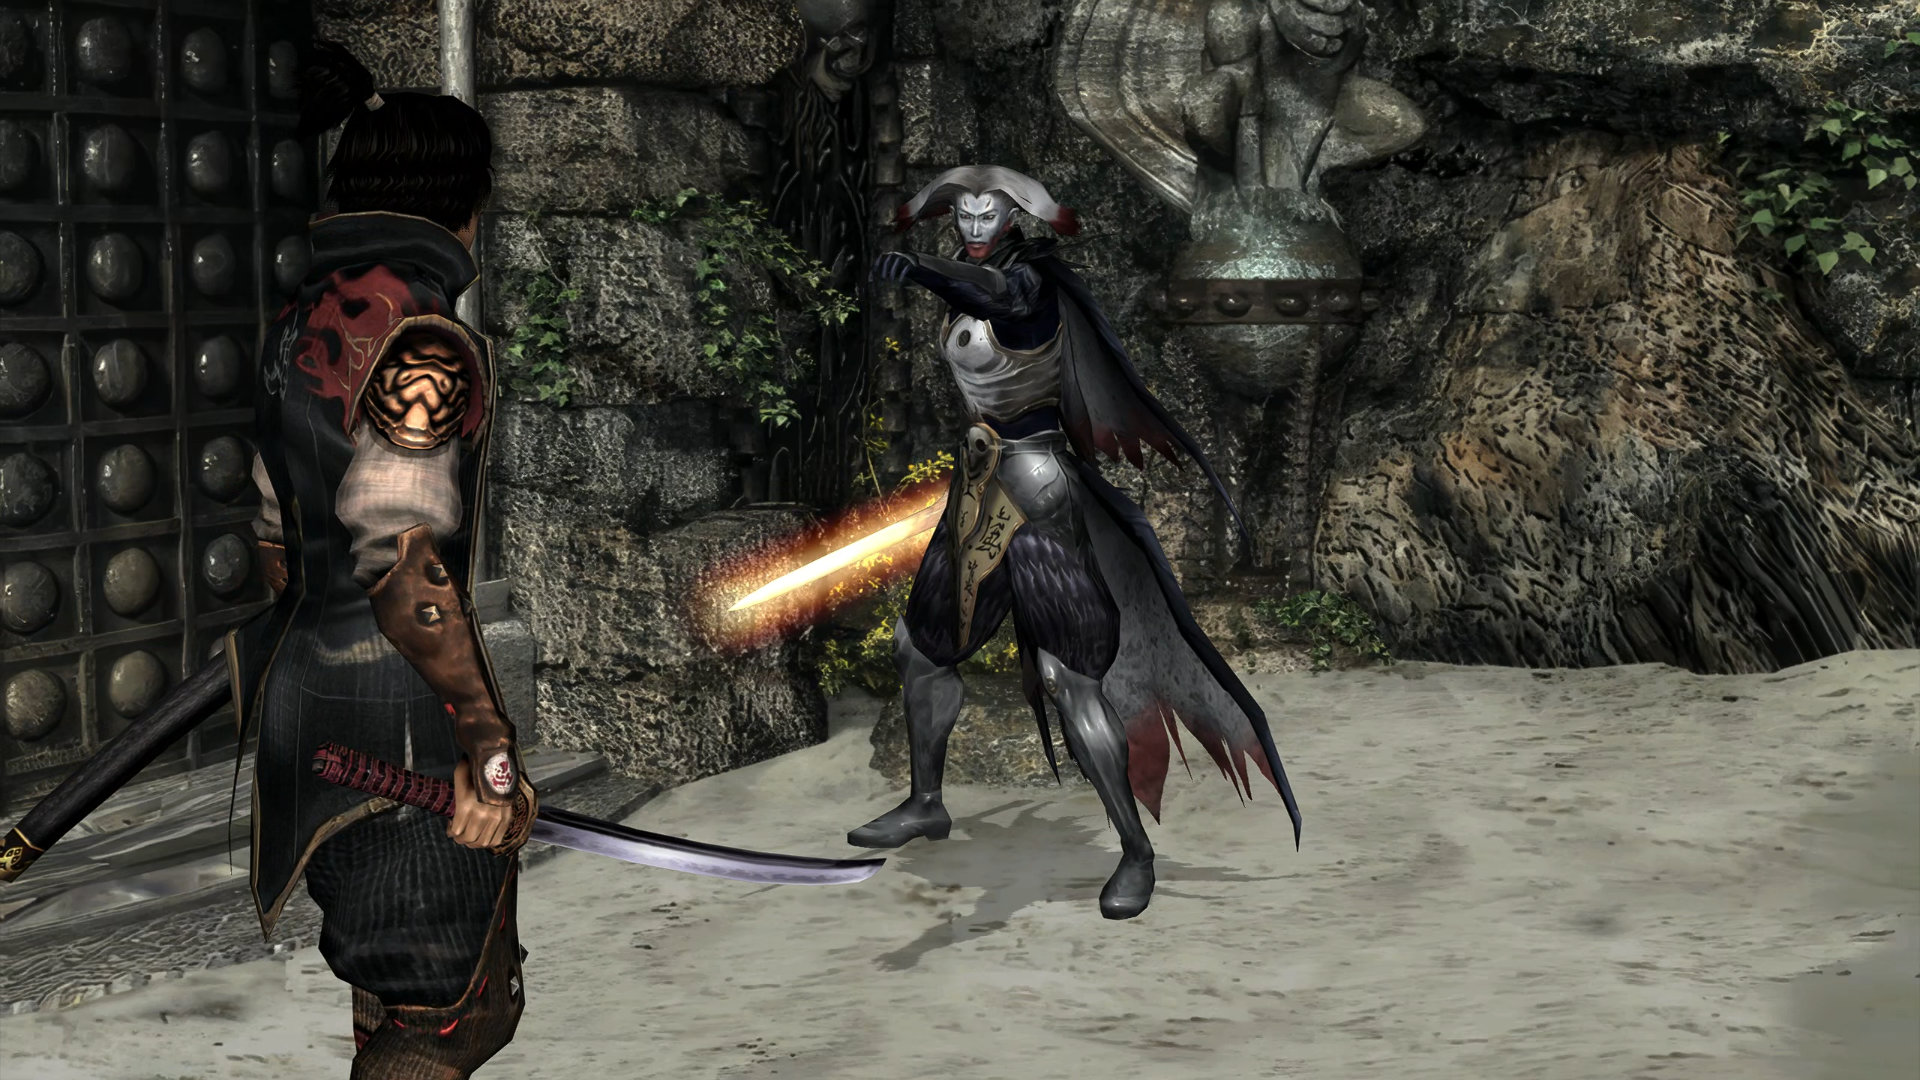
Boss: Gogandantess - Battle 2
You fought this boss before, and this time we'll still use the same strategy as before. Pull out your ice spear and perform the secret move until the battle ends. You cannot win this battle anyway.
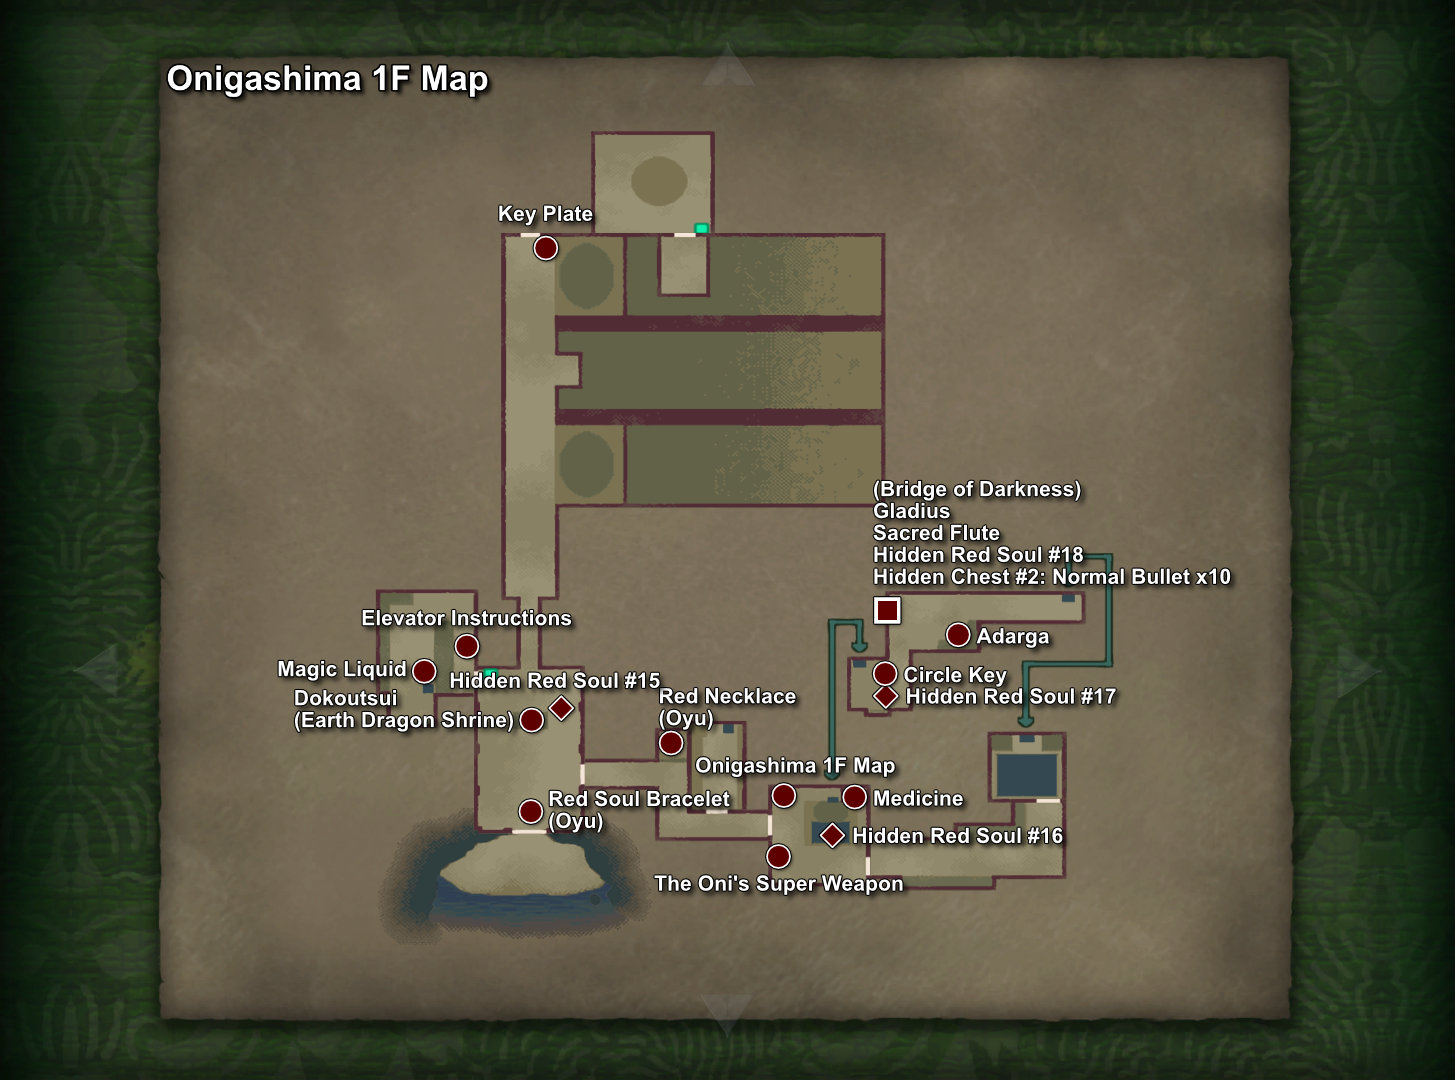
Consult this map for this part:
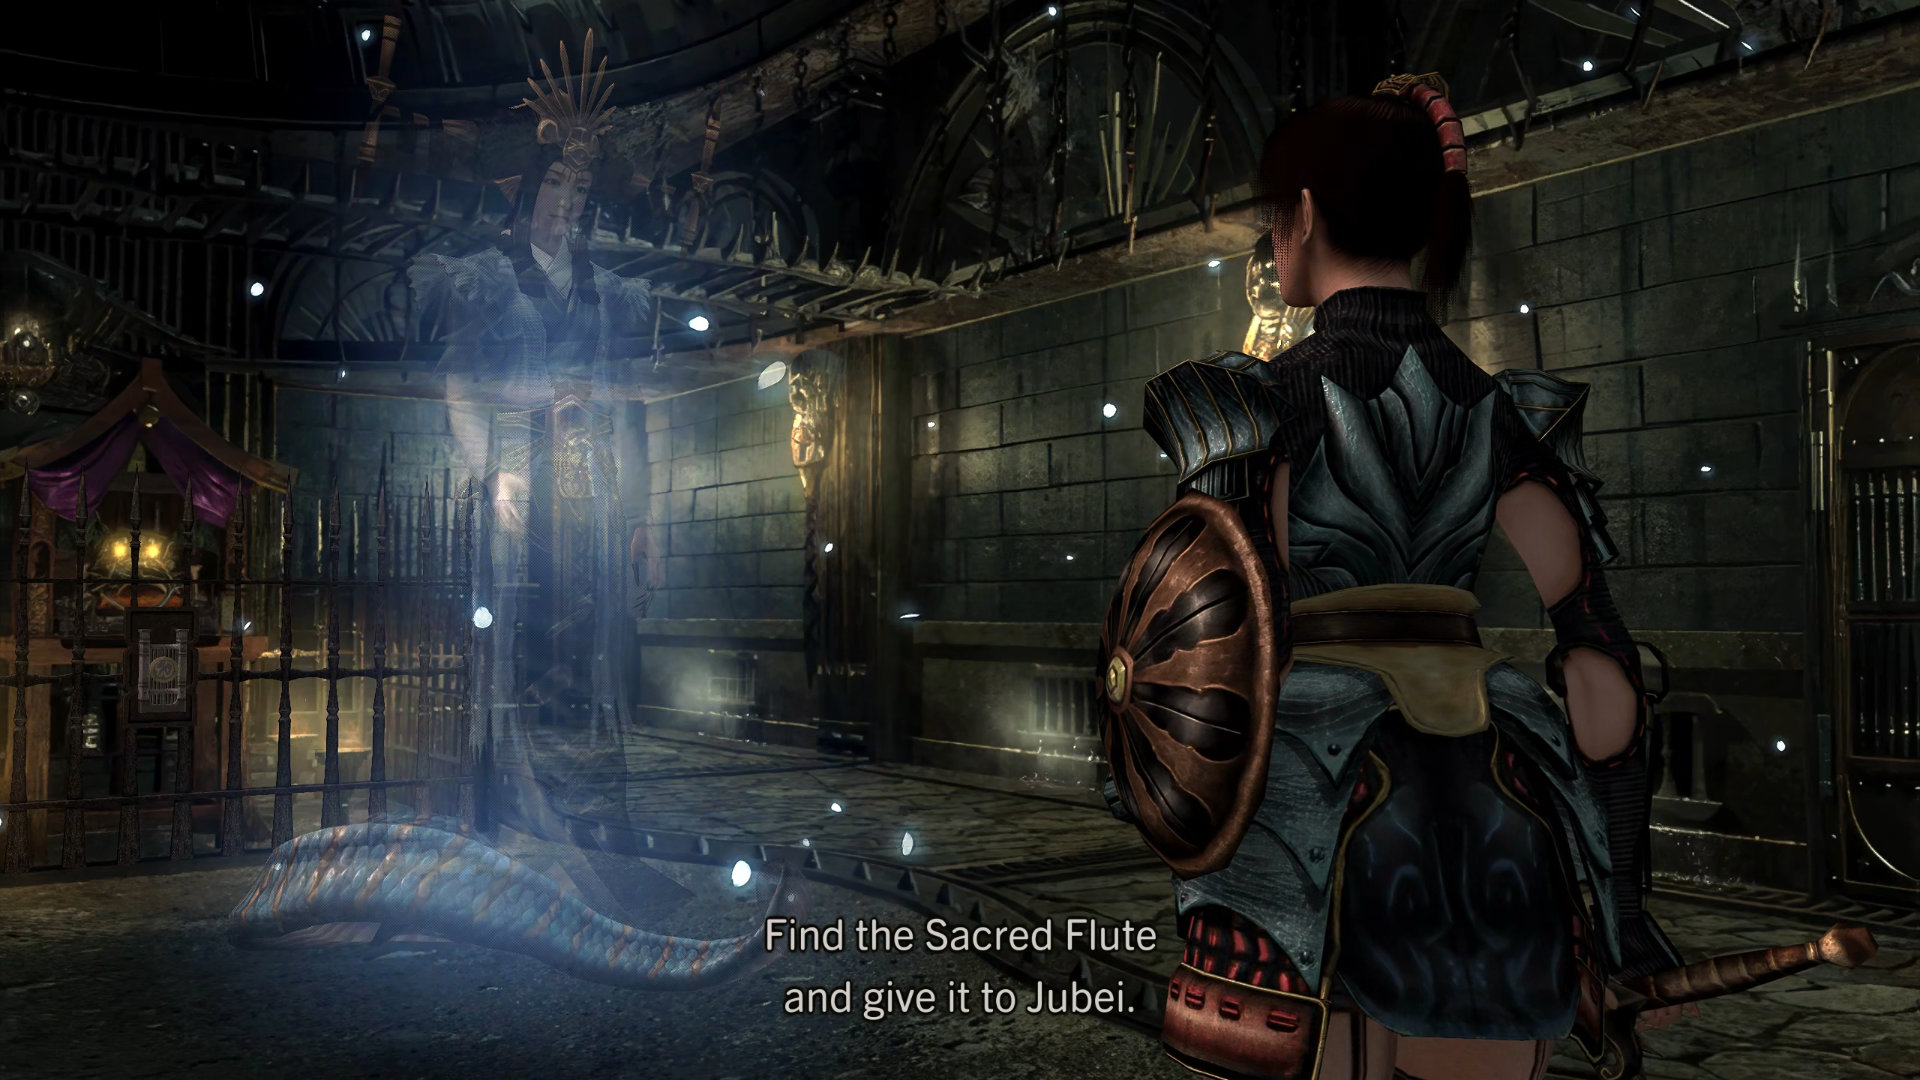
Scenario 6-2: Takajo's Advice
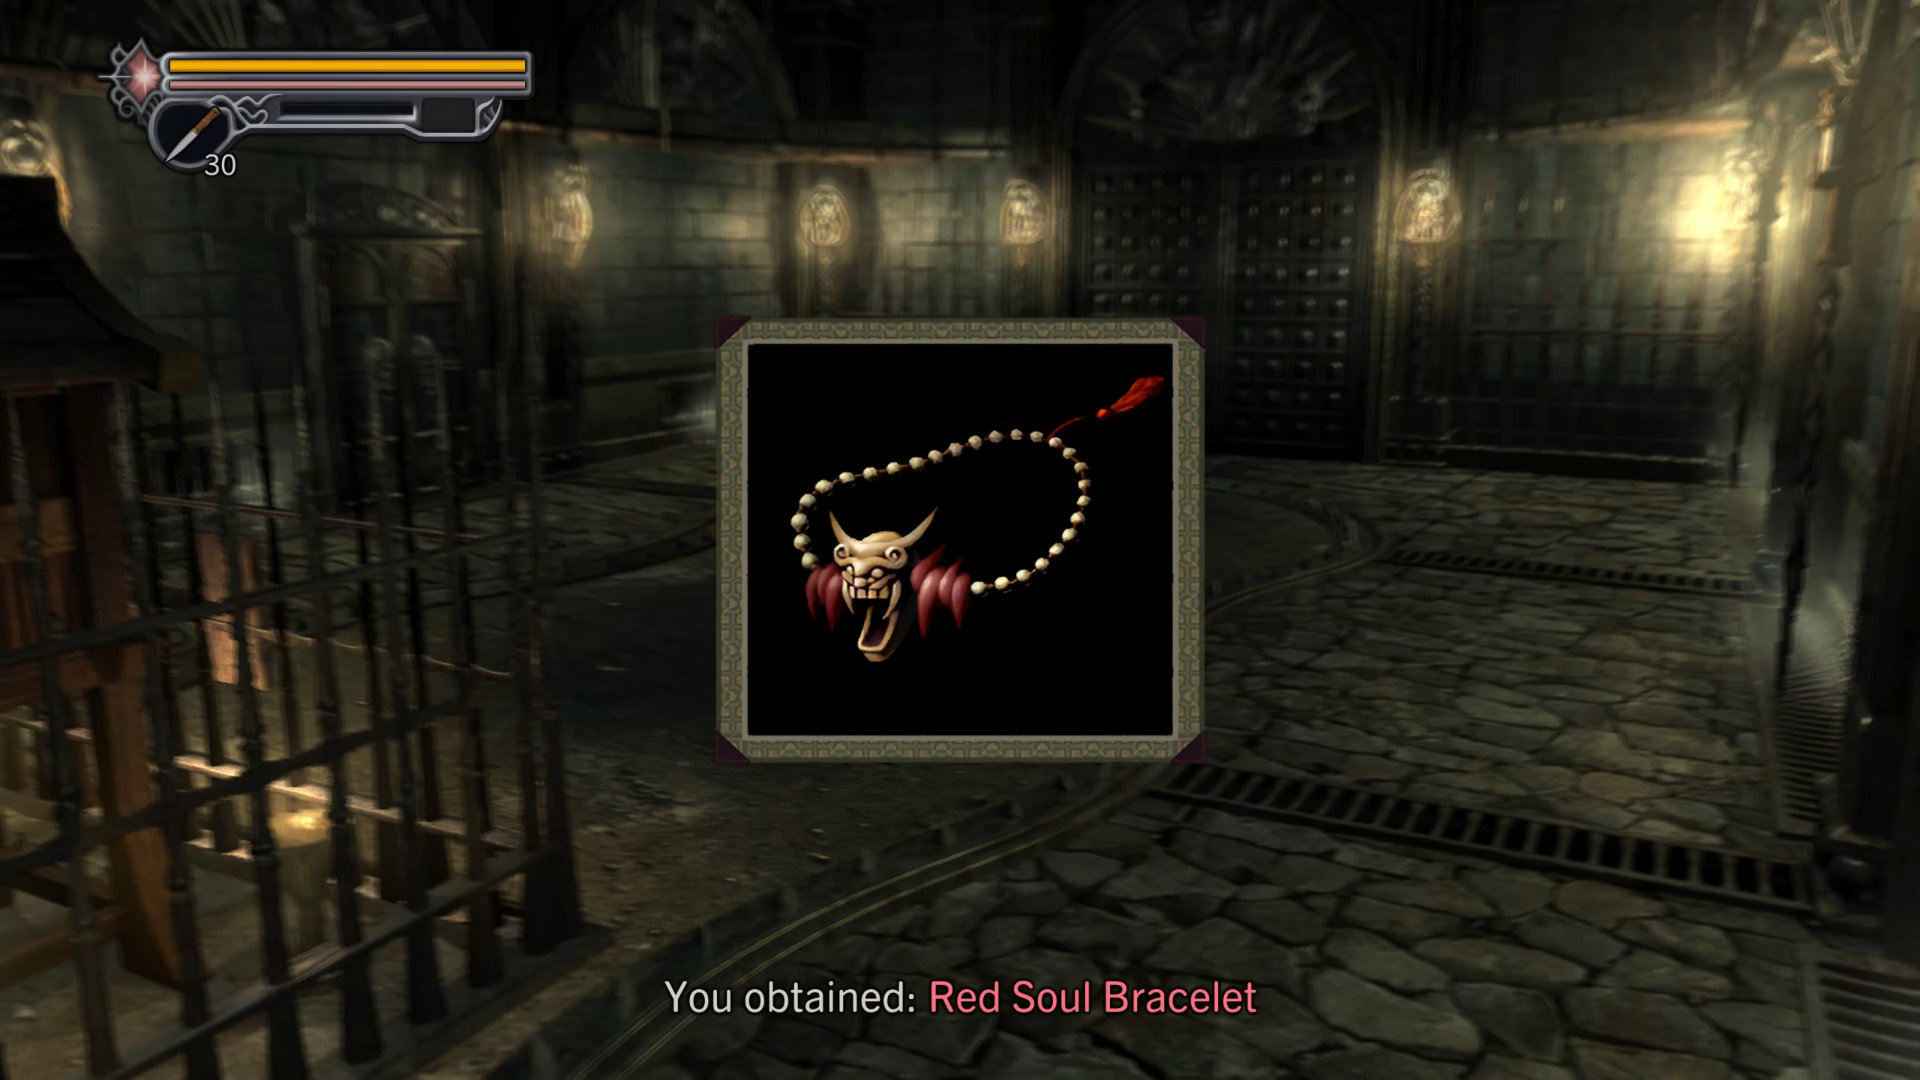
- Key Item: Red Soul Bracelet - obtained automatically.
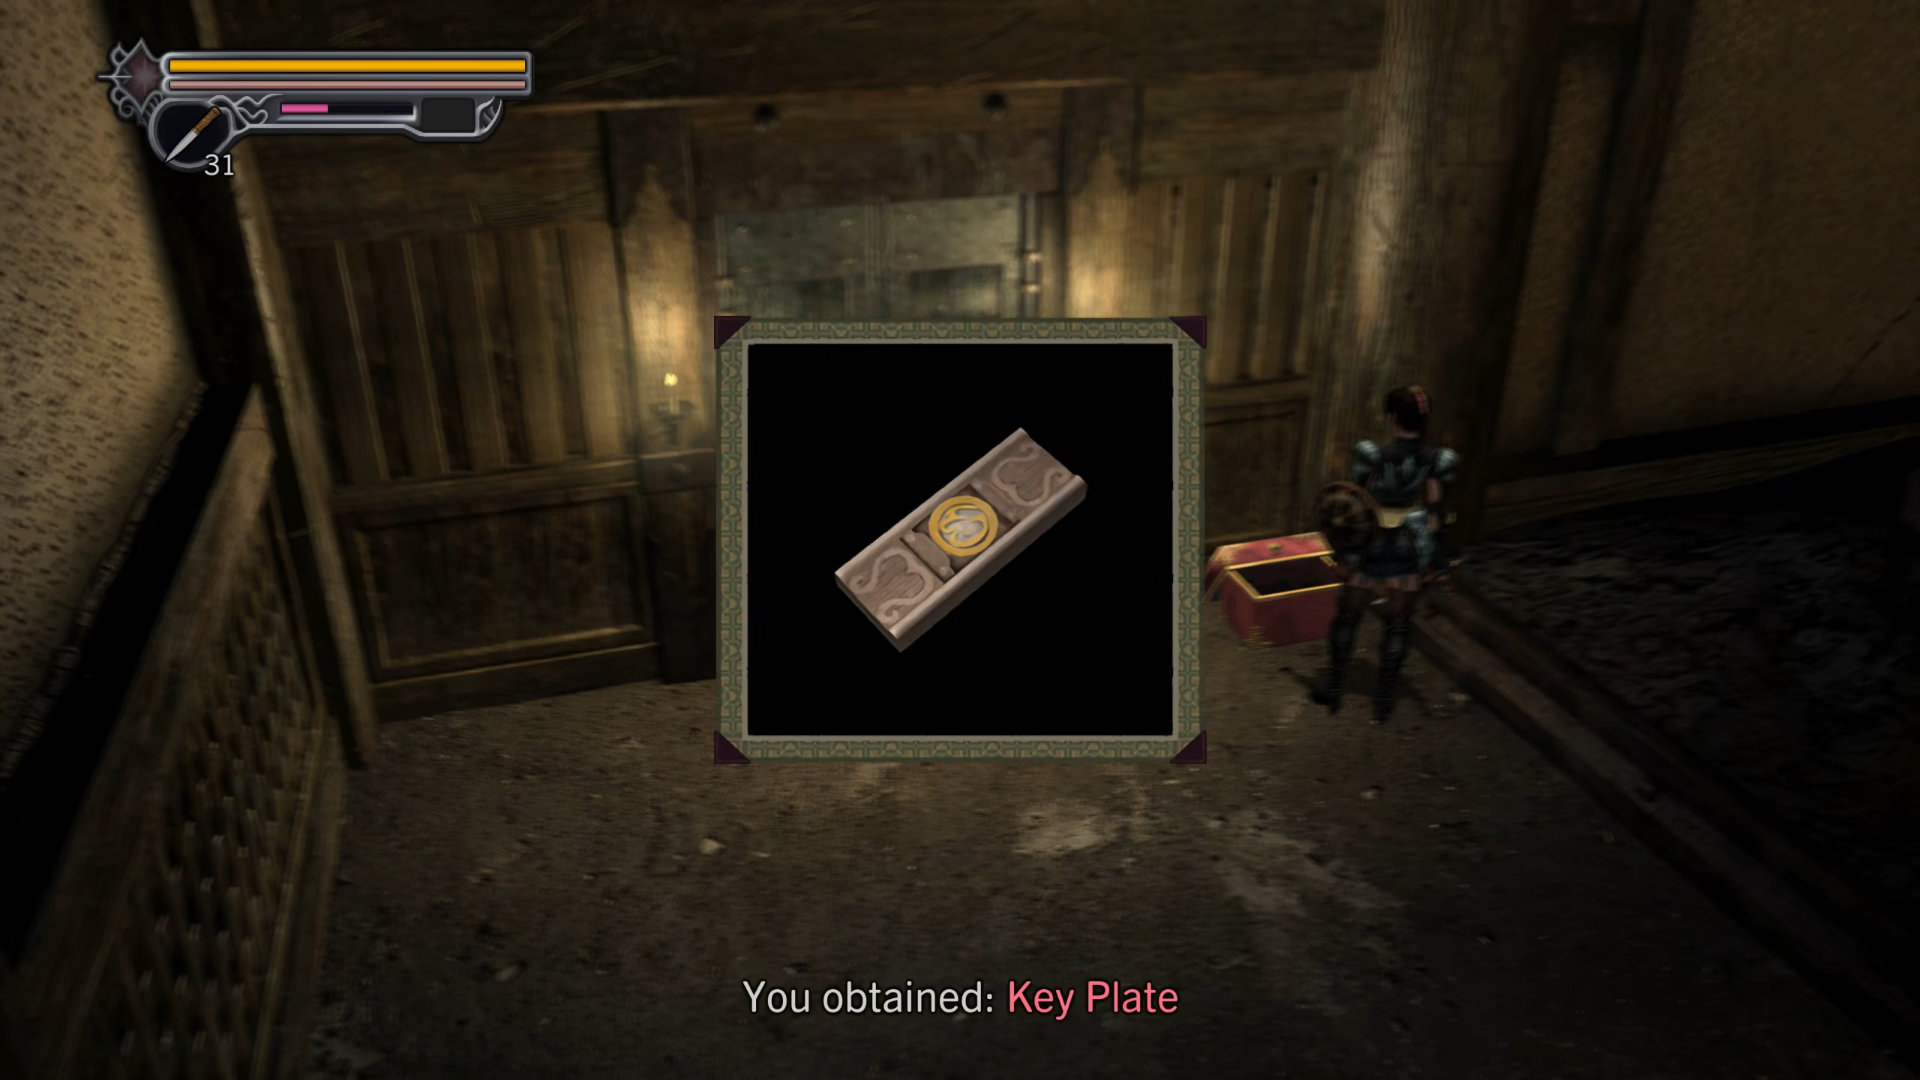
Once you gained control of Oyu, walk around the Dragon Shrine to save your game at the Magic Mirror in the left corner. Then, go south down the ramp and use the stairs to go to the next area. Kill the 2 giant demons and open a treasure box in the corner. Then come back to the Earth Dragon Shrine and use this "Key Plate" to unlock the fence in front of the shrine.
- Key Item: Key Plate
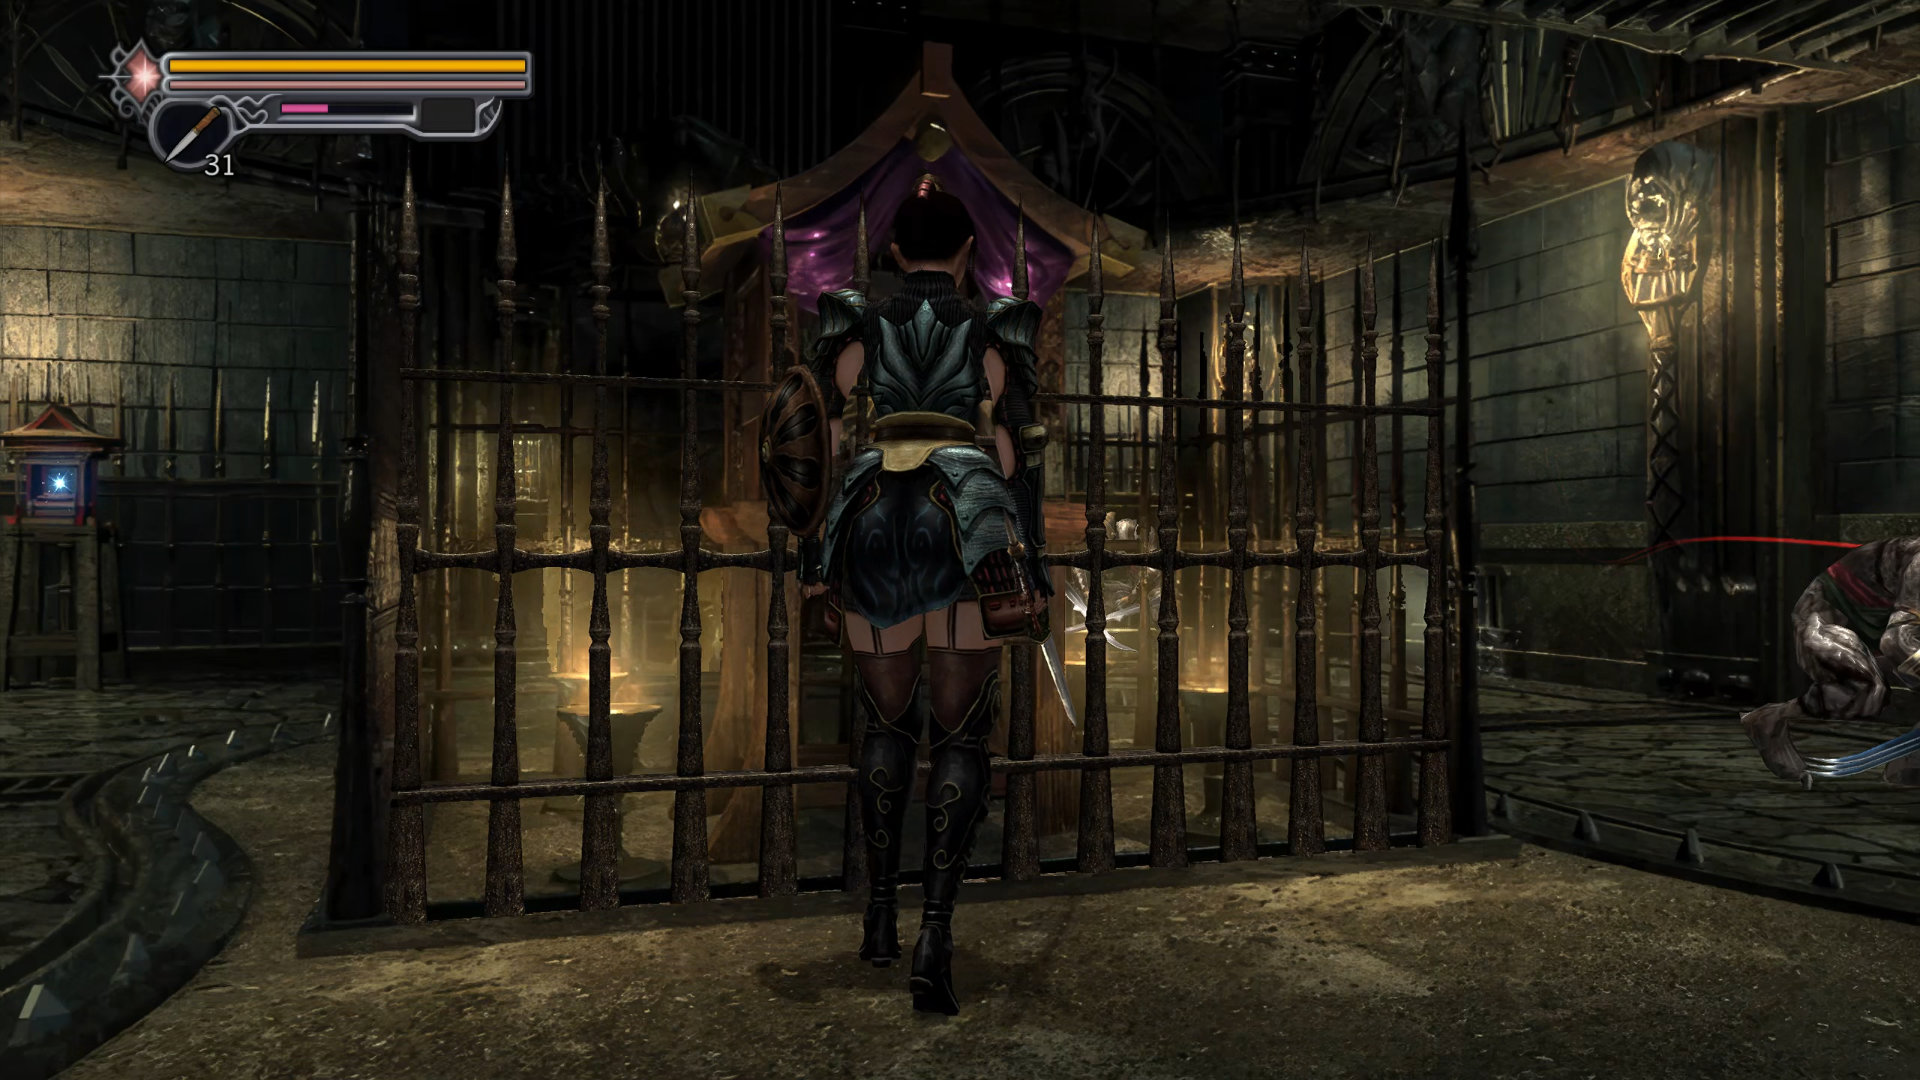
Both doors, west and east, also unlocked. Next, enter the east door (your right) first. Continue on this hallway to the next room that has an acid pond. This room has 3 items:
- Map: Onigashima 1F Map - inside the treasure box.
- File: The Oni's Super Weapon - on the shelf to your left
- Item: Medicine - behind the giant statue
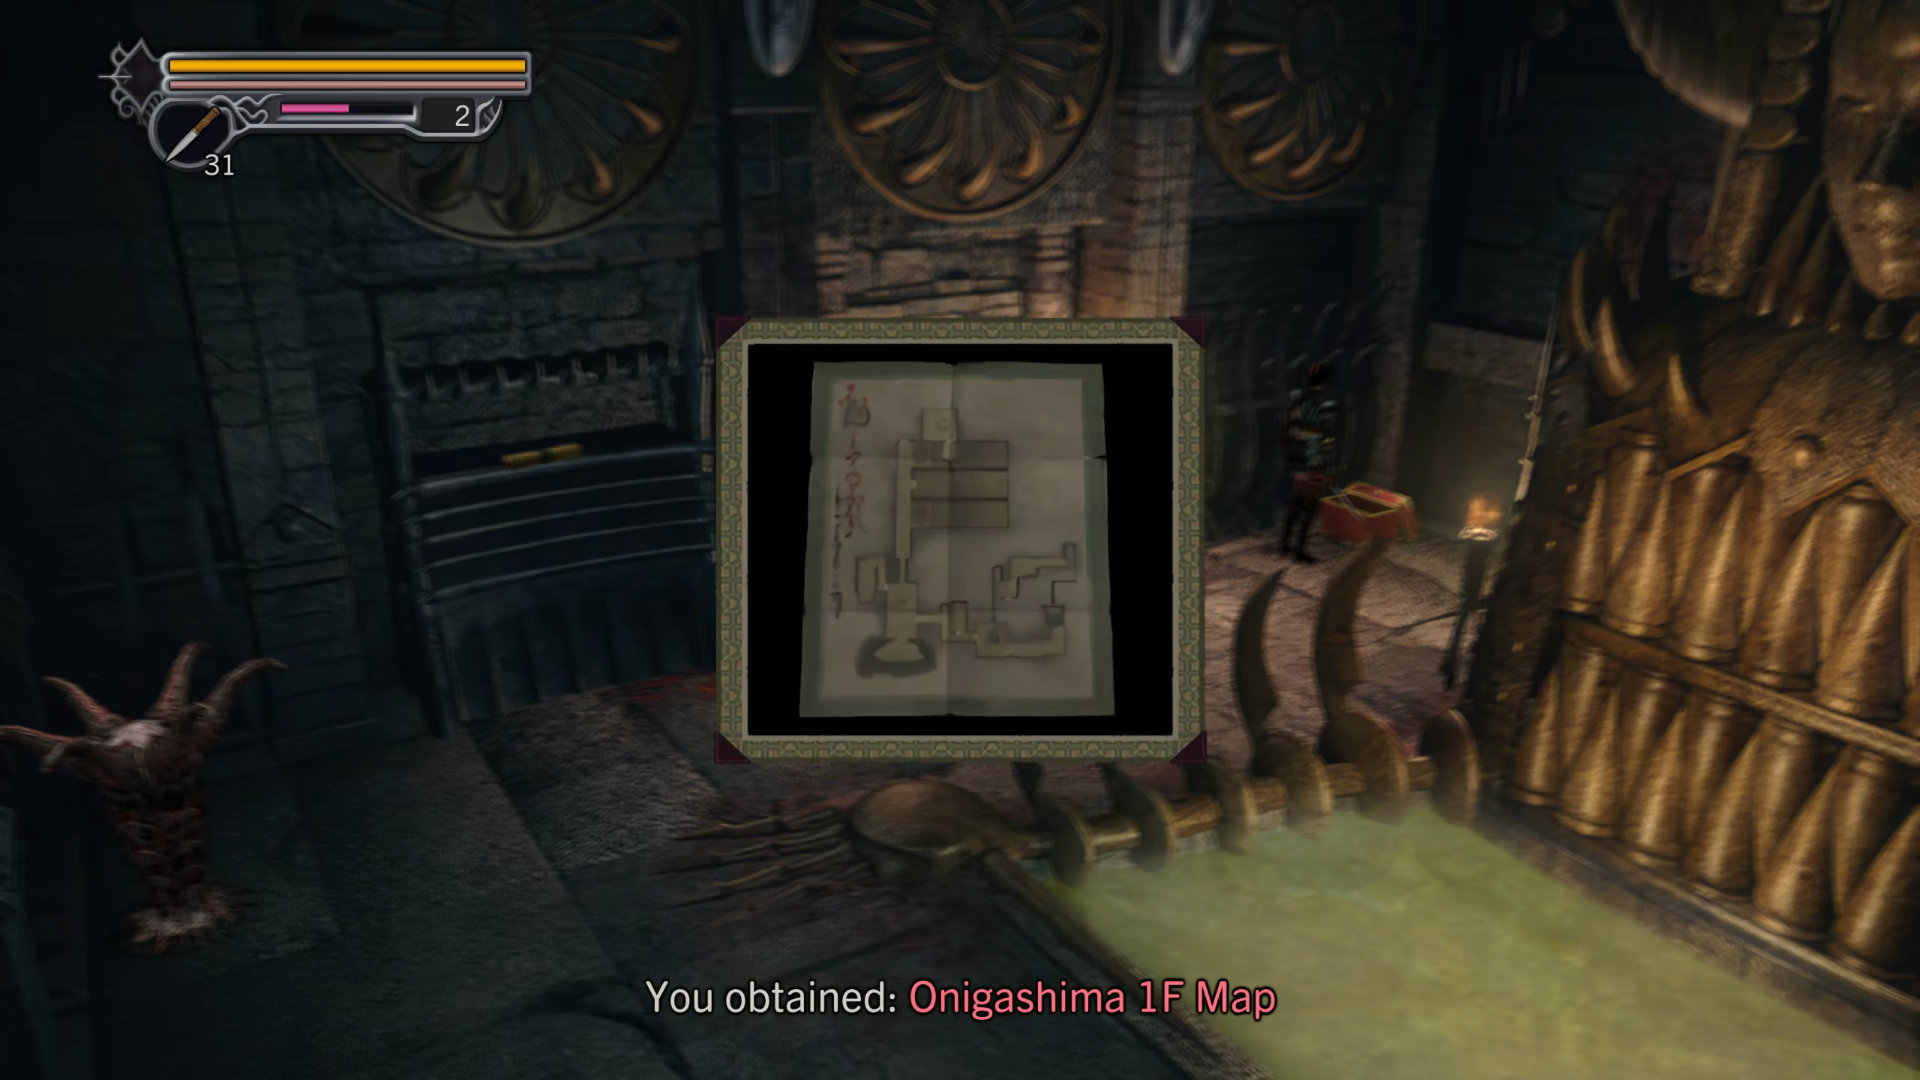
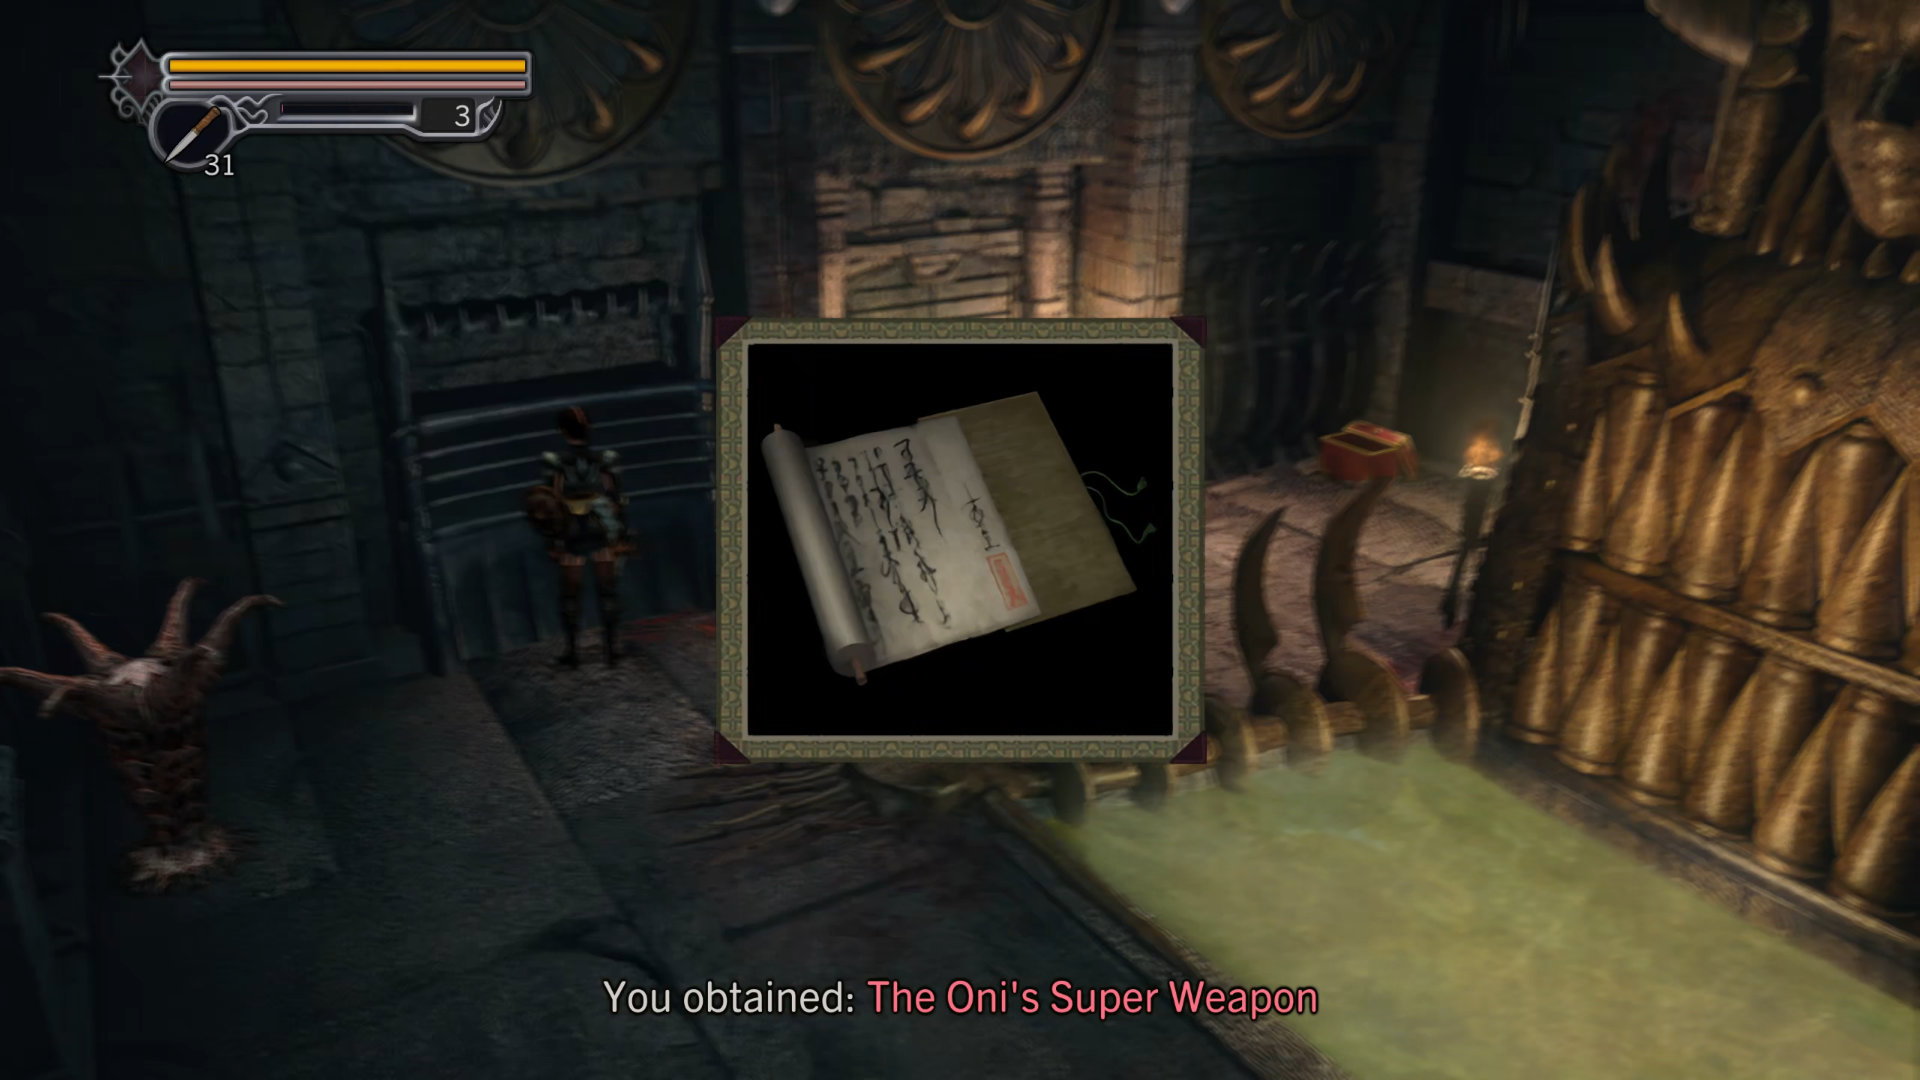
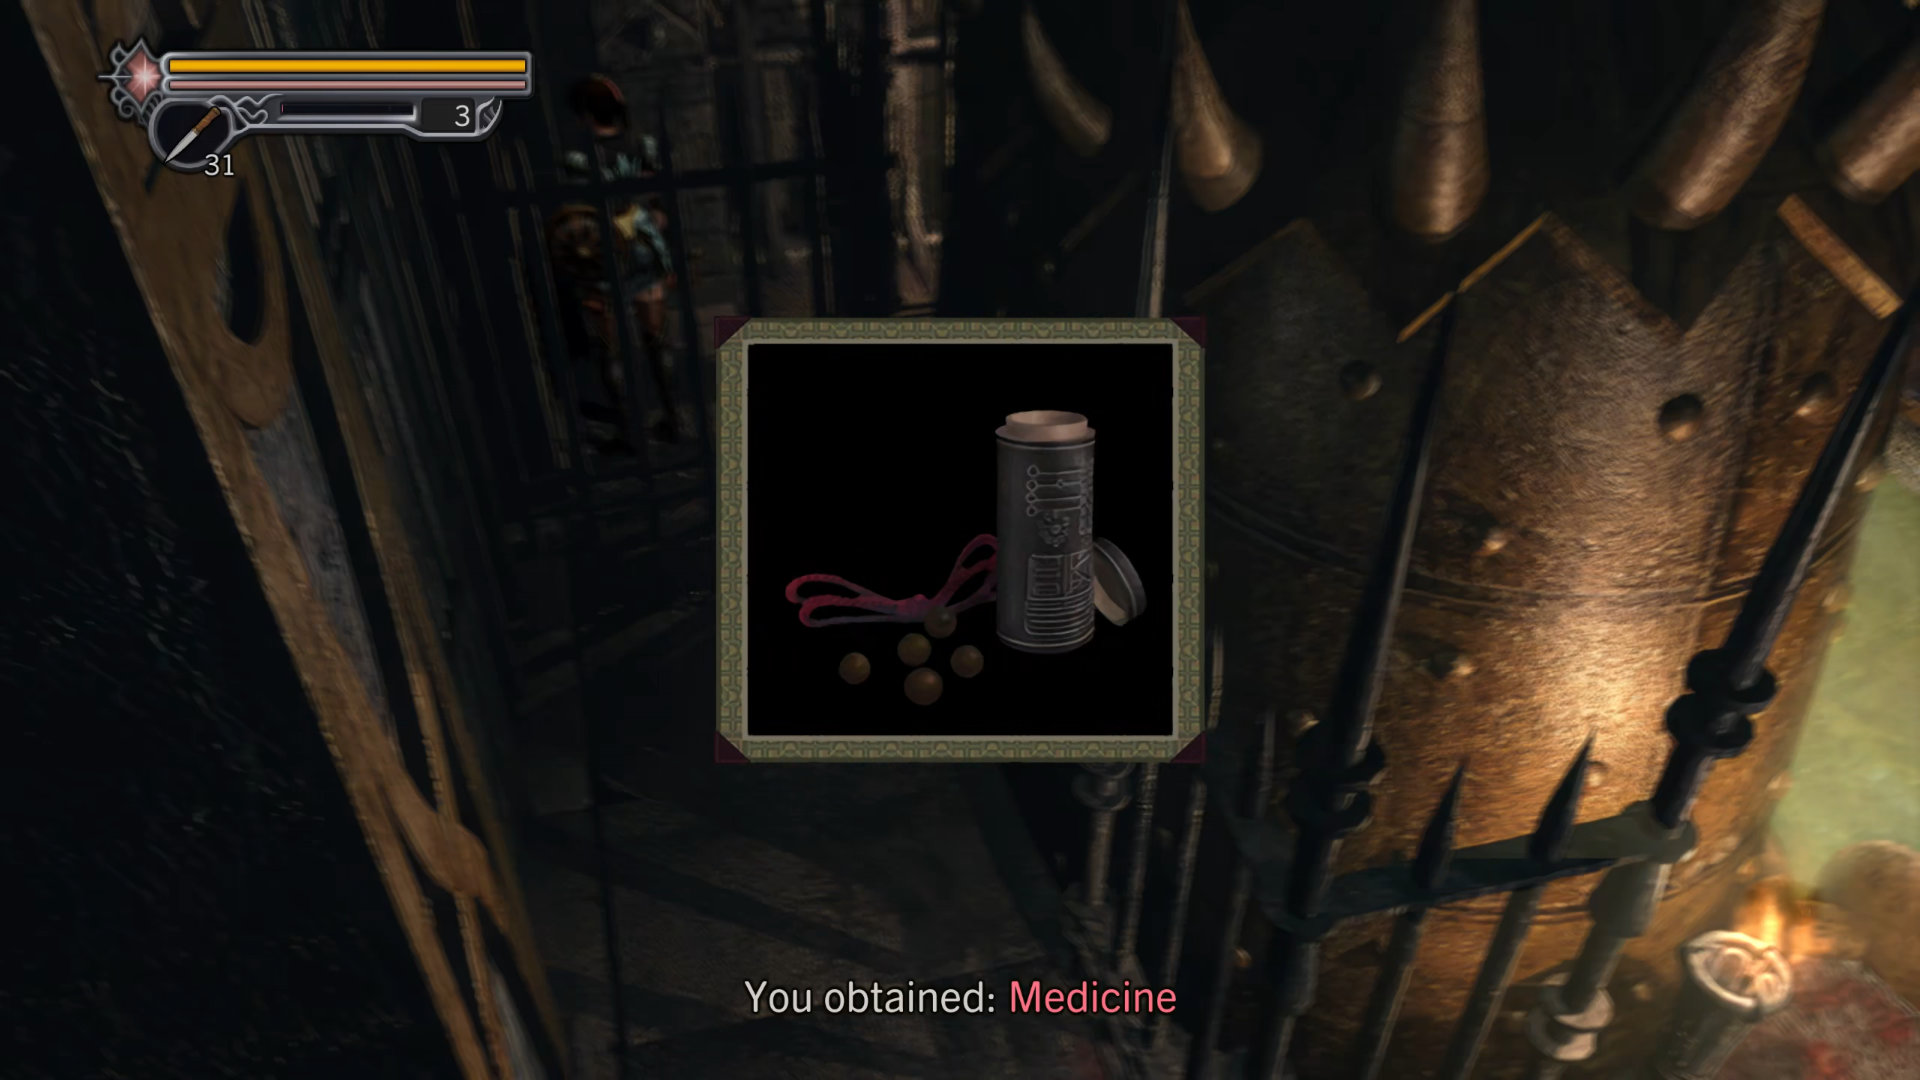
Enter the east door to another hallway, then enter the next room with the glass floor. Walk around and press L1 to block the spit attacks from the fish for a while until the red barrier disappears. Then use the ladder to go down.
Kill all the demons in this room, especially the one mounted on the wall to open a new path. Don't forget to pick up an item in the treasure box:
- Equipment: Adarga - this is Oyu's shield, go to "Inventory -> Equip" to equip this new shield immediately.
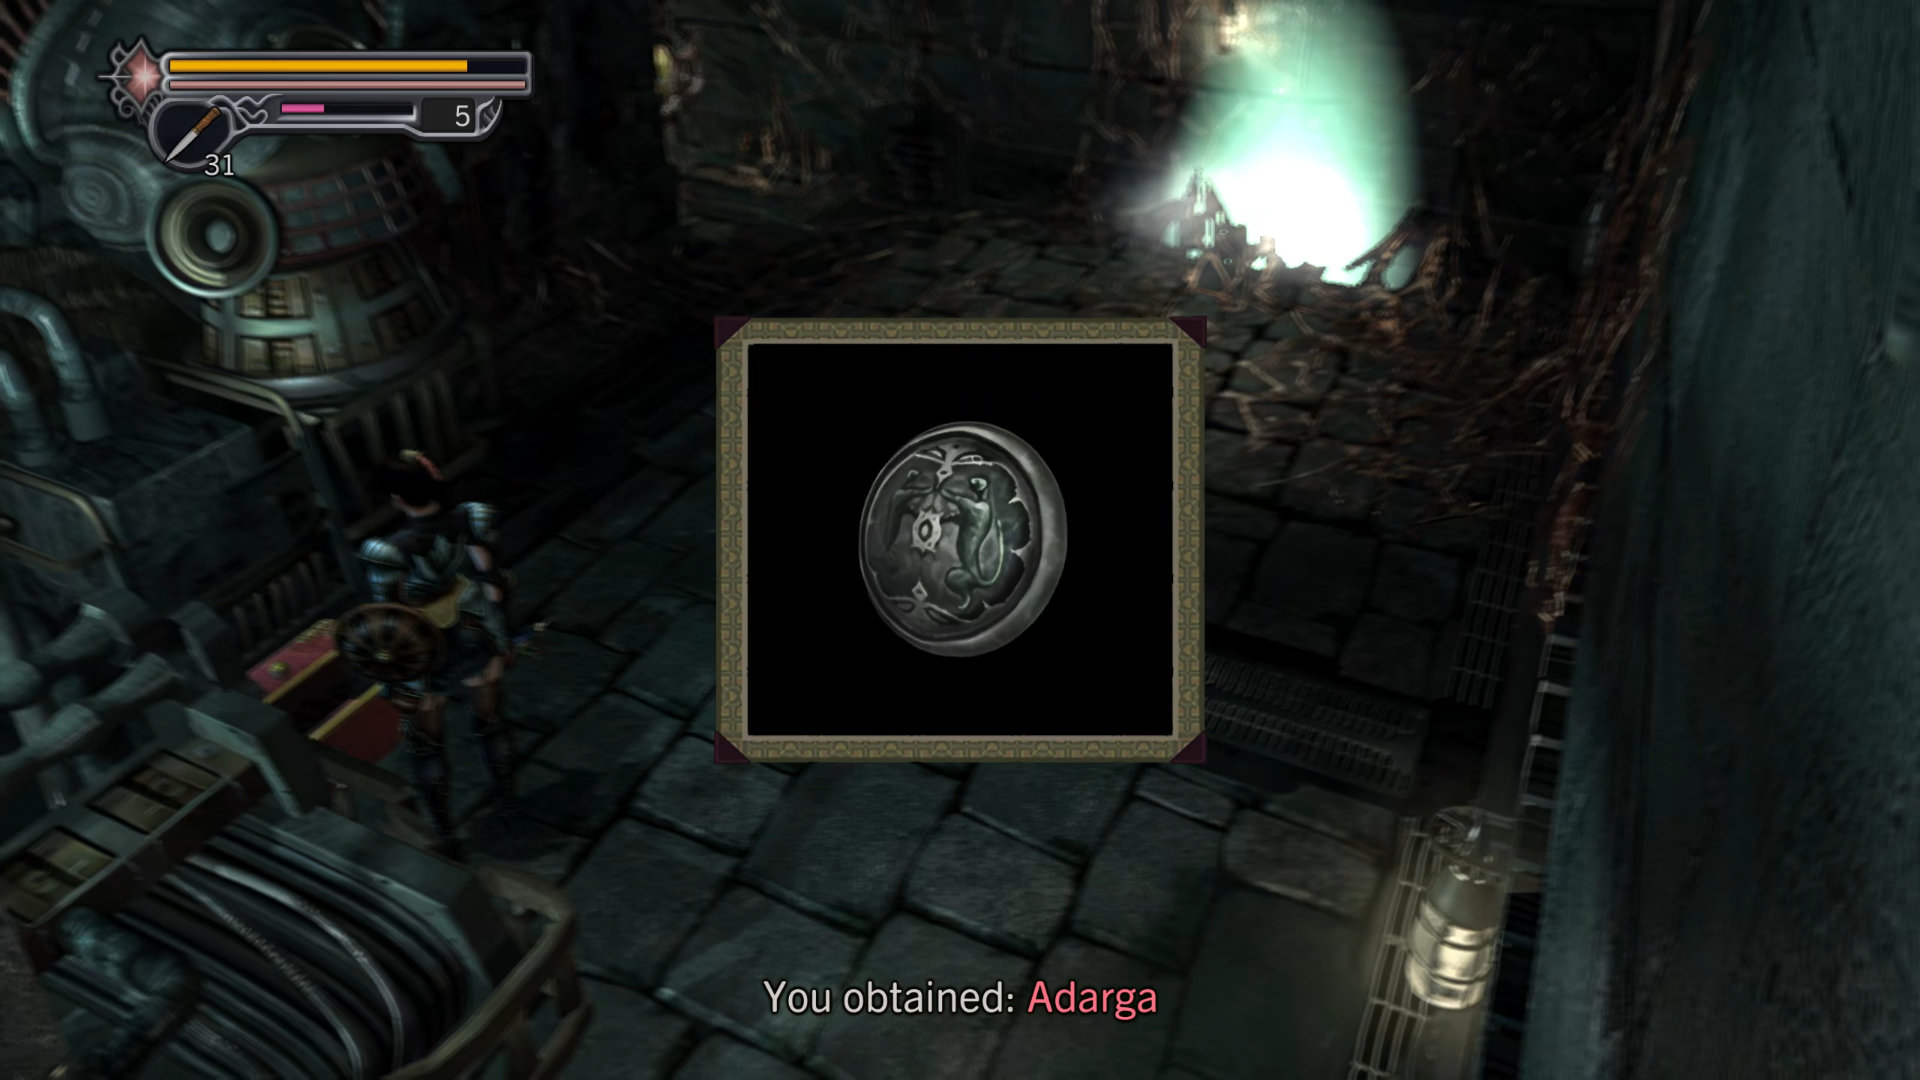
Examine the light to enter a new area. Follow the bone bridge until you reach a Magic Mirror and pick up another item:
- Equipment: Gladius - Oyu's best weapon, so equip it immediately.
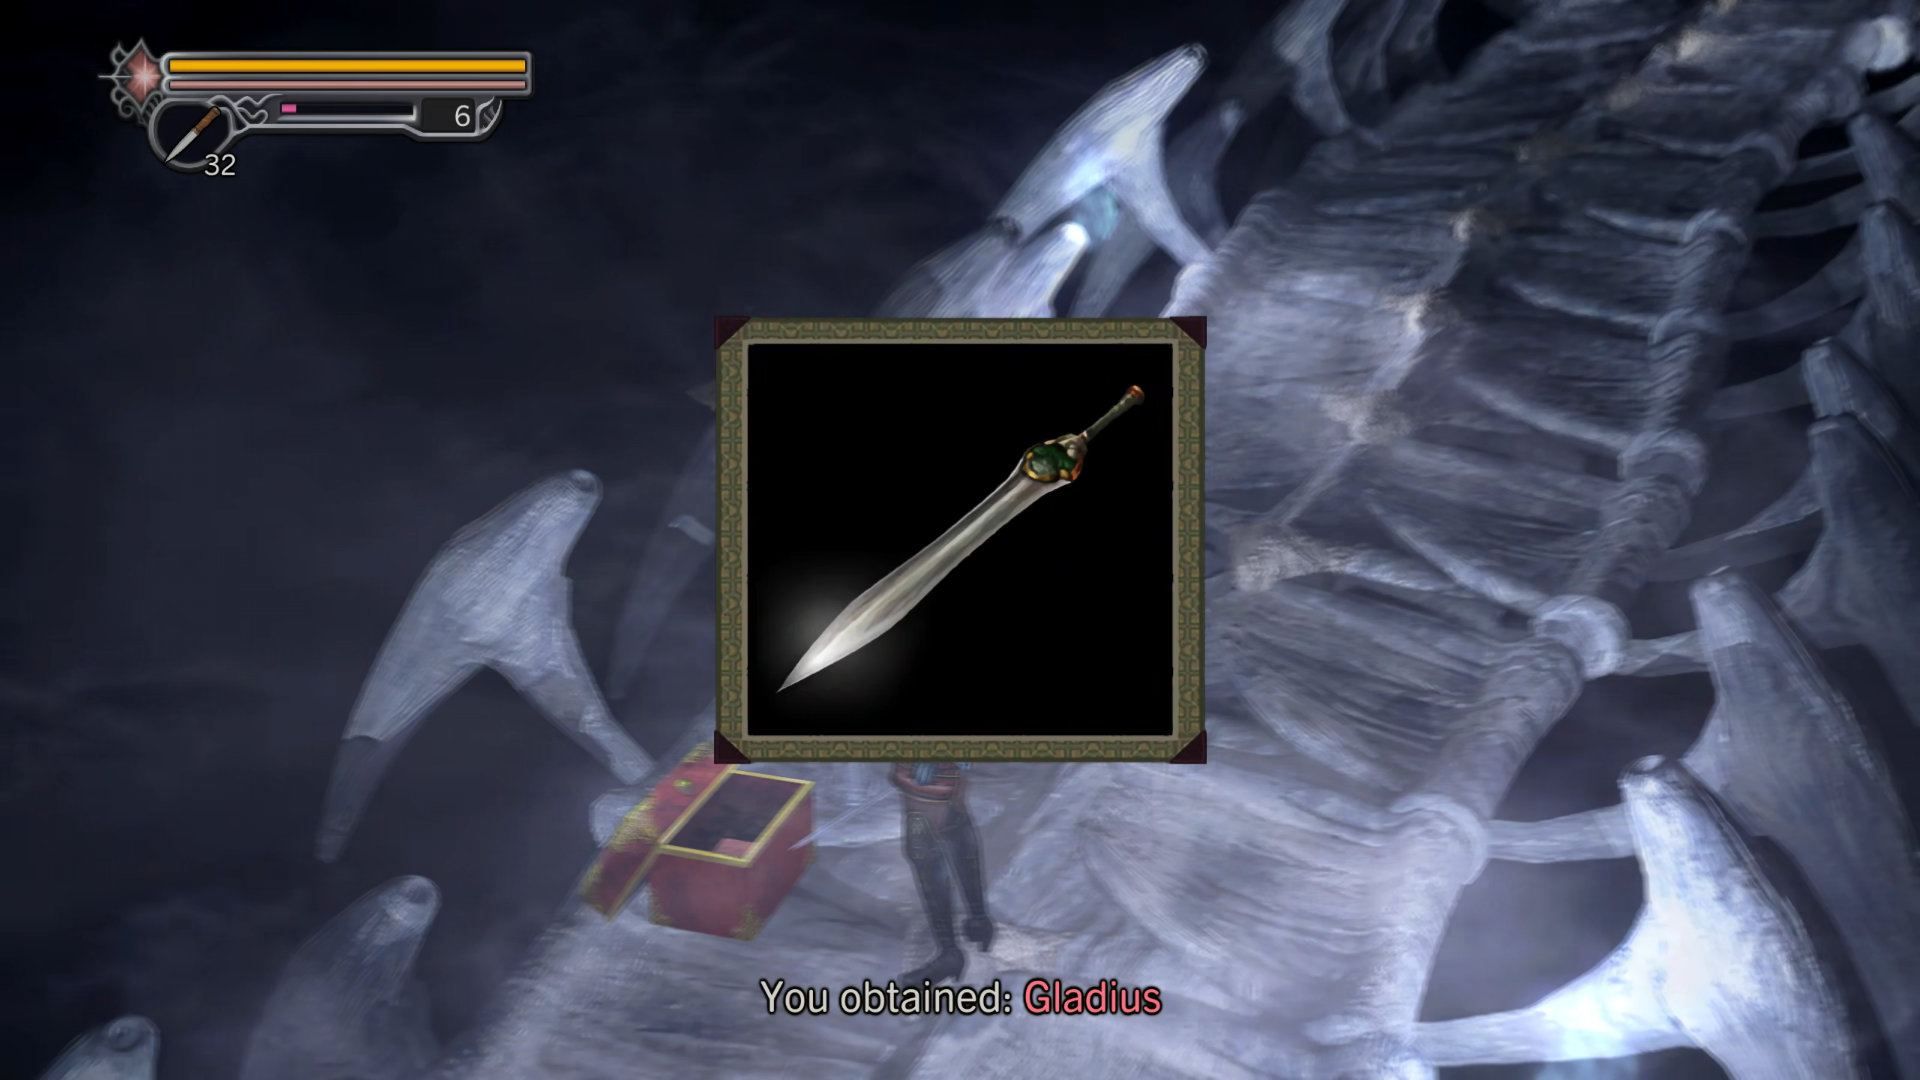
Save your game and continue south.
In this room, you'll have to fight 2 giant demons. Strategy: stay away from the giant demons and charge your sword 3 times by holding "R2", once full, get close and attack, then repeat. Your charge attacks can knock back big demons, so it's very handy.
Scenario 6-3: Oyu Finds the Sacred Flute
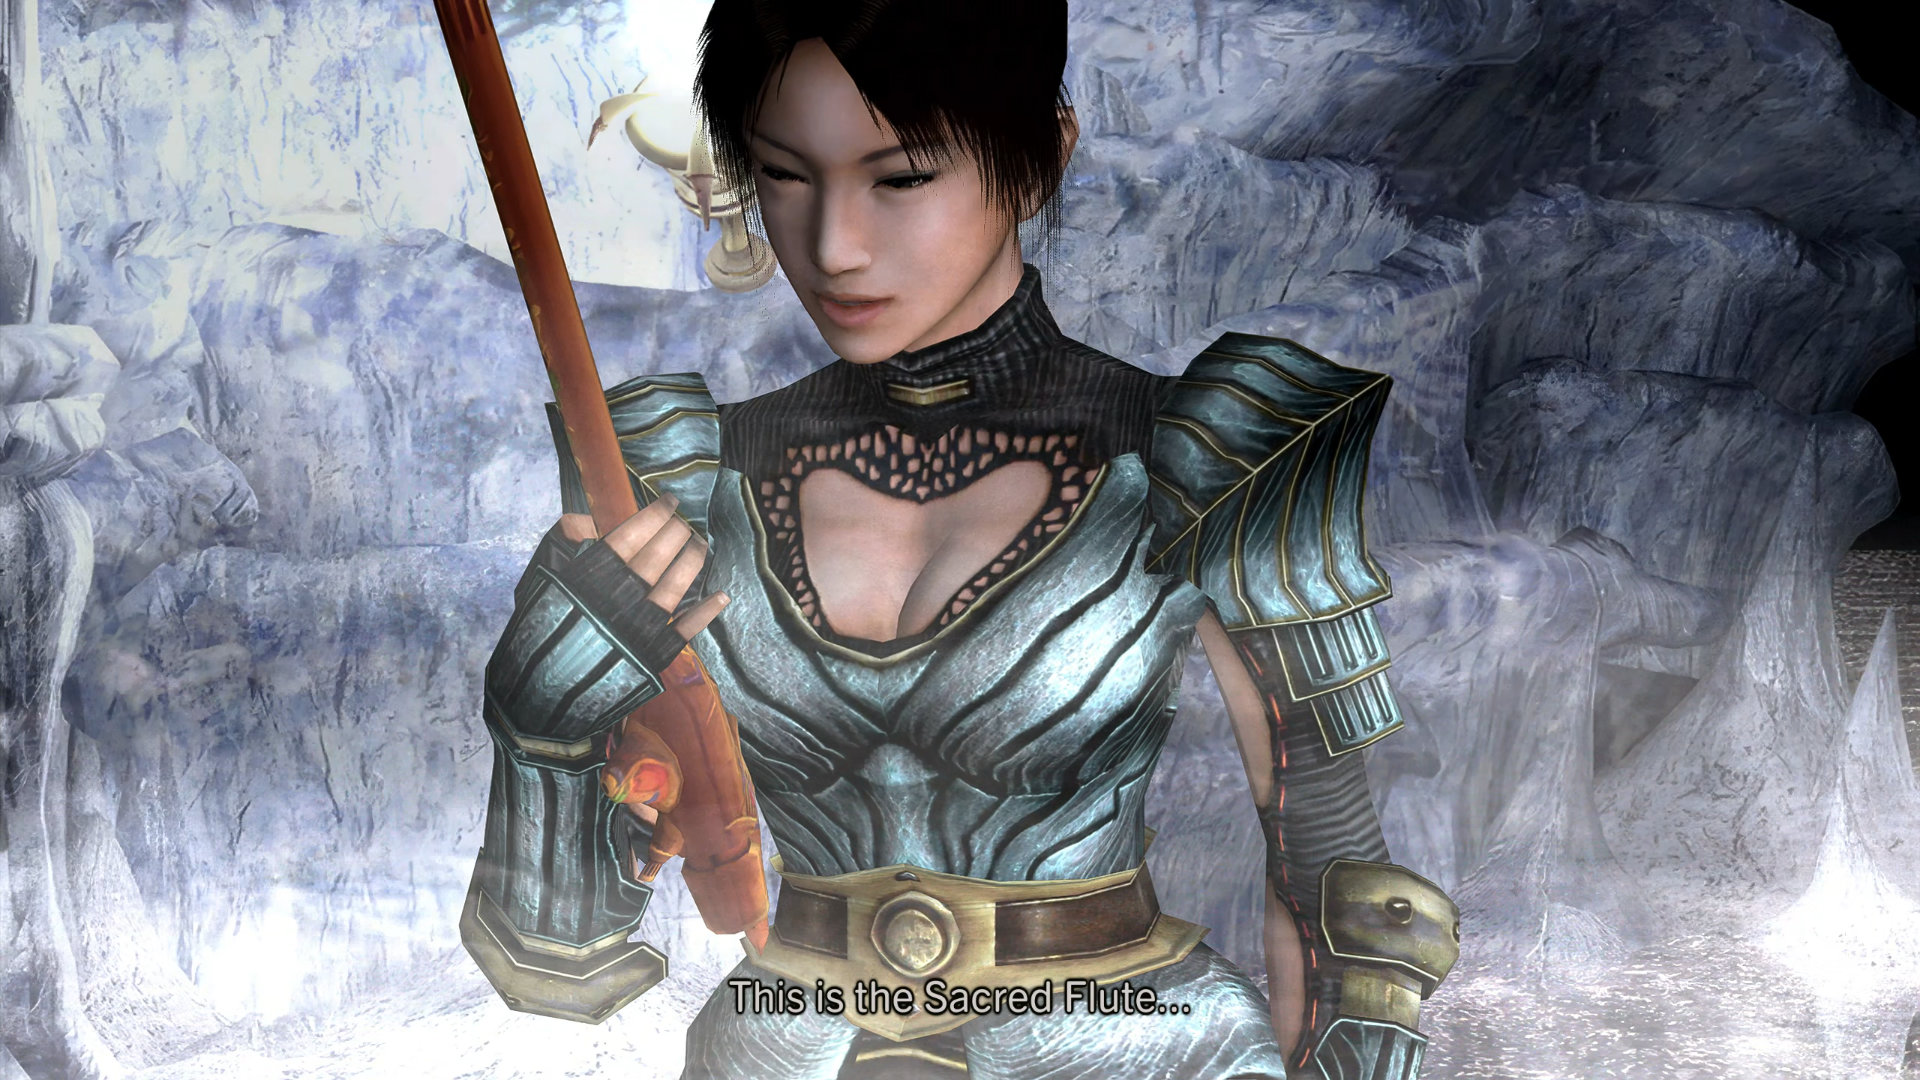
- Key Item: Sacred Flute - obtained after killing the red giant demon.
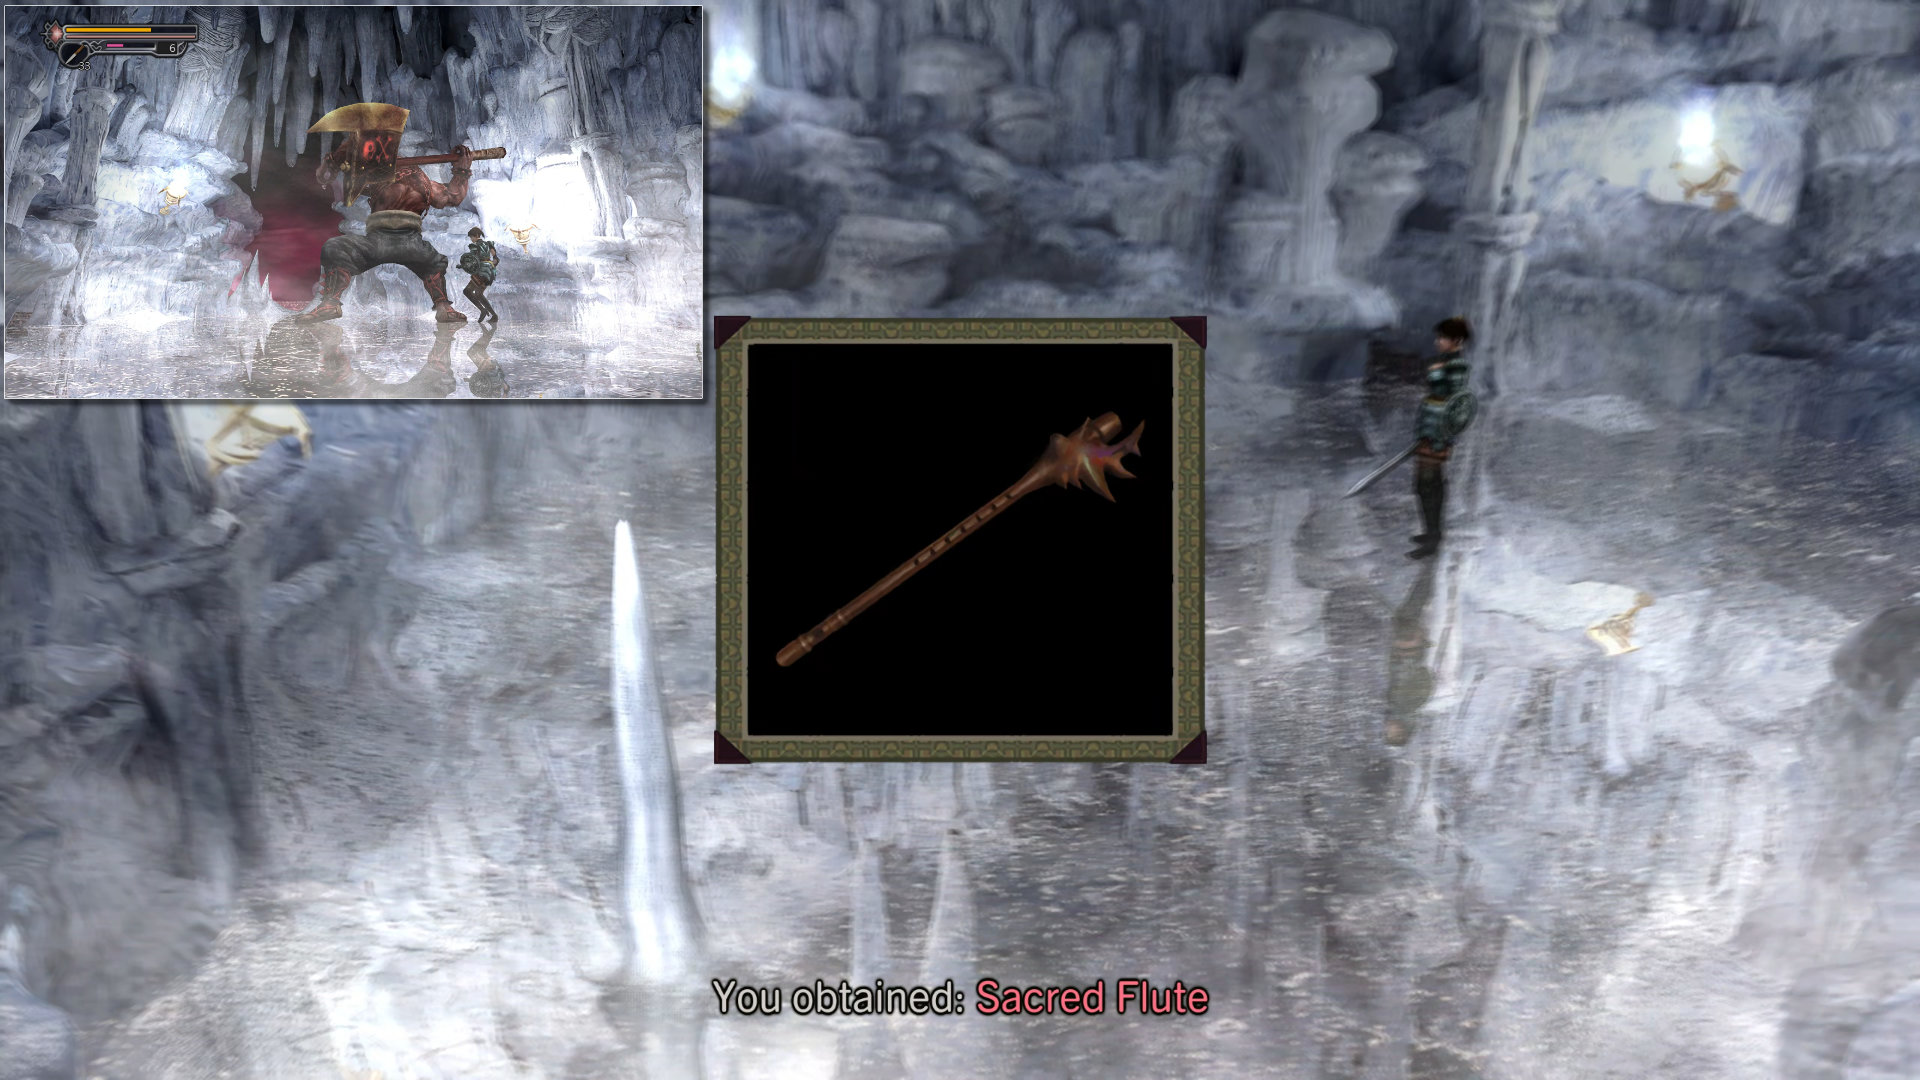
Return to the beach and give this flute to Jubei.
Scenario 6-4: Oyu Gives Jubei the Sacred Flute
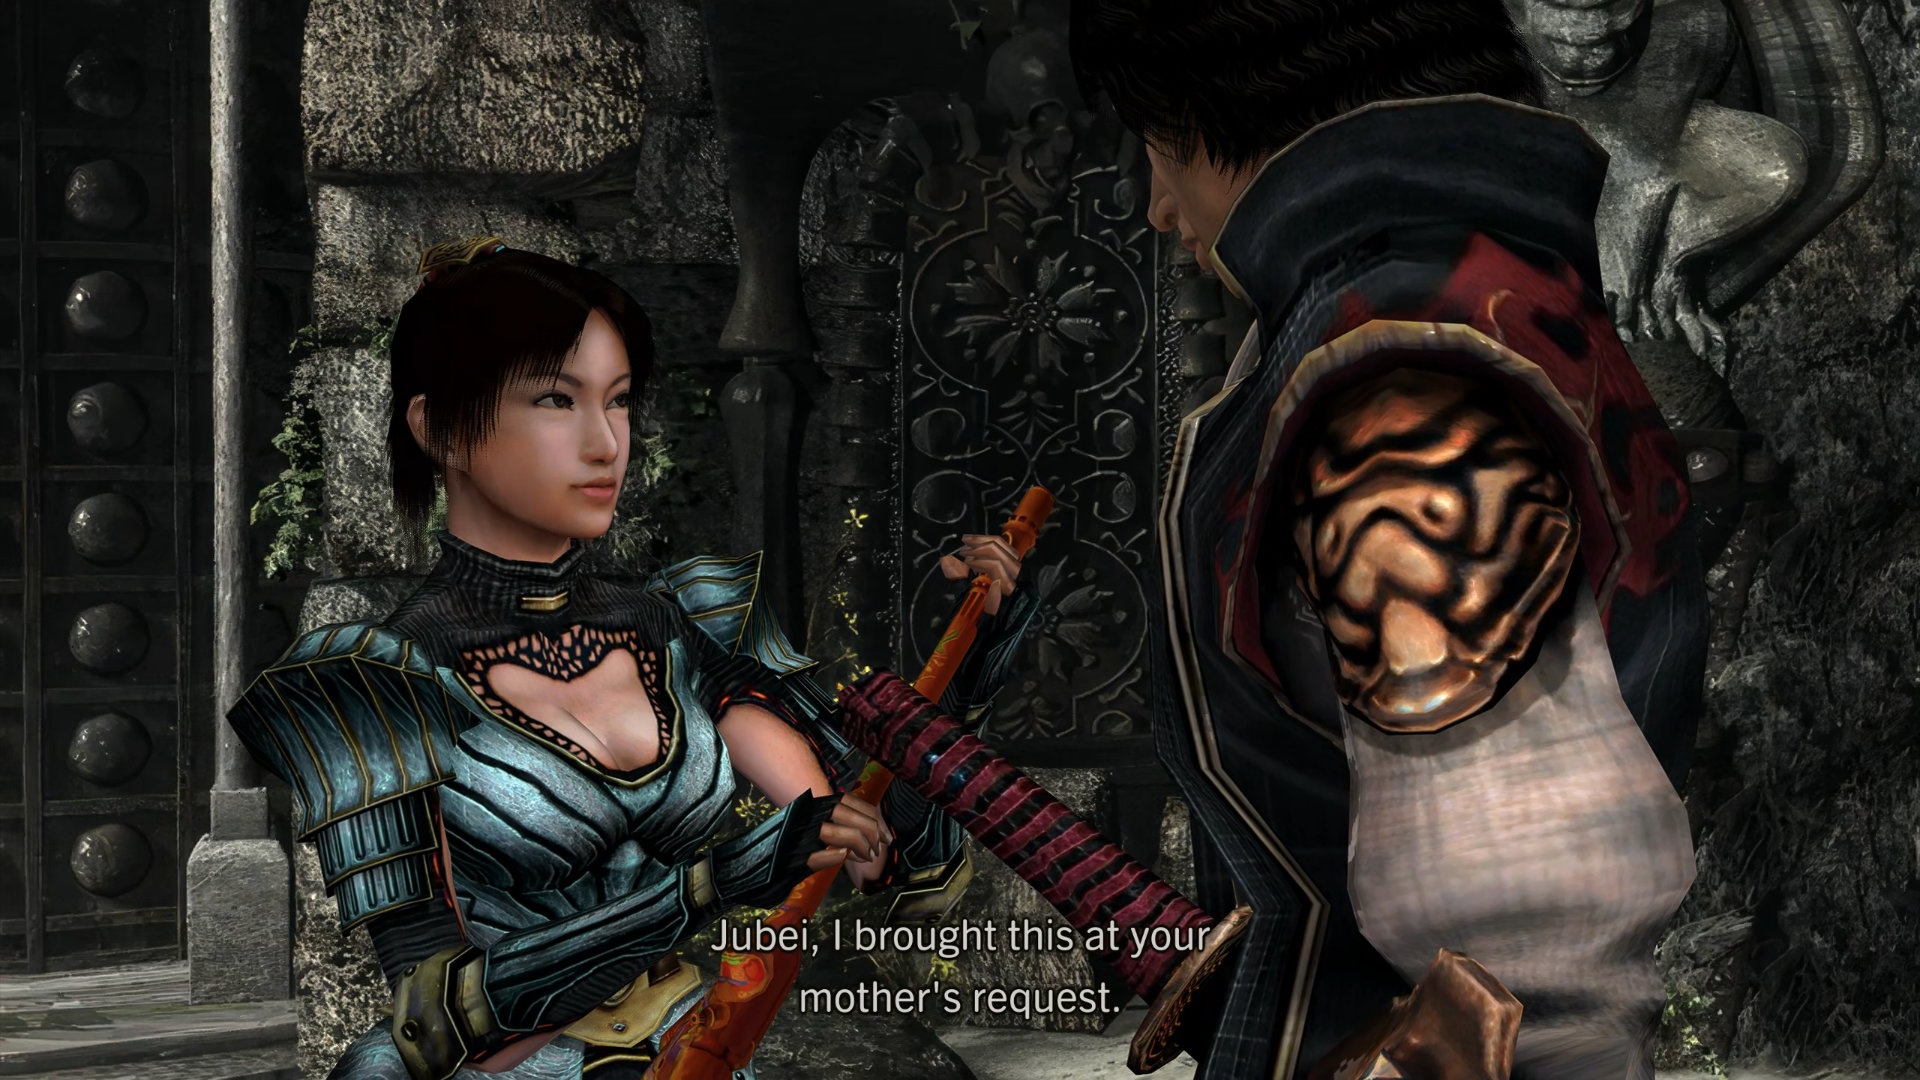
You are now back to Jubei.
Hidden Red Souls #14: East side of the beach
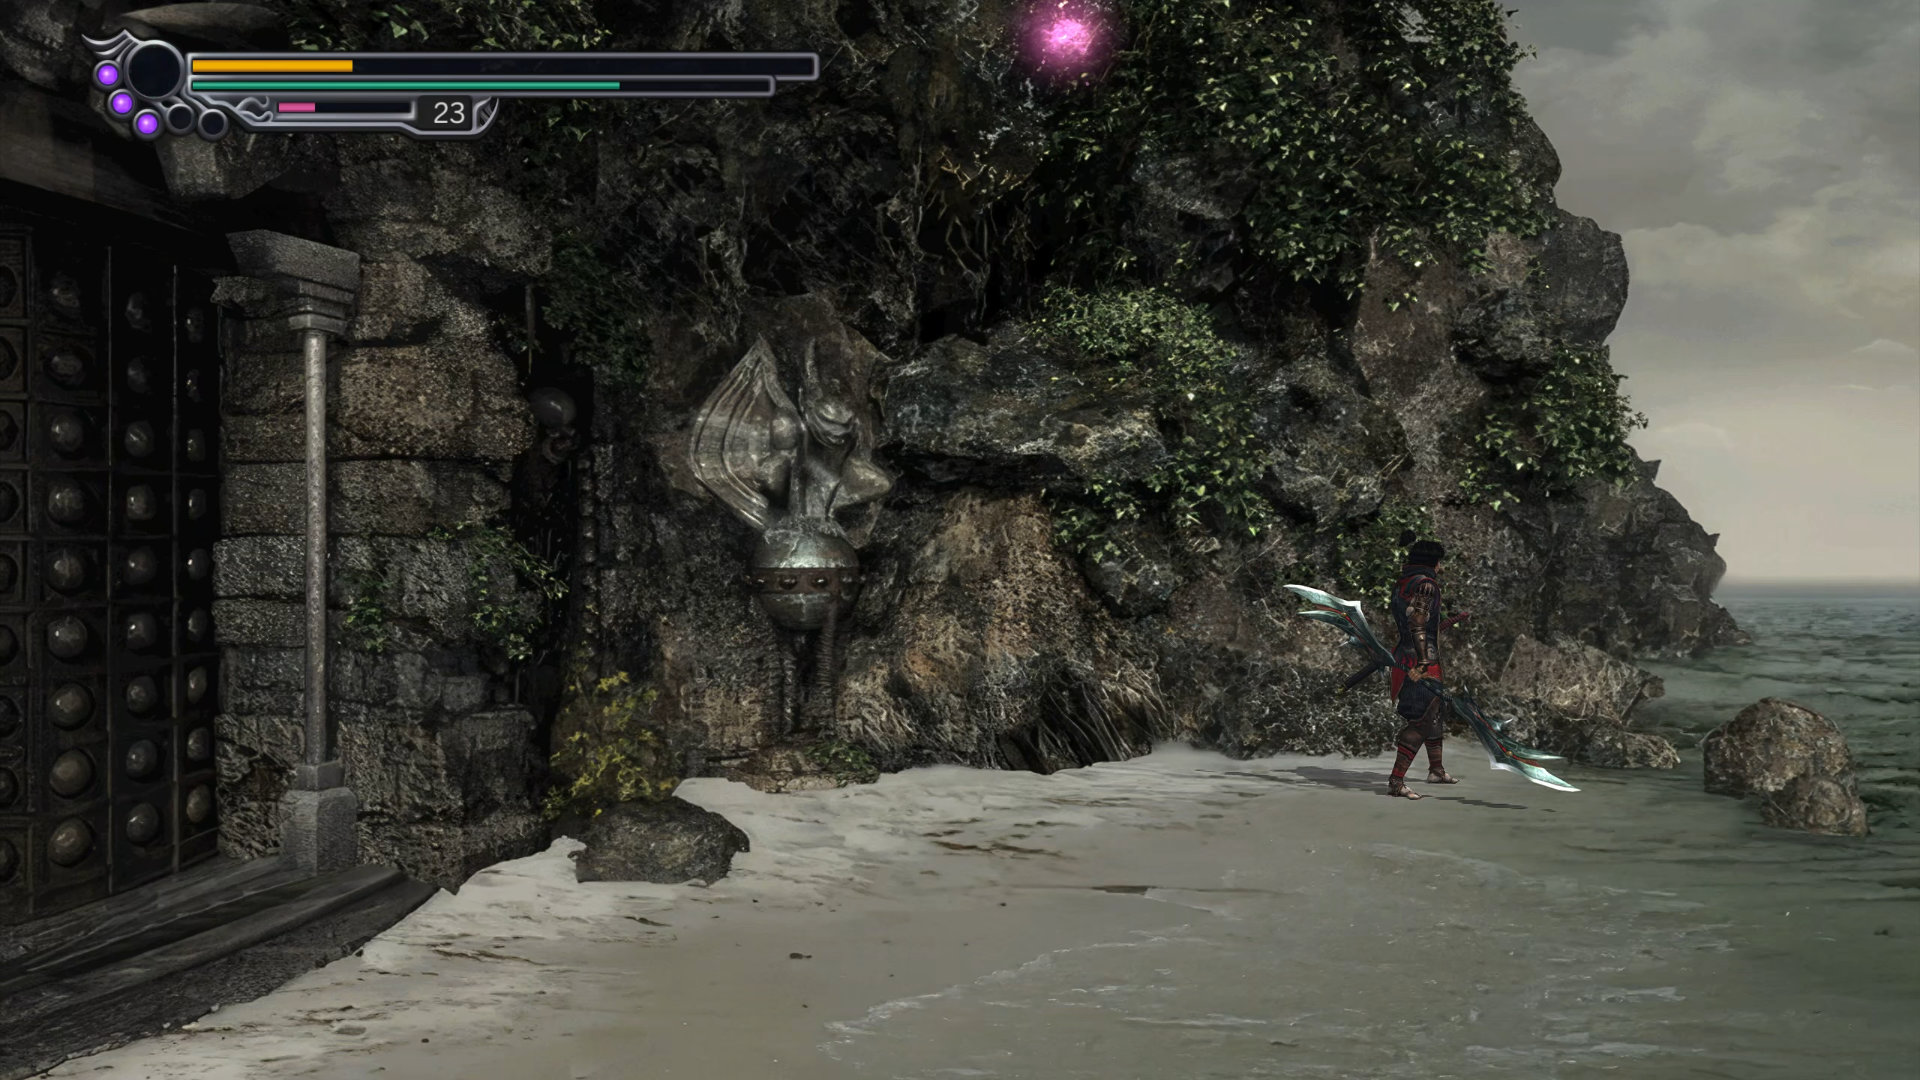
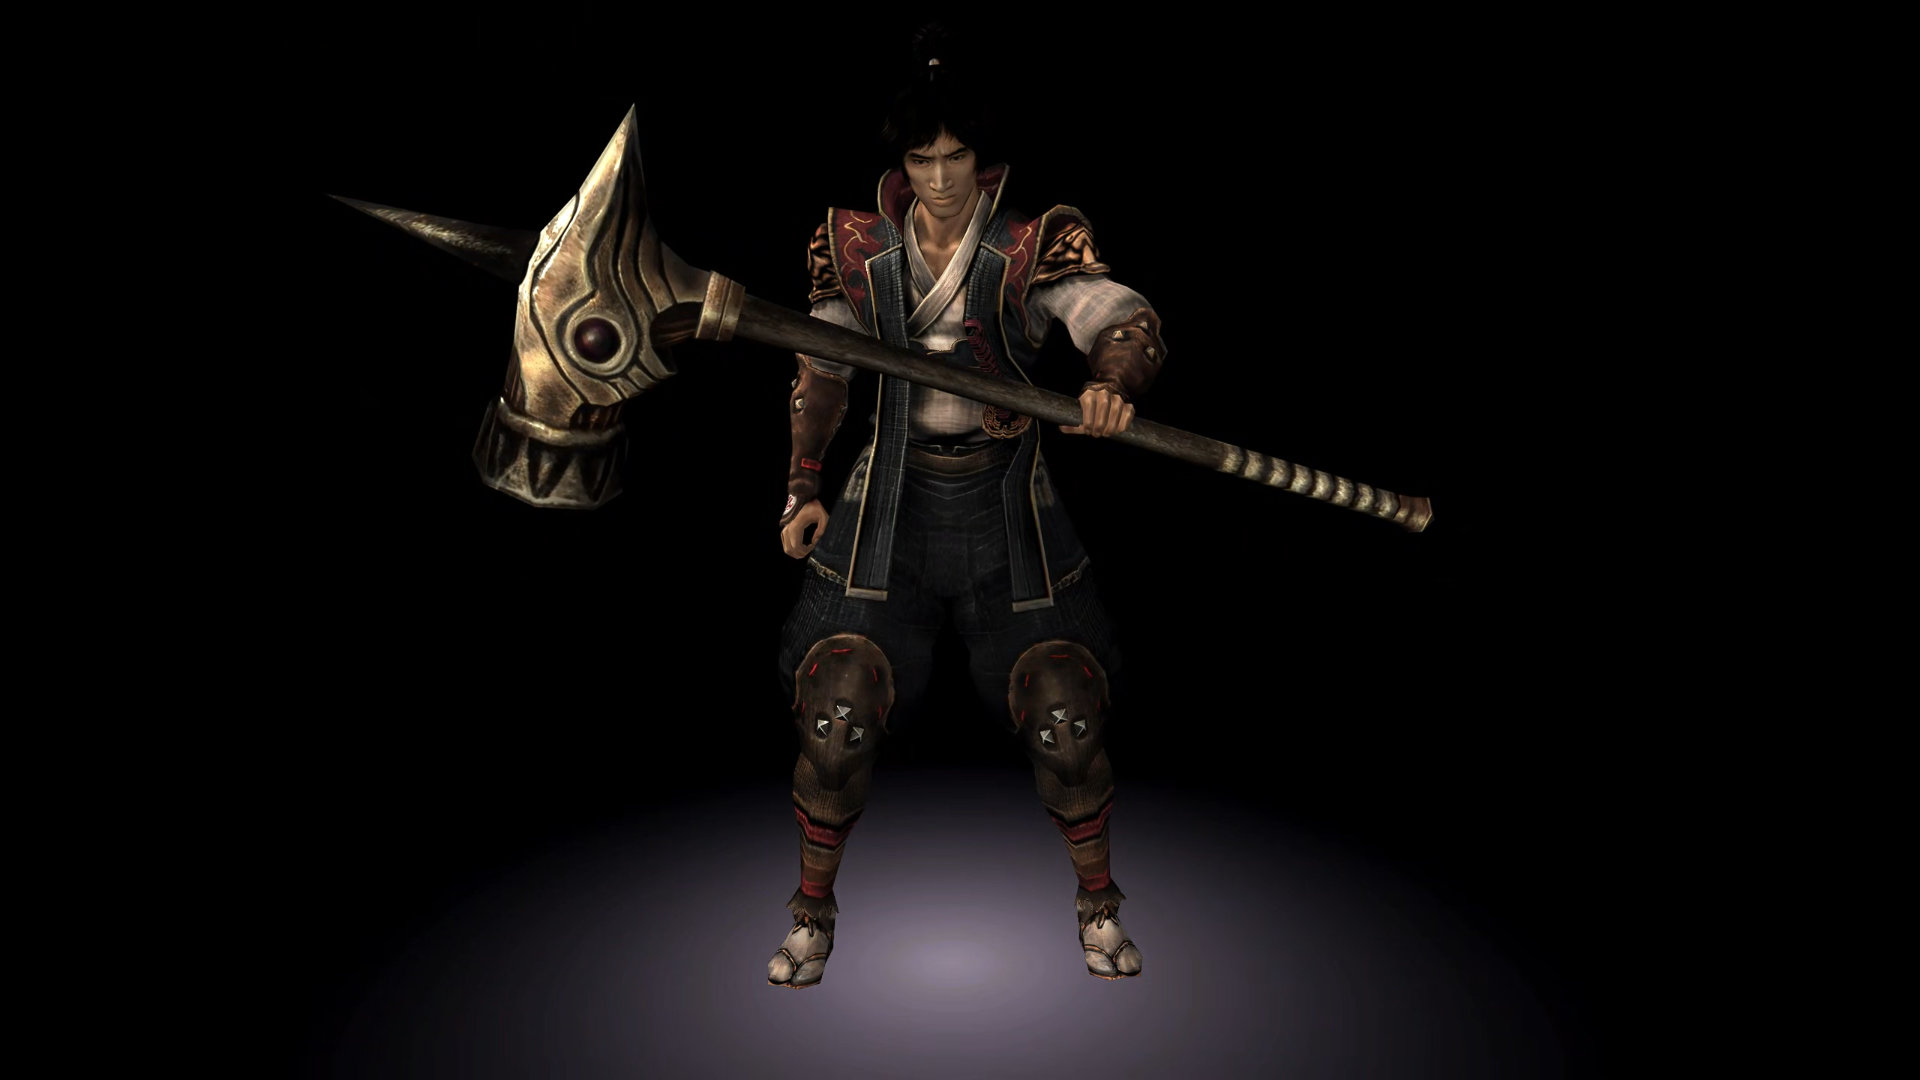
Enter the door and use your wind blades magic to kill archer demons above the Dragon Shrine. Then examine the shrine to obtain a new weapon, earth hammer:
- Equipment: Dokoutsui
Hidden Red Souls #15: Just above the Dragon Shrine.
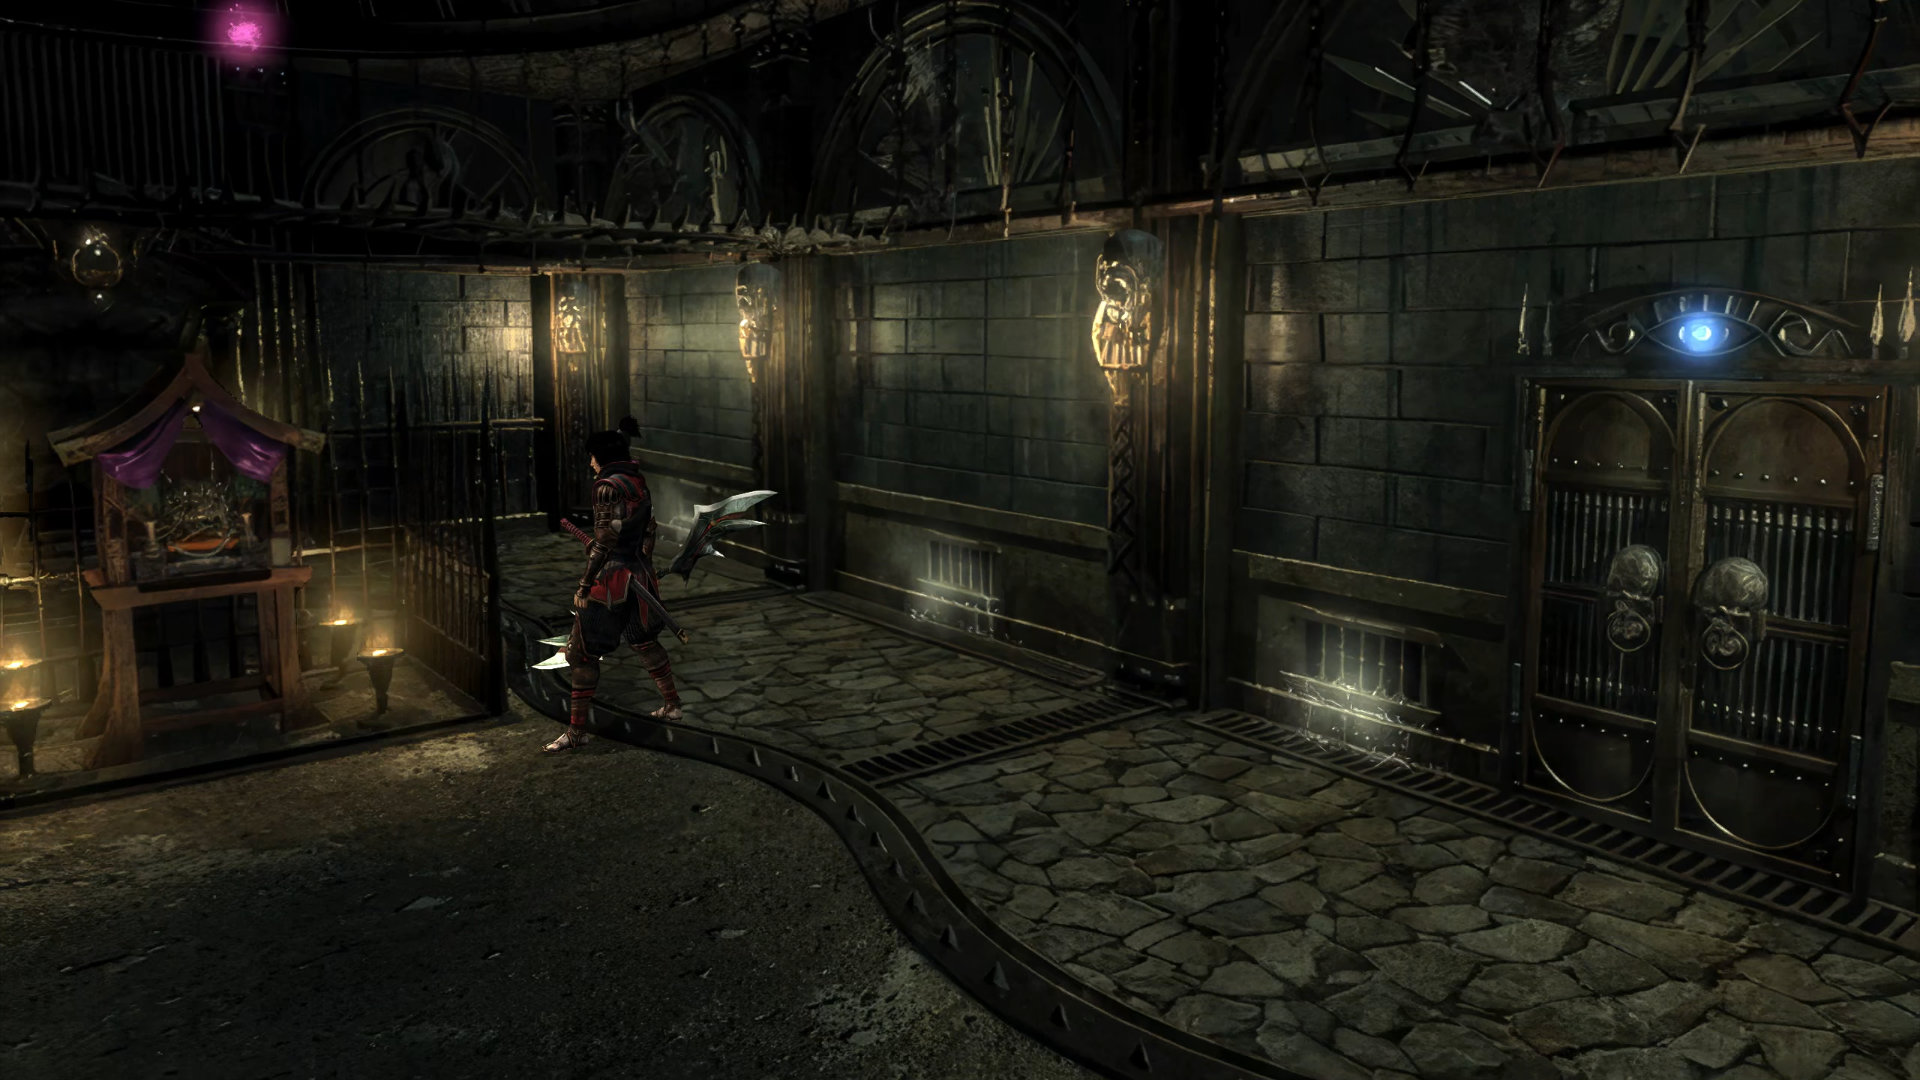
Don't forget to enhance your weapons/armor and save the game. Take the east door again until you reach the acid-pond room.
Route: Kotaro | Oyu | S-Rank
Scenario 6-6: Kotaro Uncovers Oyu's Secret
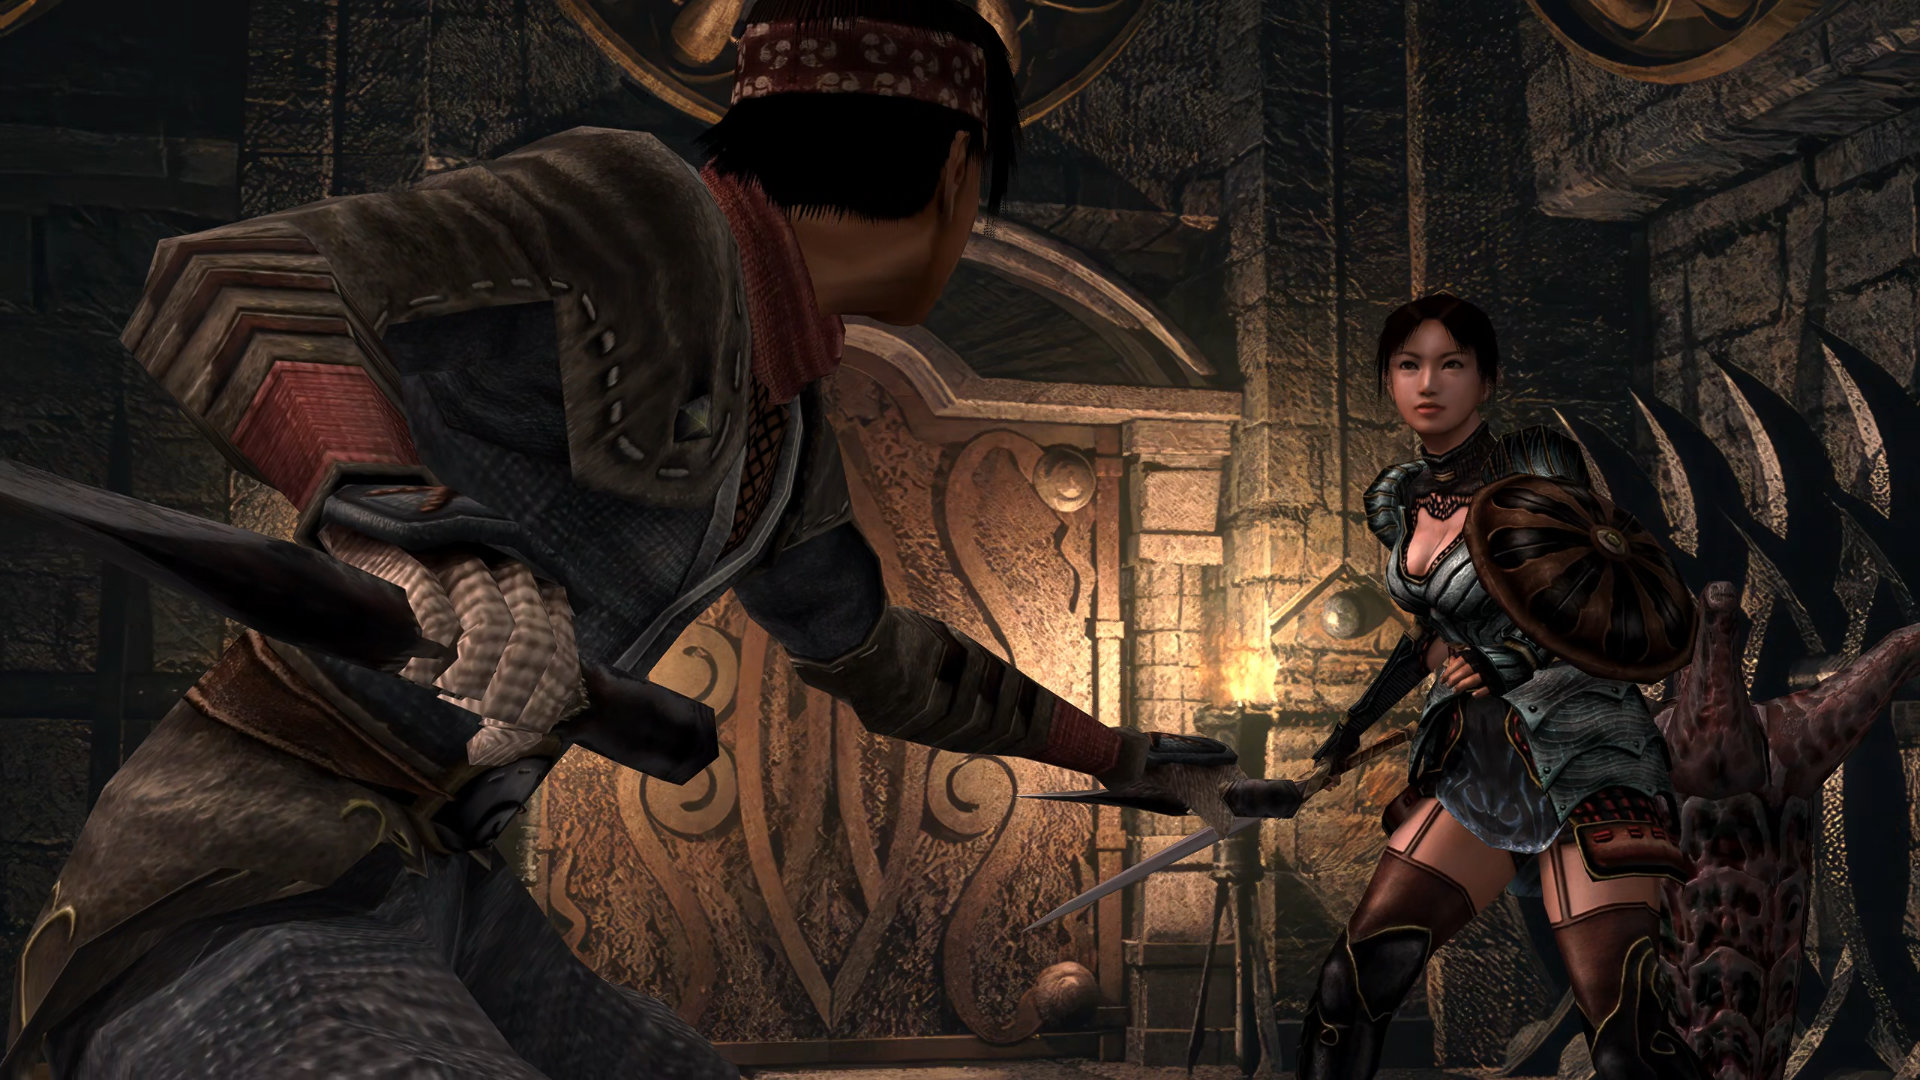
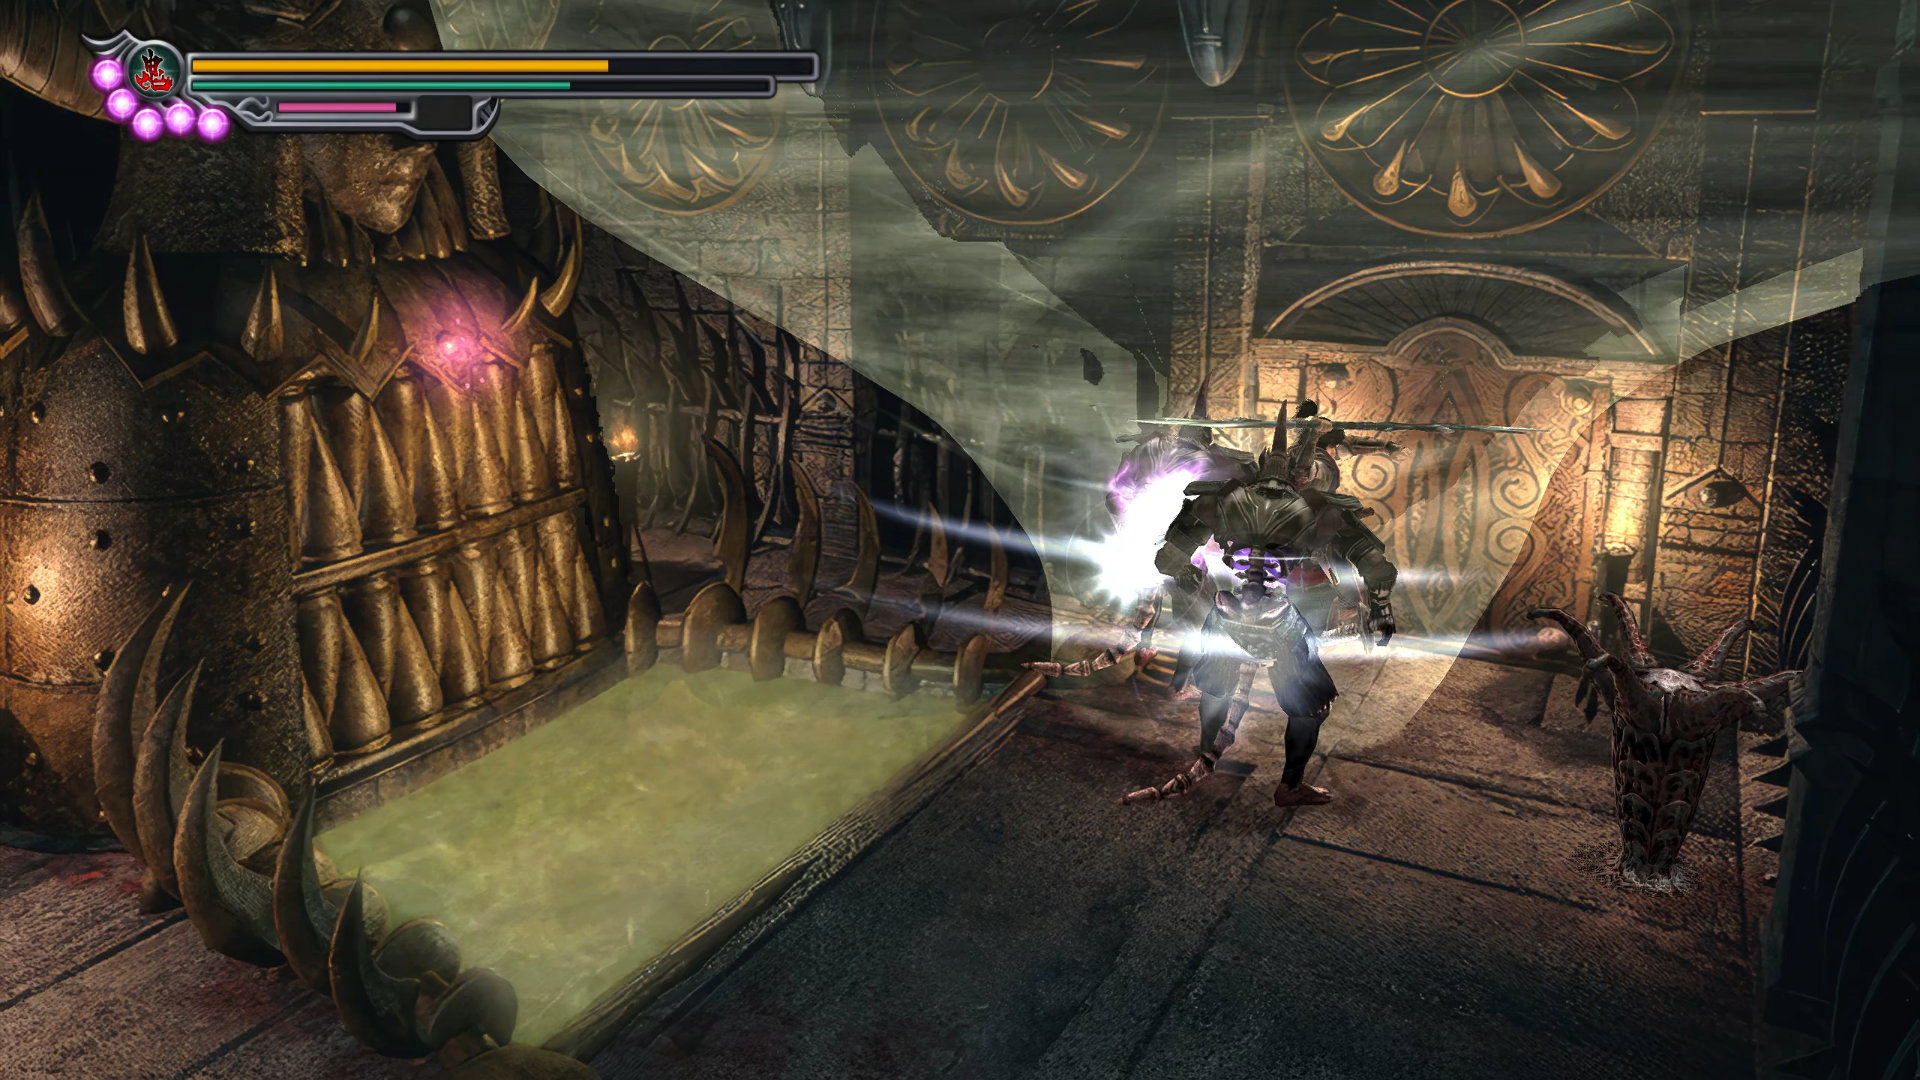
Hidden Red Souls #16: Above the acid pond. If you play Kotaro or Oyu routes, just turn around and enter this room again after the cutscene.
Route: Ekei
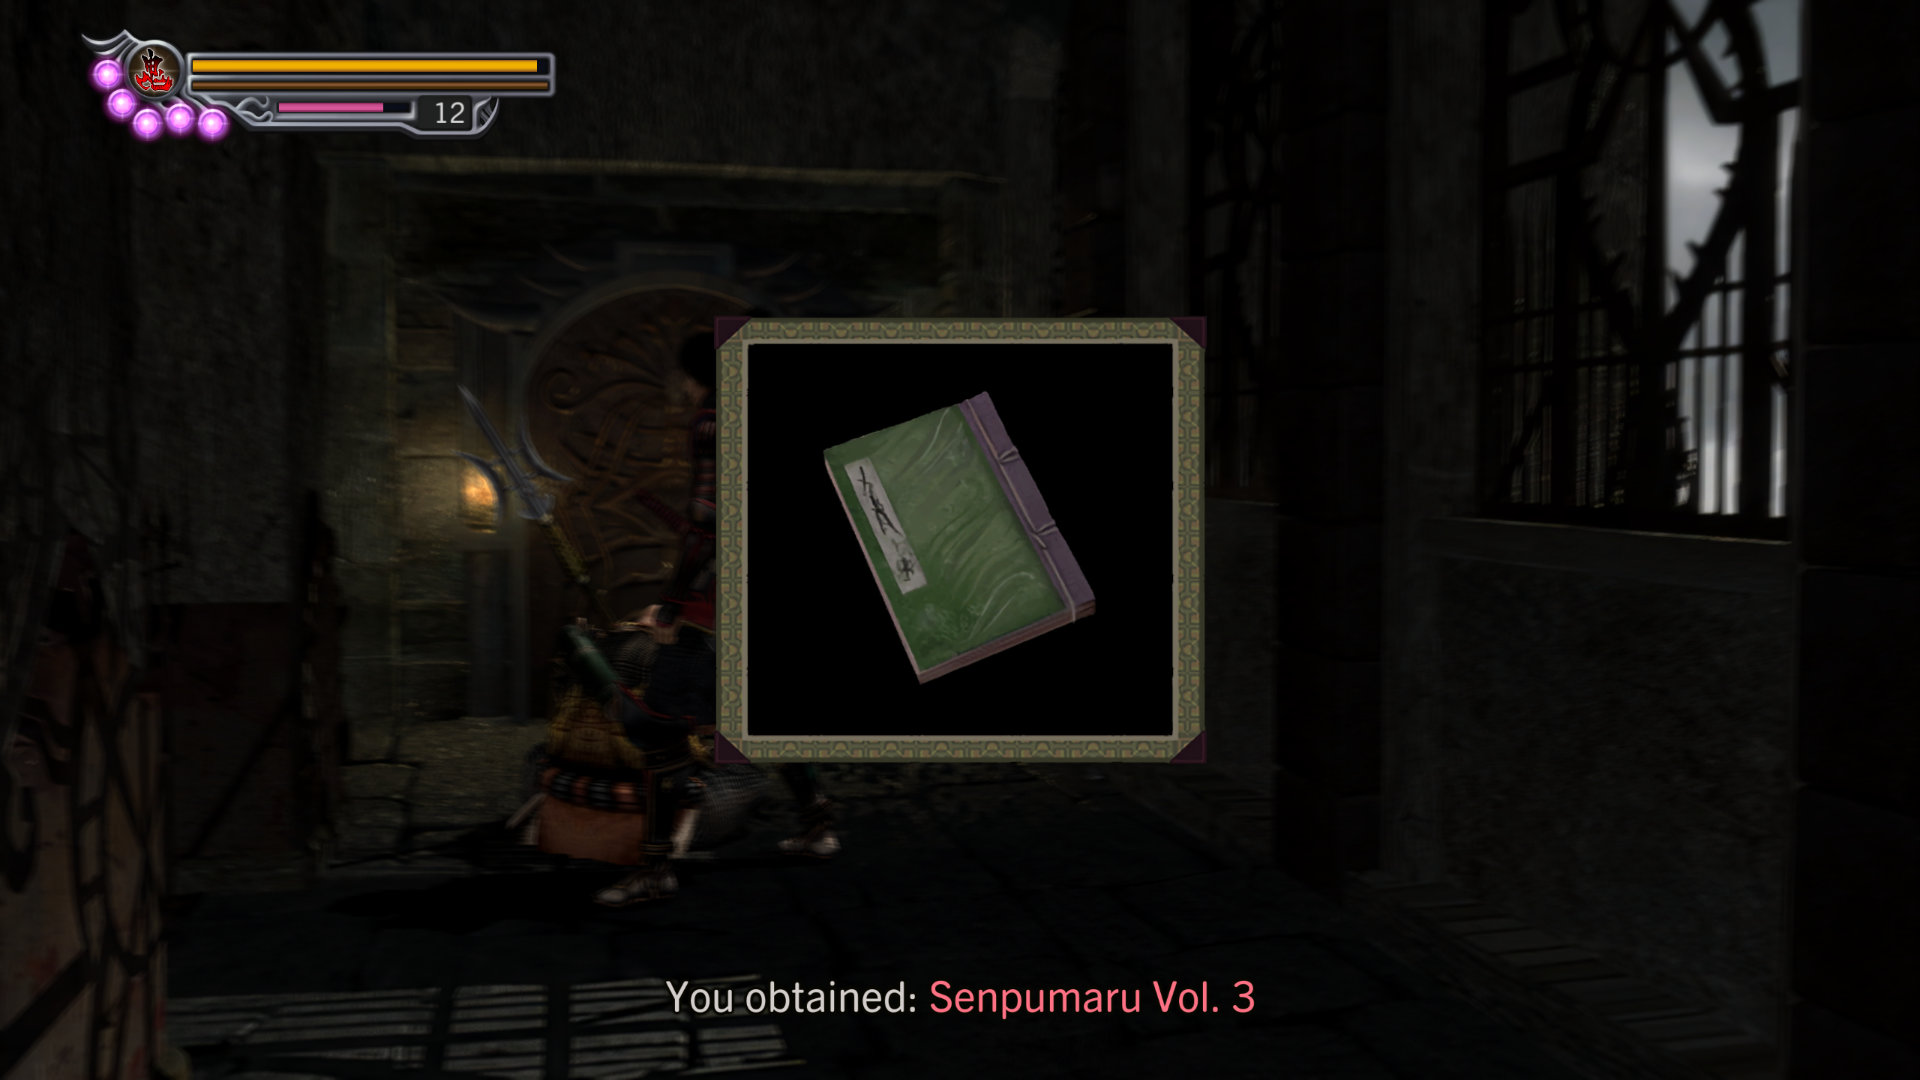
As soon as you enter the hallway, a new scenario is triggered. Then help Ekei kill all the demons and talk to Ekei's again for a tech book:
- Technique Manual: Senpumaru Vol. 3
Scenario 6-7: Ekei's Weakness
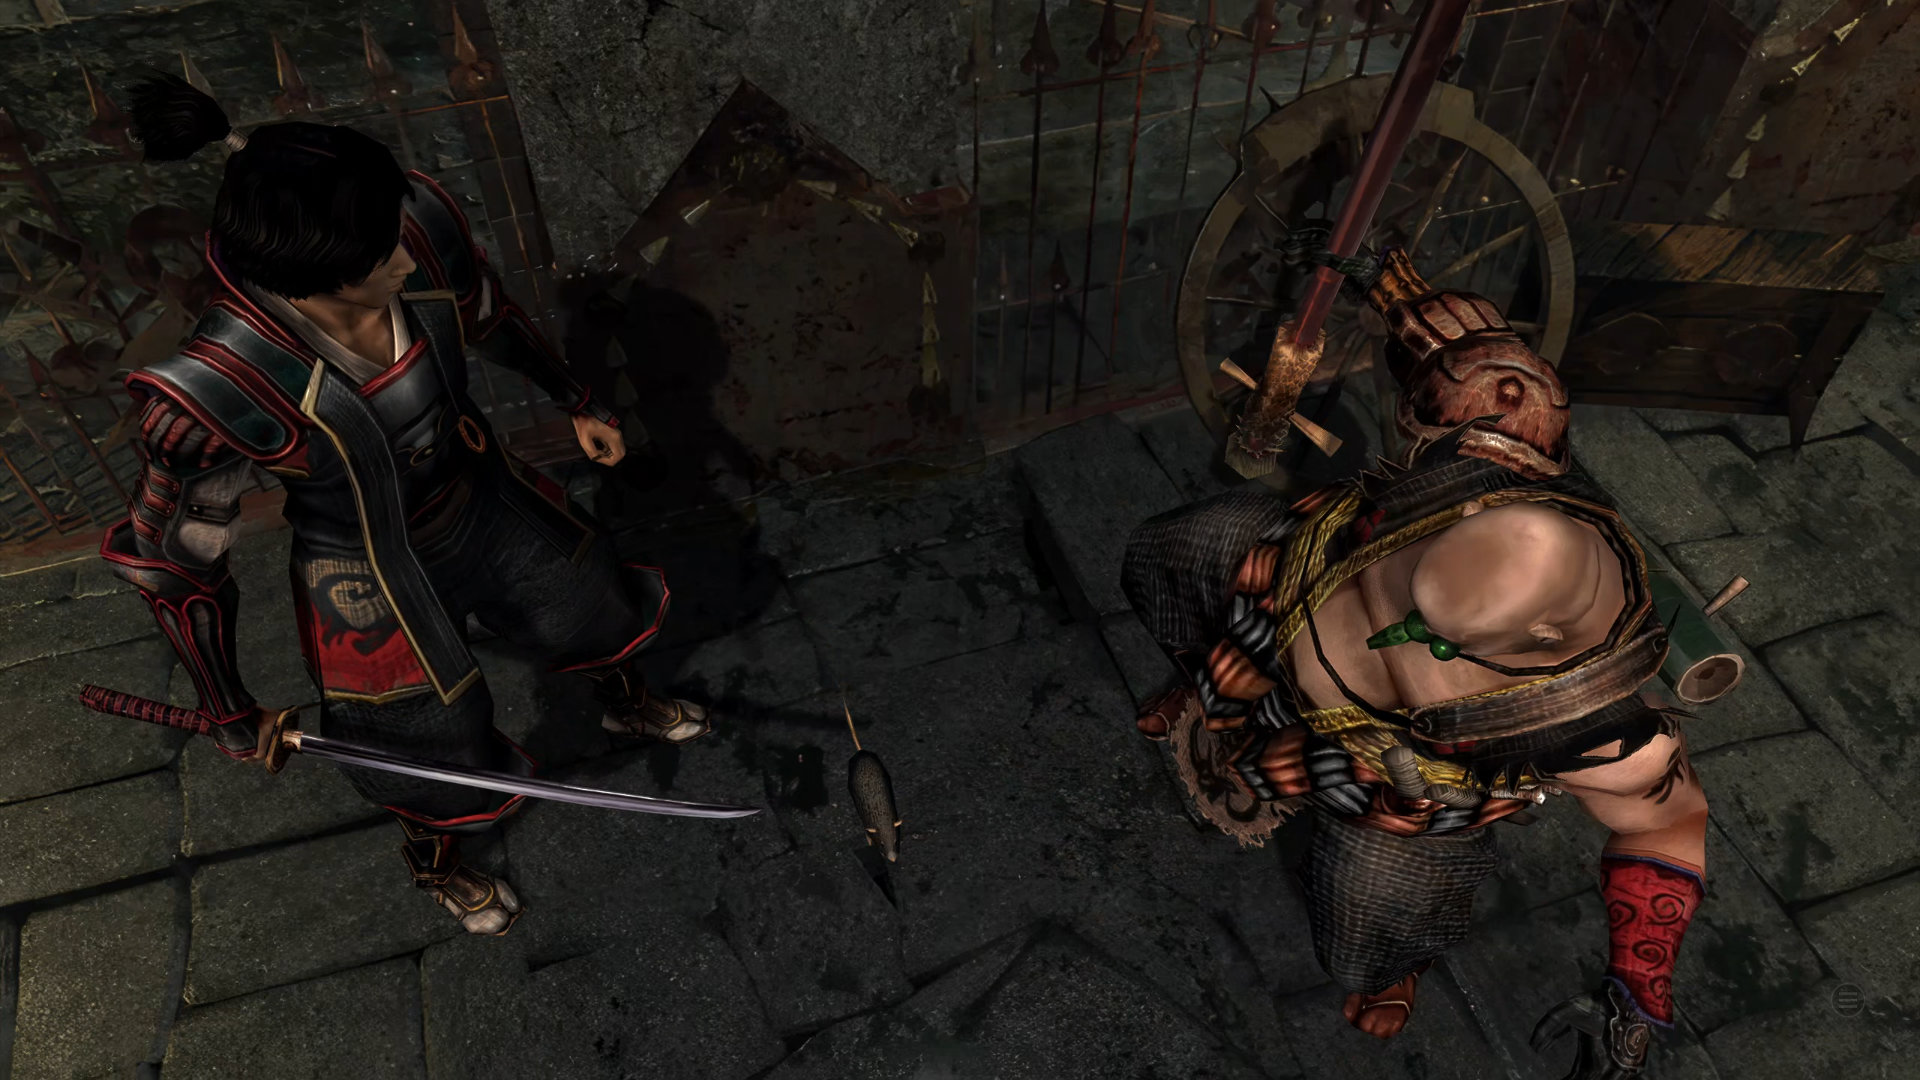
Continue down the hallway (Magoichi may show up if you play his route, so make sure you slay all the demons until they left). When you reach the orange seal, use the hammer to destroy it. Inside this room, Oyu will always come to help you if you gave her all the equipment you bought from the item shop. Now kill all the demons in this area.
- Item: Herb - talk to Oyu
- Key Item: Circle Key - on the floor
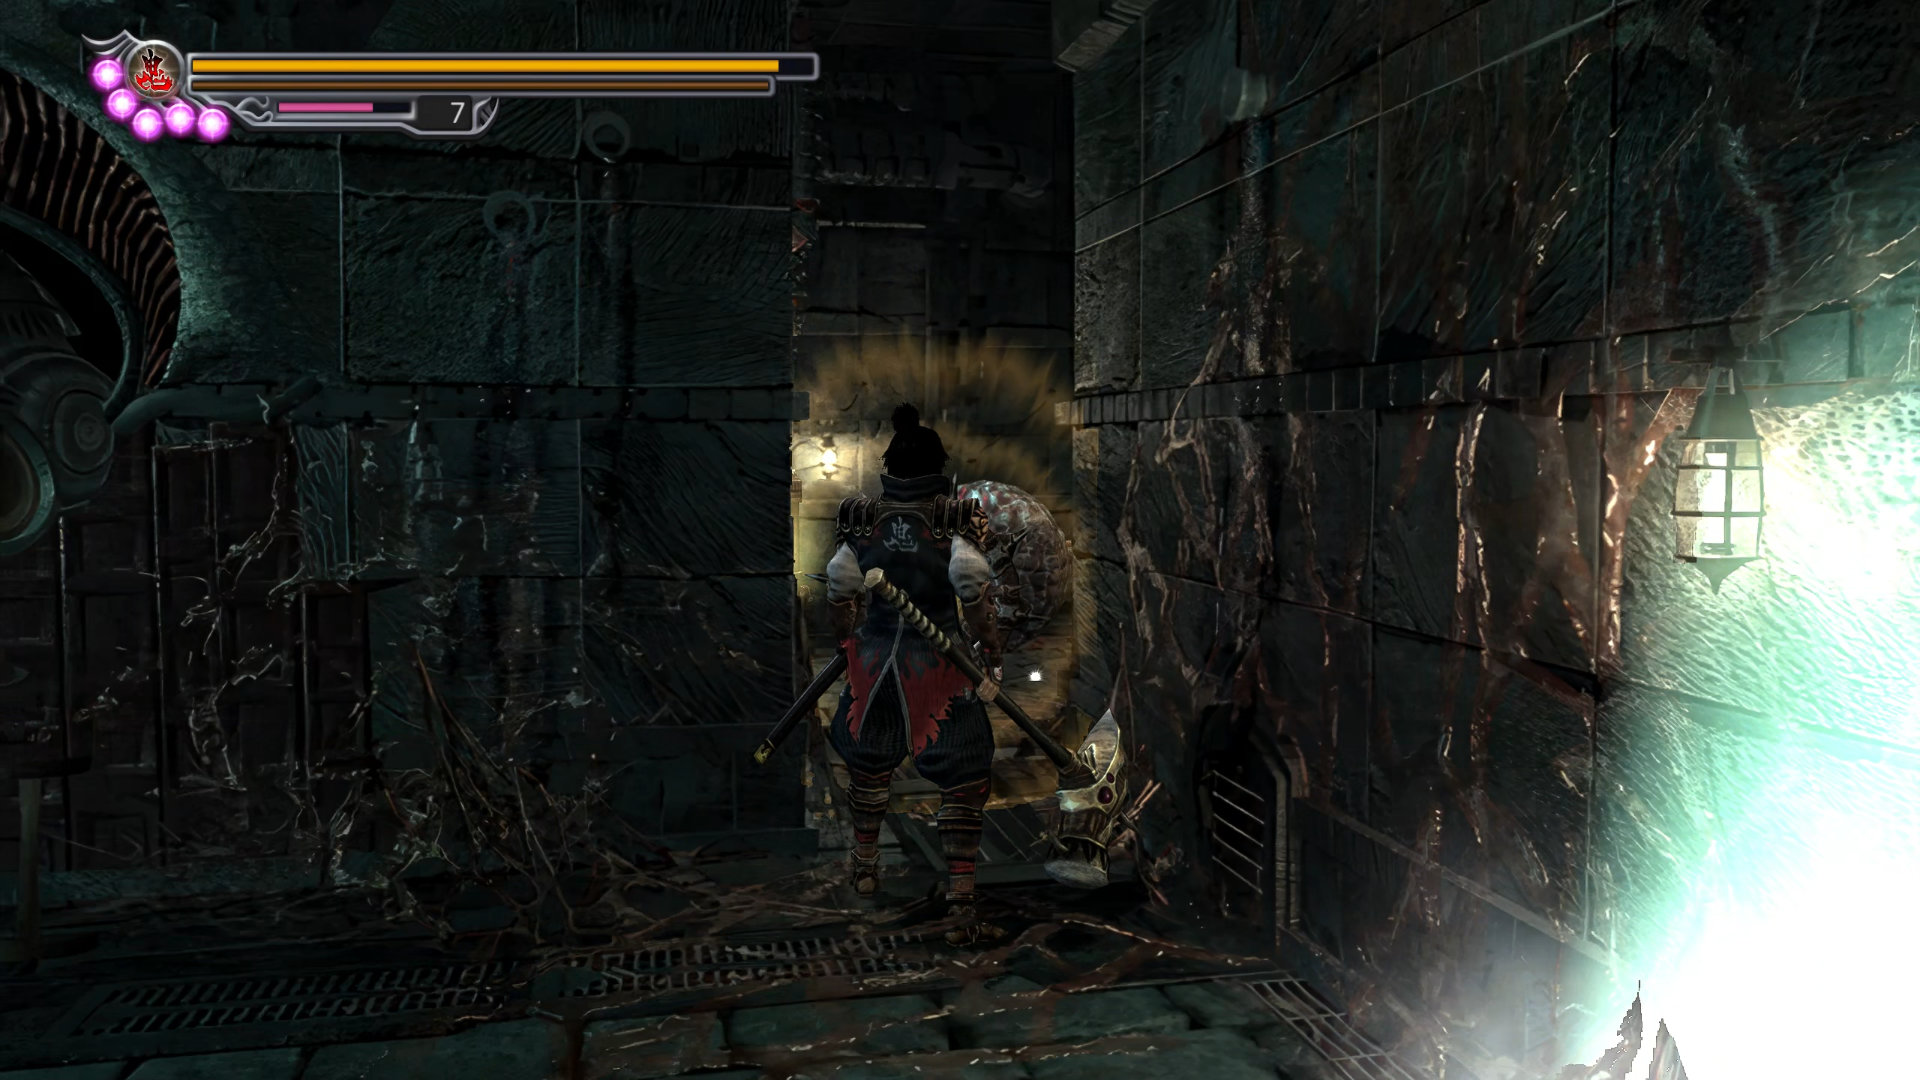
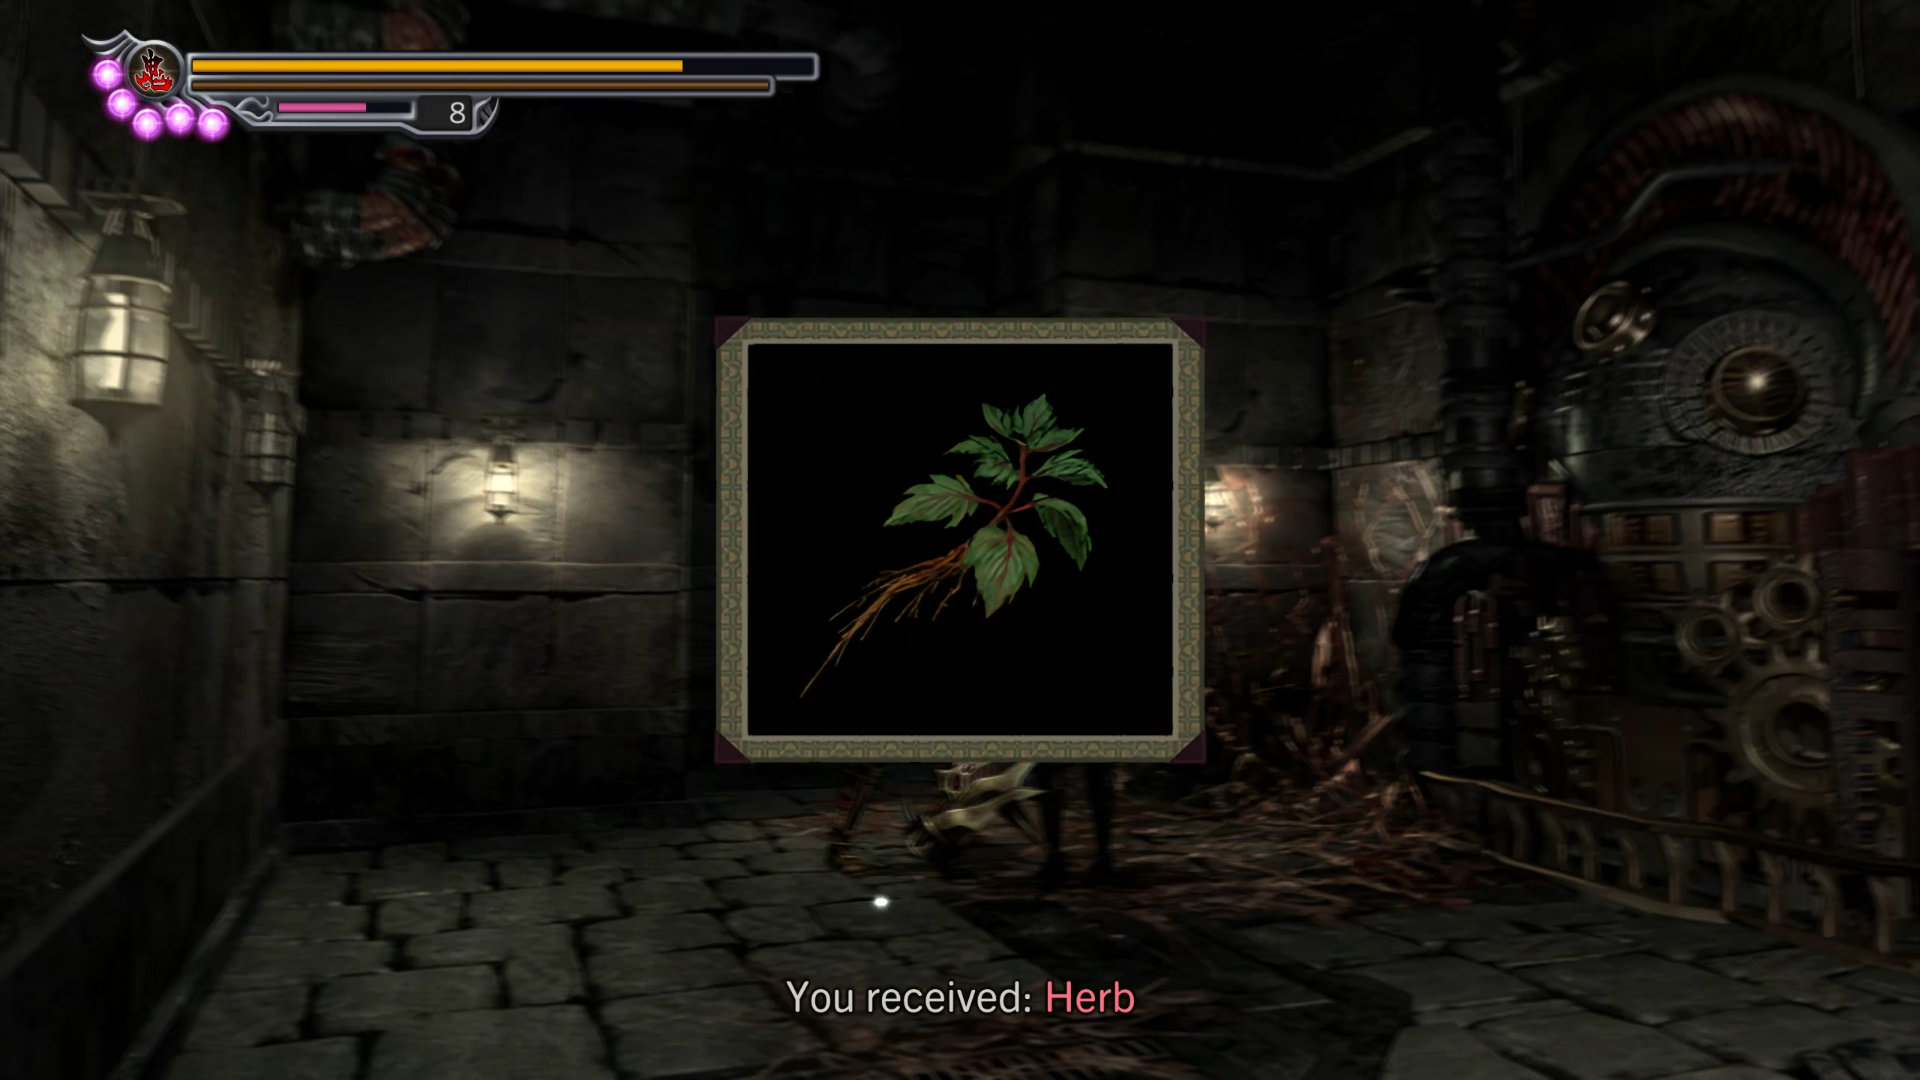
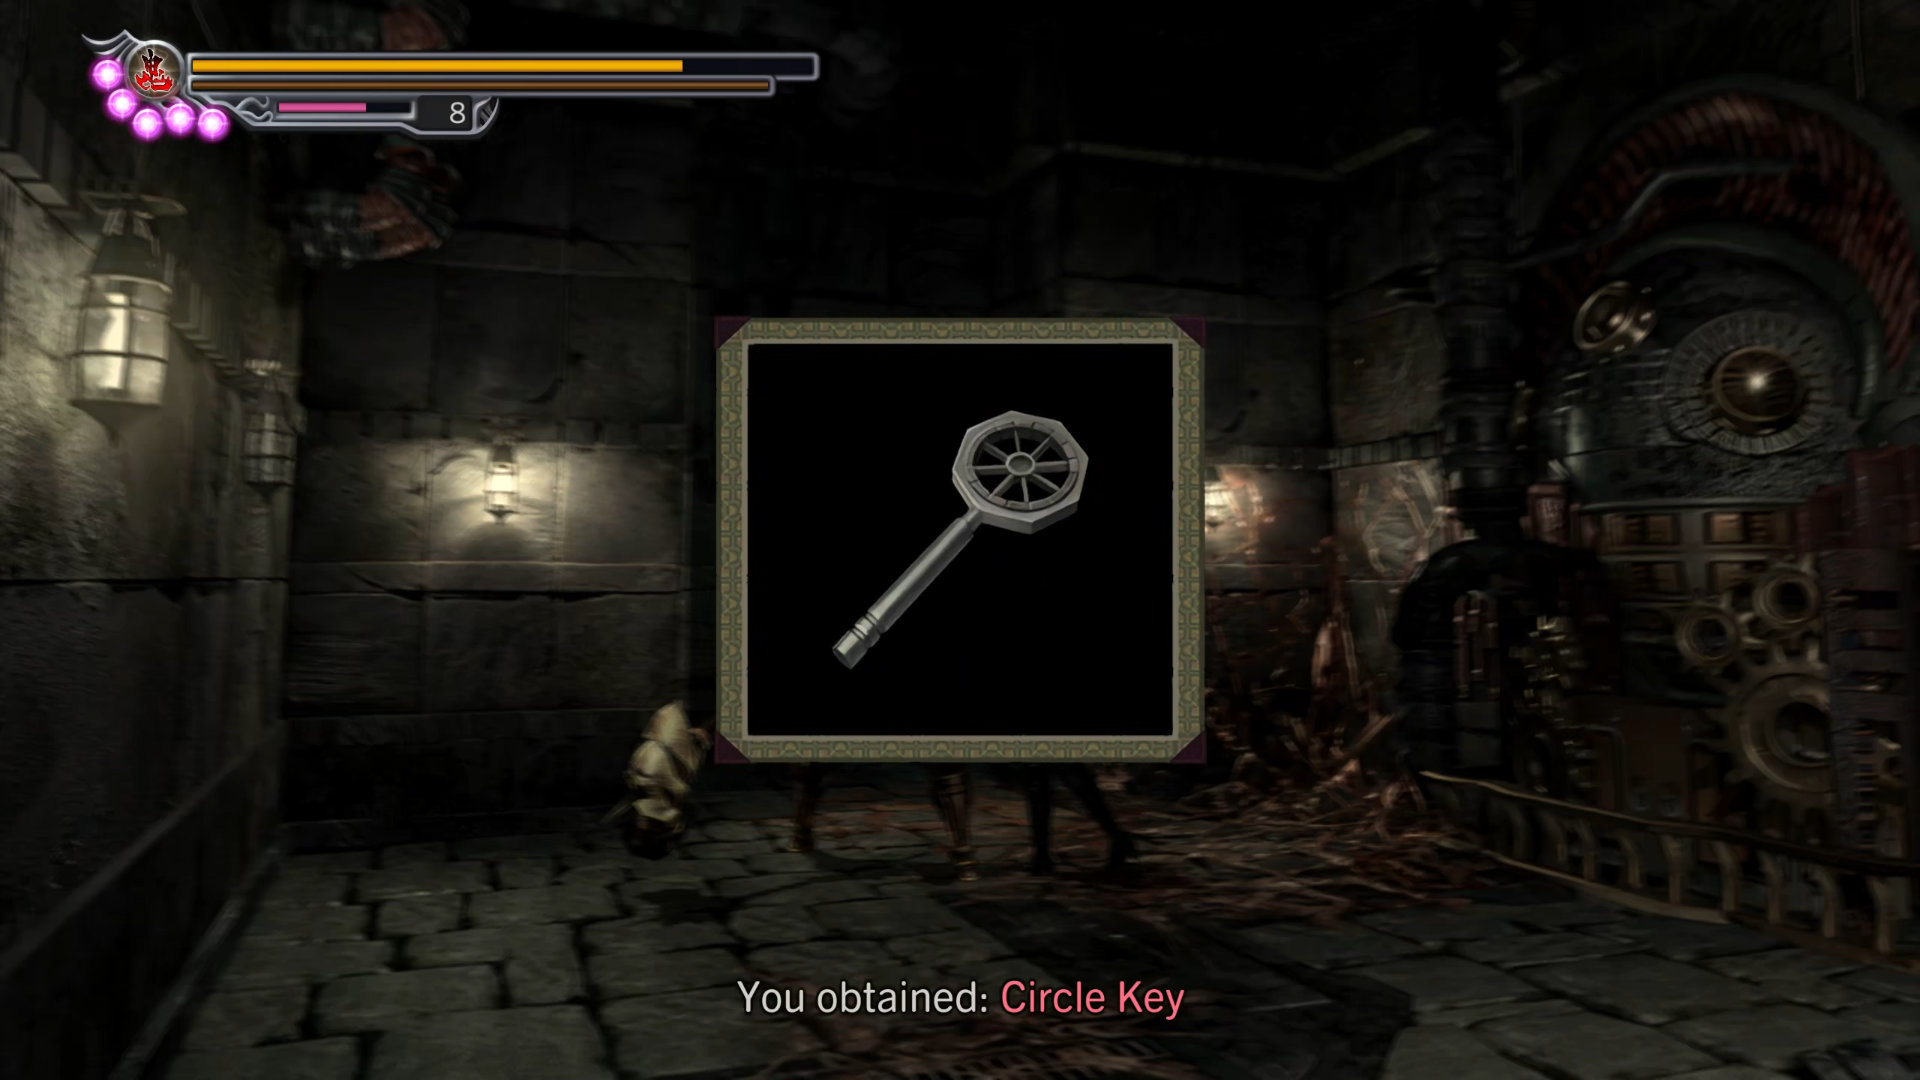
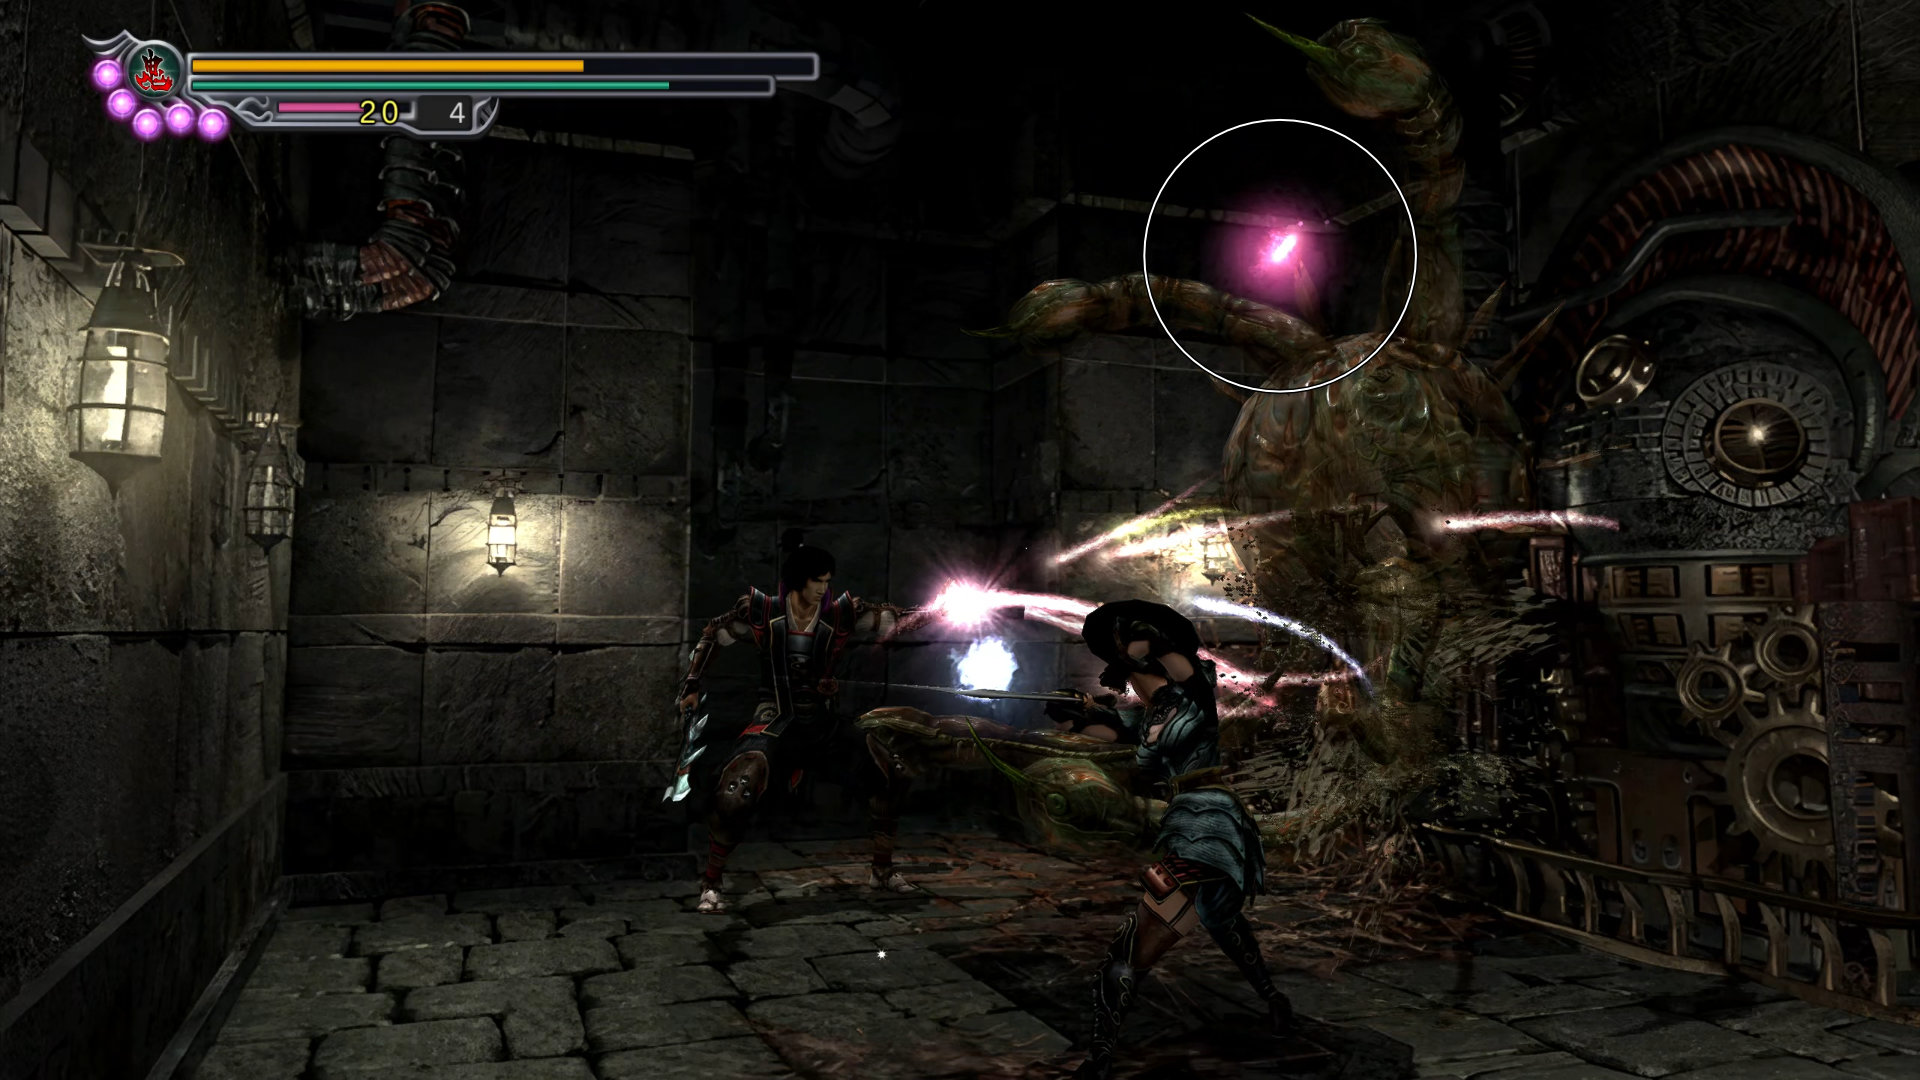
There are 2 hidden red souls in this room.
- Hidden Red Souls #17: Just above the wall demon.
- Hidden Red Souls #18: Inside the light wall, at the end of the Bridge of Darkness where Oyu picked up the "Sacred Flute".
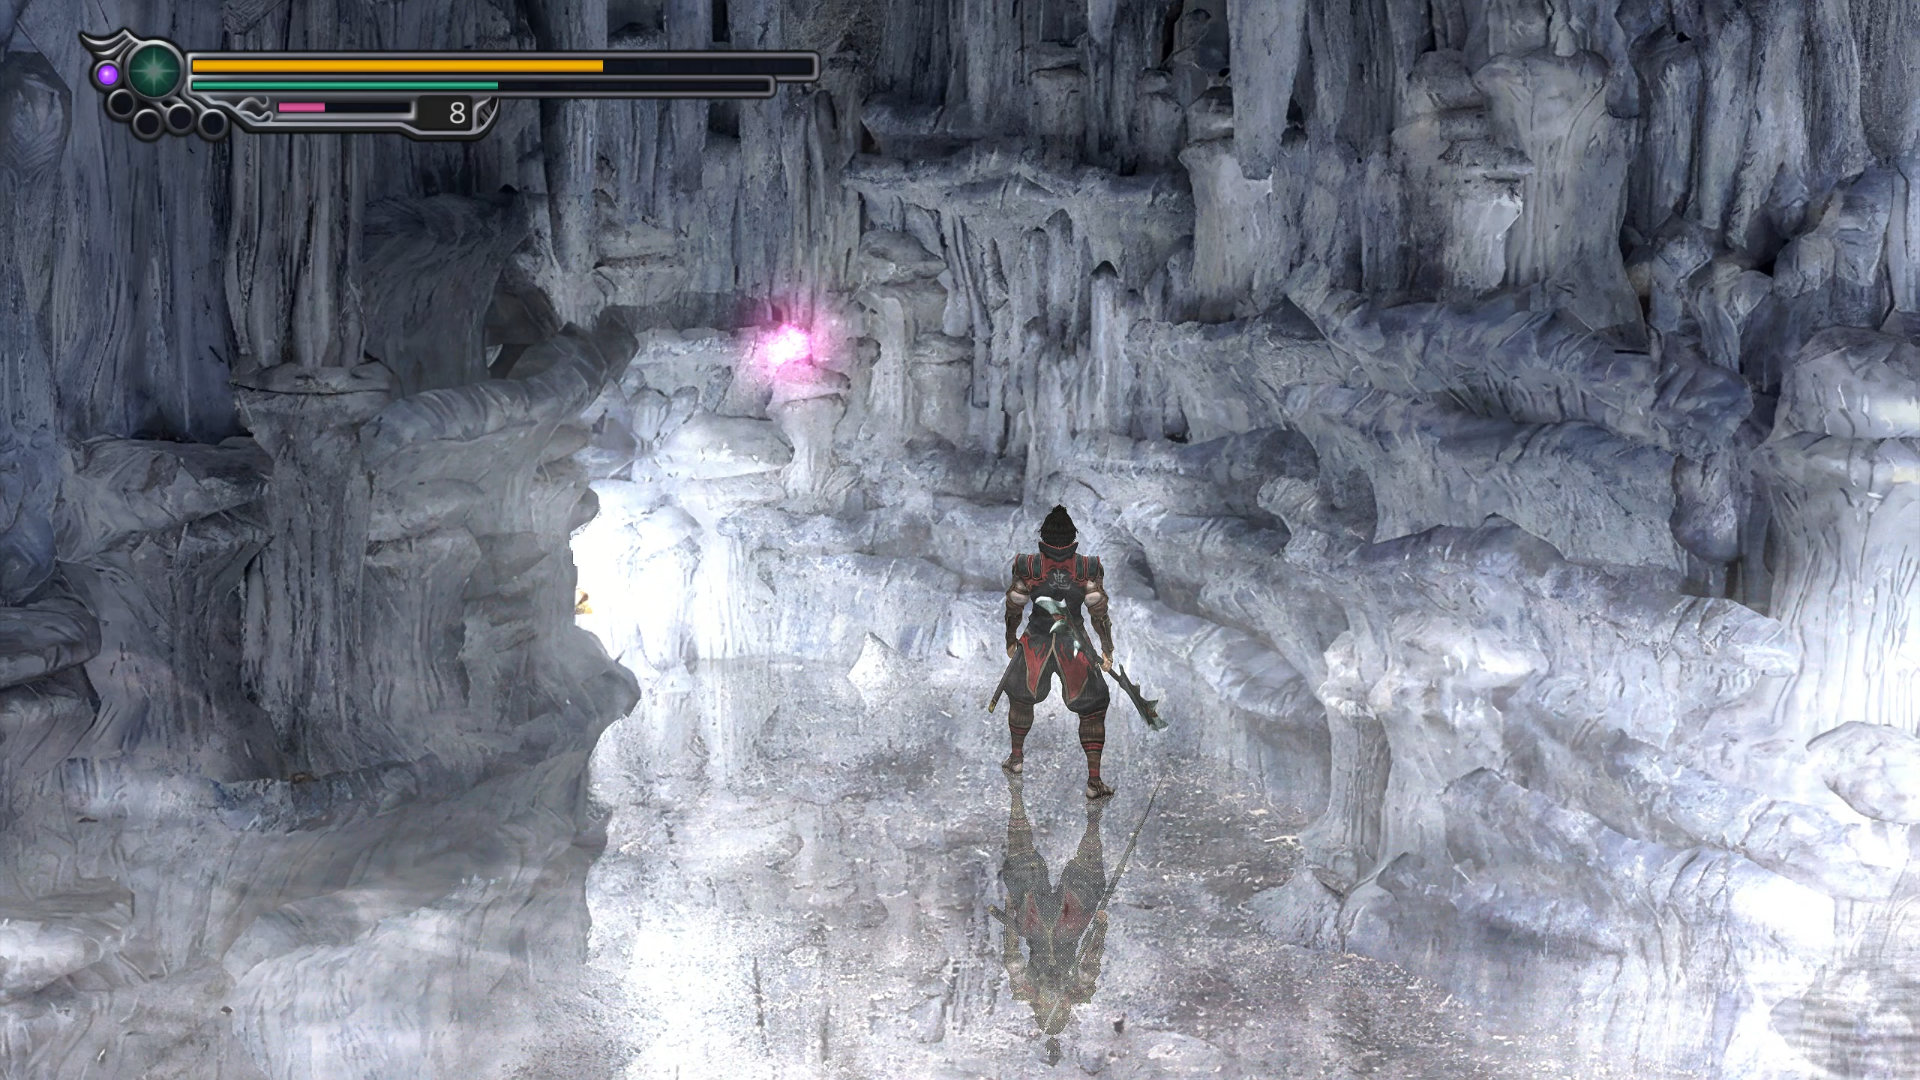
And one hidden chest:
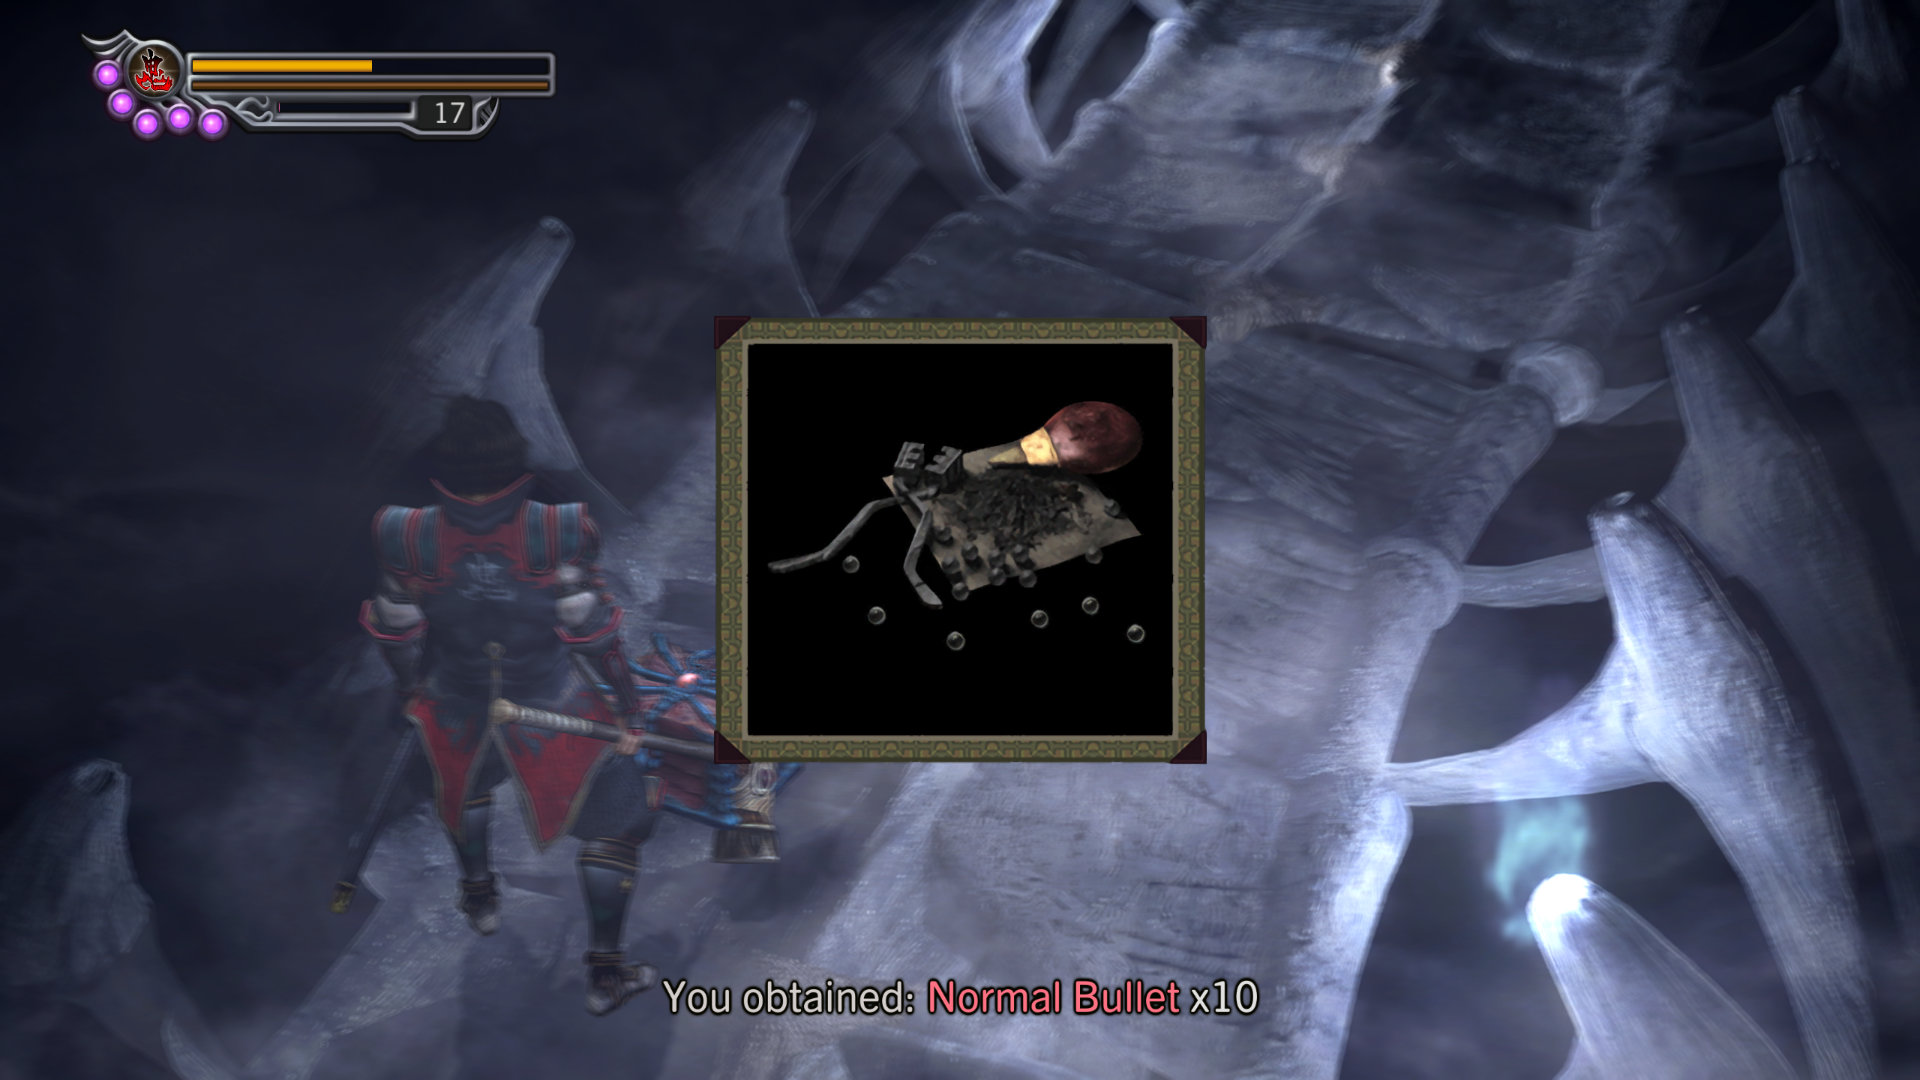
Hidden Chest #2: Normal Bullet x10 - Inside the light wall, on the Bridge of Darkness.
Now use the ladder in the corner to go up. It's a shortcut to the acid room then exit using the west door (your left).